You can scroll all the way down for a simplified step-by-step recipe without photos. Please be sure to tag me @ourkinandhome if you do use my recipe!
MY SOURDOUGH JOURNEY
I embarked on my sourdough journey as a means to destress a few years ago. I was coming out of a season of immense fog and needed to keep my hands busy and making sourdough become my “thing.” It was part of my routine and my family’s nourishment and was an evening therapy of sorts. Flash forward a few years and here we are… I’m still in my pattern of following the same method, and not much has changed. It’s still therapeutic for me to keep my hands busy doing something meaningful like this, that sparks joy and fills bellies on the other side of it. It’s an evening ritual that becomes a morning gift.
I love sourdough because as someone who’s sensitive to gluten (well, all inflammatory foods, really), it’s something I can enjoy every now and then, as I do a long fermentation that helps aid in digestion… plus it’s delicious! A common misconception about sourdough: it takes too much time. False. The starter primarily just sits in a jar unattended. A feed-a-day takes approximately two minutes. The bowl of dough primarily just sits unattended. There are a few very intentional hands-on moments, but it’s not true that it takes gobs of time on my part. Sourdough is a long fermentation process, but the amount of time that *I* have to dedicate to creating the bread is really not very much.
There are a million sourdough recipes out there, so I’m not claiming the best here. I am claiming simple, unfussy, and reliable though. I’ve been following this same method with the same simple recipe for *years* and it’s yet to fail me. A couple things to note early on, is that times for different parts of the process will vary based on climate (for me it changes drastically from winter to summer), elevation, and overall “wild yeast” and environment of your home. It’s important to pay more attention to the actual dough than to the clock. Also, please don’t underbake your bread! Sourdough is a crusty, toasty bread. The inner texture will end up gummy if not baked long enough, and you won’t achieve that classic caramelized crust which is *chefs kiss* for a true sourdough loaf.
I also want to preface by saying, this is just the method I use. I’m not claiming perfect science to my recipe. But it’s what has worked for me, and has felt the most sustainable for my kitchen rhythms! I’ve also tried out lots of recipe books and a few of my favorites (if you want to have something on hand with extra recipes for discard and all the other goodness sourdough can bring) plus all my tools can be found in the sourdough folder of my amazon storefront, HERE.
I was blessed to have been gifted some starter discard by a friend, so never ended up needing to start from scratch in that regard. If you don’t have someone near you who can share for you to simply feed and revive, visit my Sourdough Starter blog post.
Now, let’s begin.
TOOLS NEEDED TO MAKE SOURDOUGH
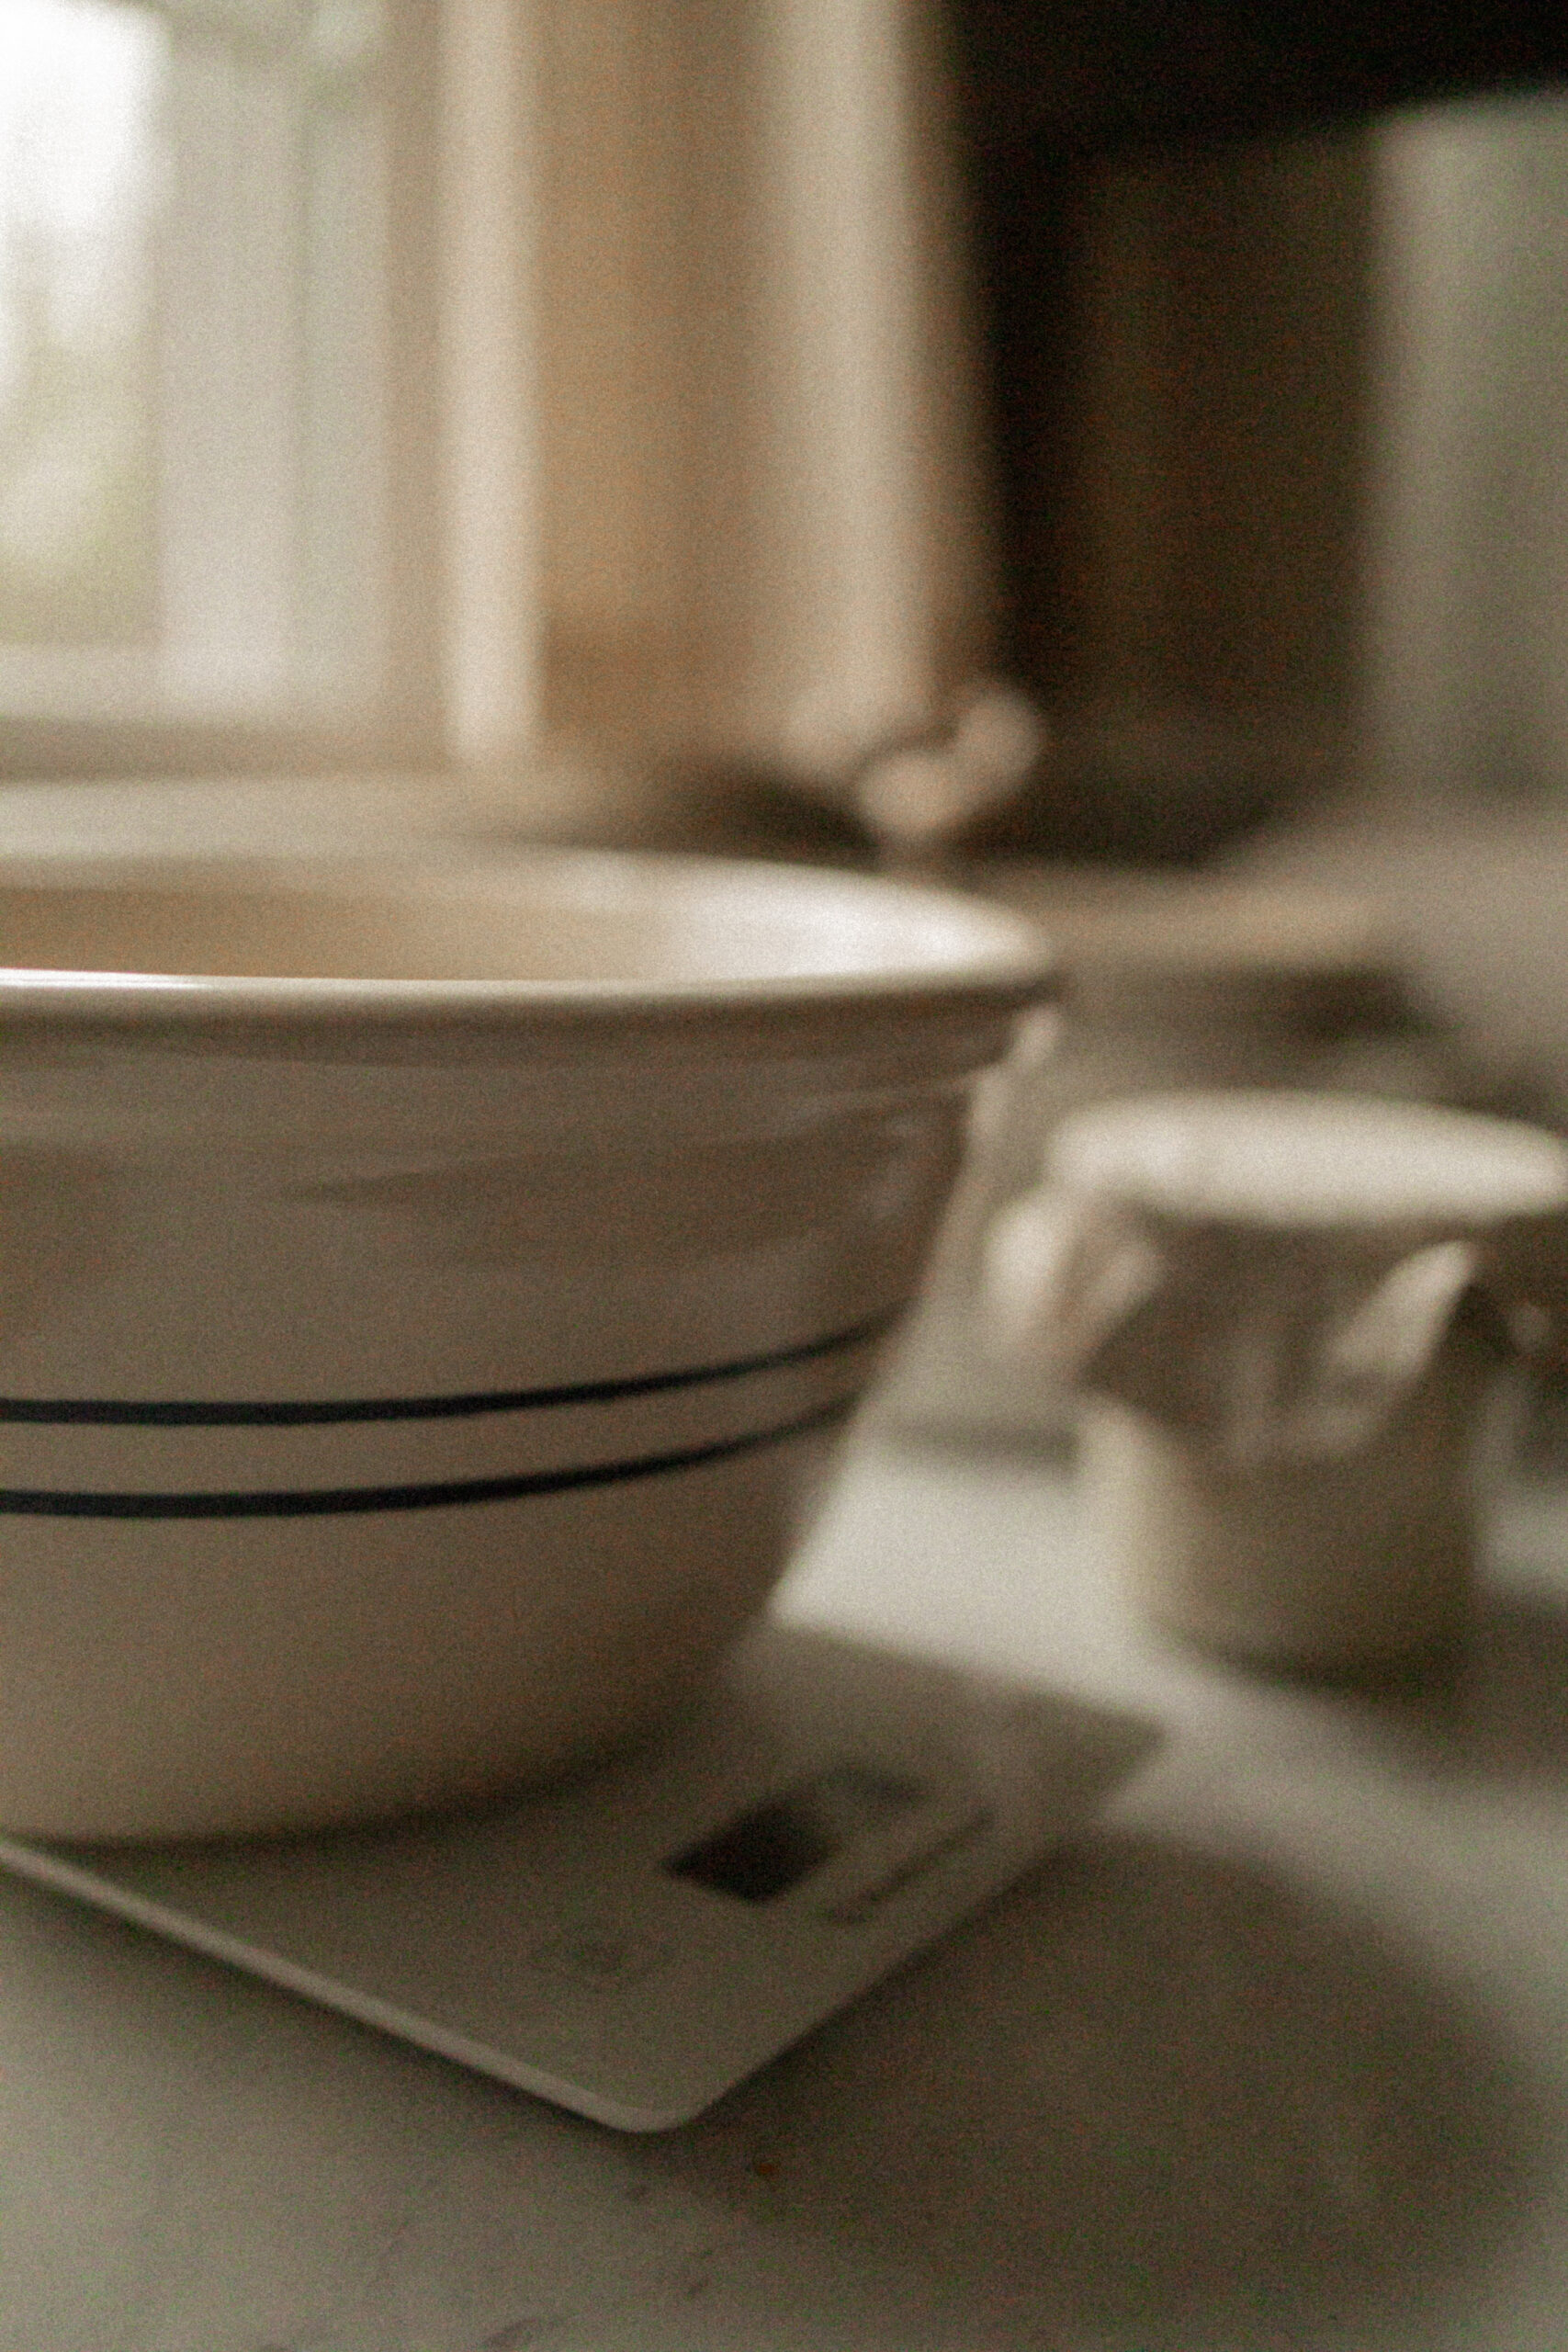
Start by gathering your supplies. Get creative! If you don’t have every single item, don’t feel like you have to go buy all the things… people have been making sourdough without all the fancy tools for centuries, and they surely didn’t have Amazon. Use a regular whisk, a fork, your hands, a sharp blade, a bowl you already have for the different steps.
Here’s what I use:
- Baking scale
- Large bowl
- Room temp filtered water
- Organic Bread Flour / Costco Organic Flour
- Danish bread whisk + dough scraper
- Round banneton baskets
- Oval banneton baskets
- Shower caps / lined bowl covers (to keep moisture in)
- Tea towel
- Maldon’s Sea Salt
- Bread lame & blades
- Parchment sheets, parchment rounds, or baking slings
- Dutch oven: option one, option two, option three (I recommend a darker color, and at least 5 qt)
- Serrated bread knife
- Bread loaf pan: the one I have, stoneware, cast iron, stainless
TRIED AND TRUE SOURDOUGH RECIPE
You can find my very first sourdough recipe blog post HERE. I have been using this as a “base recipe” for several years now, but after moving to a very different climate I’ve learned the beauty of sourdough in that it’s a METHOD and a SCIENCE, not a recipe that you follow “to the tee” because of all those different factors that come into play like climate, environment, home temperature and so much more.
I am a mama of four, wife to one, homeschooling and homemaking and busy and so to combat chaos, I prefer to streamline and make things as SIMPLE AS POSSIBLE. My kids love pb&j, my husband loves soft squishy bread for sandwiches. We also love more rustic, crunchy-crusty bread for toasts, and I personally love it for sandwiches. To make the best of both worlds a regular thing without having to follow multiple recipes or have separate bowls going at once… I combine.
One day I stumbled upon a happy accident, and now I do it this way almost every week when I bake bread. I make one big bowl of dough, and make a crusty rustic artisan loaf, and one squishier, softer, buttery sandwich loaf. We’re all thrilled and it makes my life so much easier!
INGREDIENTS FOR SIMPLE SOURDOUGH
- 100g active sourdough starter (visit my blog post for more insight on starter)
- 700g filtered room temp or slightly warm water
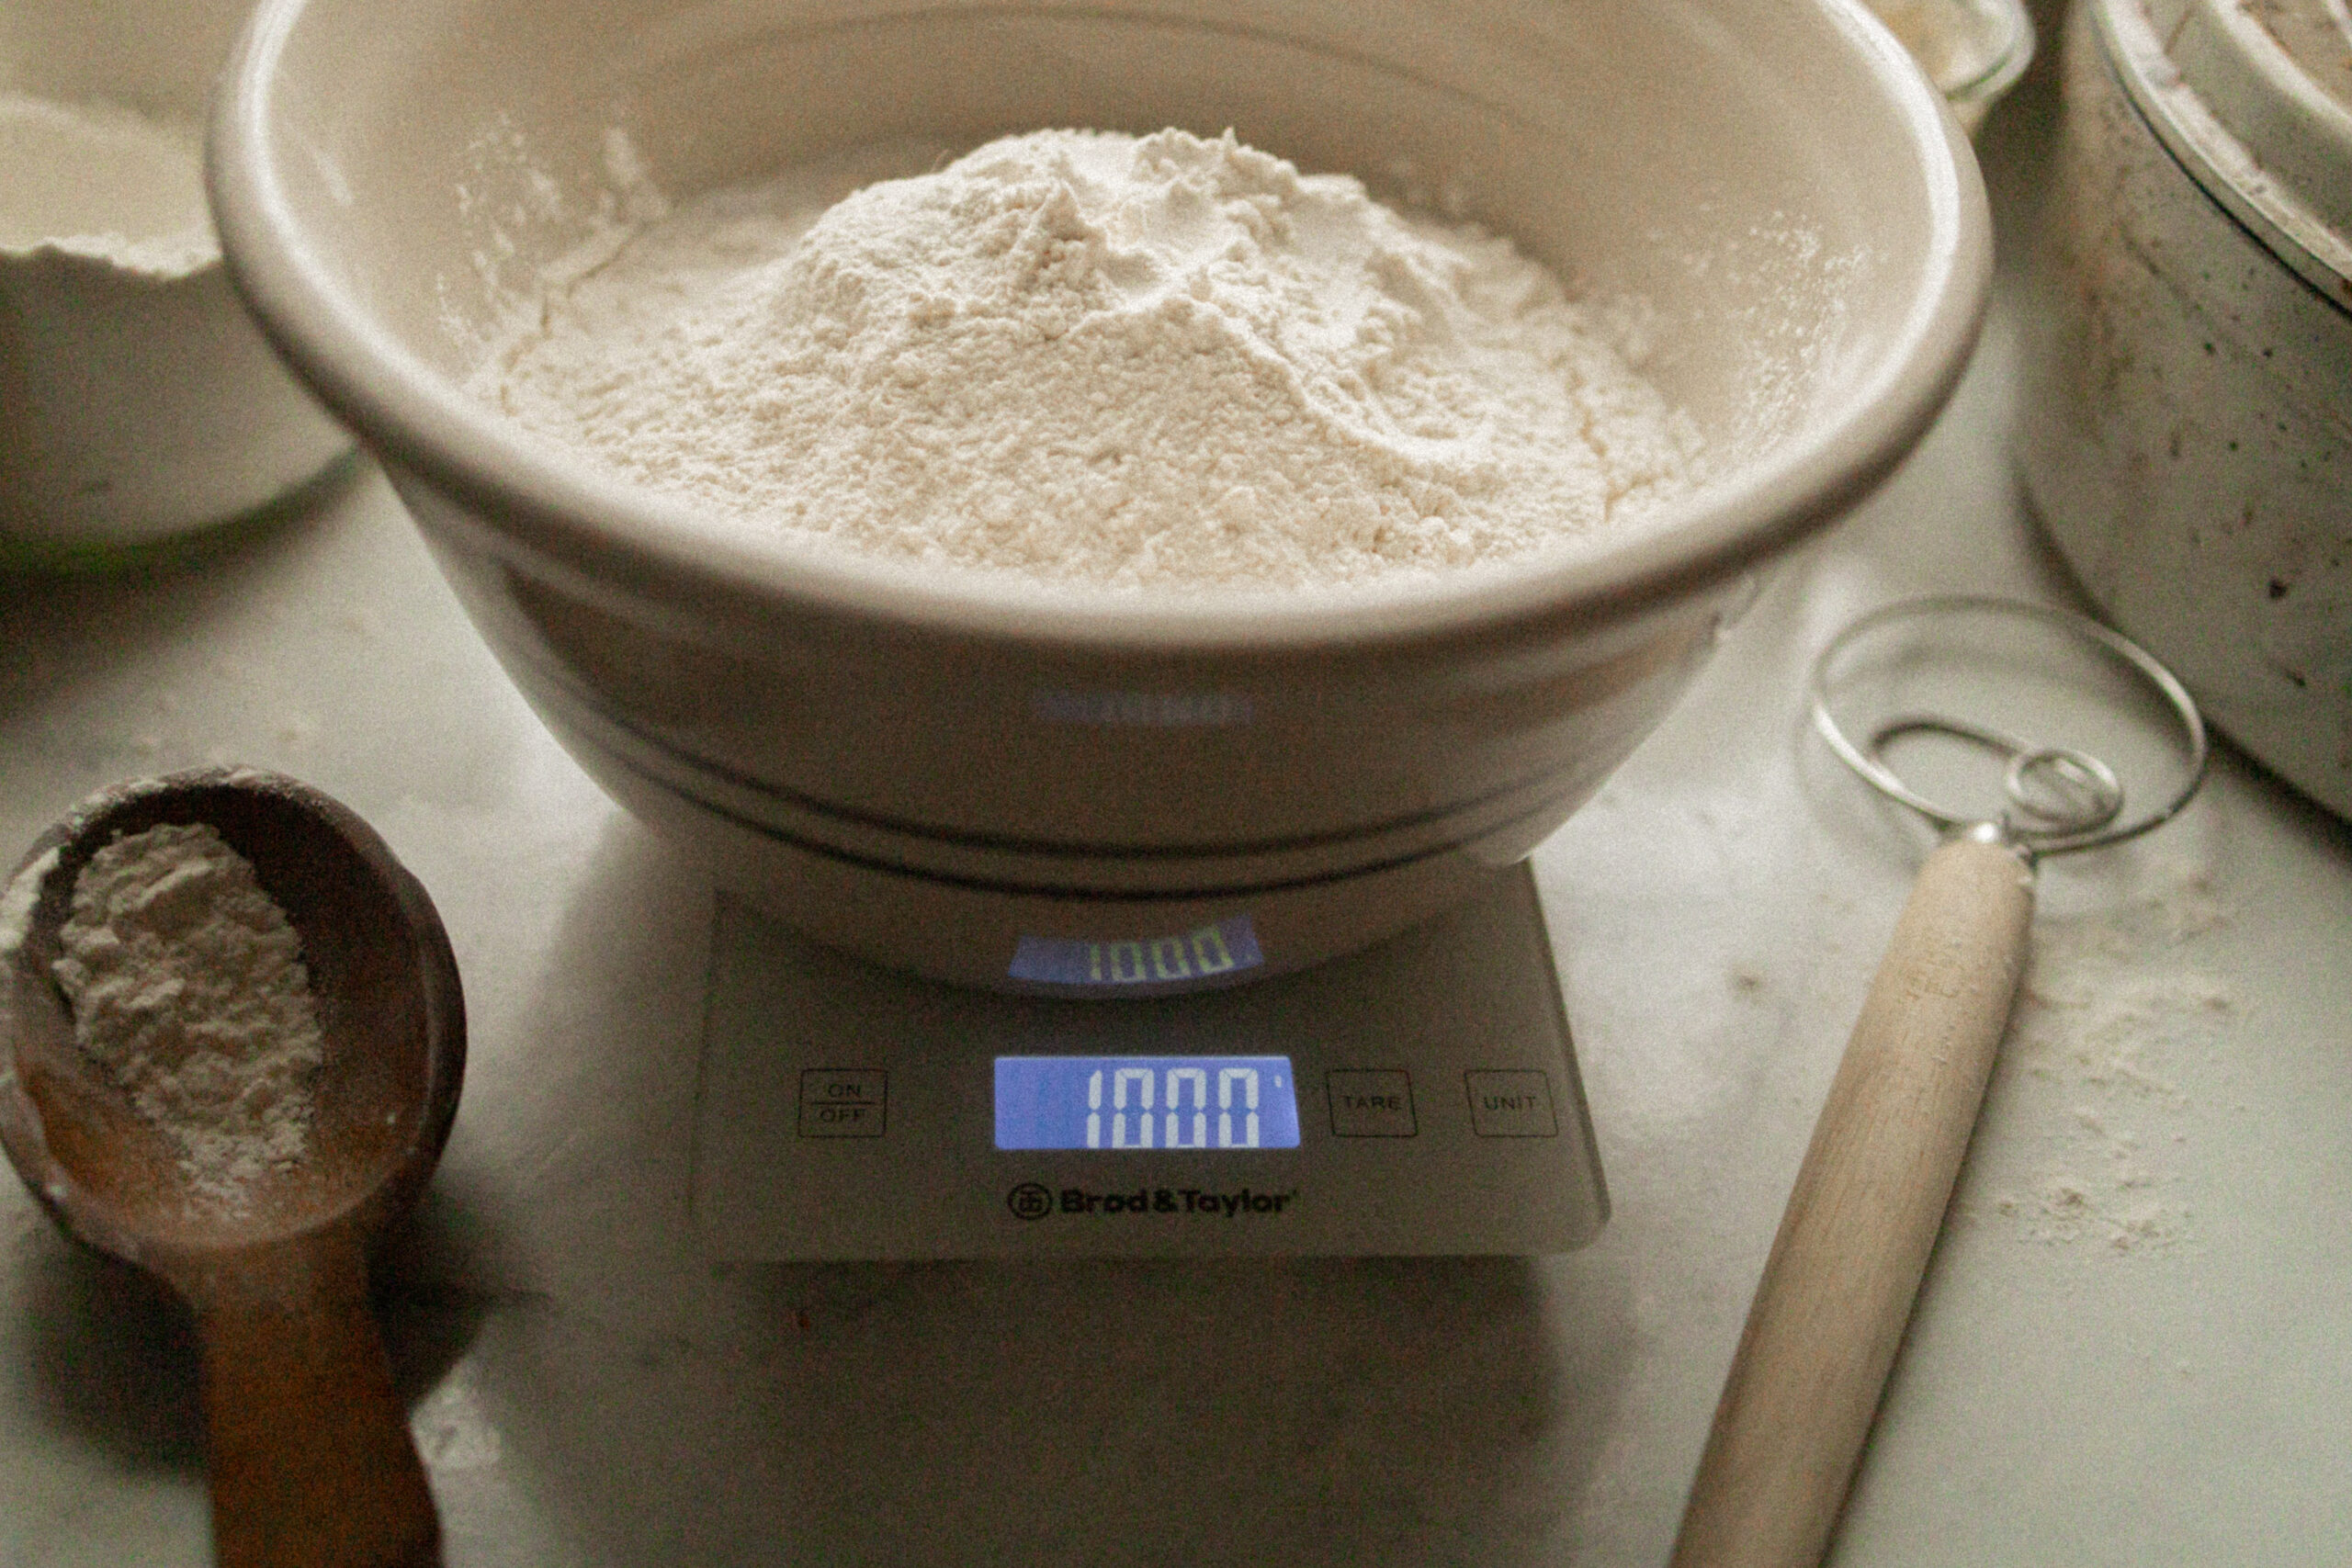
- 1000g organic flour (bread flour, Costco brand, or any high protein organic flour)
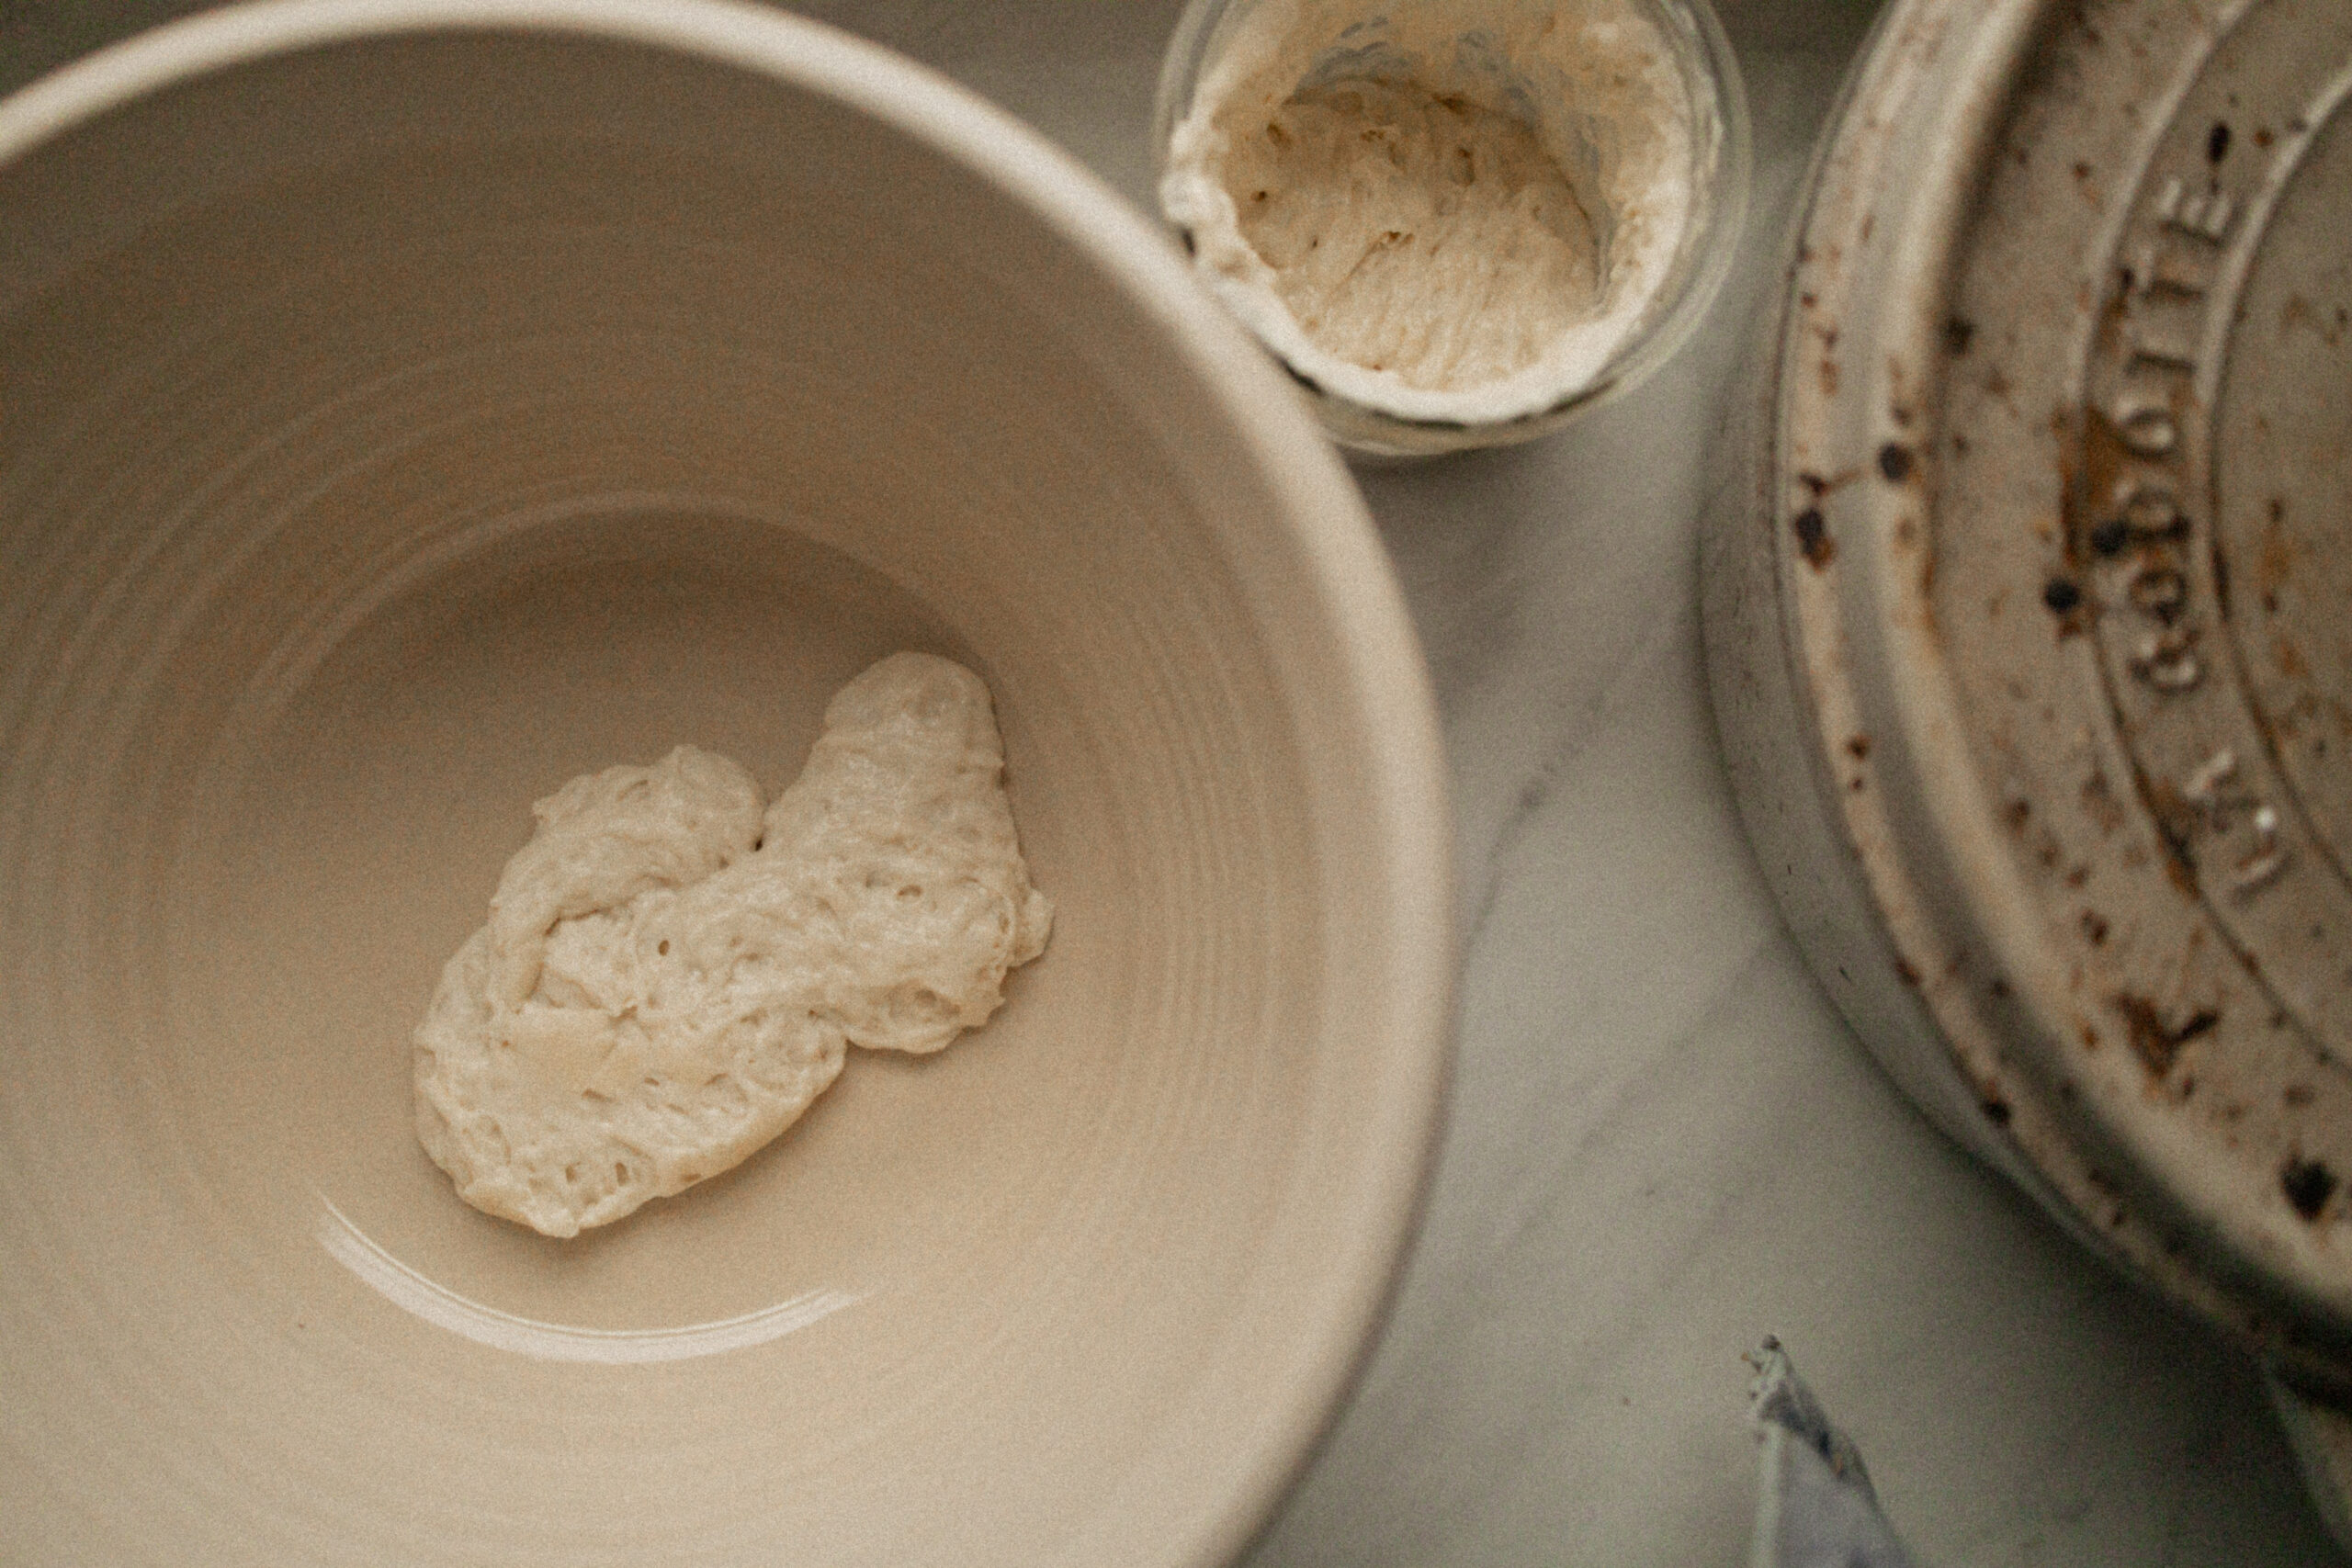
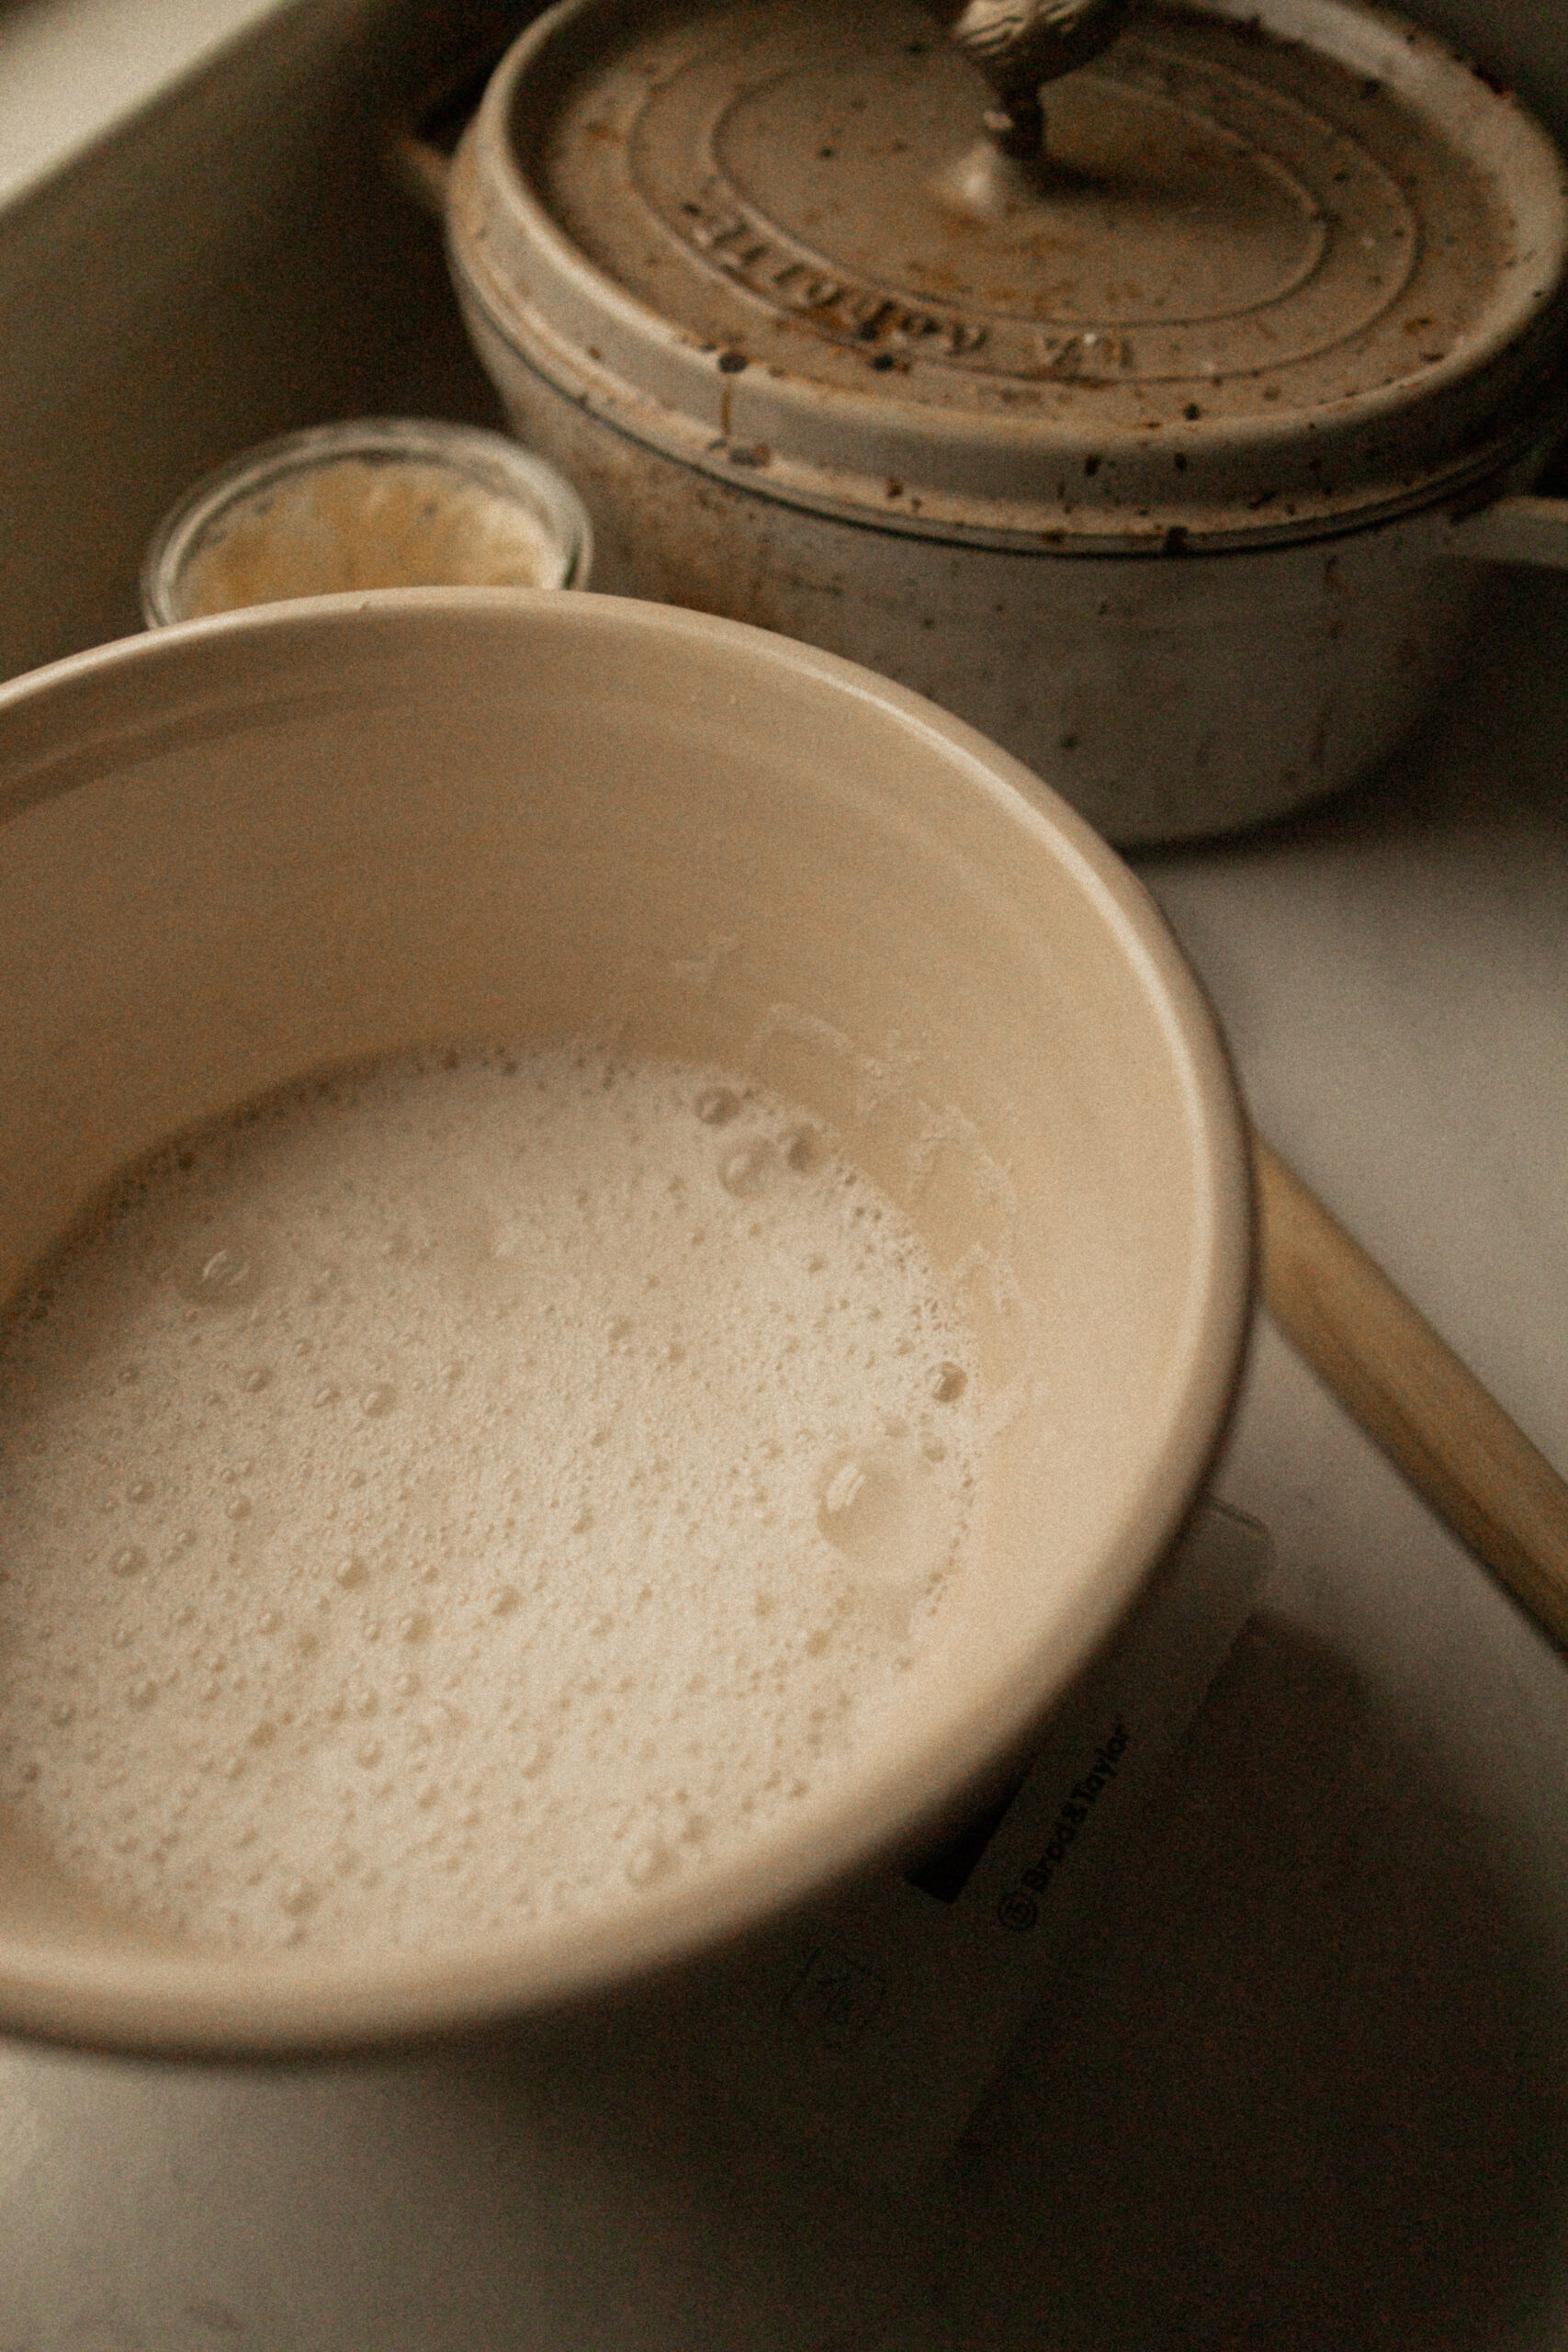
- Pour starter into your clean bowl.
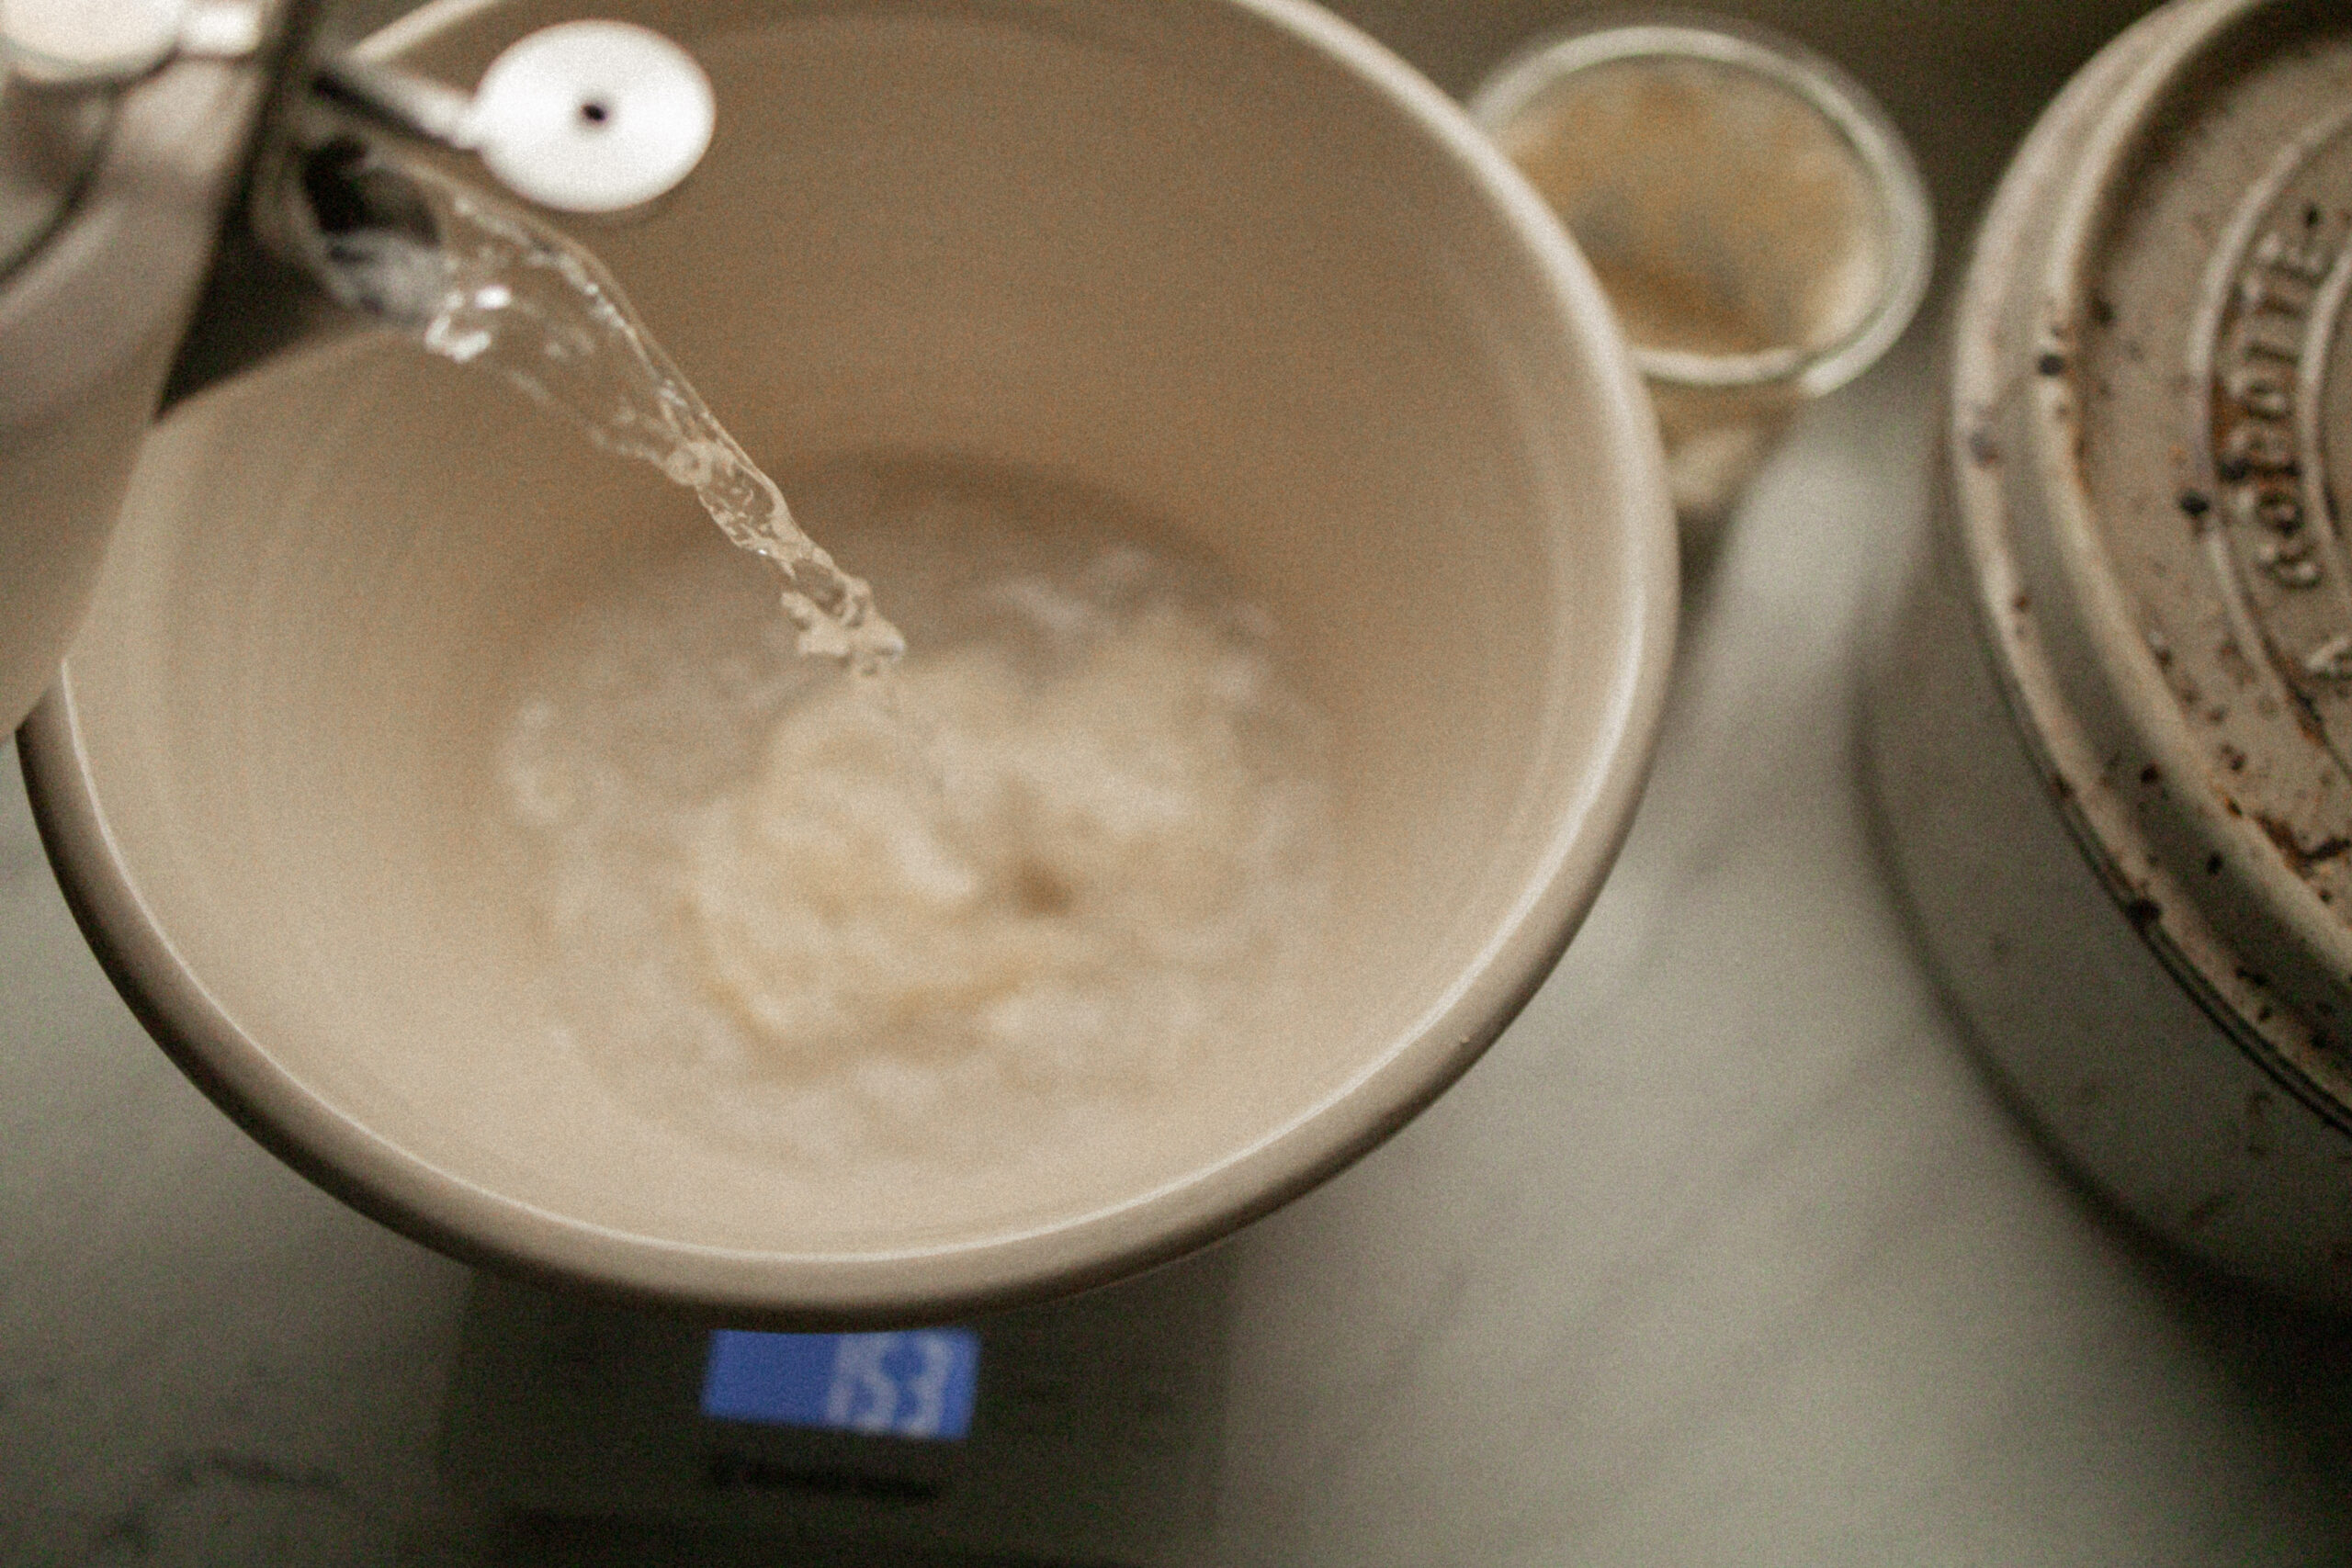
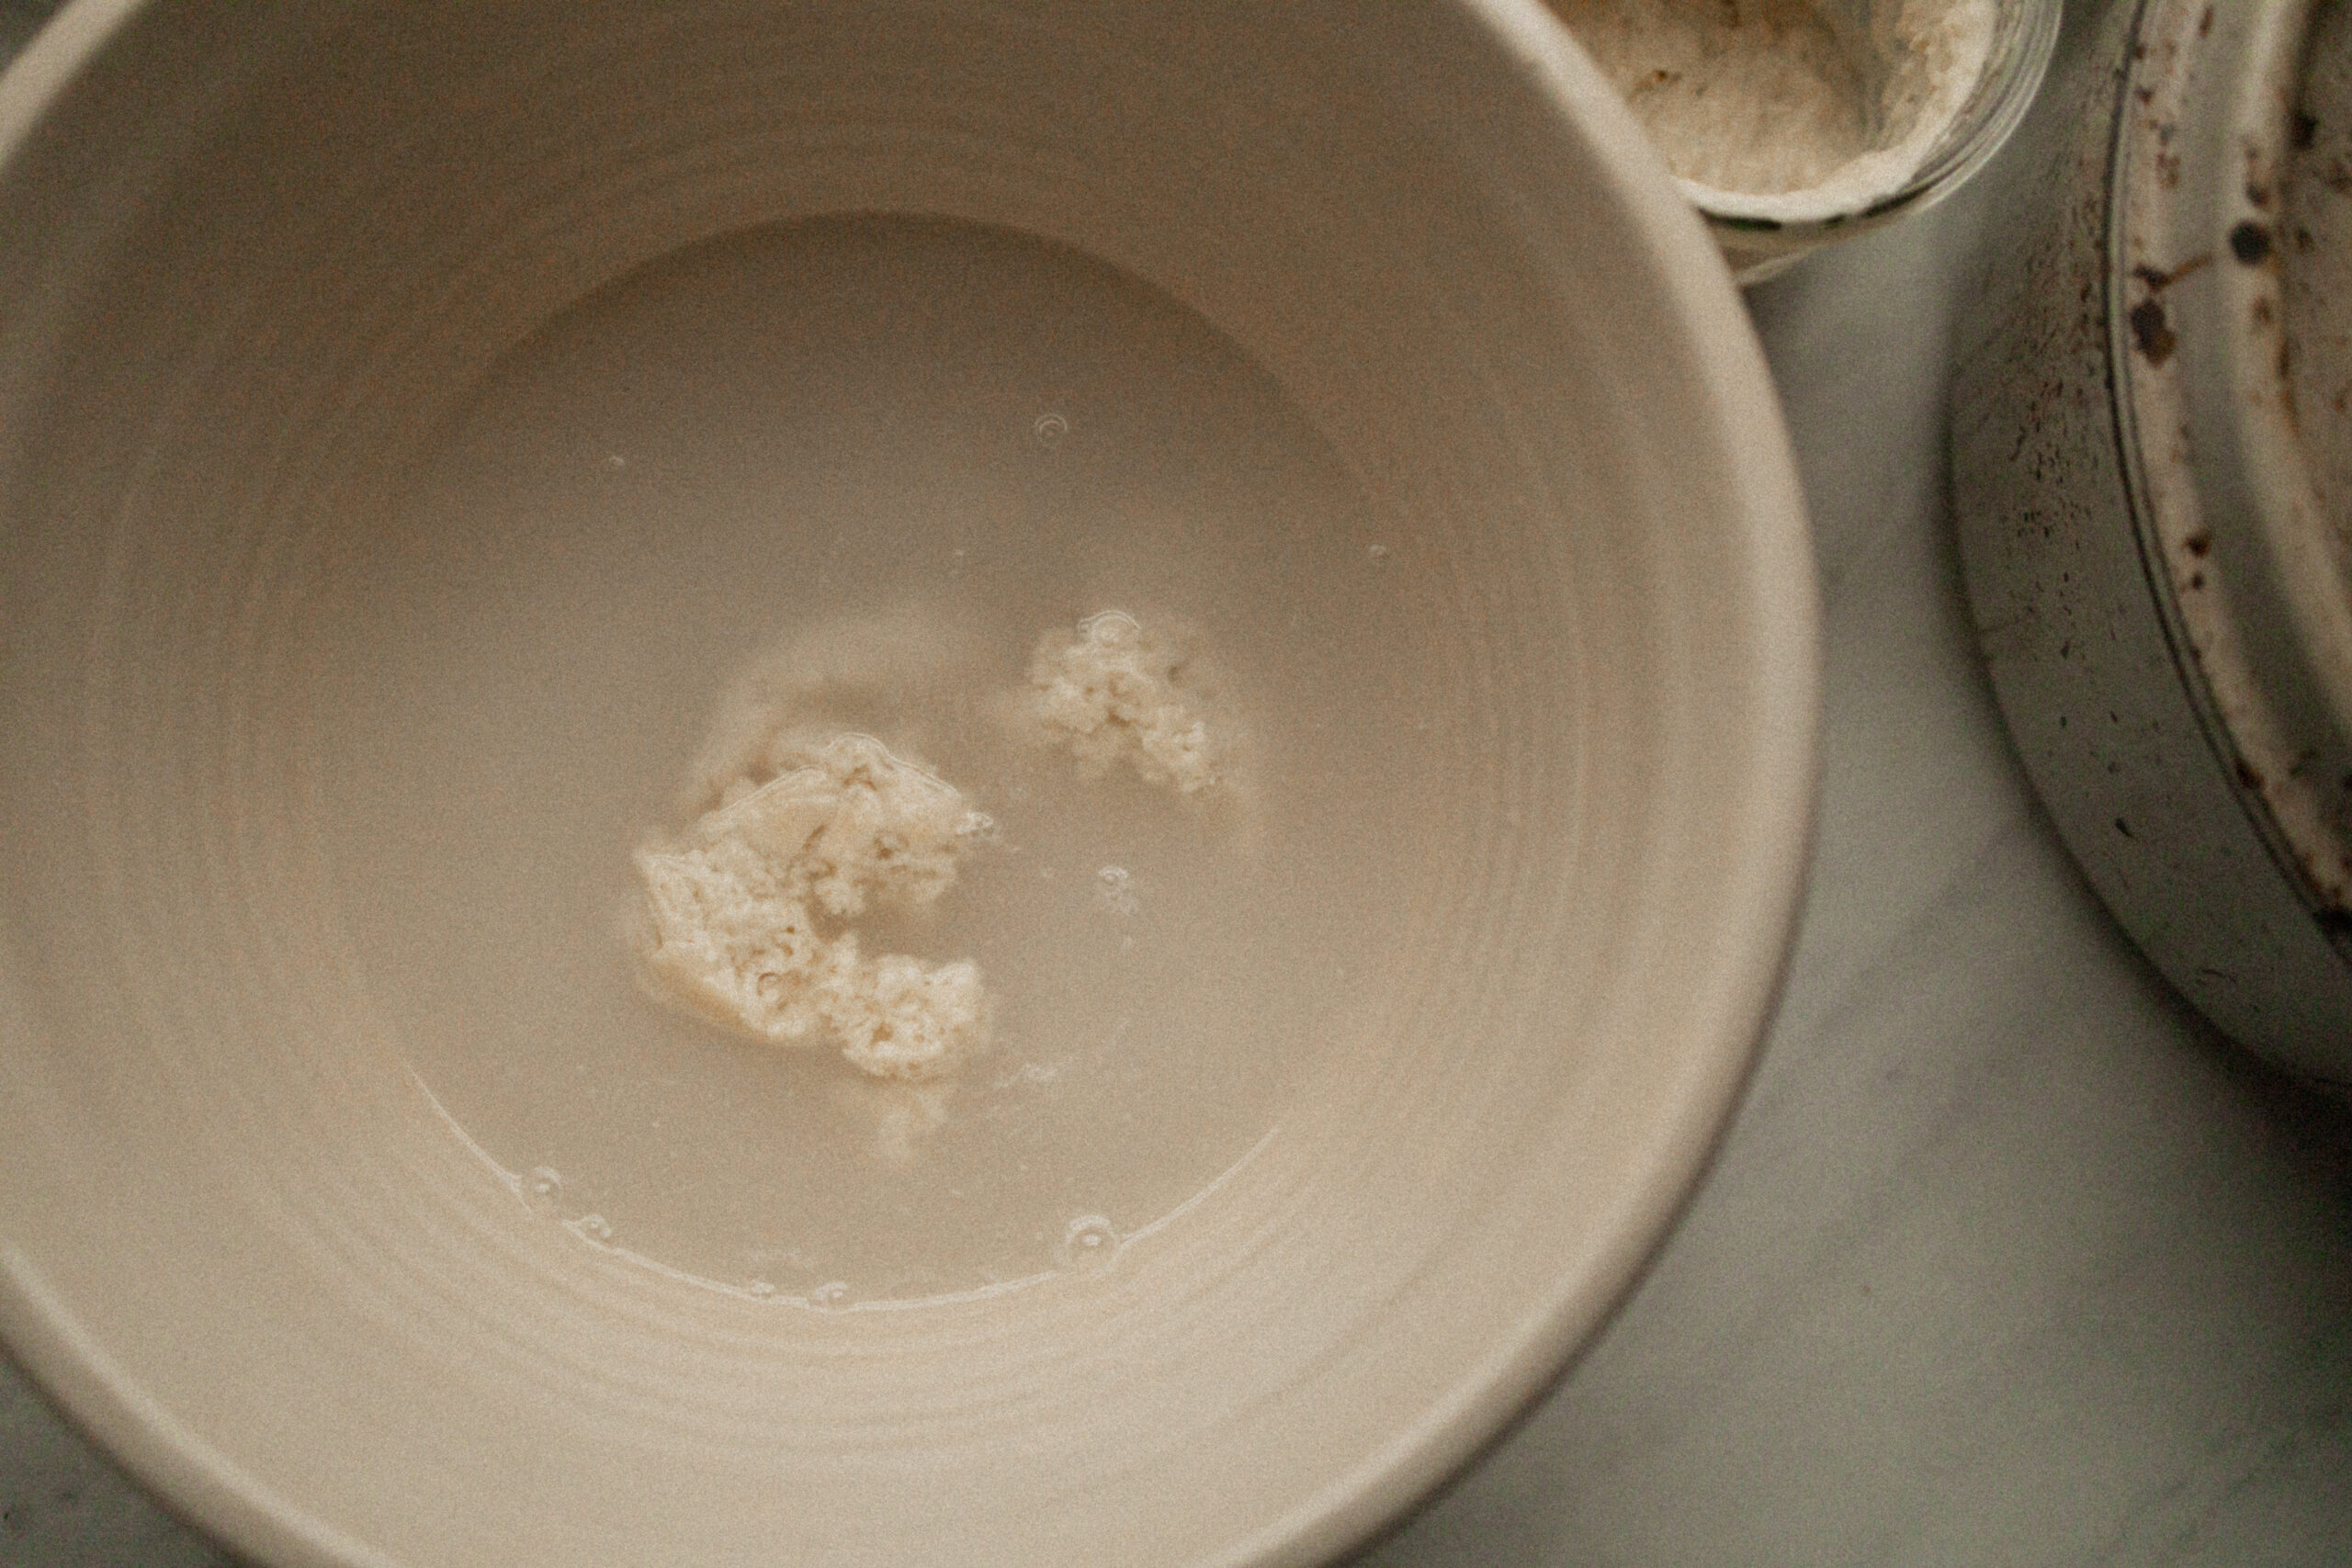
- With your bowl on your scale, measure your water then mix thoroughly using a whisk until it’s milky.
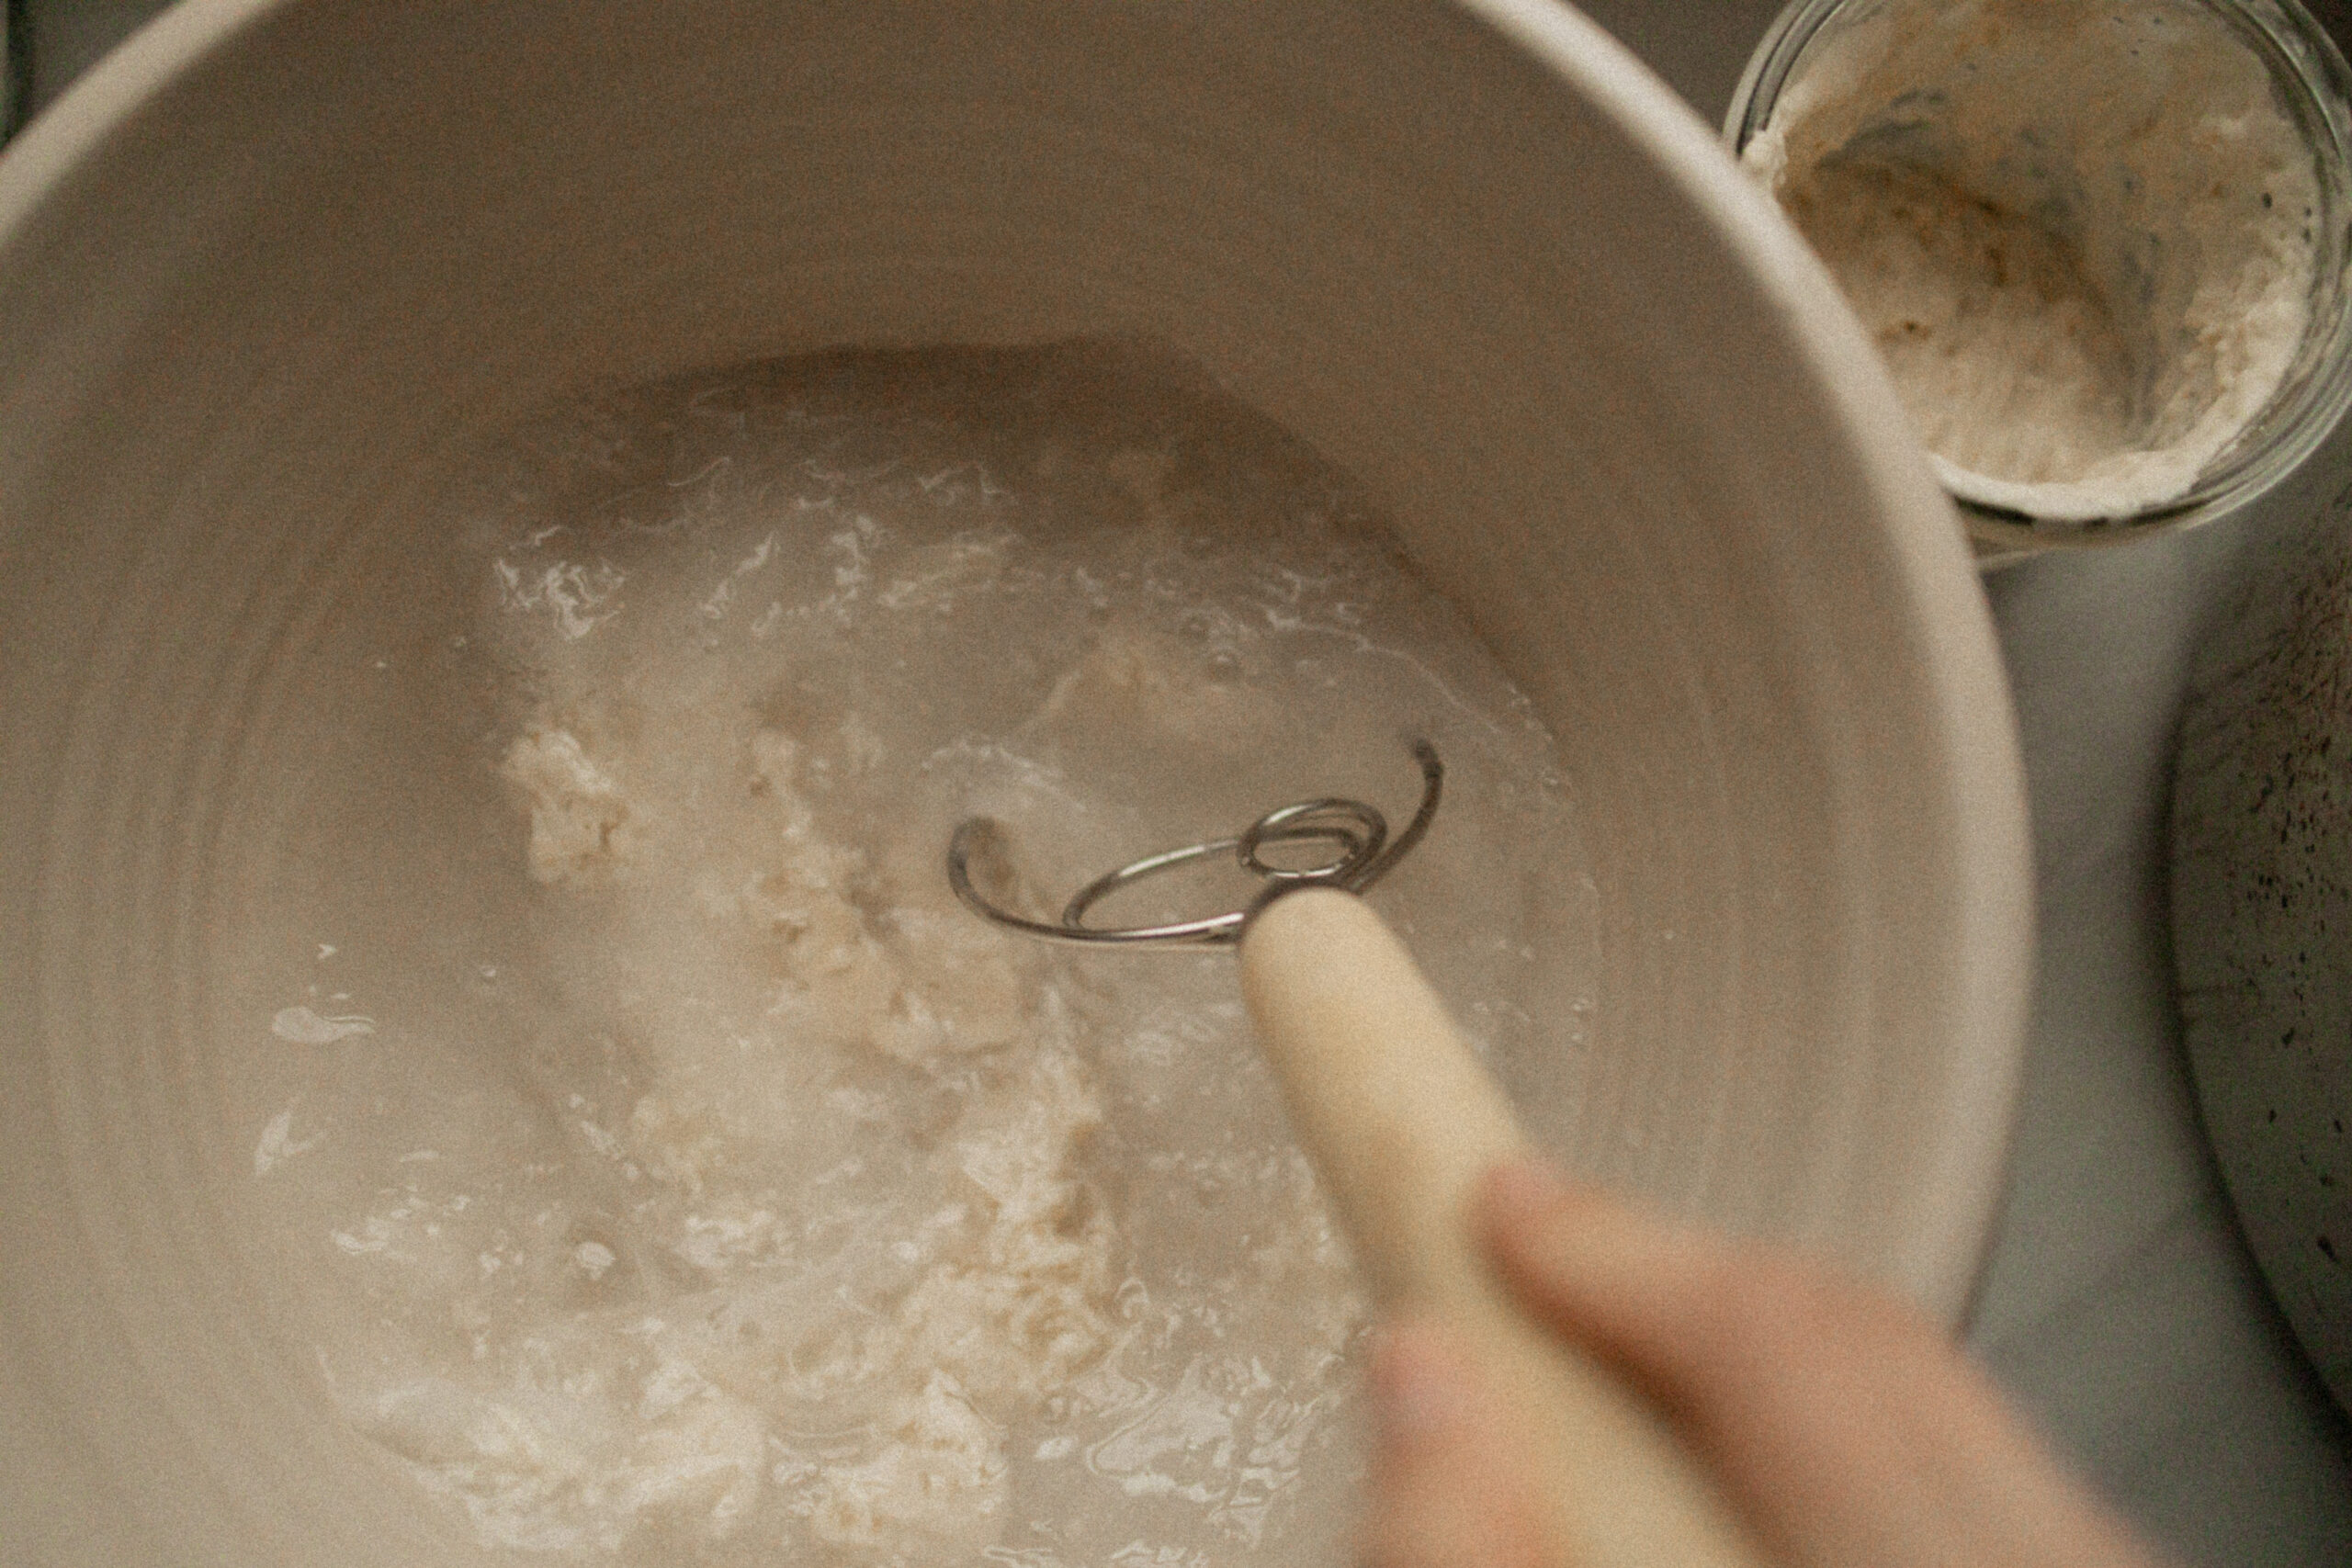
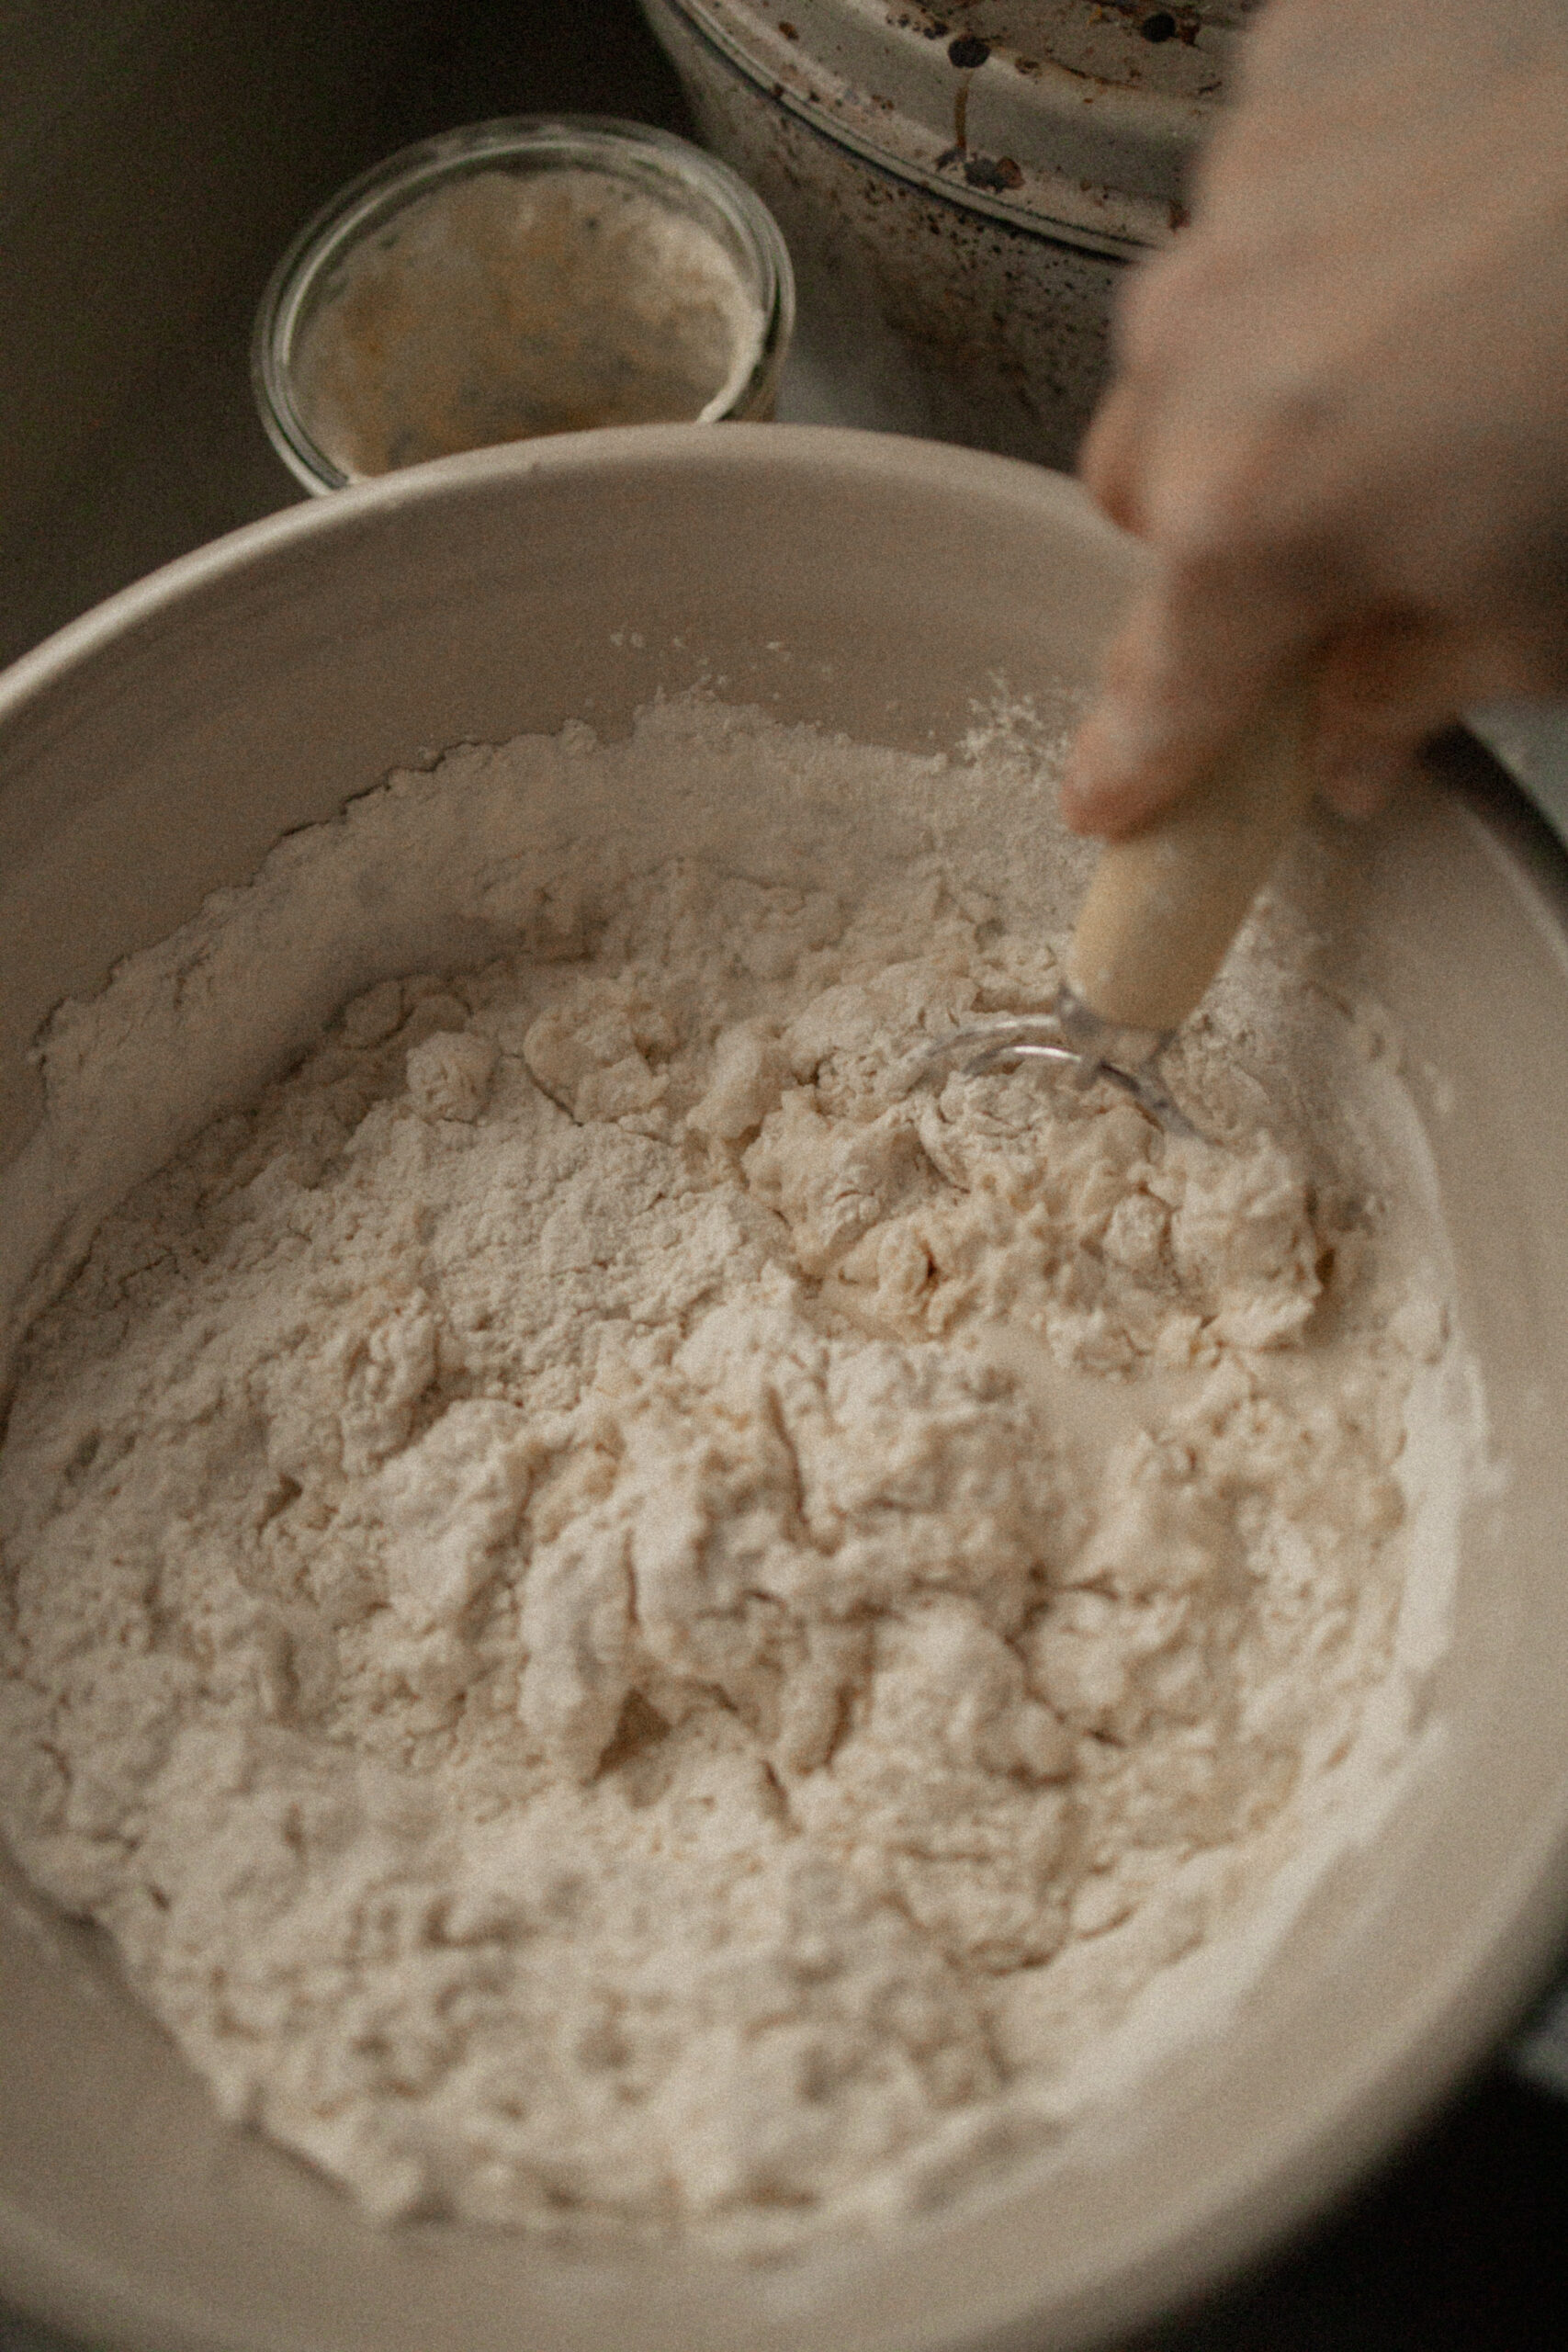
- Still using your scale, measure your flour and then slowly mix fully. Use the dough whisk or your hands to ensure all bits of flour and water are fully combined. You’ll have a soft, shaggy dough and will appear dry, not liquidy.
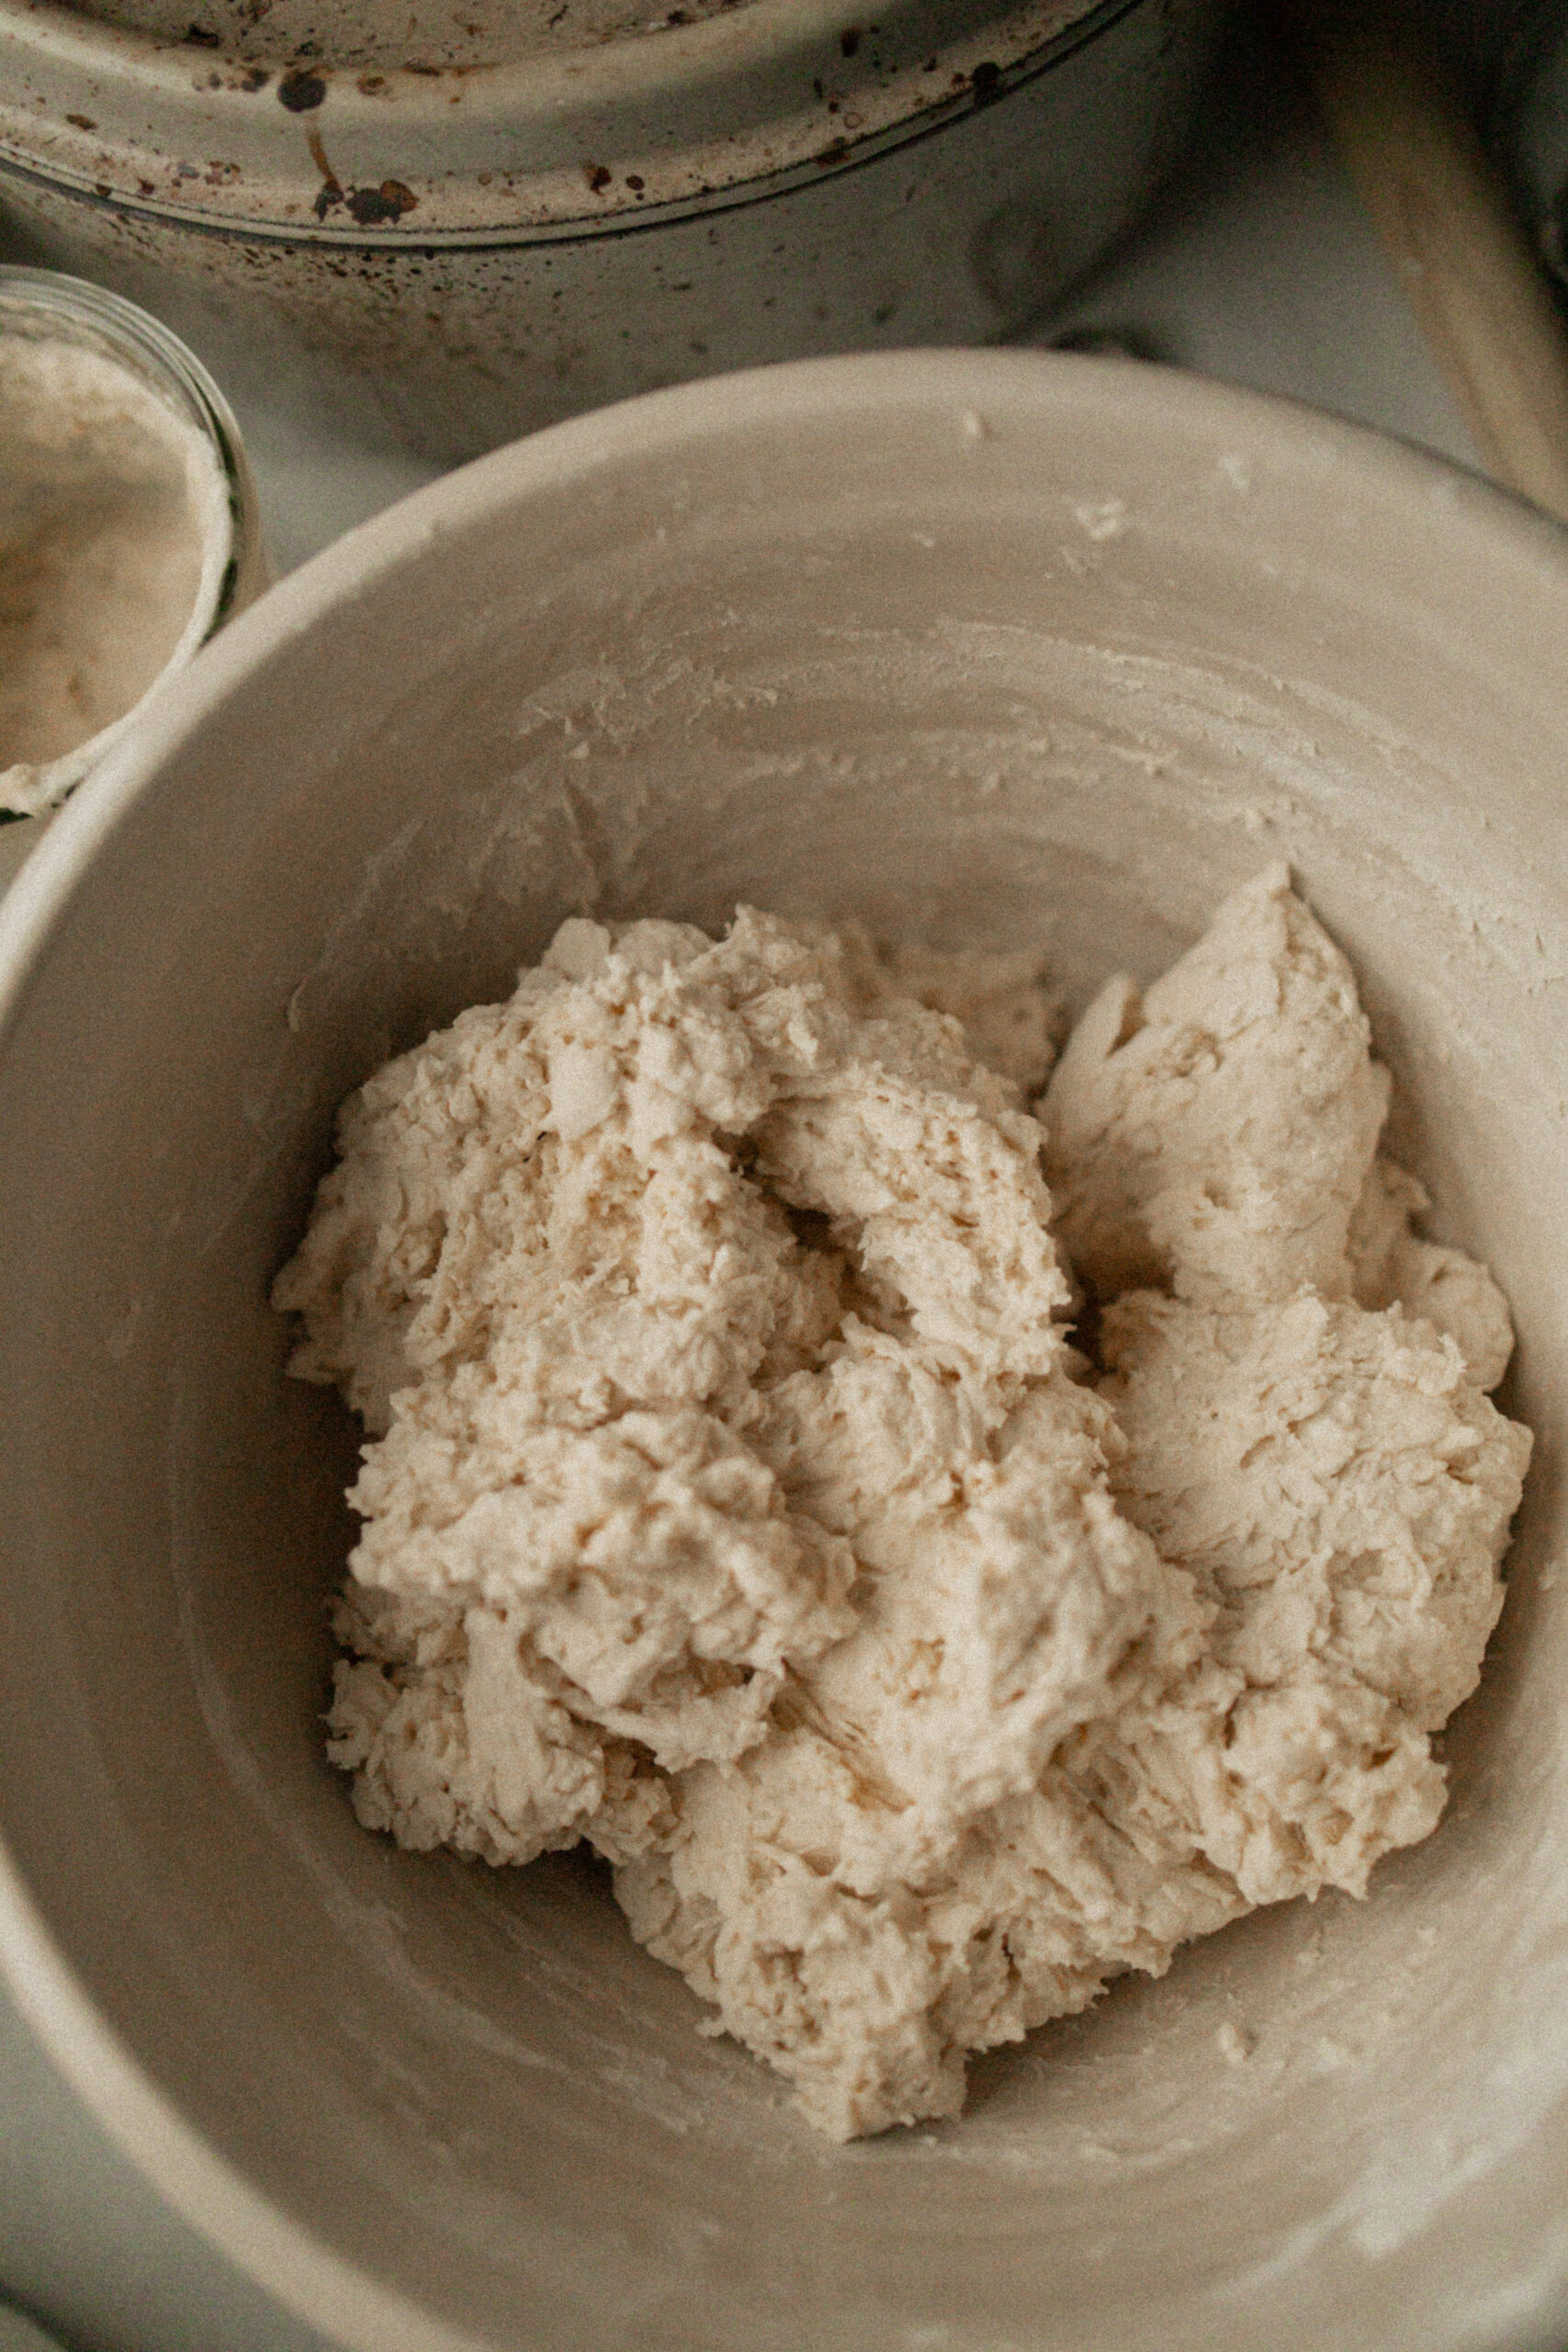
- 5. Let your dough sit and rest for at least 30 minutes, can be longer. This is the time when I will typically feed my starter and put away flour and cream up other supplies.
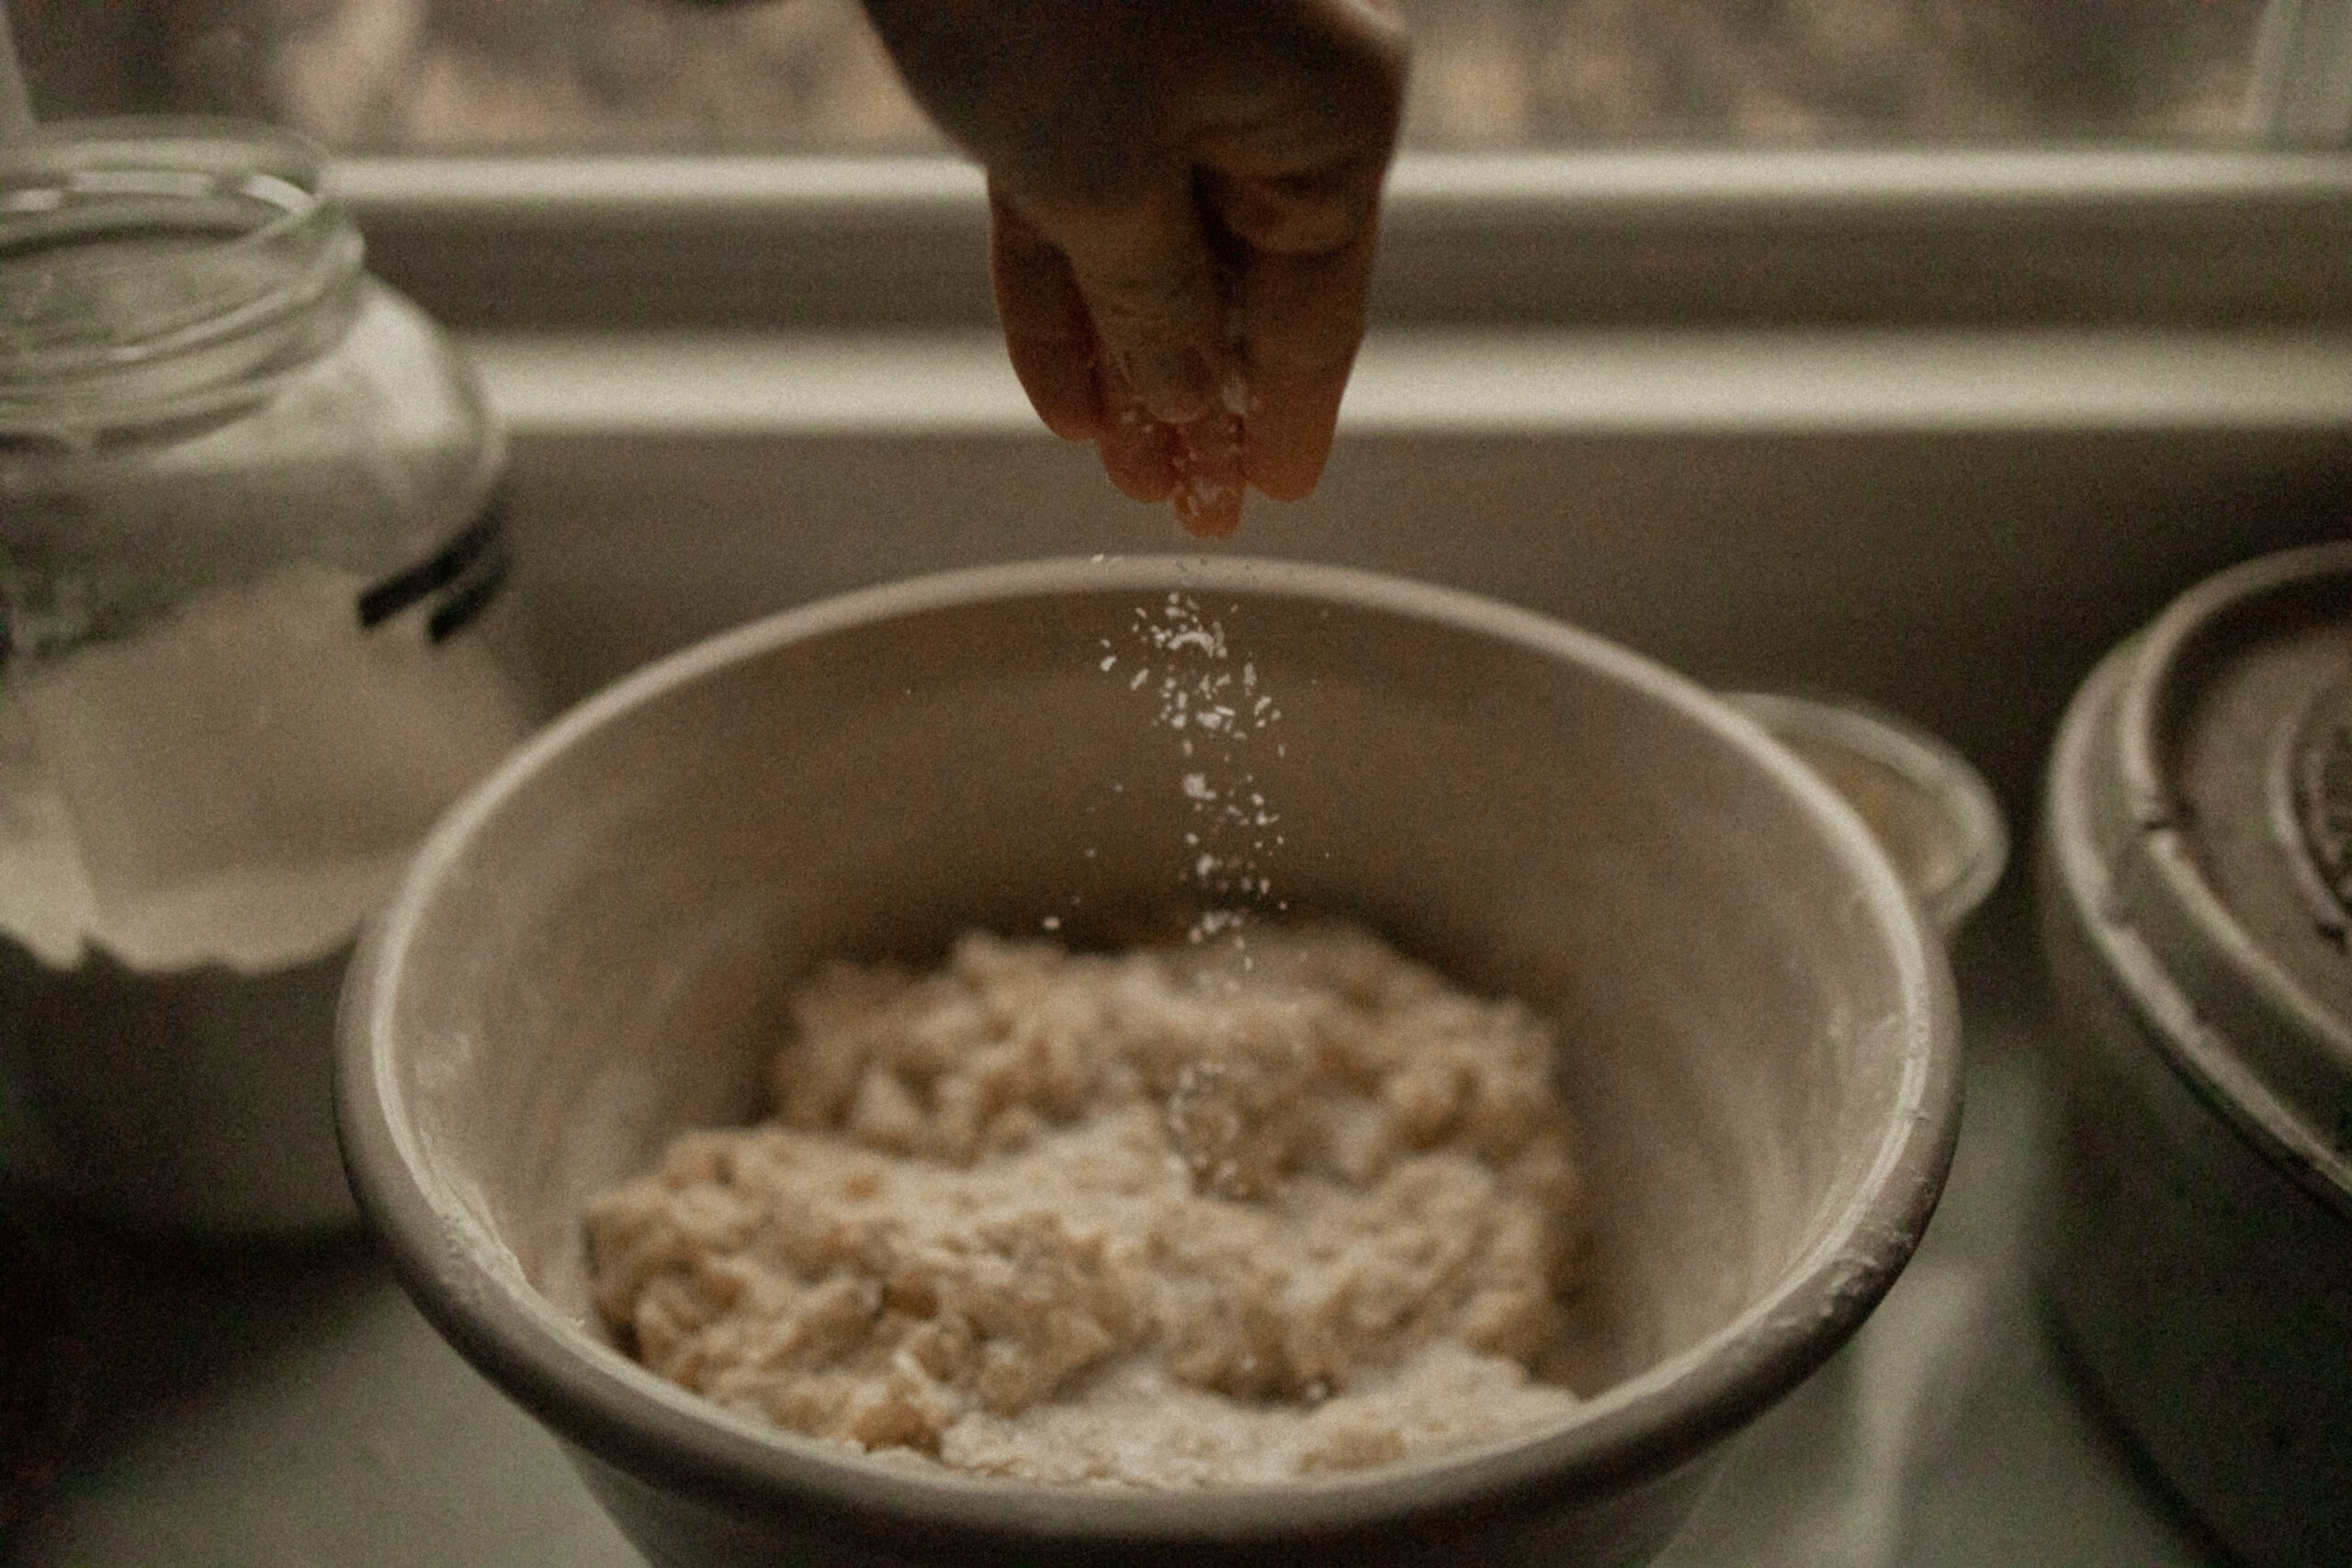
- 6. When your dough has rested, measure out 20g of salt. I really like to recommend a pure and unadulterated salt. We love the flaky one linked in my supplies list above. Quality salt can be game changer.
- 7. Begin pinching the salt to your dough, slowly kneading and folding it in.
- 8. Then, go ahead and do your first set of stretch-and-folds.
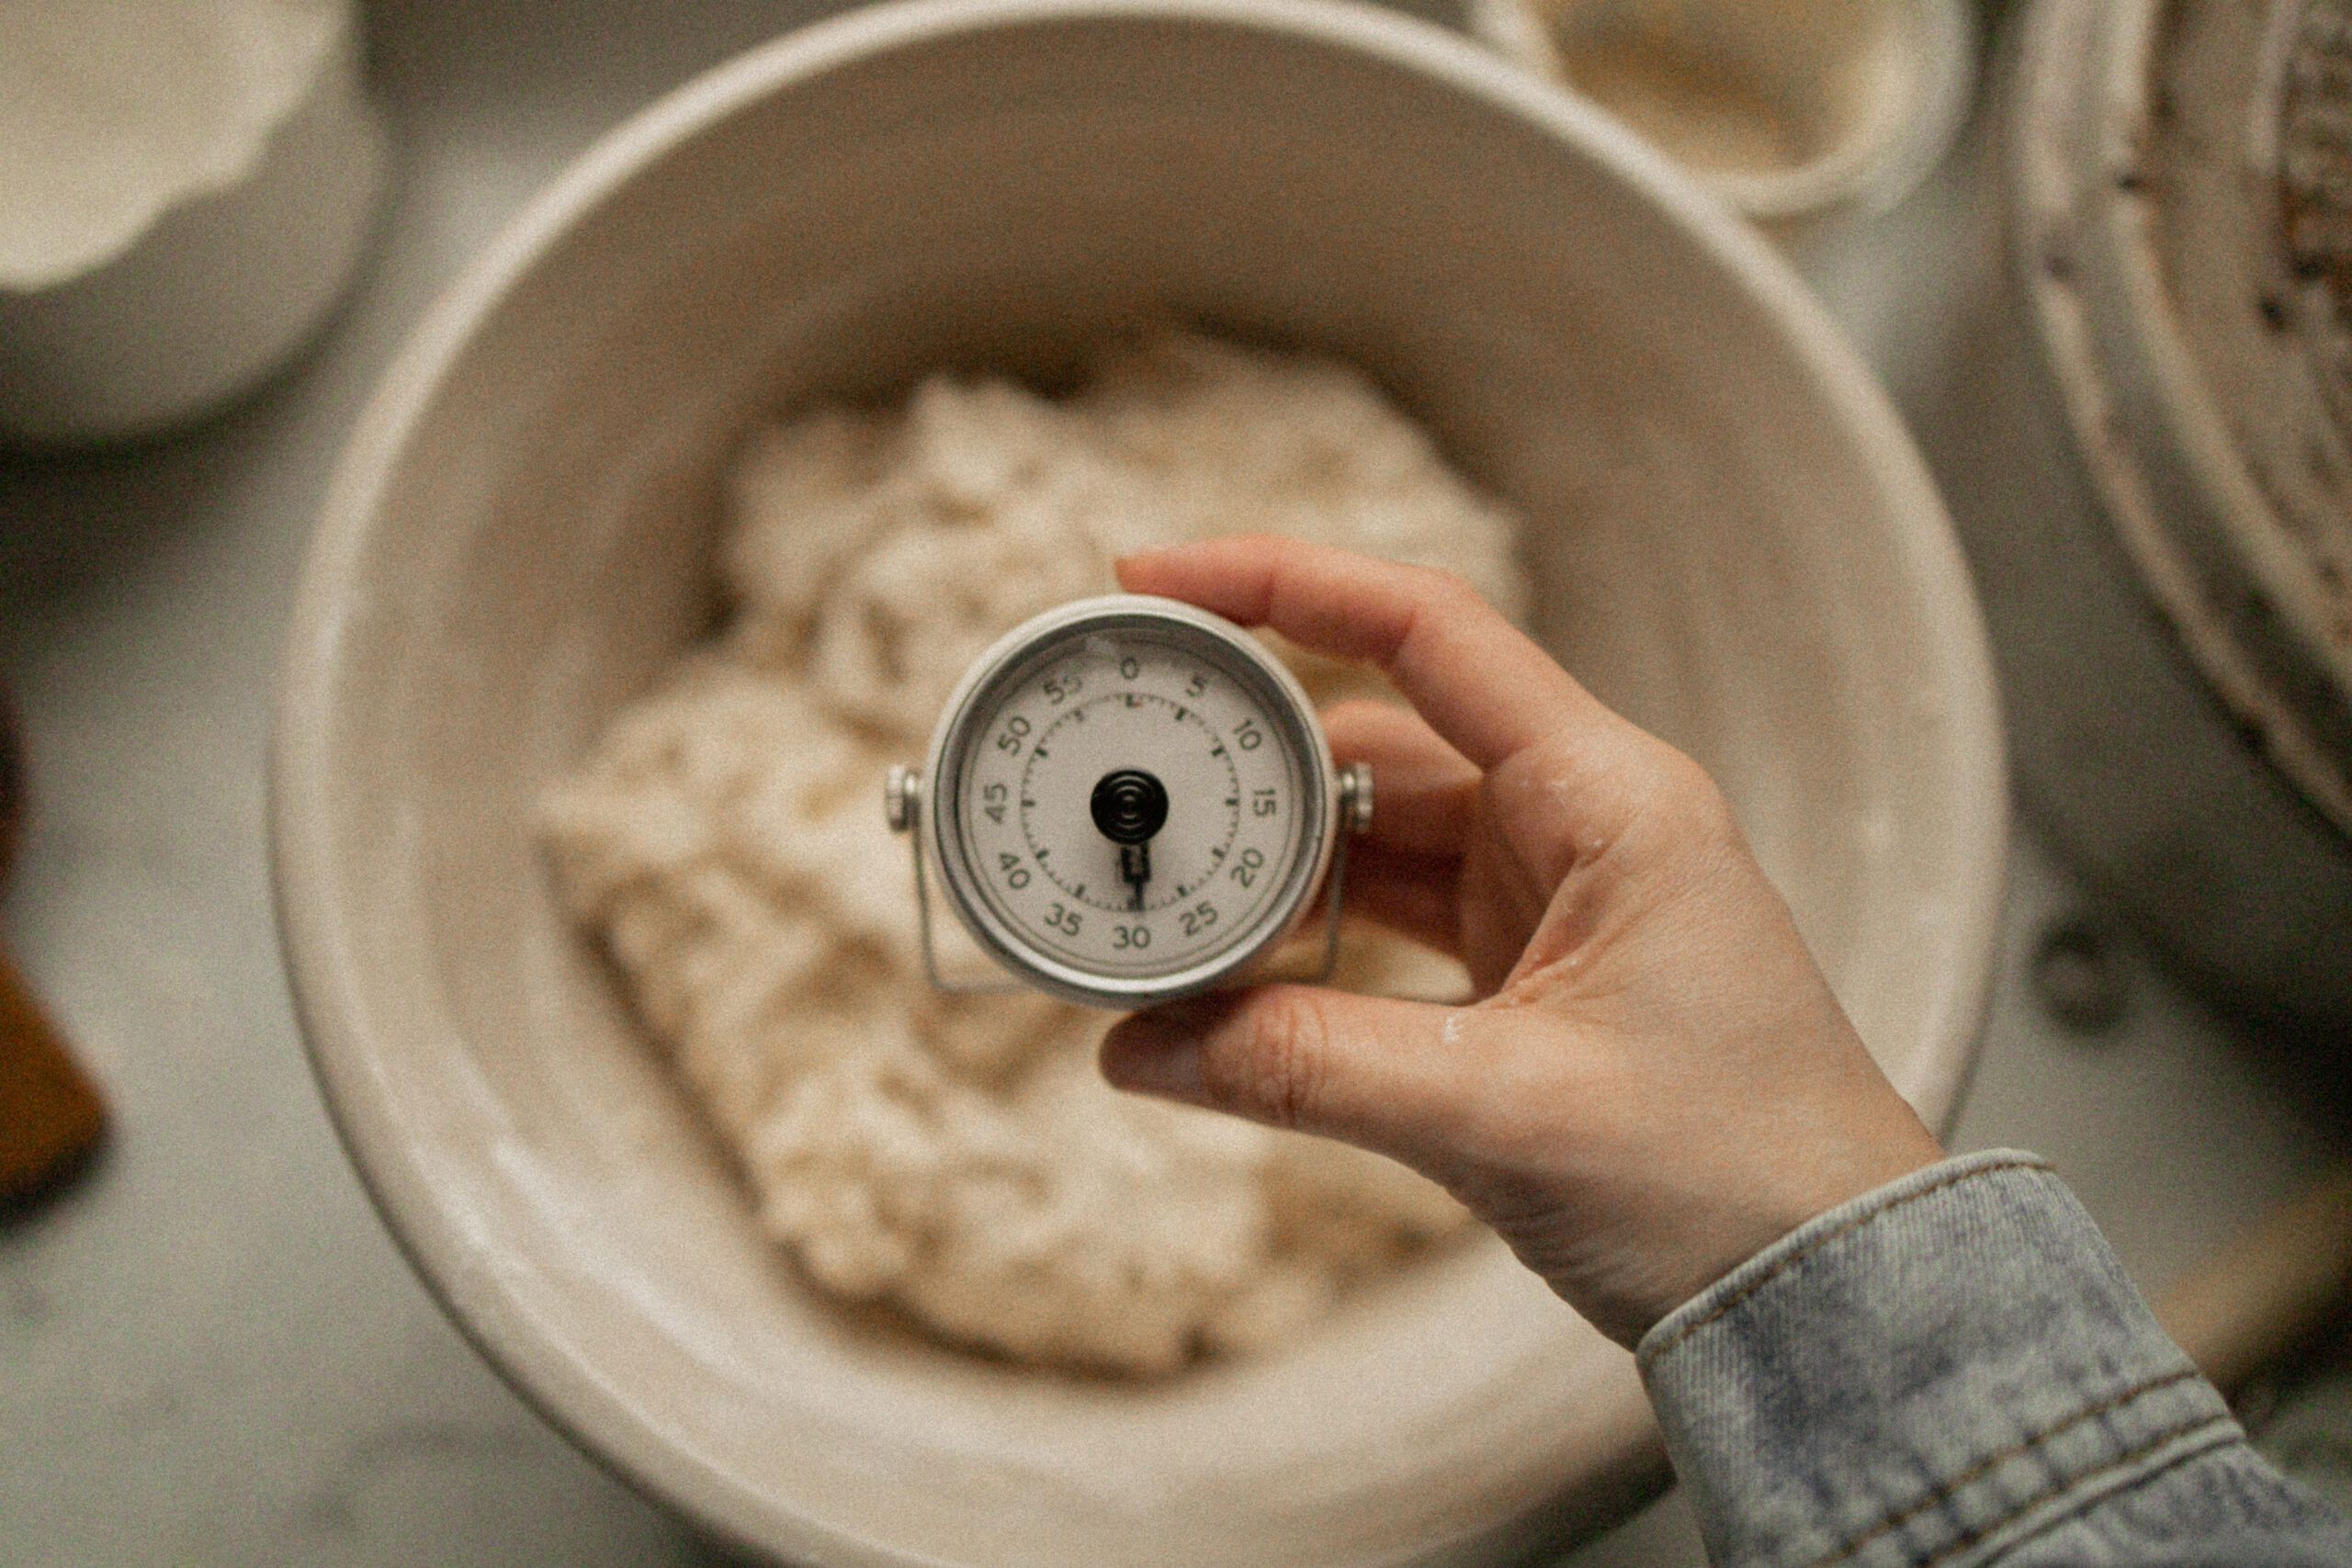
- 9. Set your timer for another 30 minutes, live your life.
- 10. Another set of stretch-and-folds. These are building strength in your dough! I’ve done MANY loaves without doing this because sometimes life is just busy, but it absolutely makes a huge difference! Don’t skimp it if you can avoid it, but if life is life, then just go with it. It’ll be okay 🙂

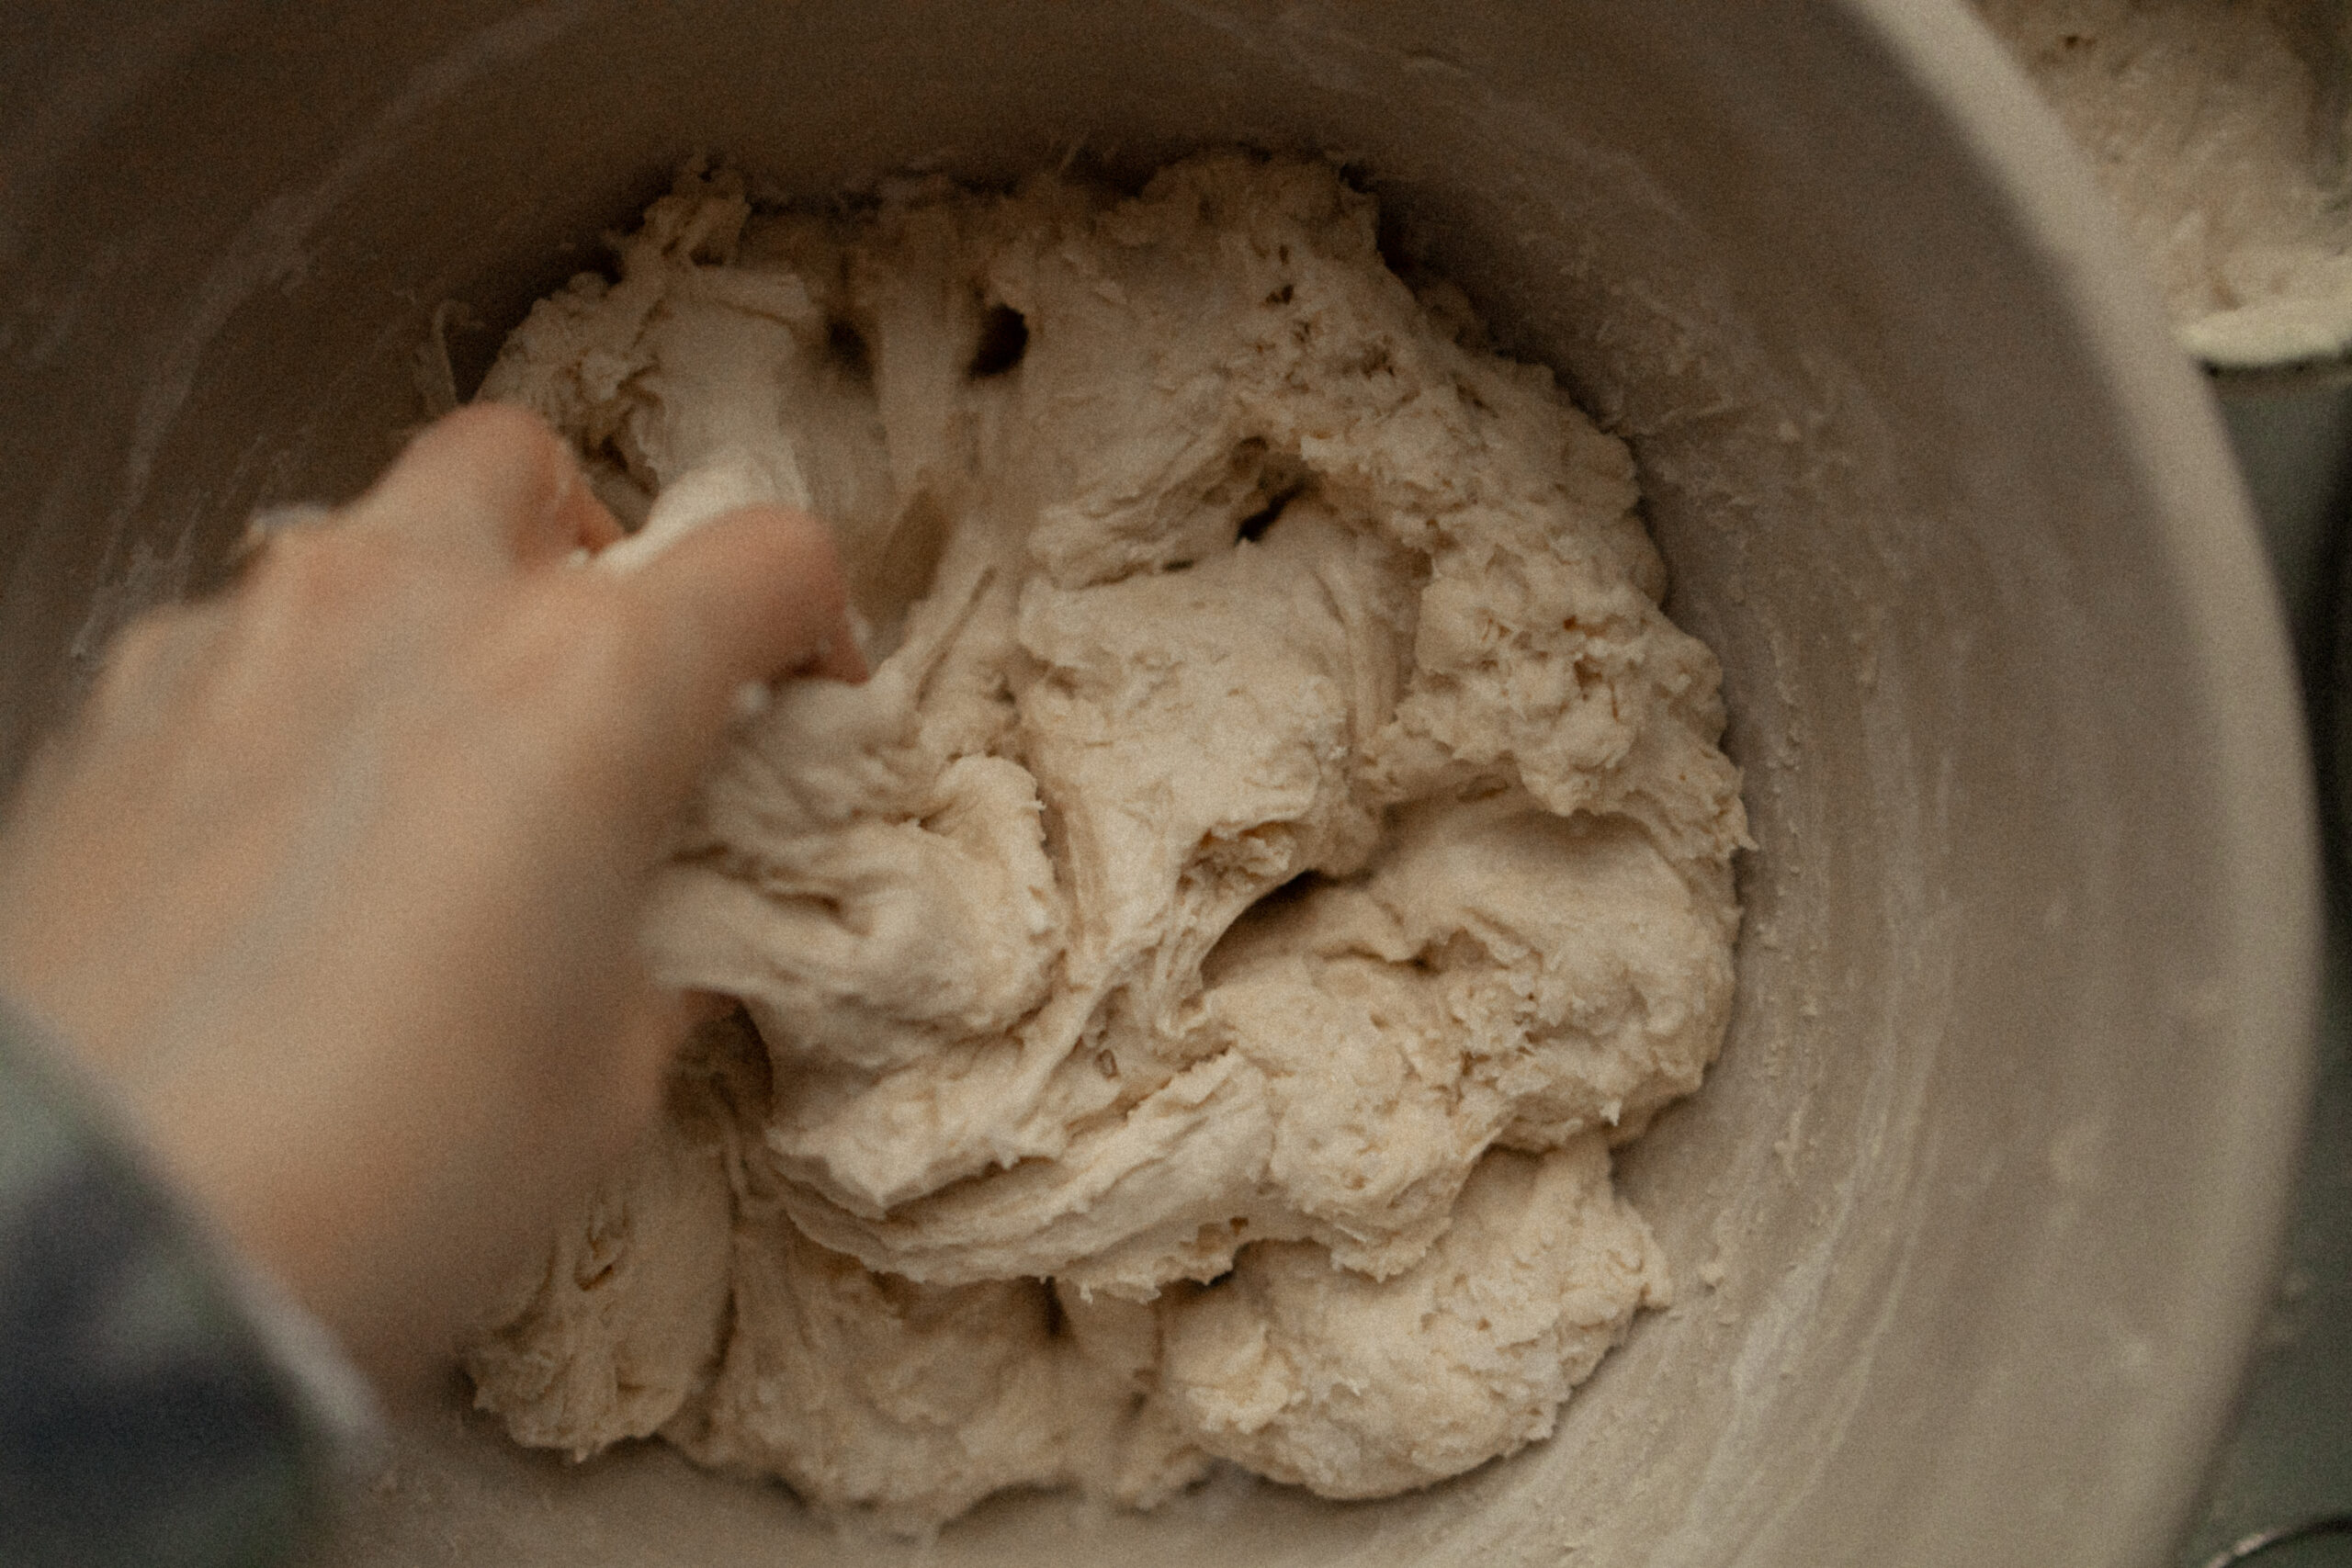
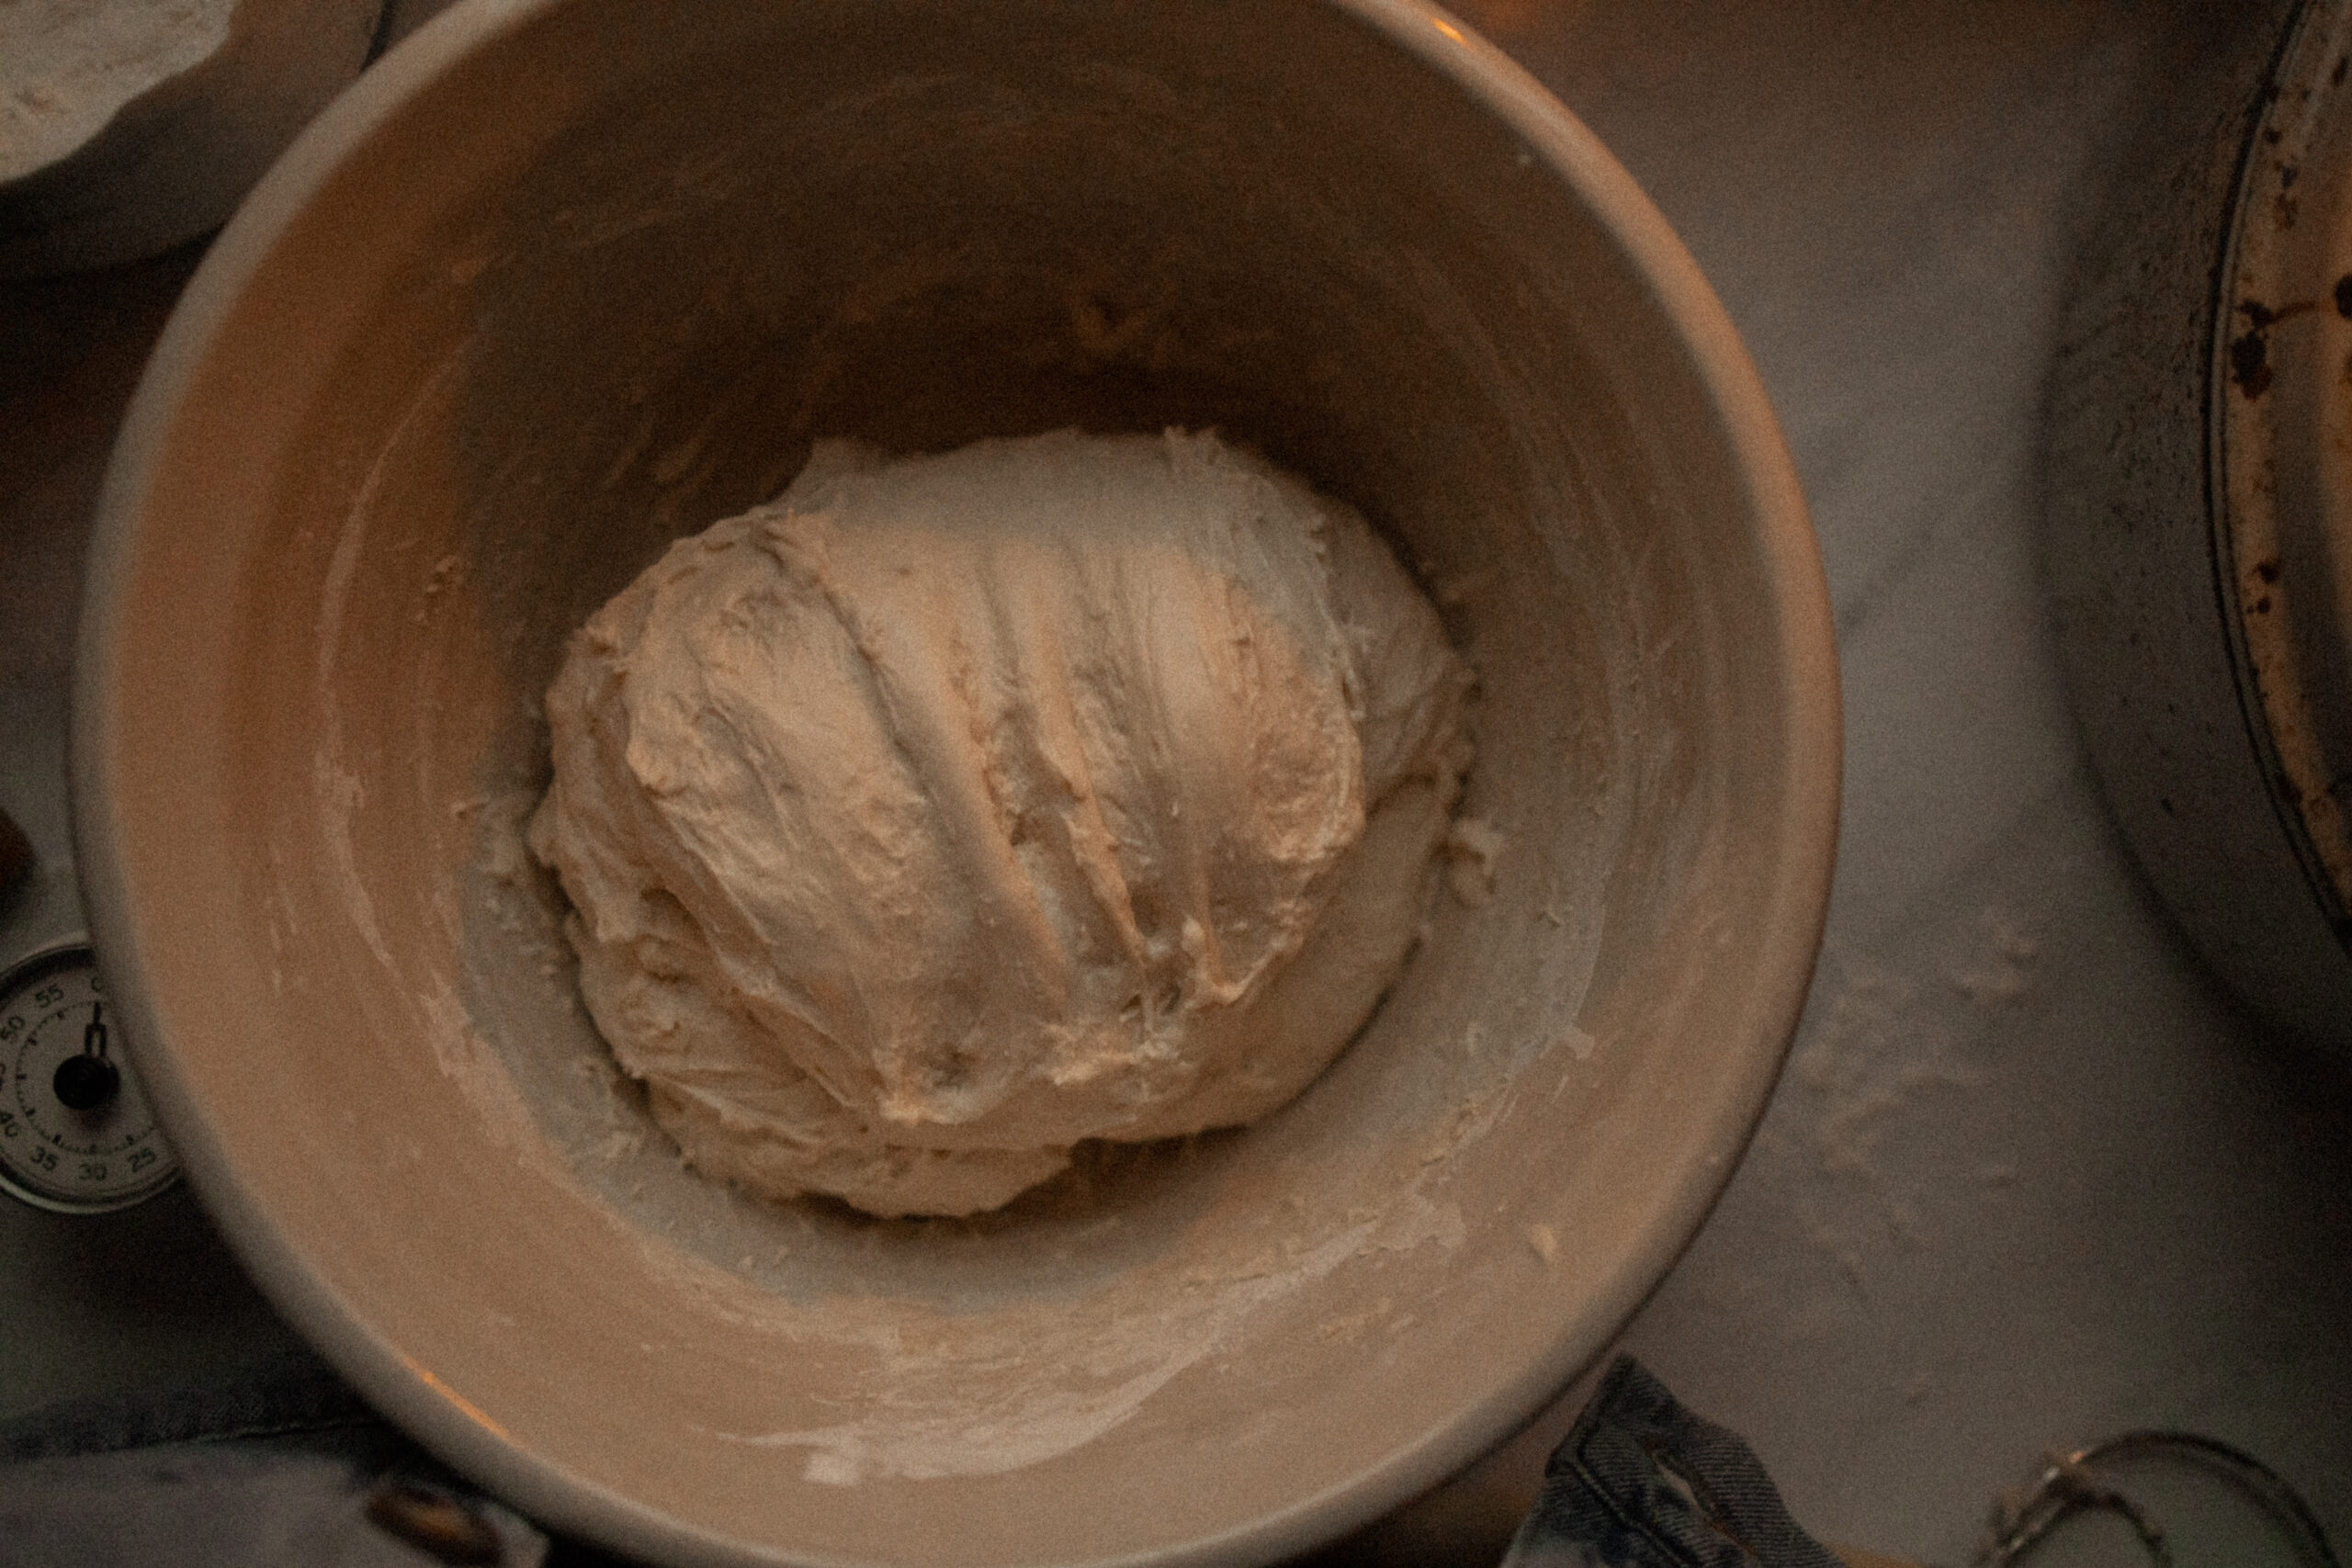
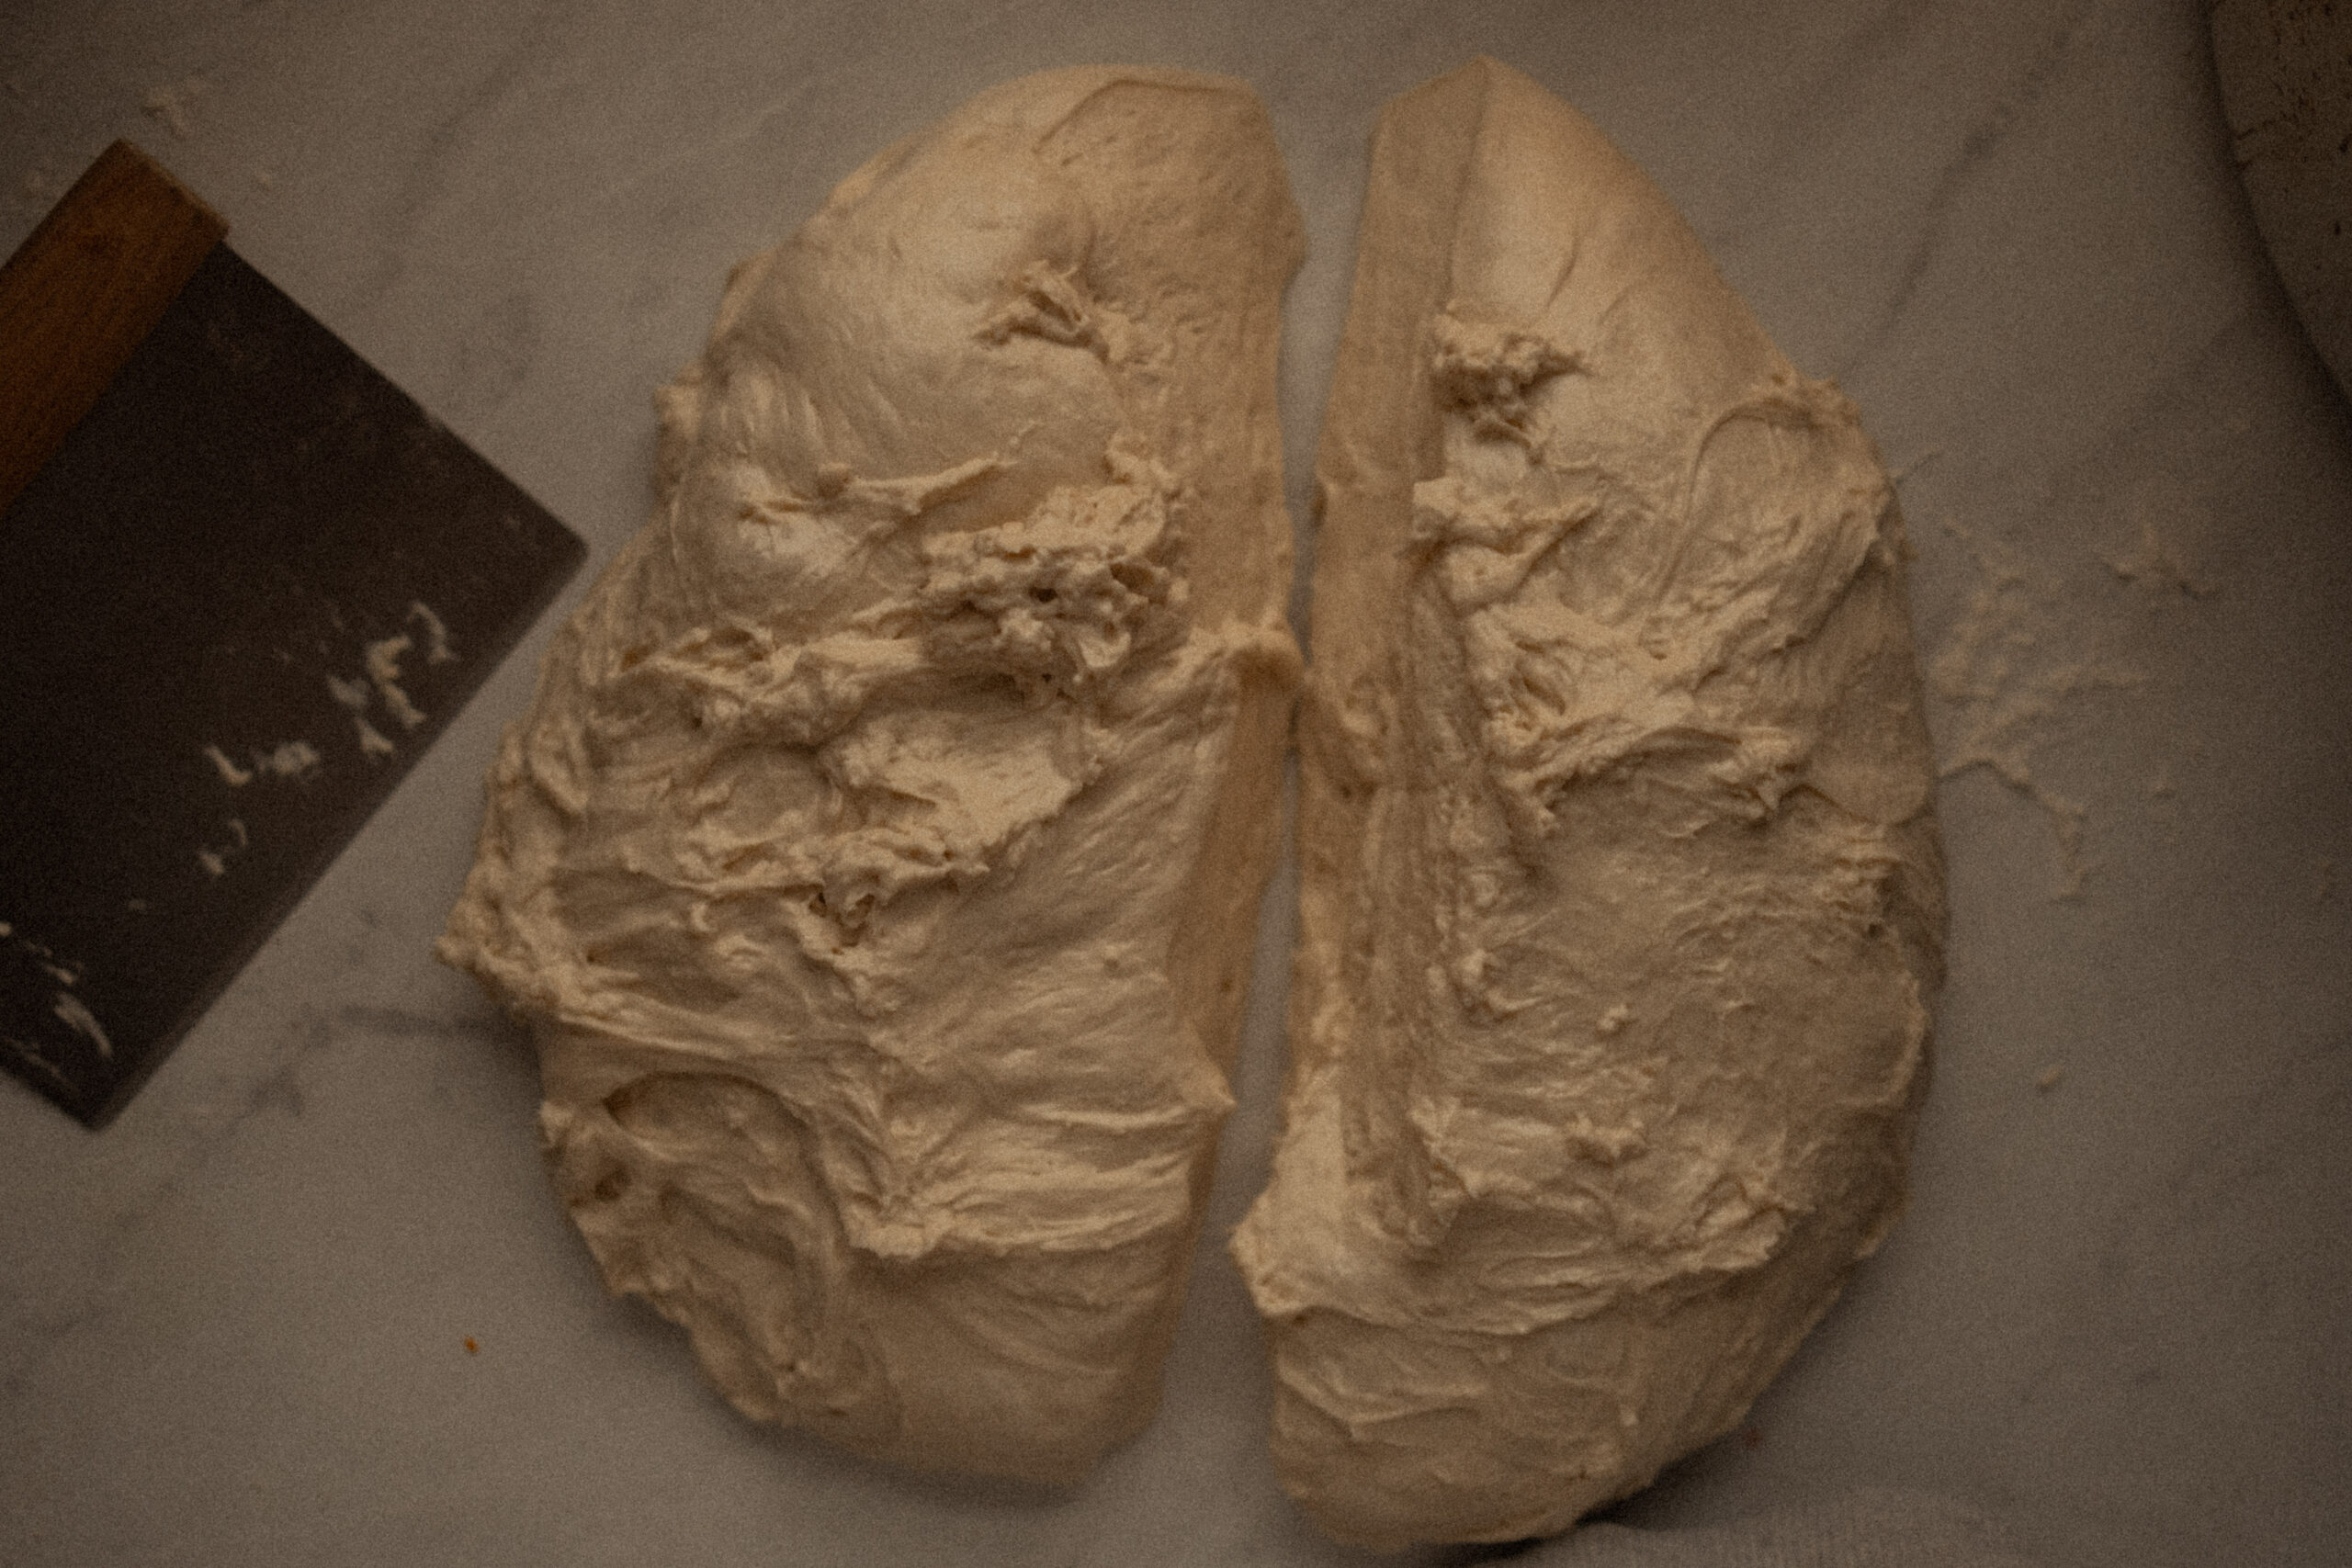
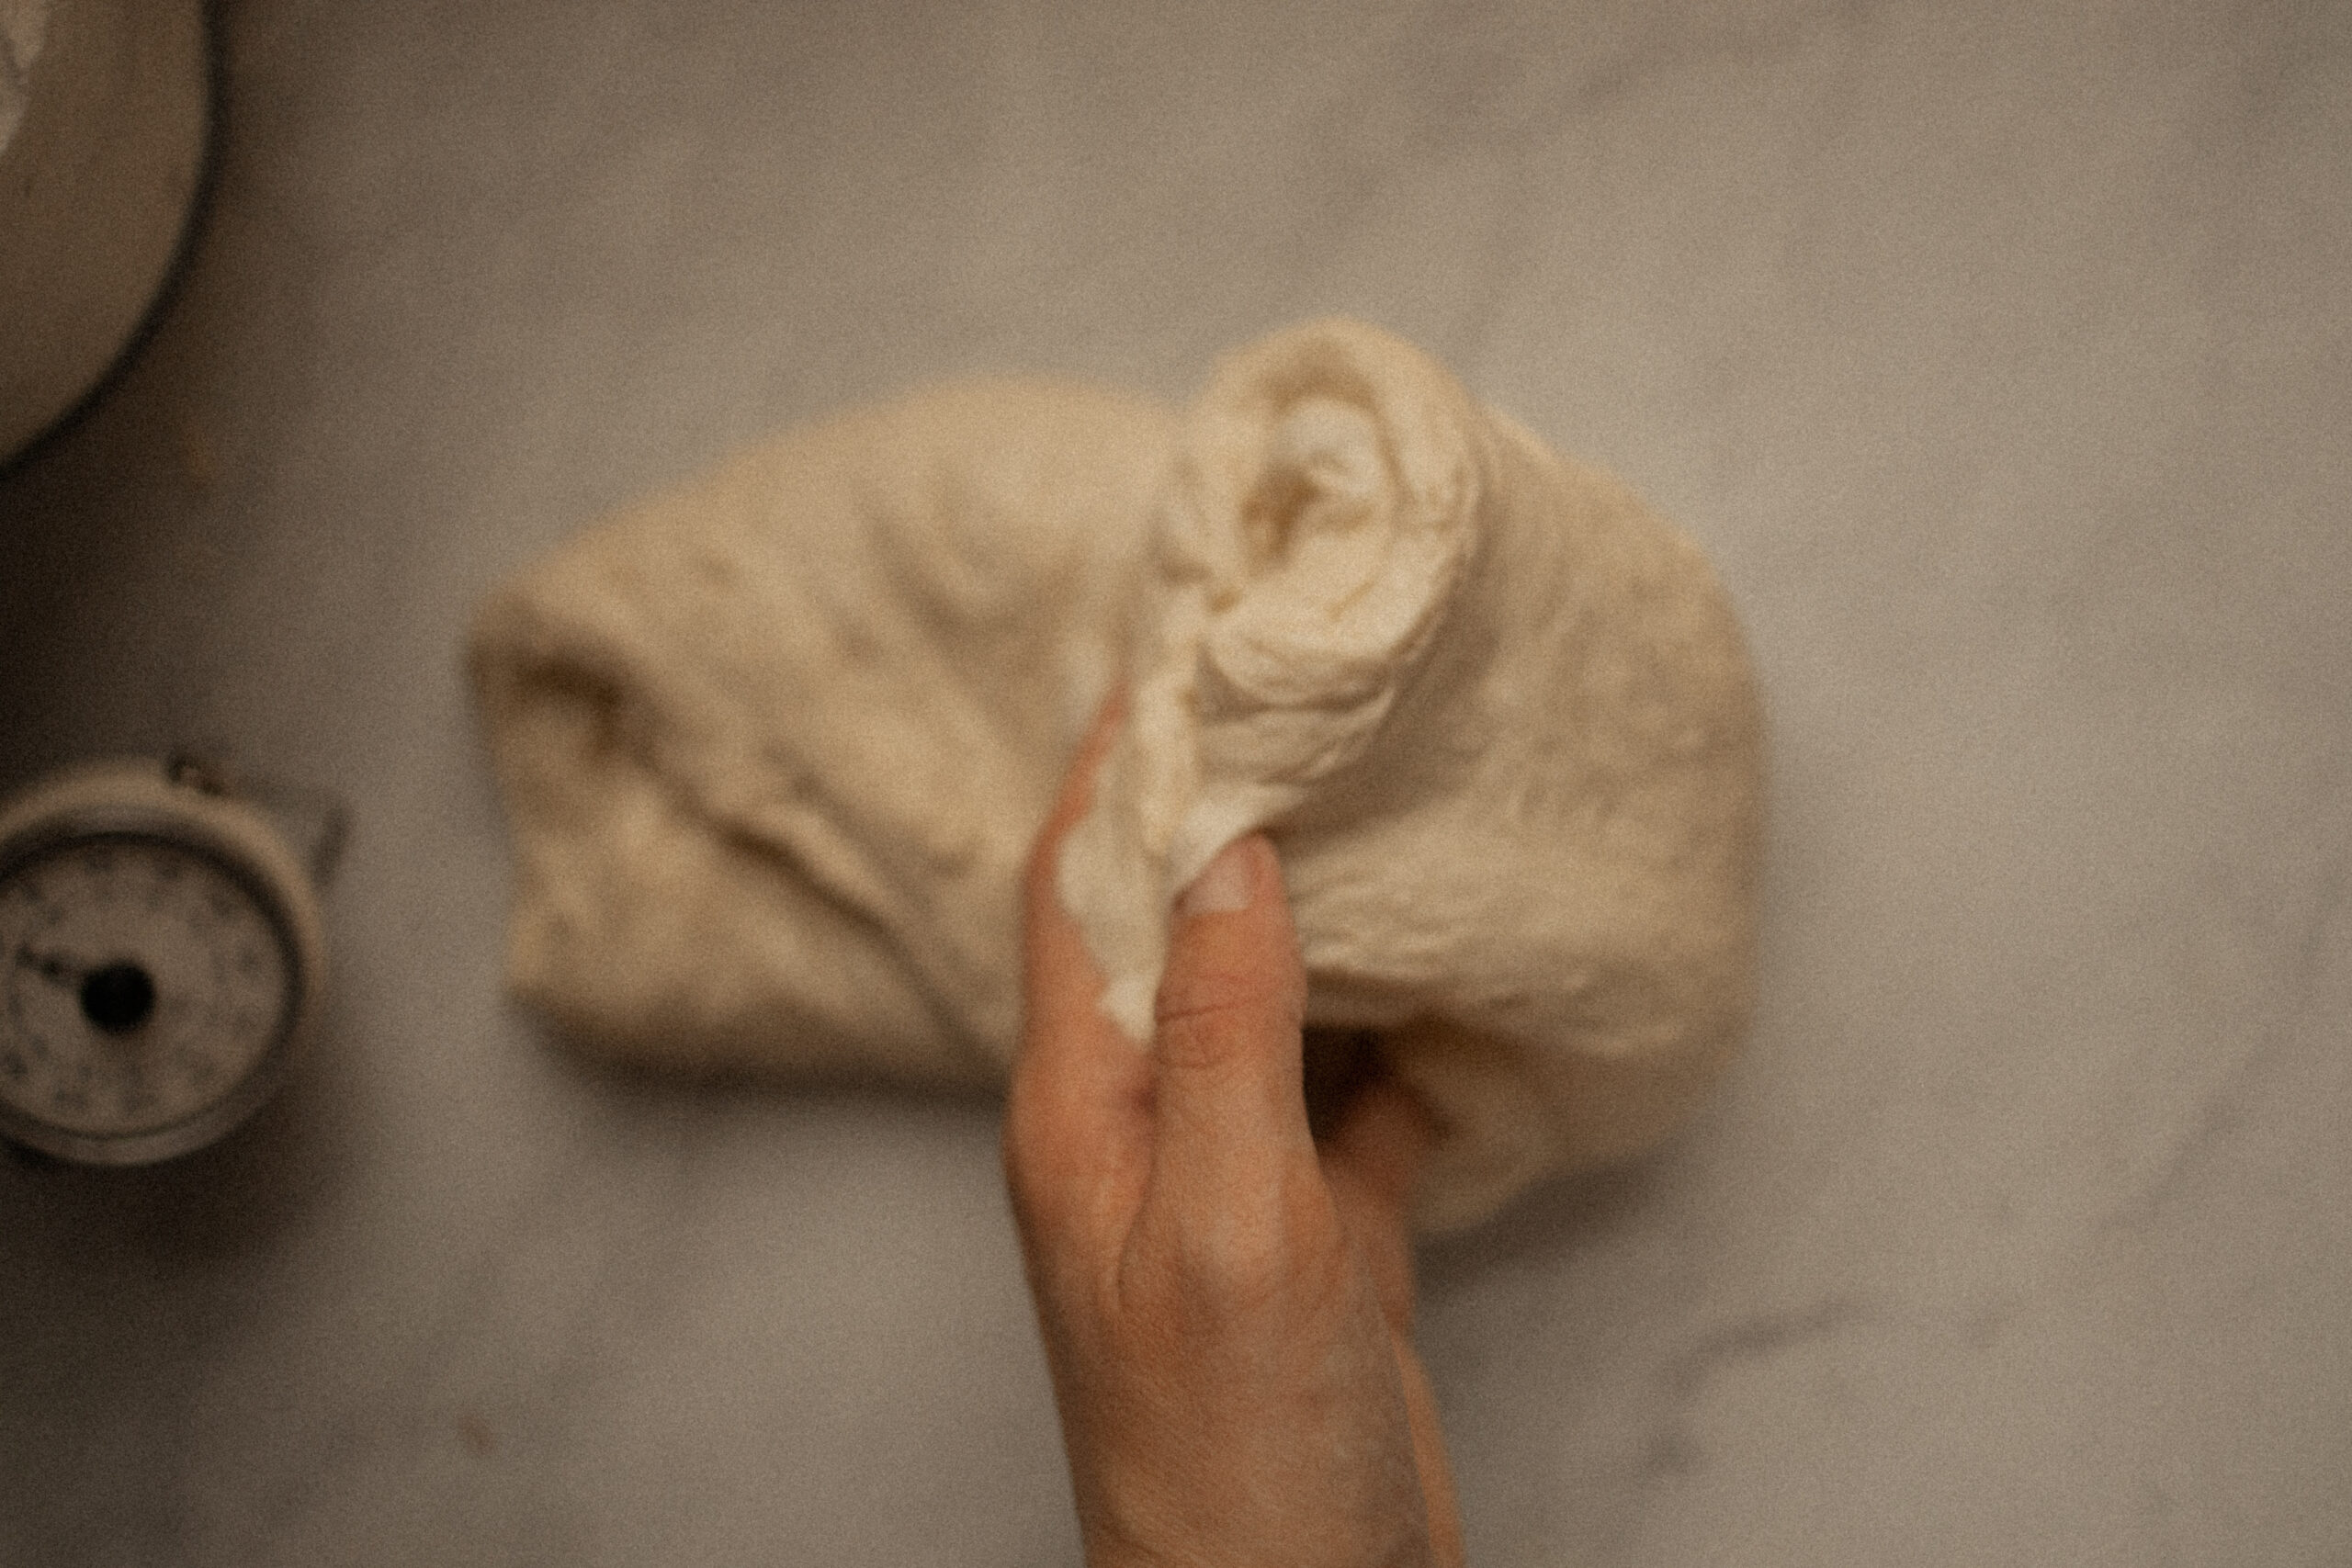
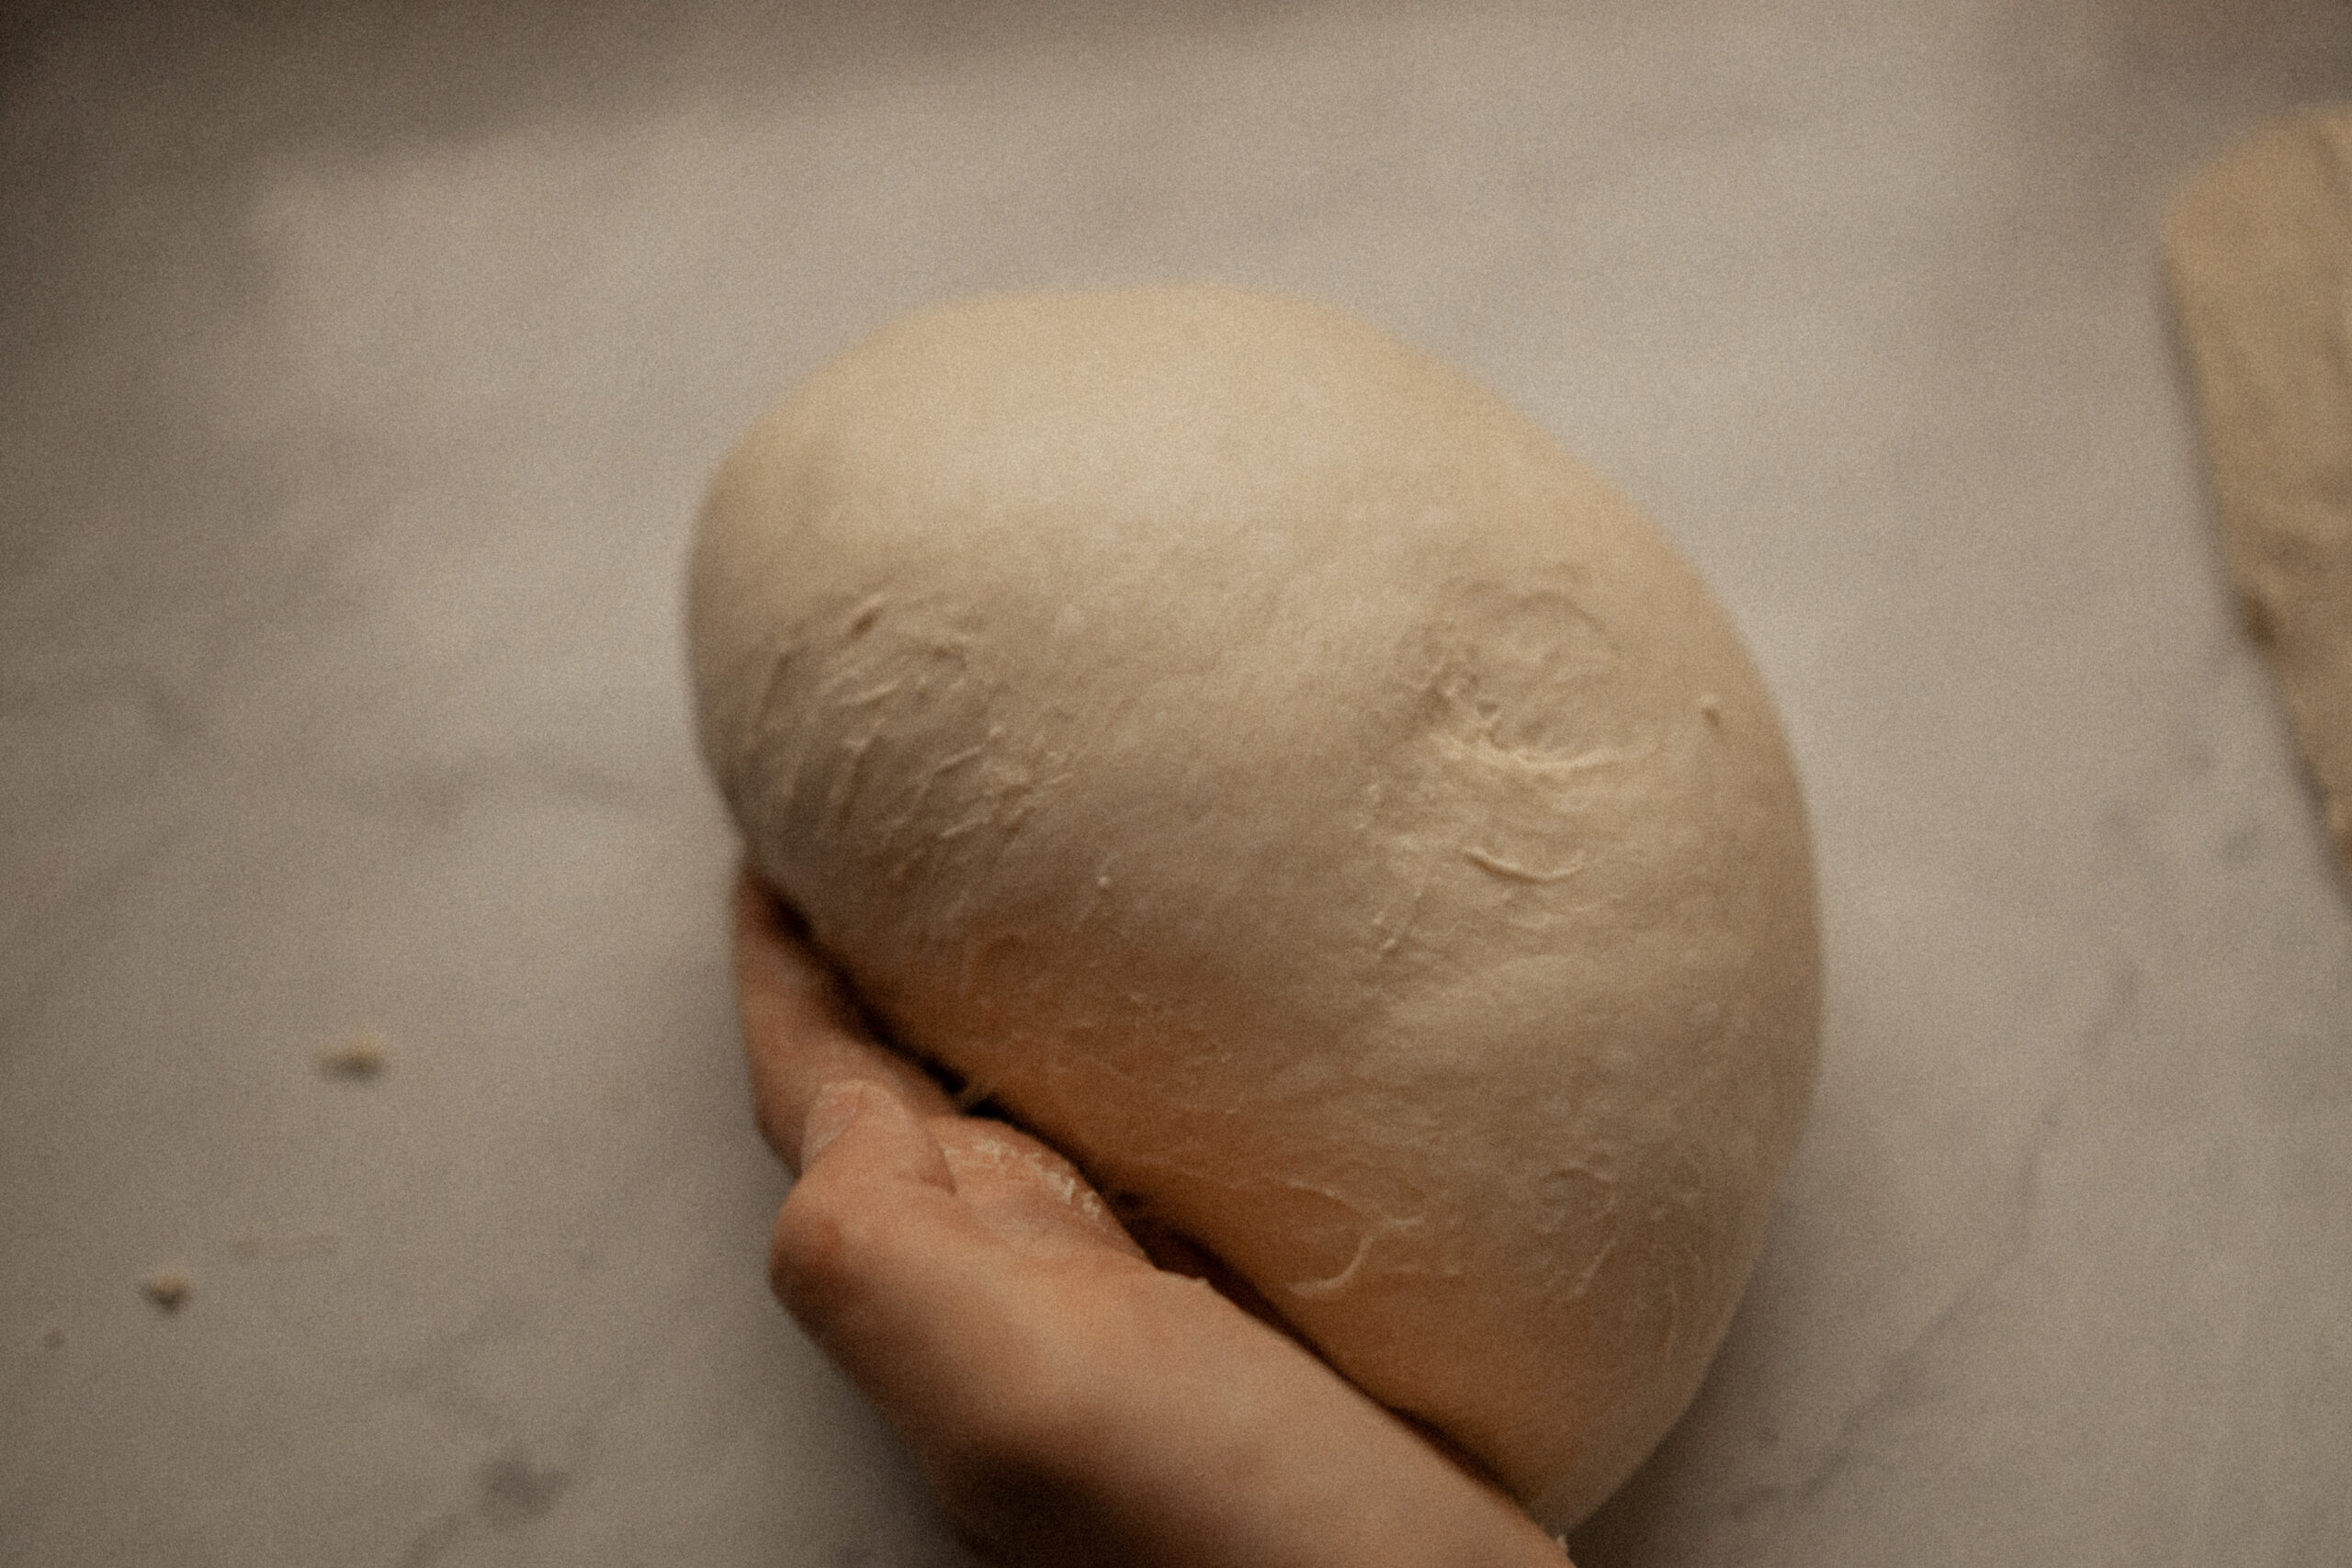
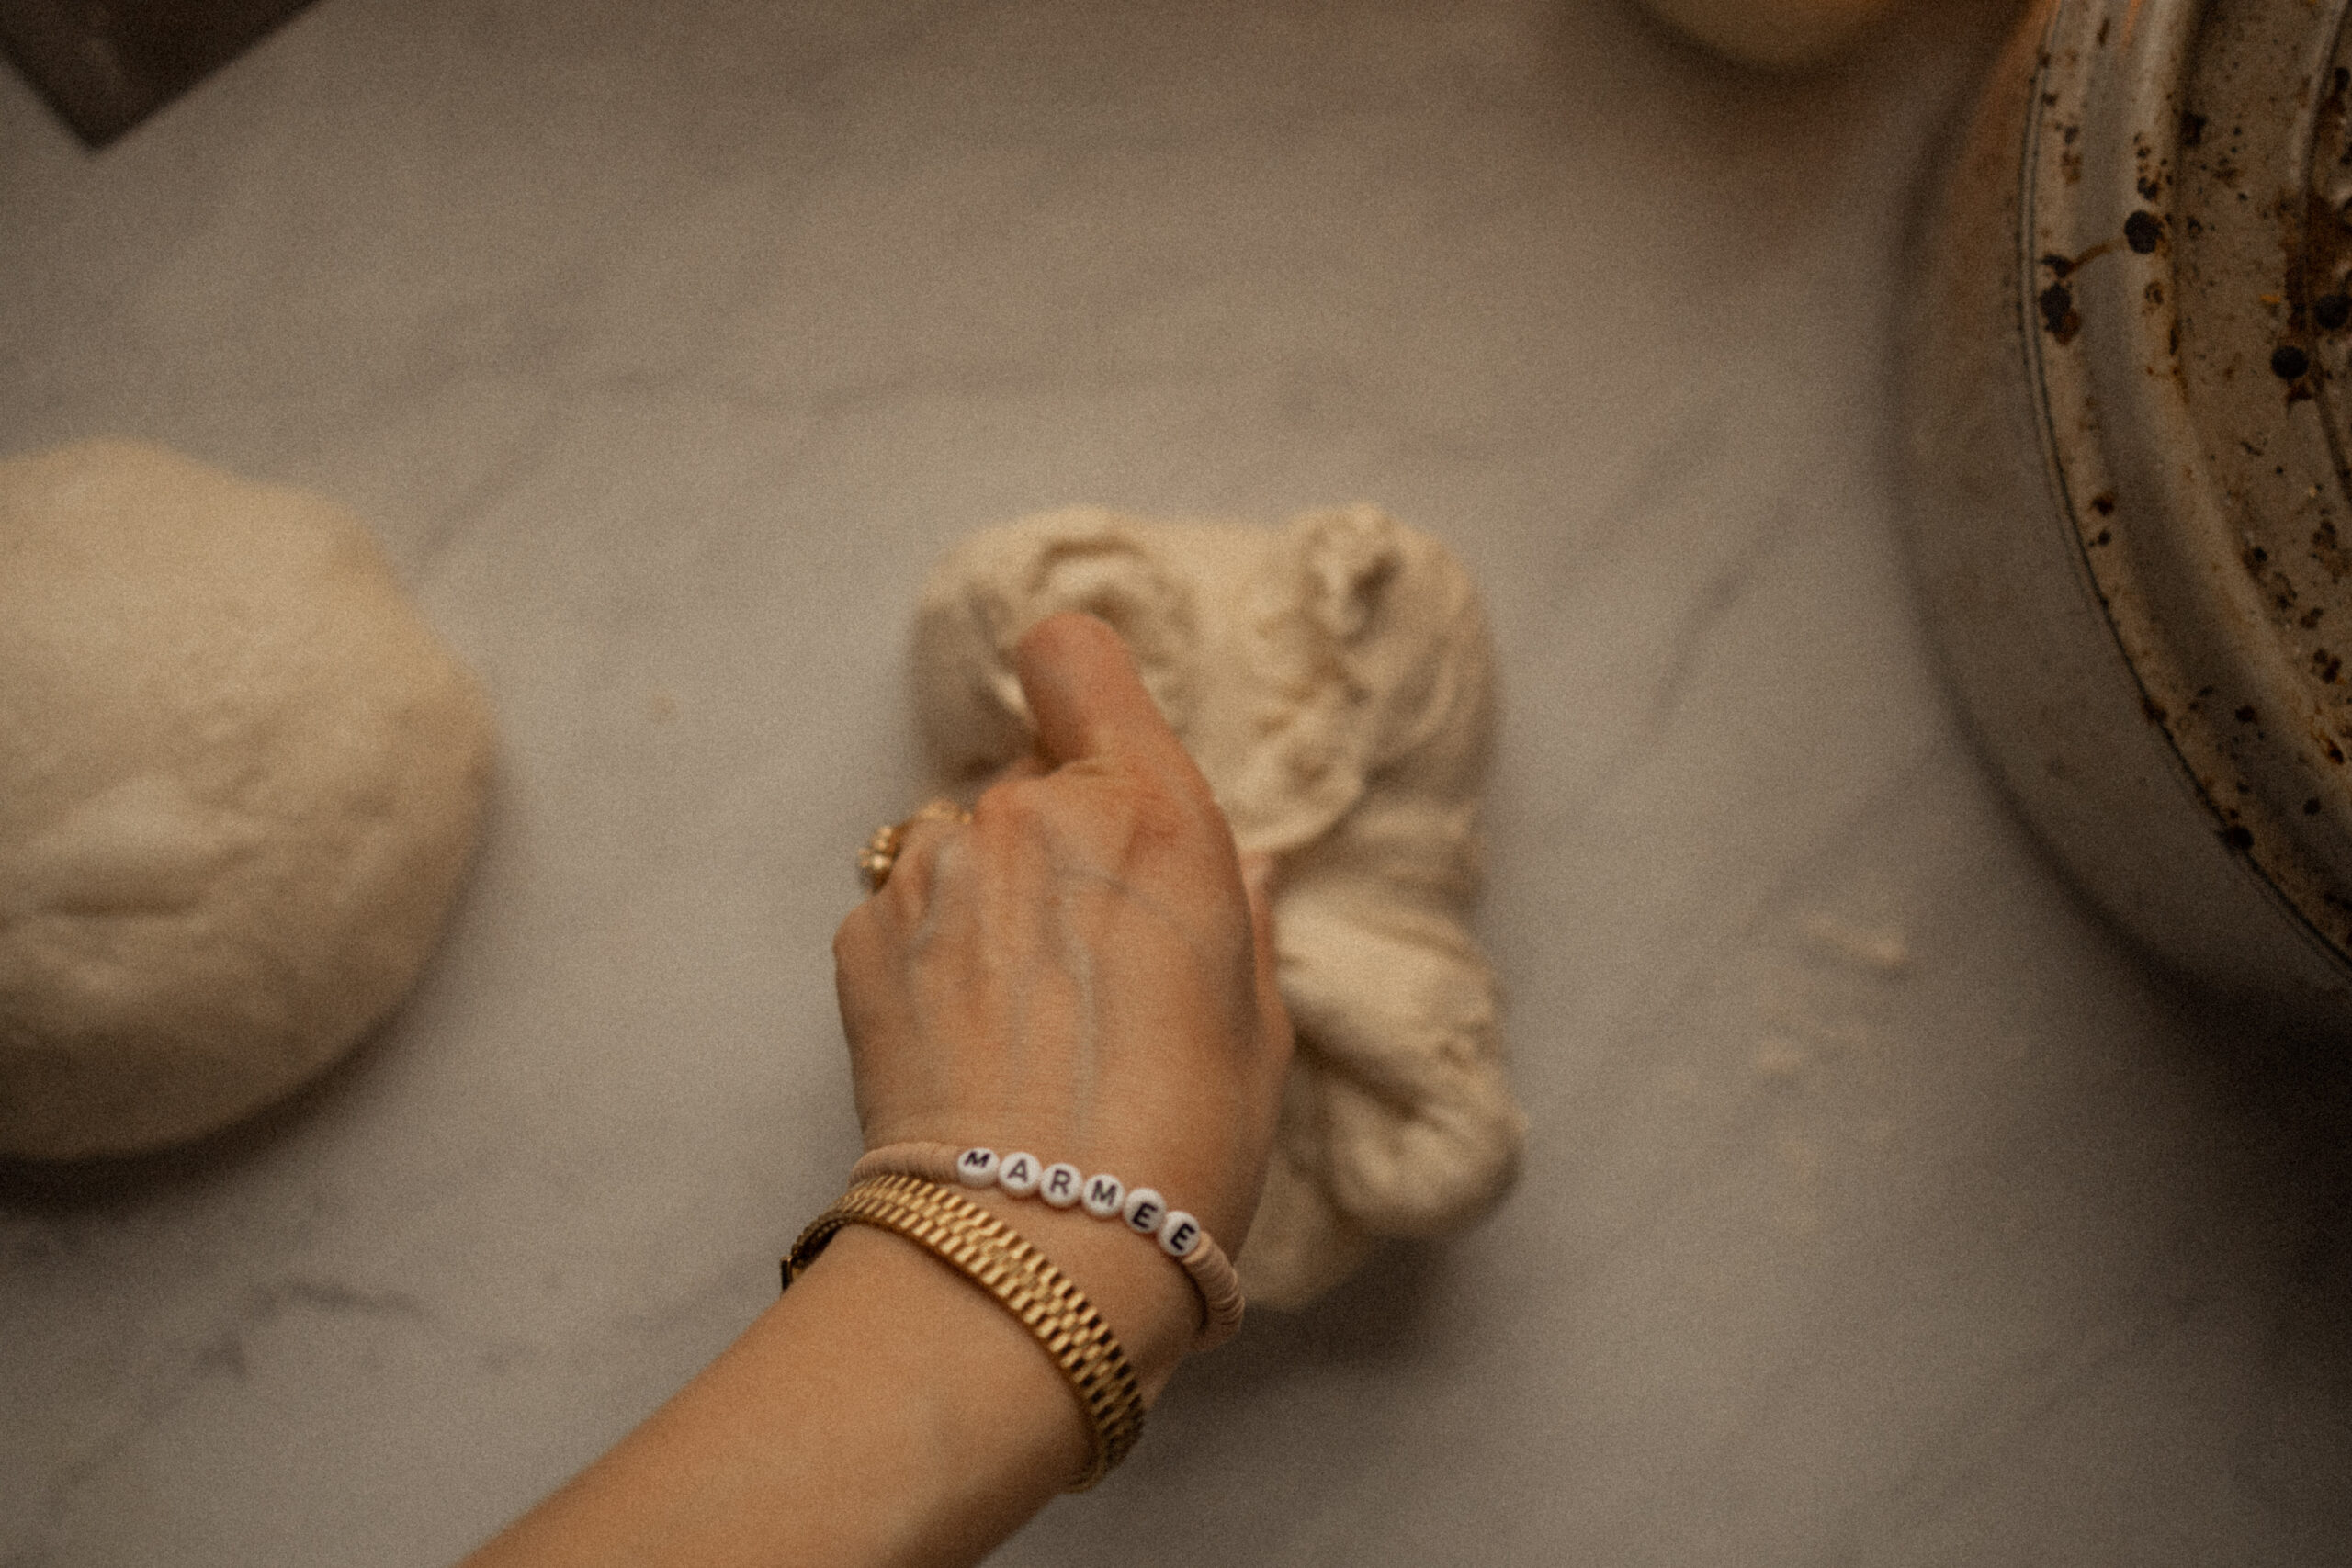
Going from pinching in the salt, to stretch and folds here. You’ll begin to lift and pull your dough, sort of scraping the side off, then stretching it upward, and folding it over. Do this in quarters by doing a stretch, fold, and turning your bowl, until it’s folded into a ball.
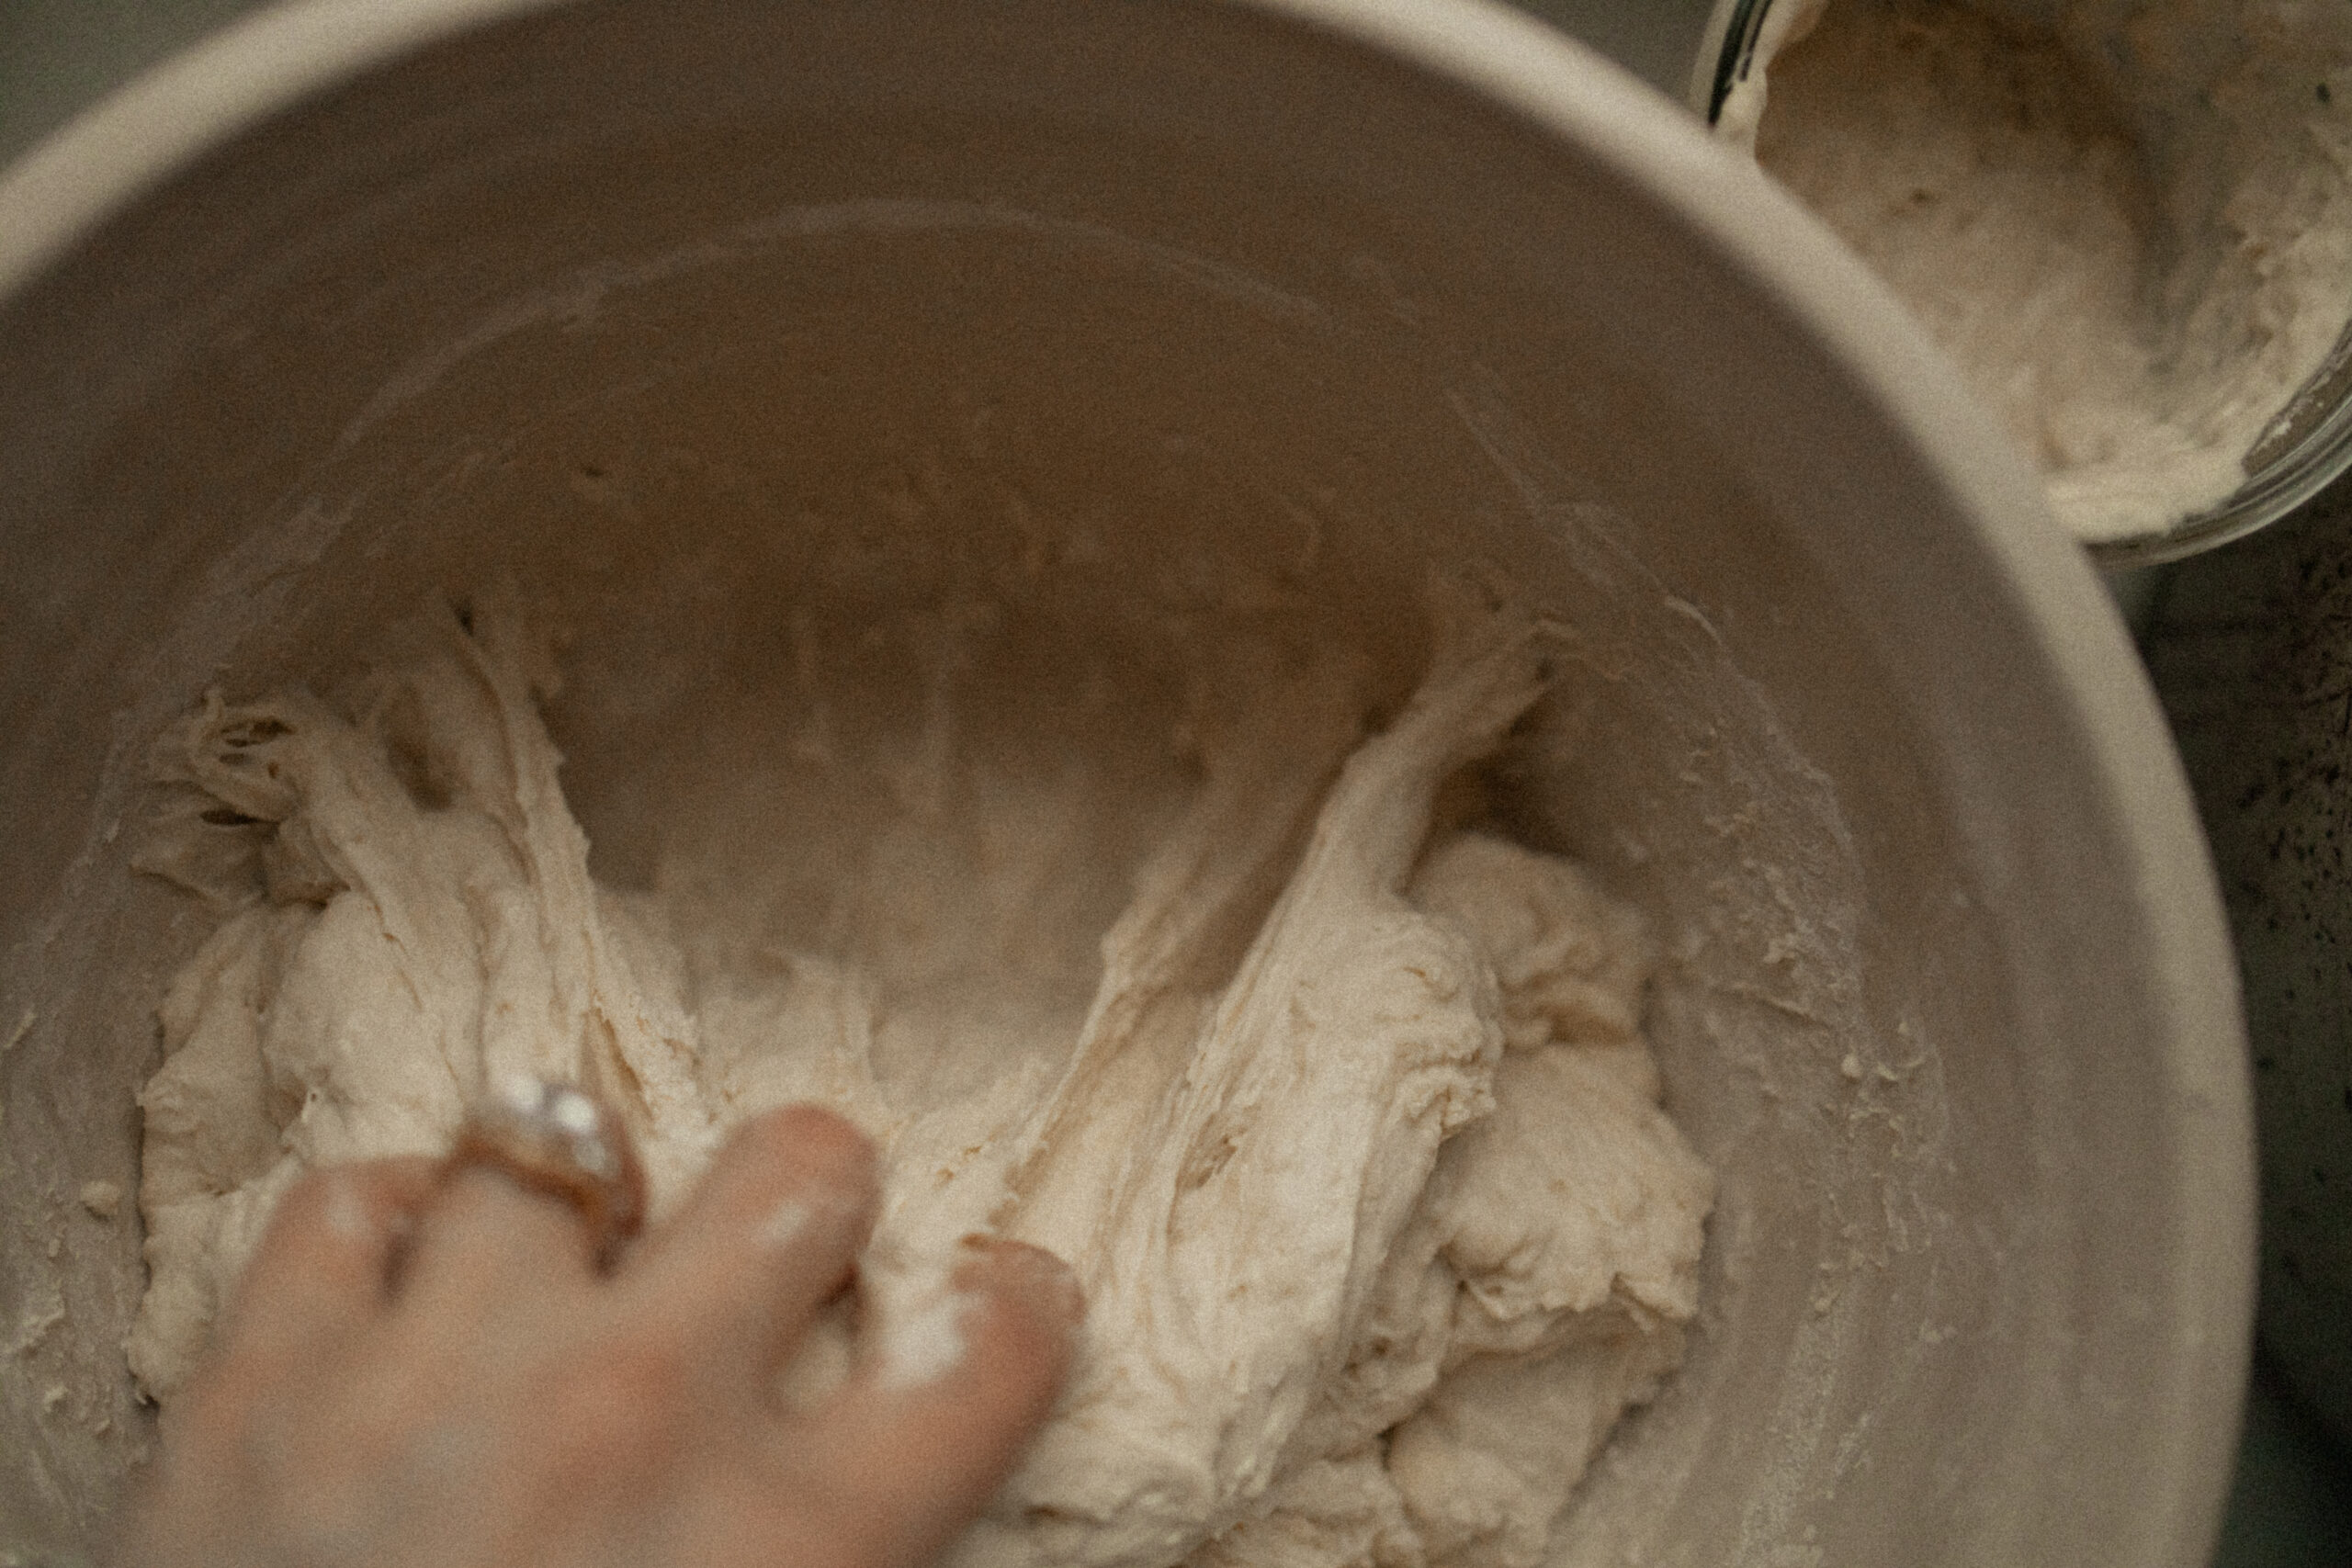
In these photos I’m only doing one handed because I’m also taking the photos with my camera in the other hand – BUT – it’s really best to use both hands and window-pane the dough a bit. More of a squared-out stretch rather than only pulling up. I hope that makes sense 😉 The photo below is after the first stretch-and-fold. It’s a bit more rough. By the second and third, you’ll see how much smoother, softer, and stronger your dough becomes in just an hour and a half.
Check out my favorite cozy candles! You can use code MARY20 to save on your order.
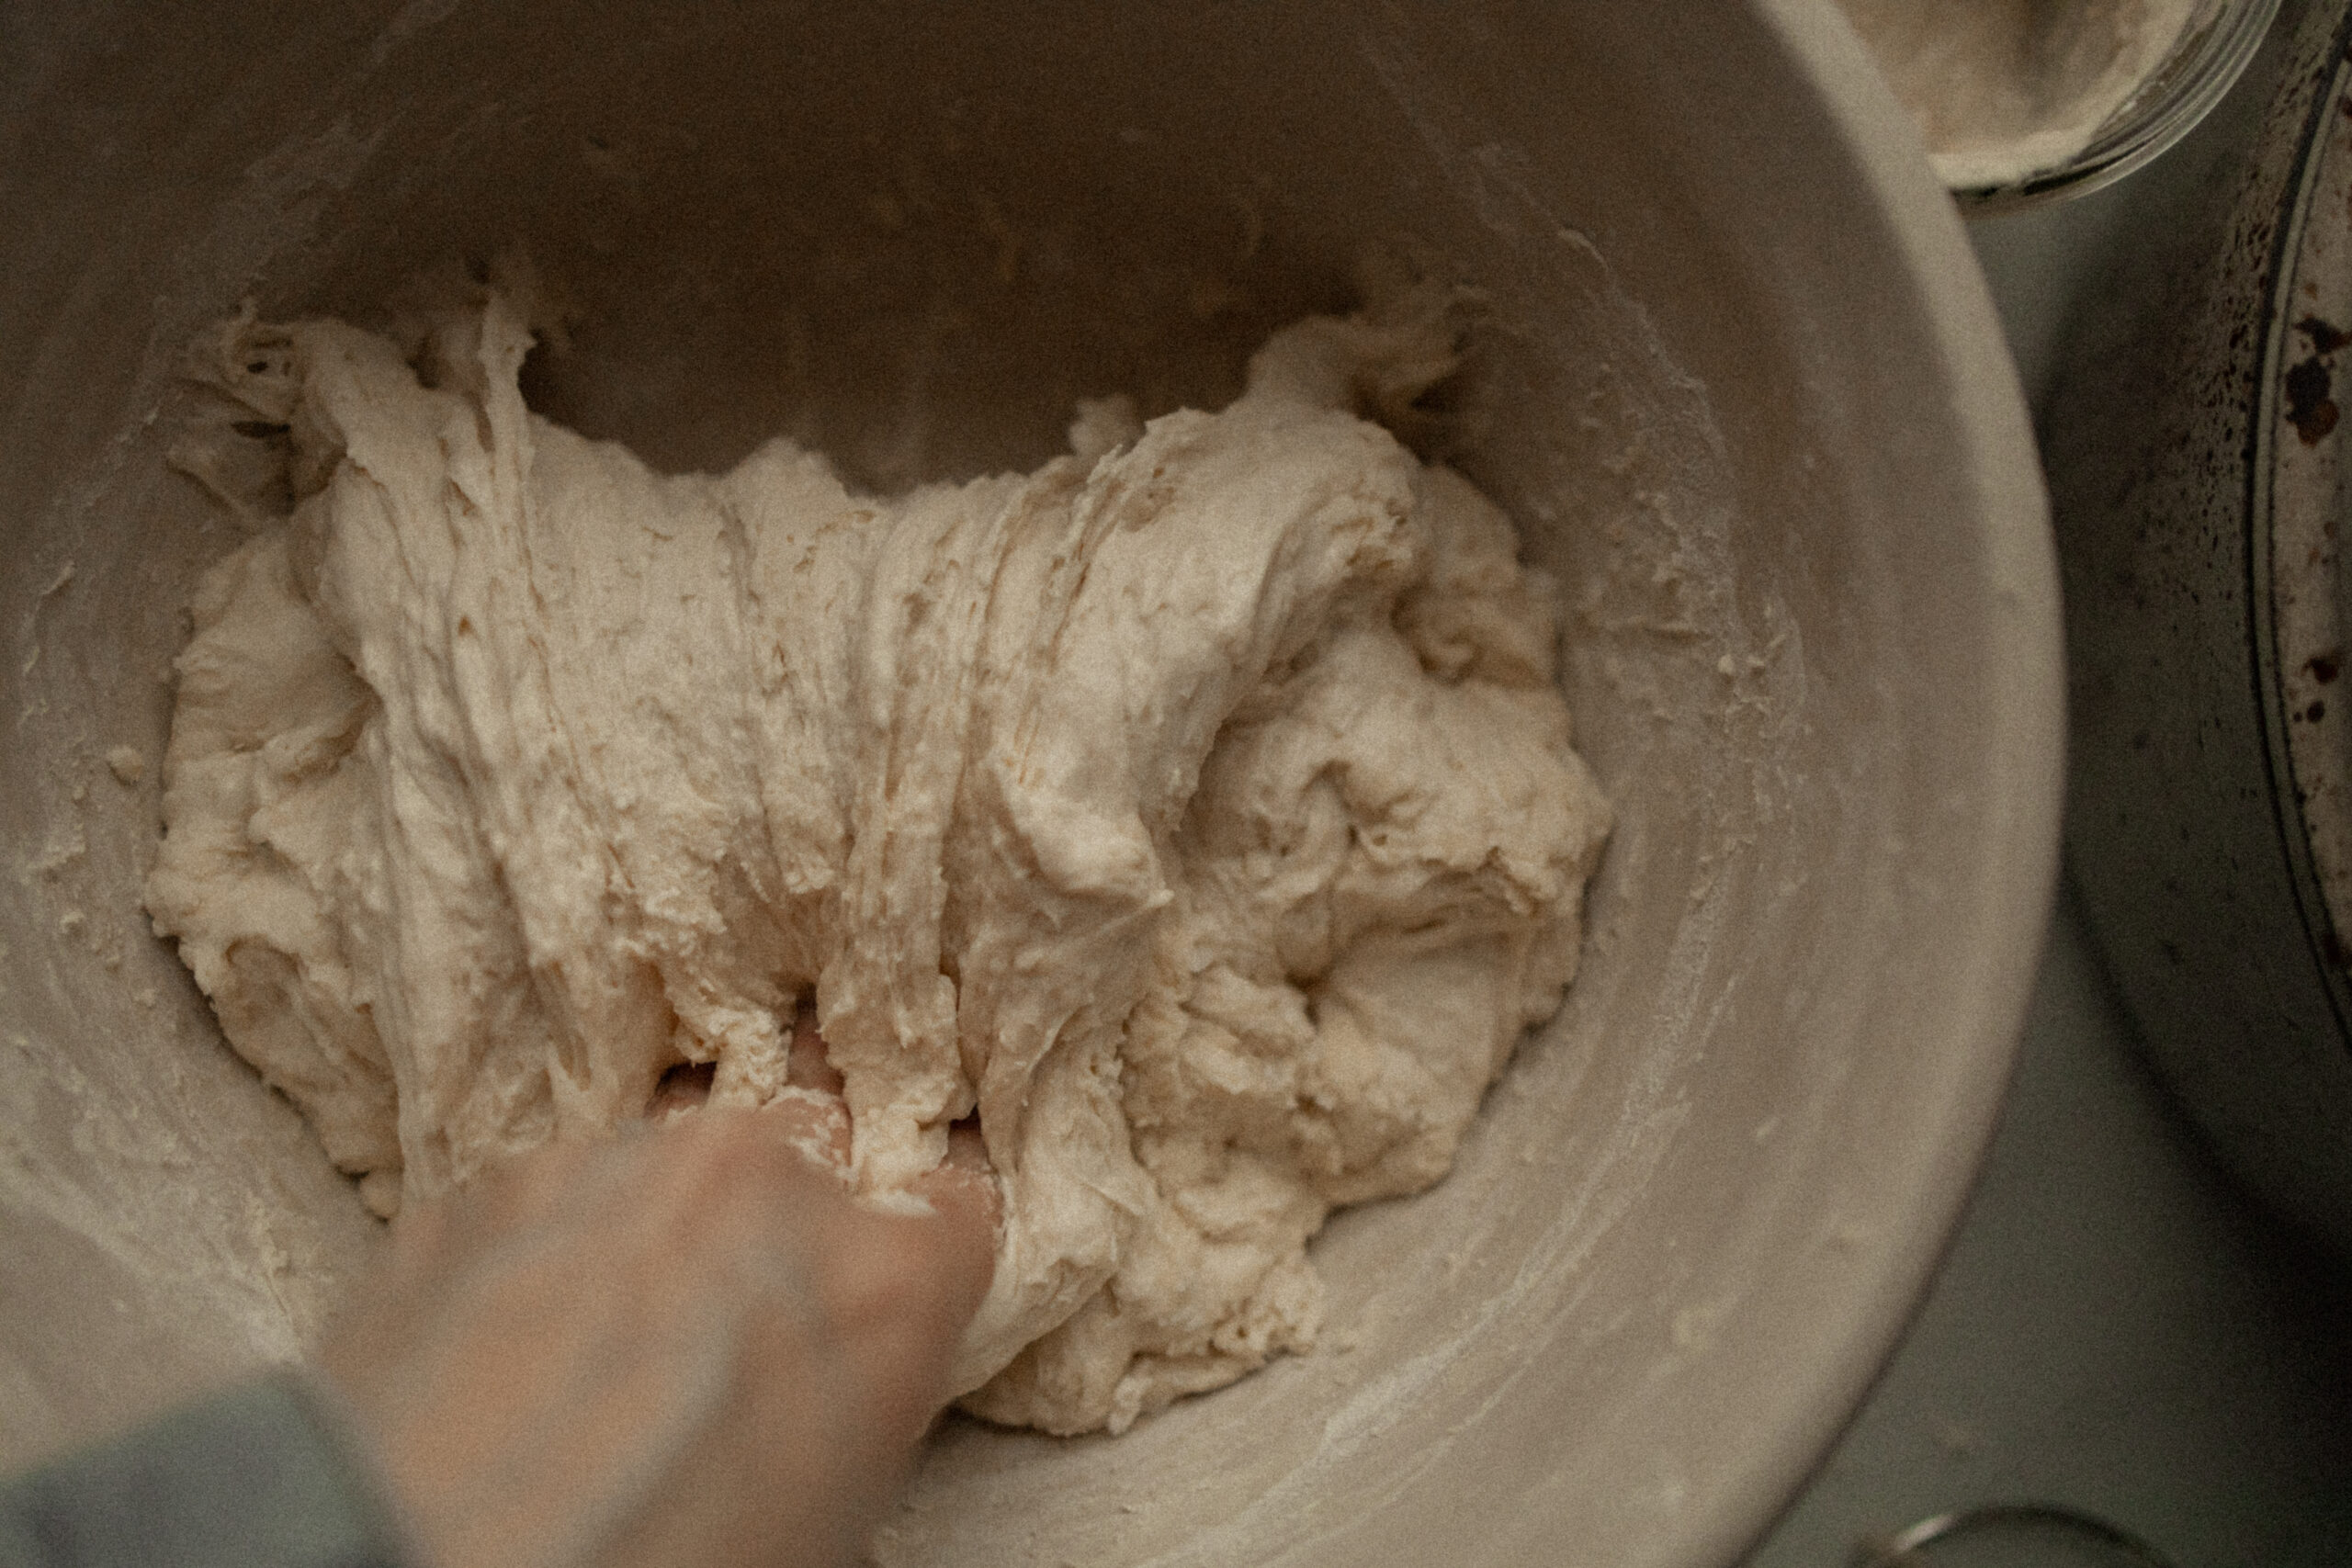
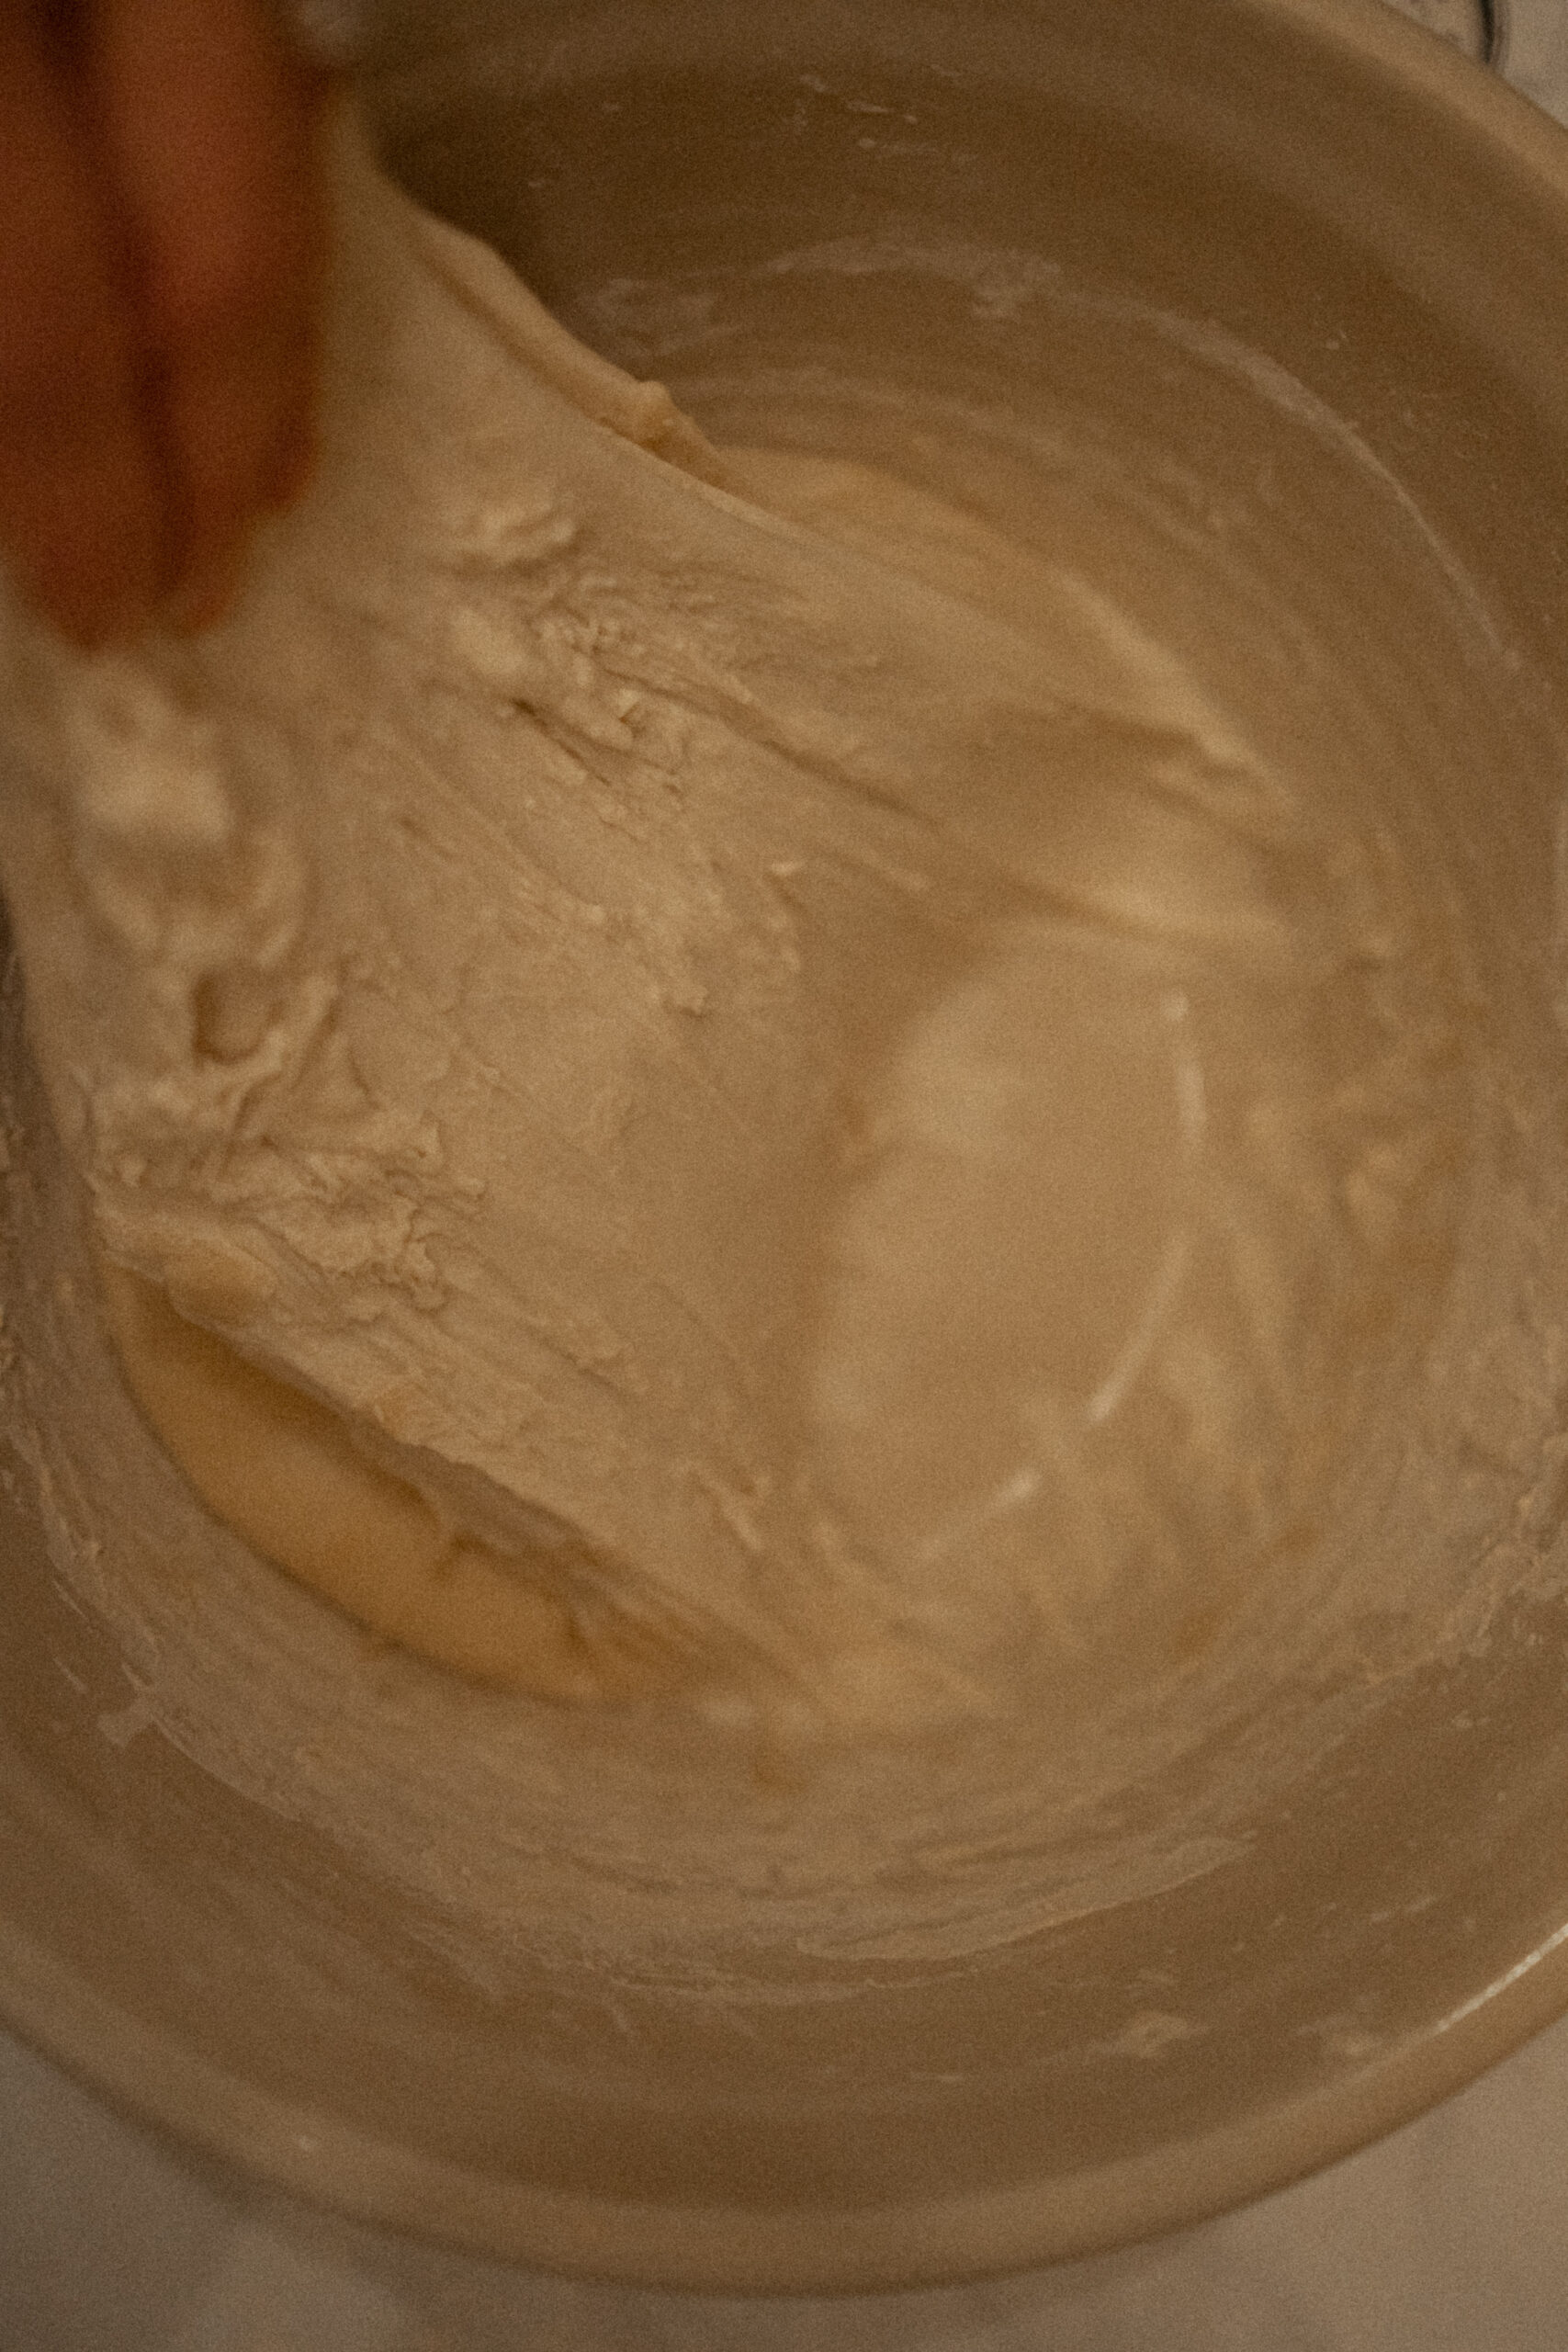
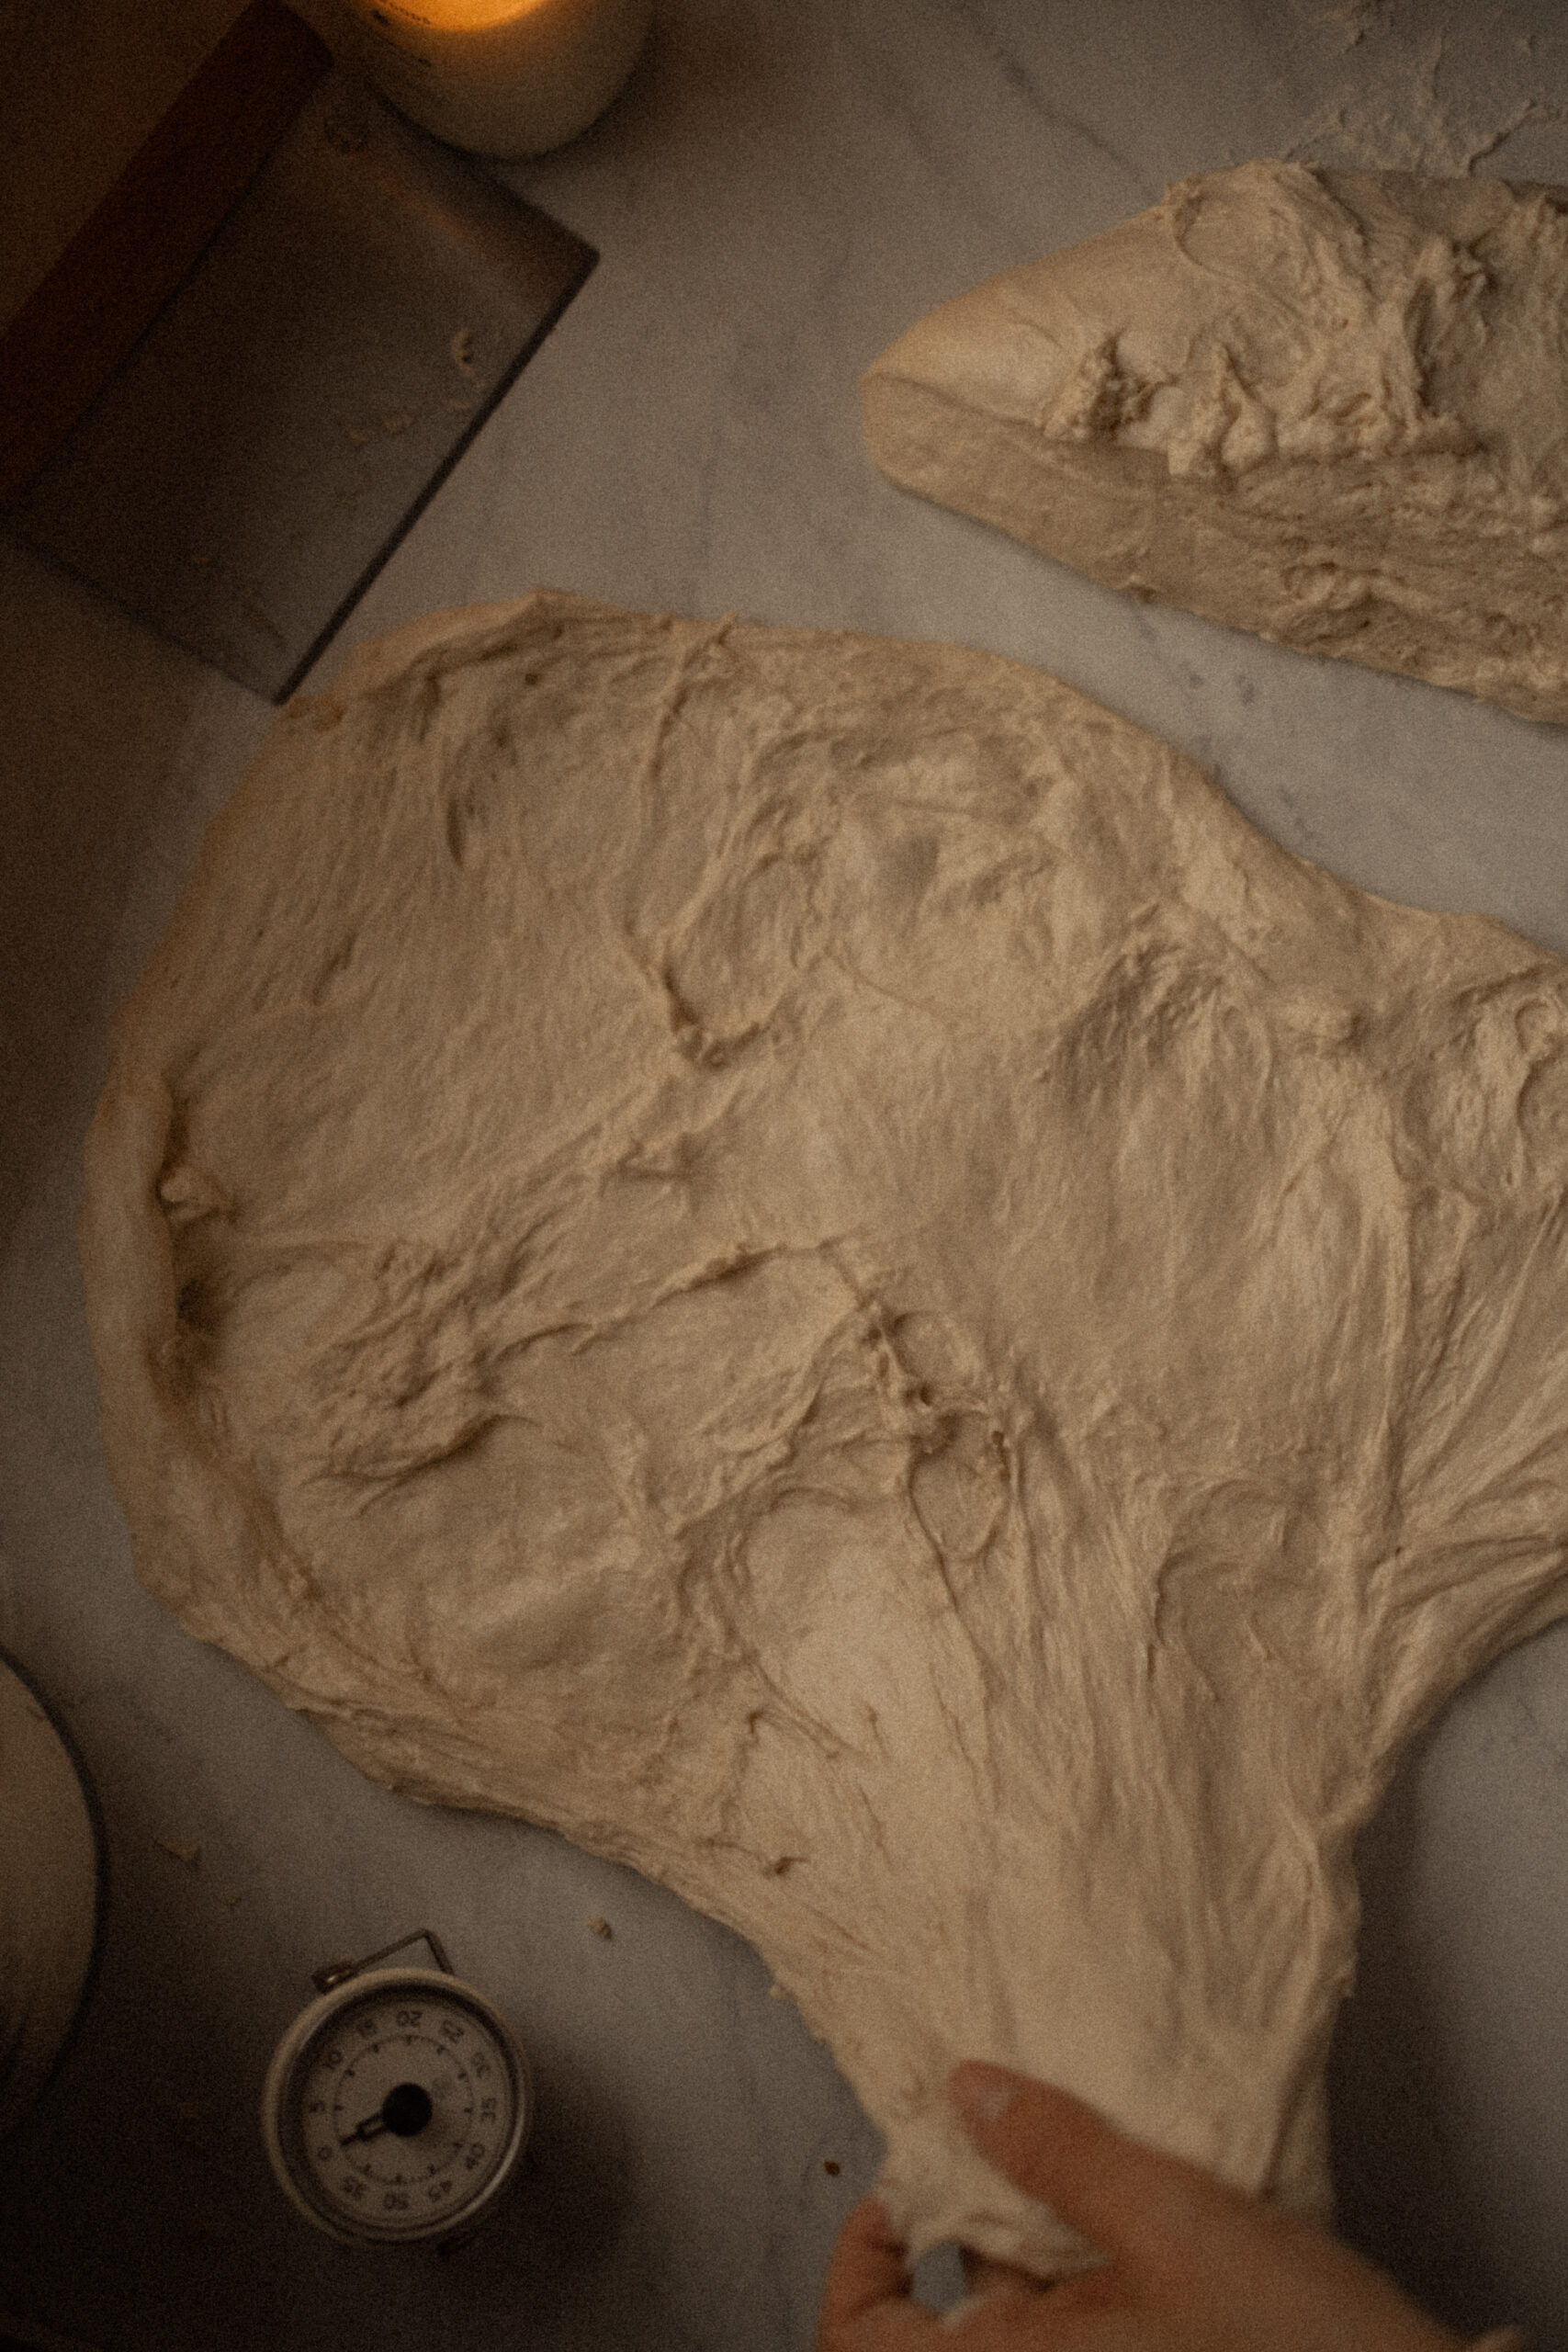
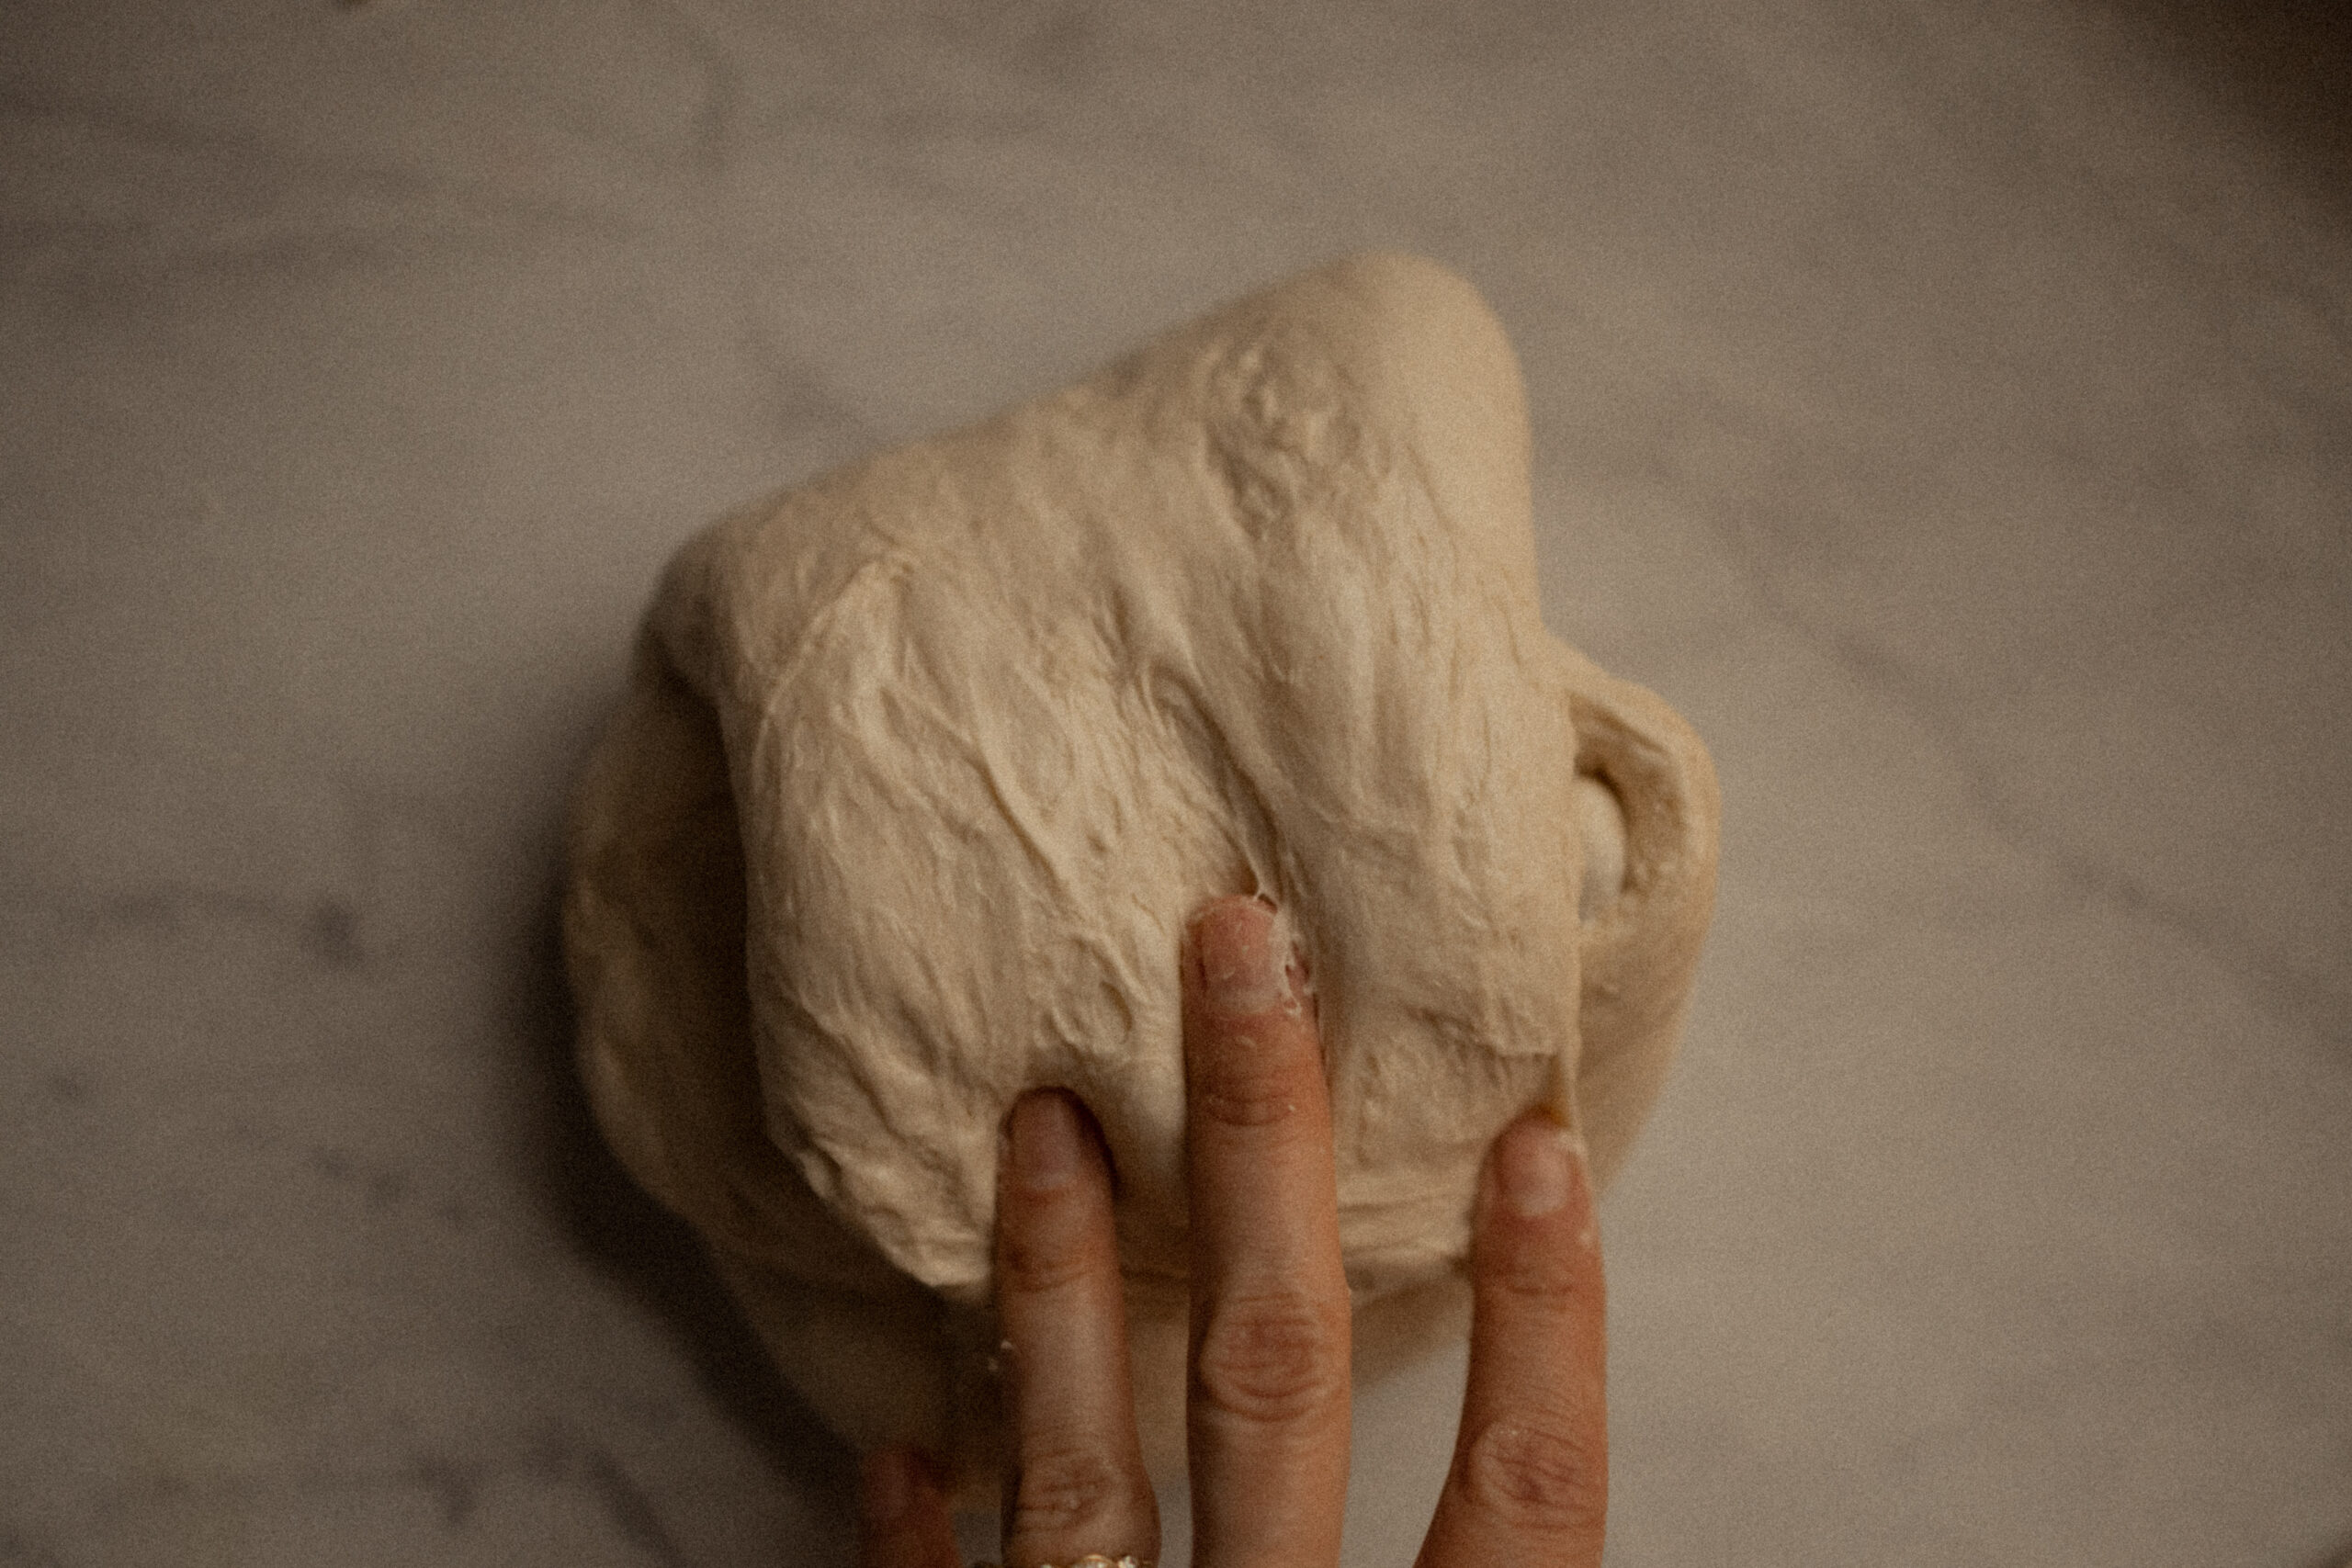
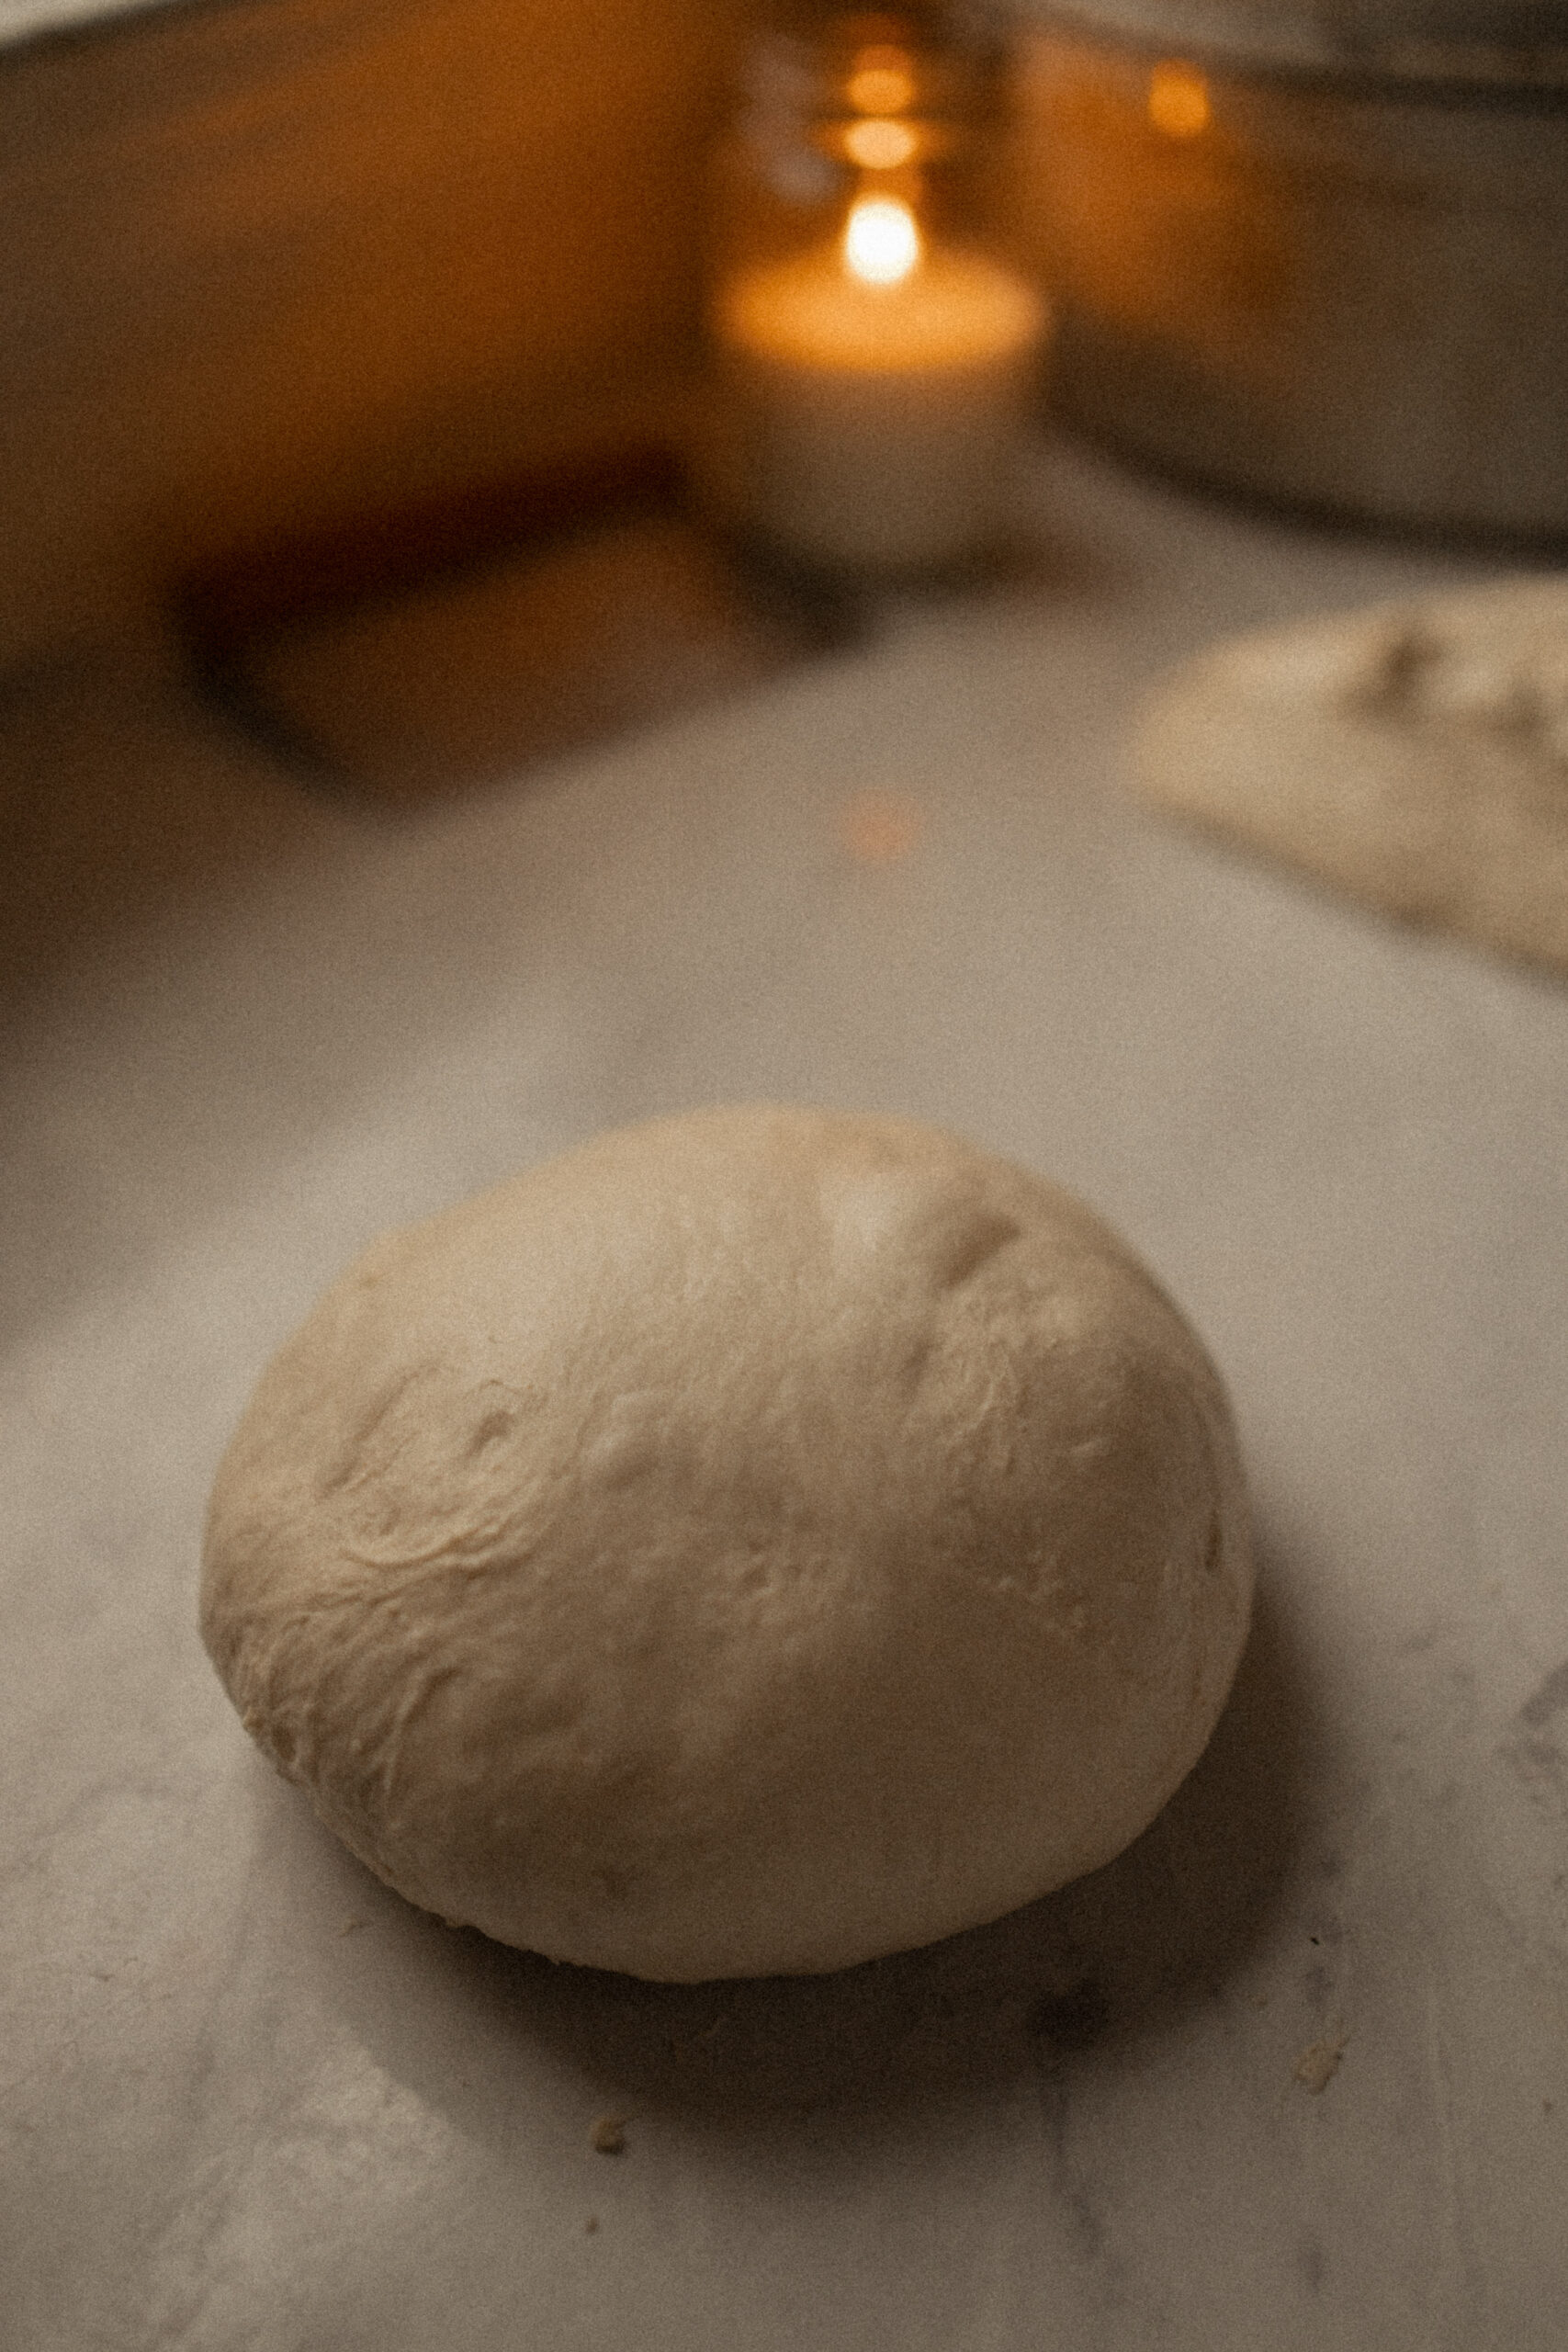
The photo above is after the second set of stretch-folds.
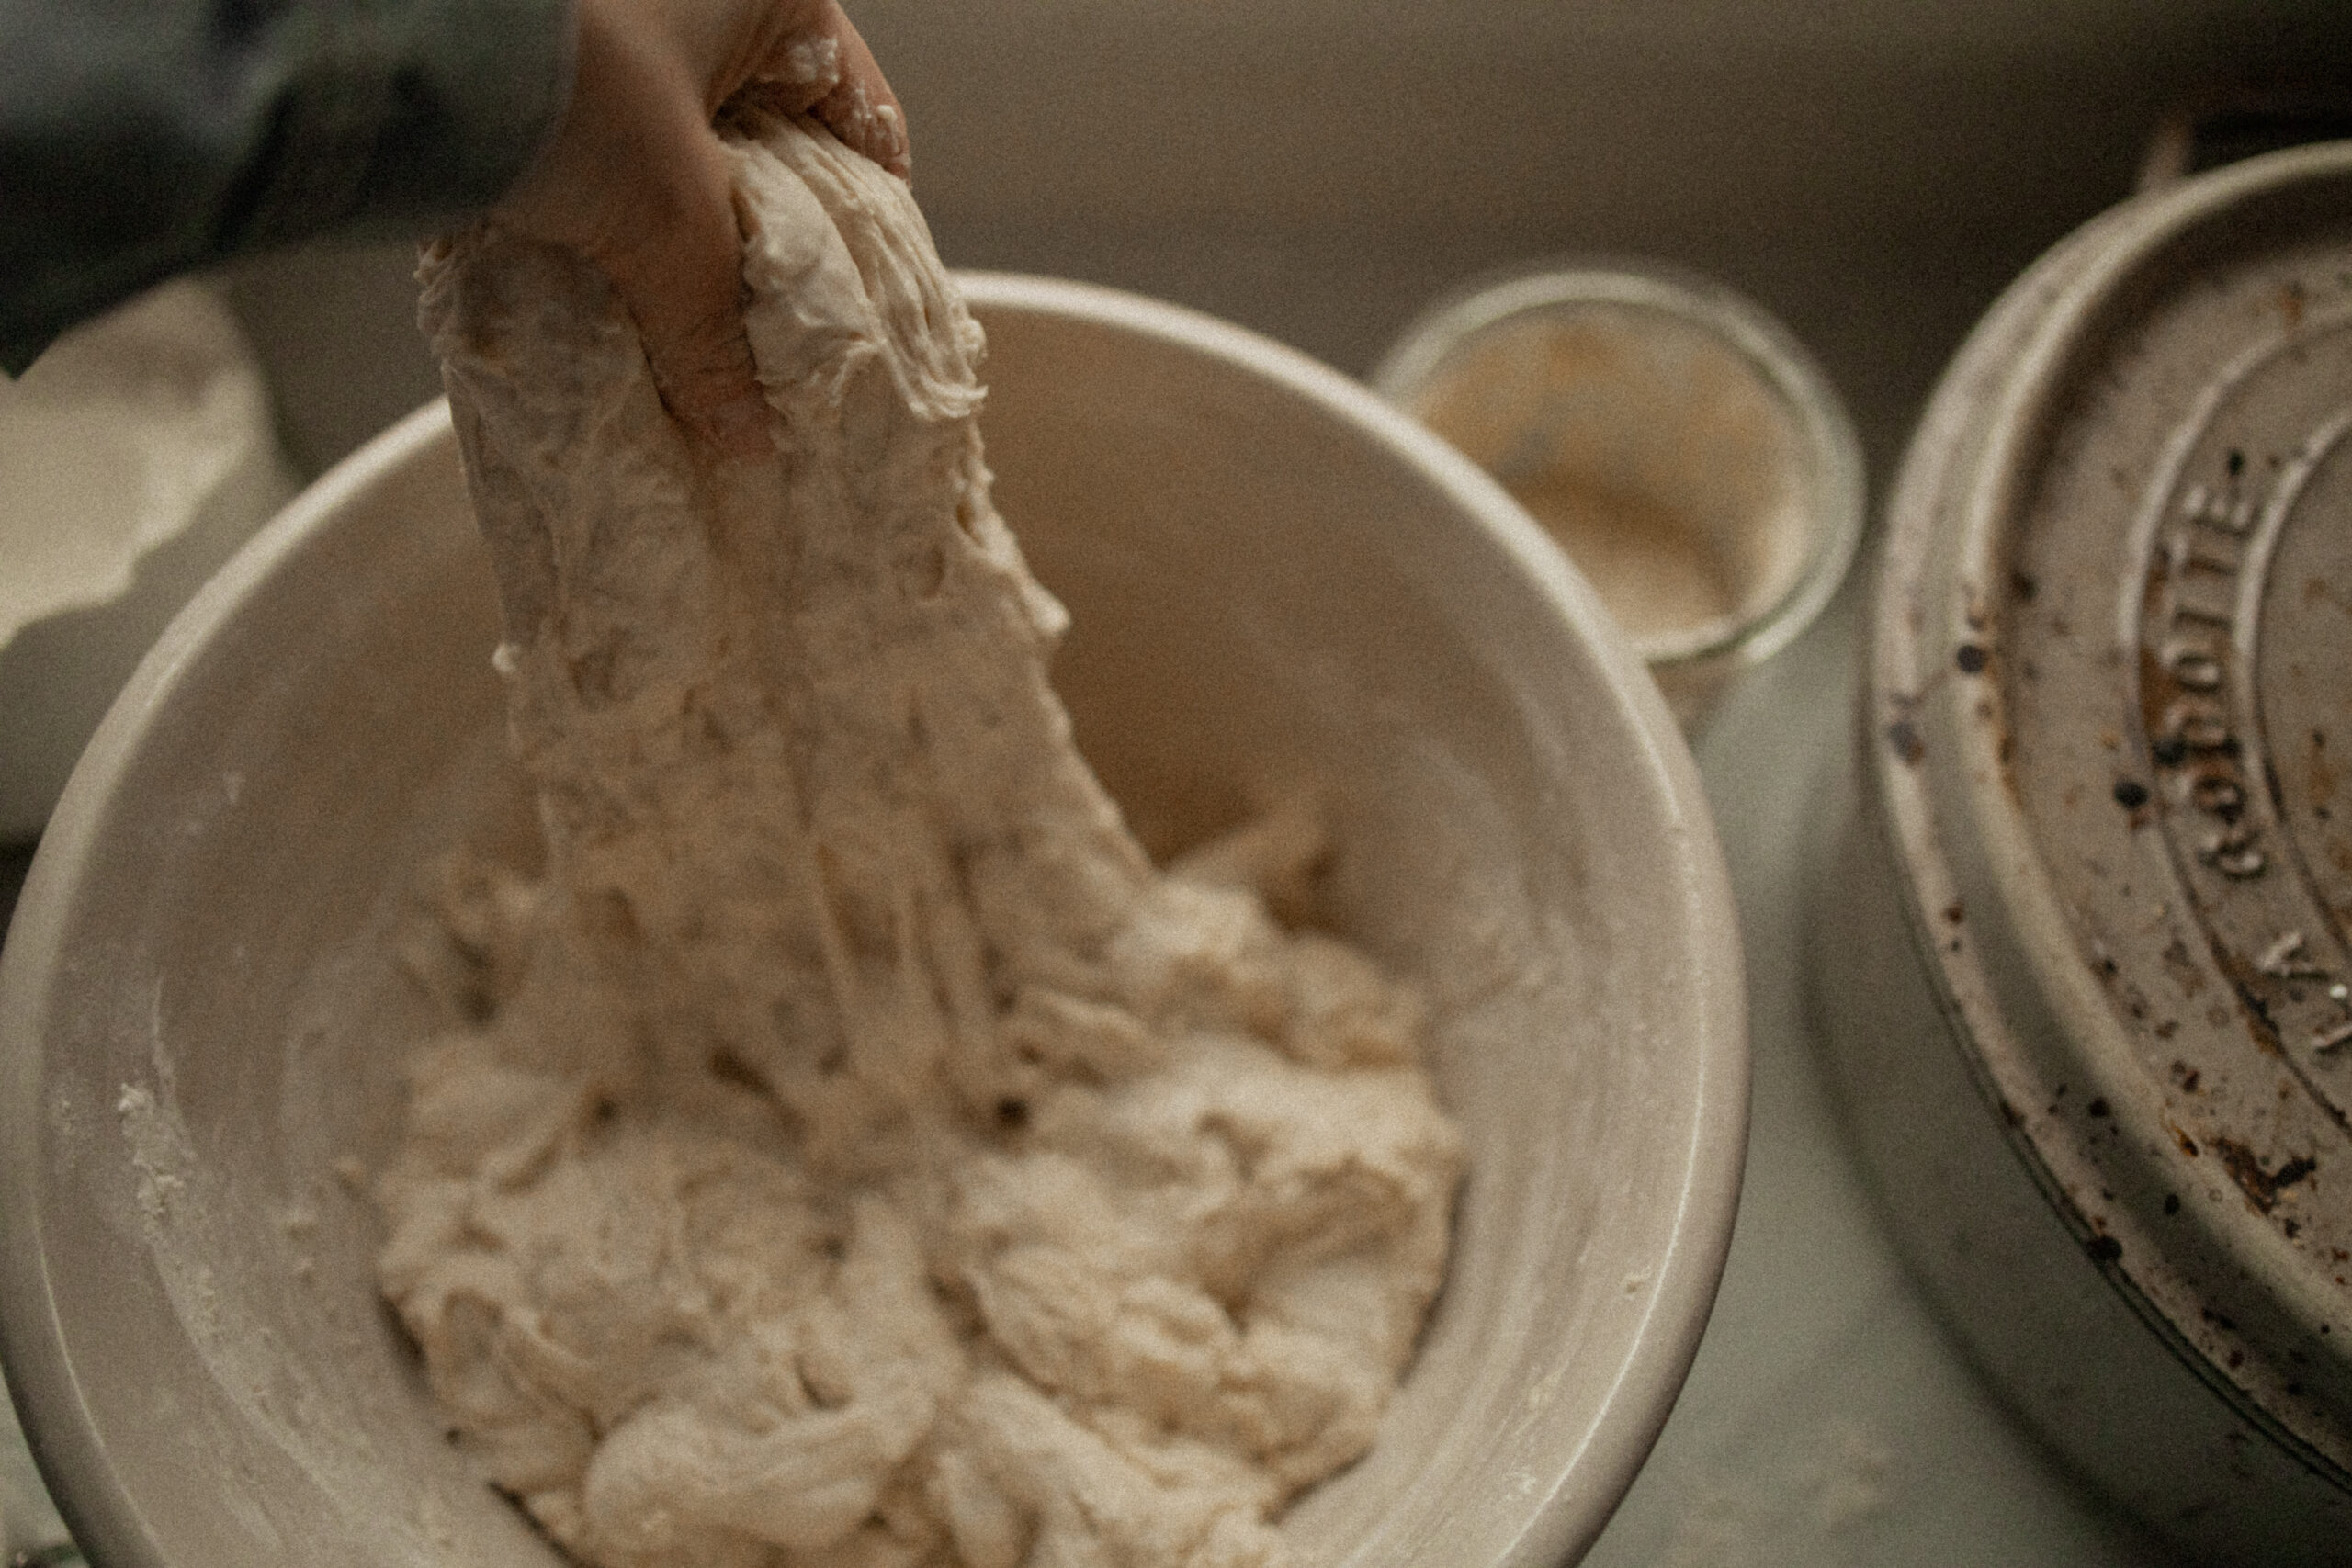
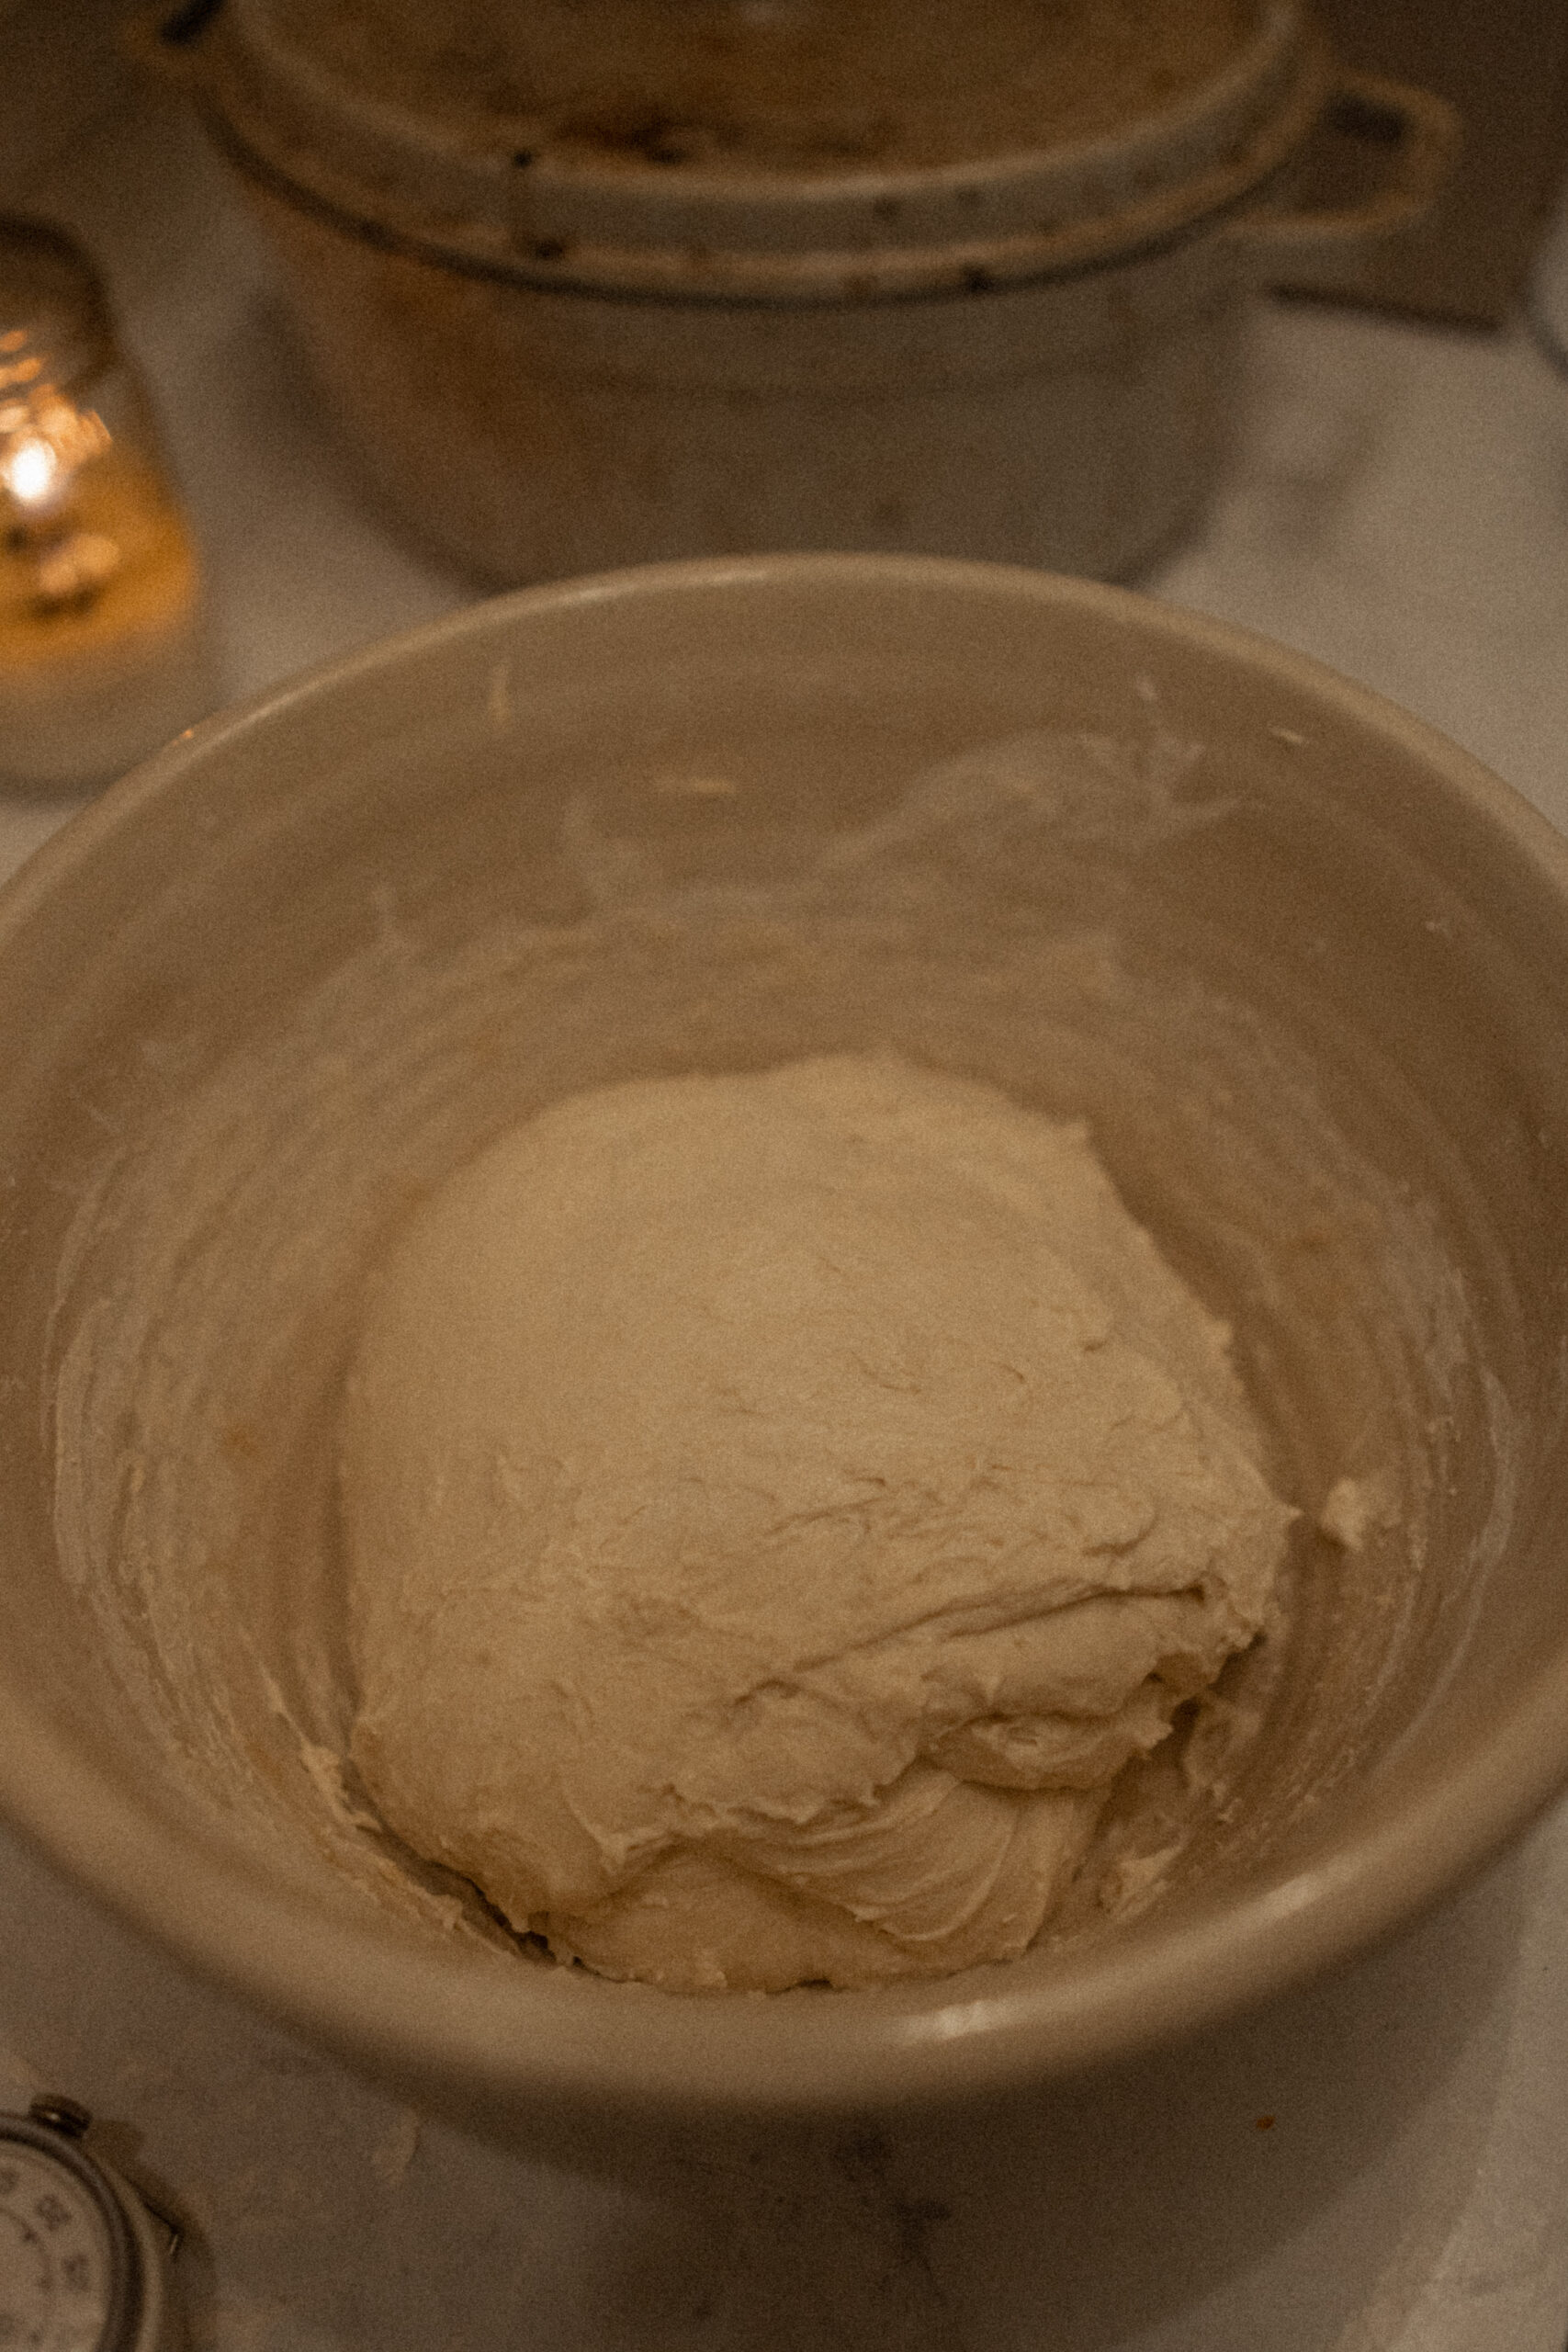
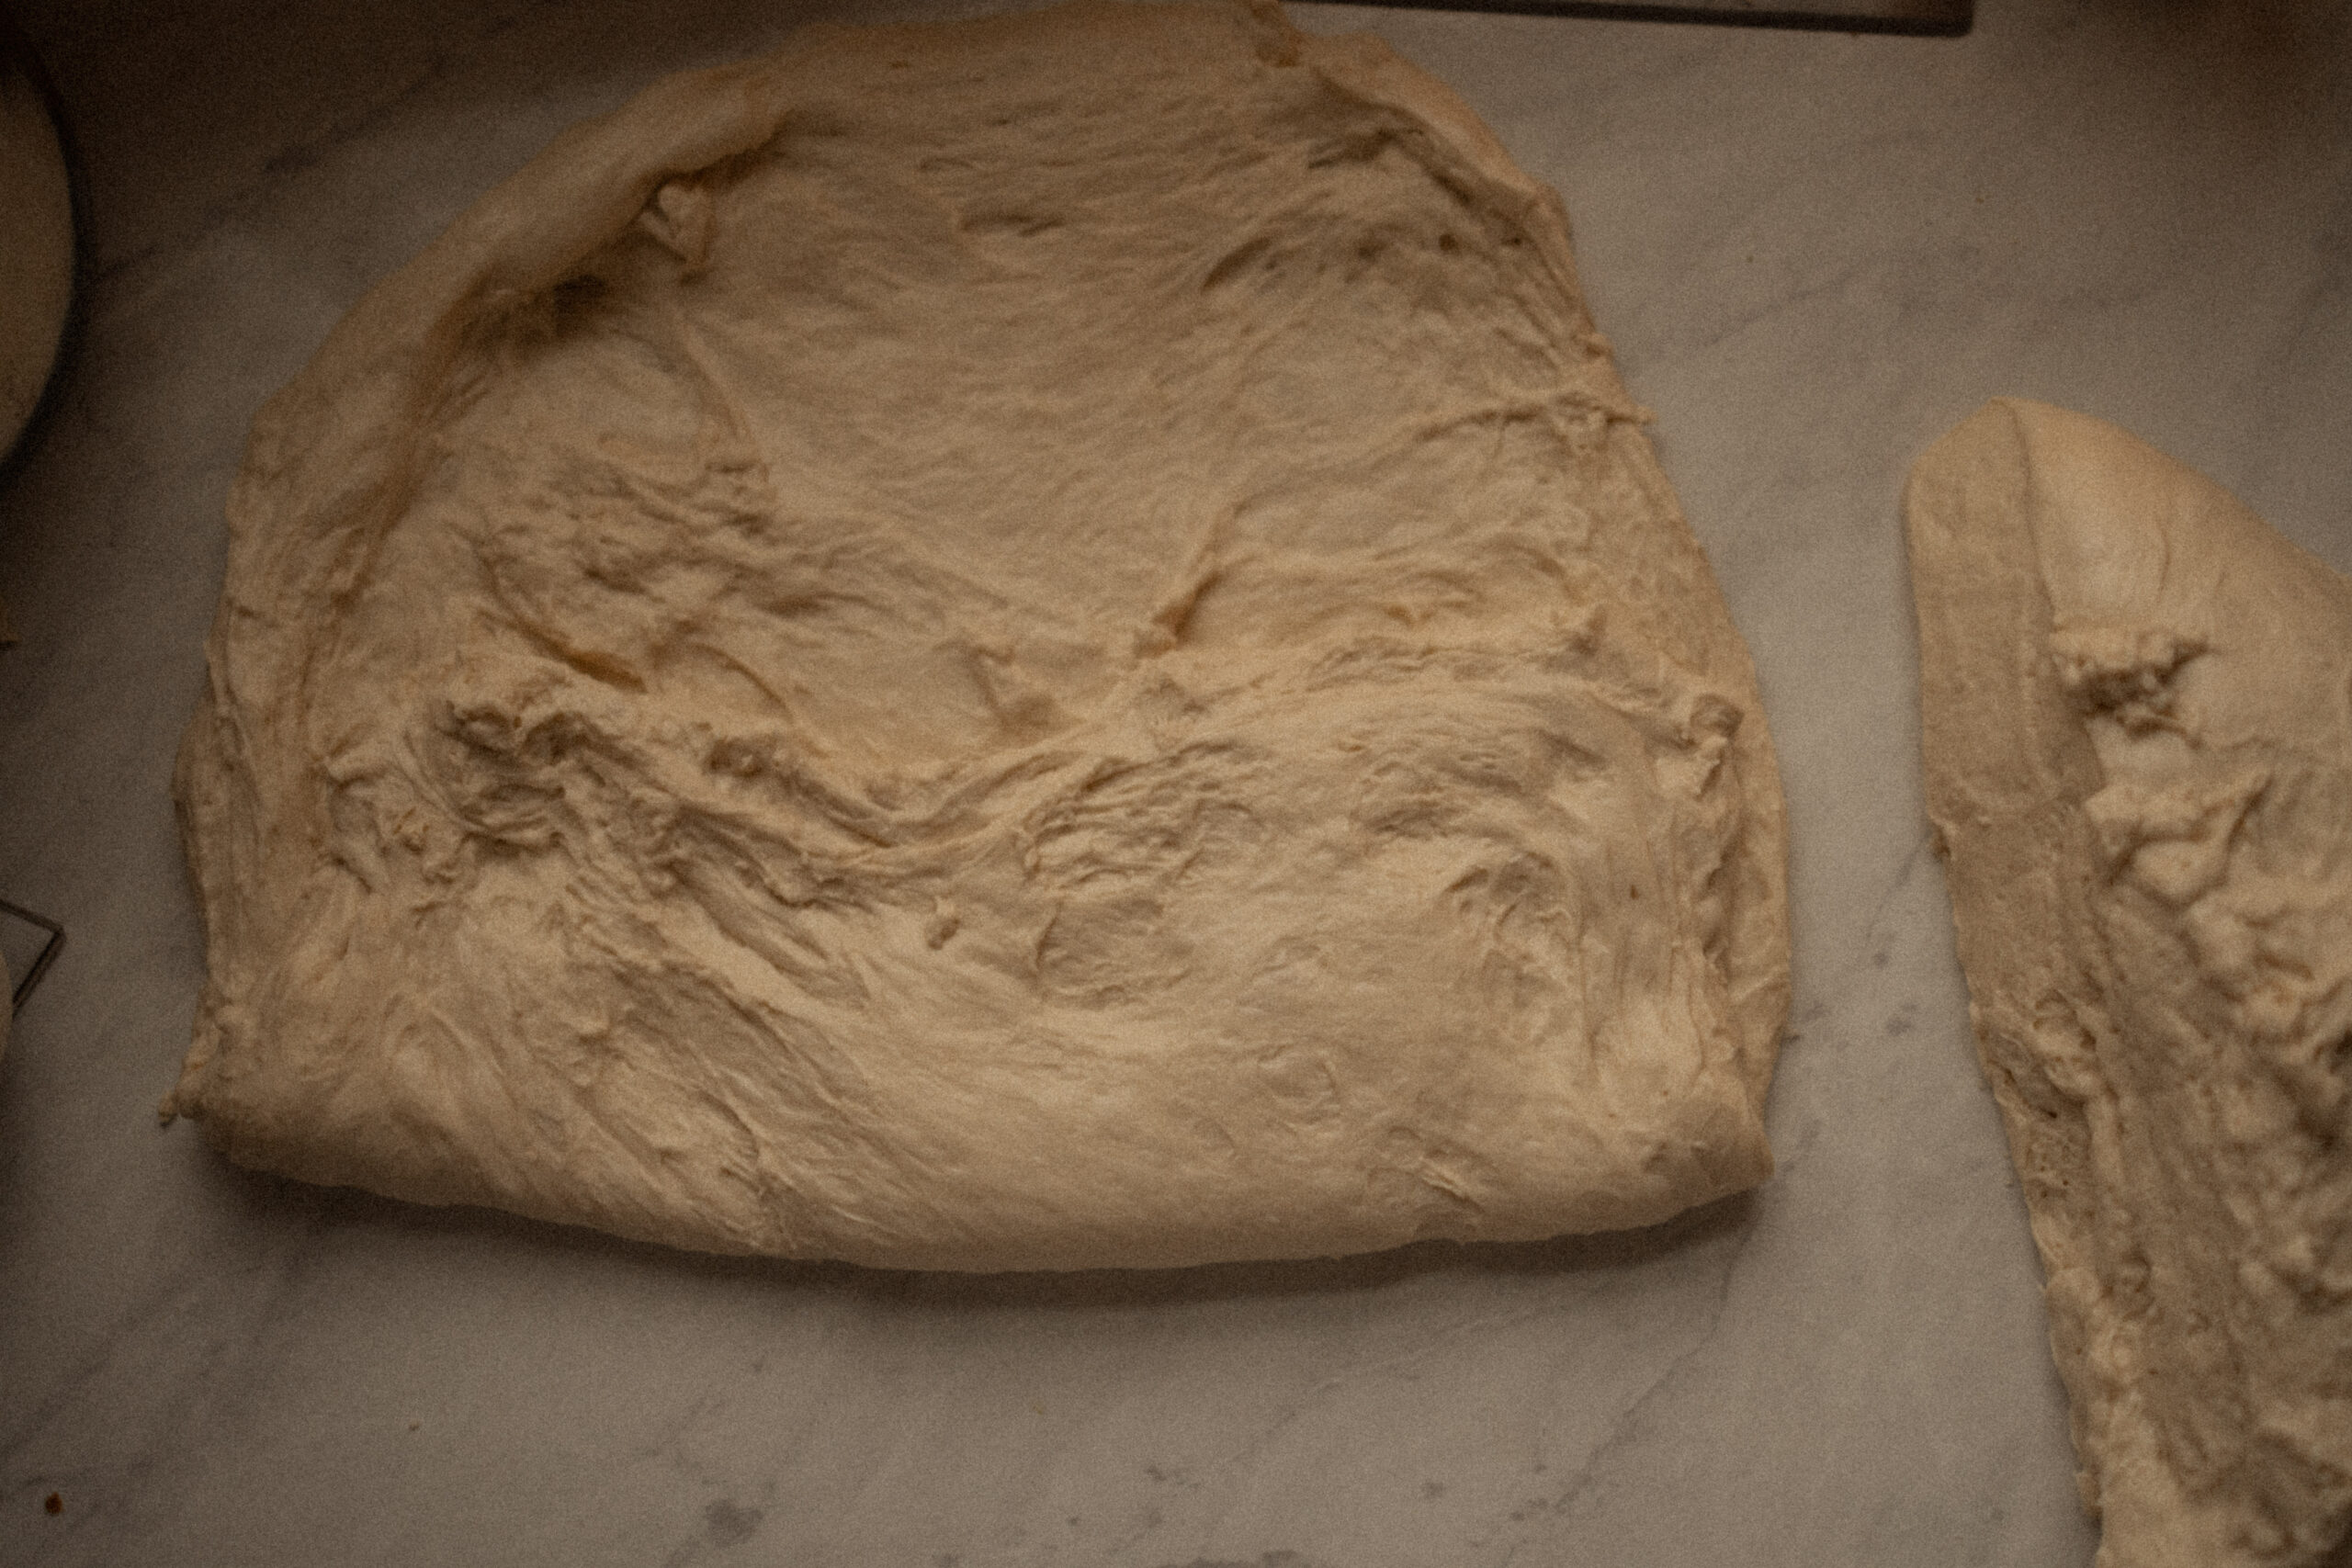
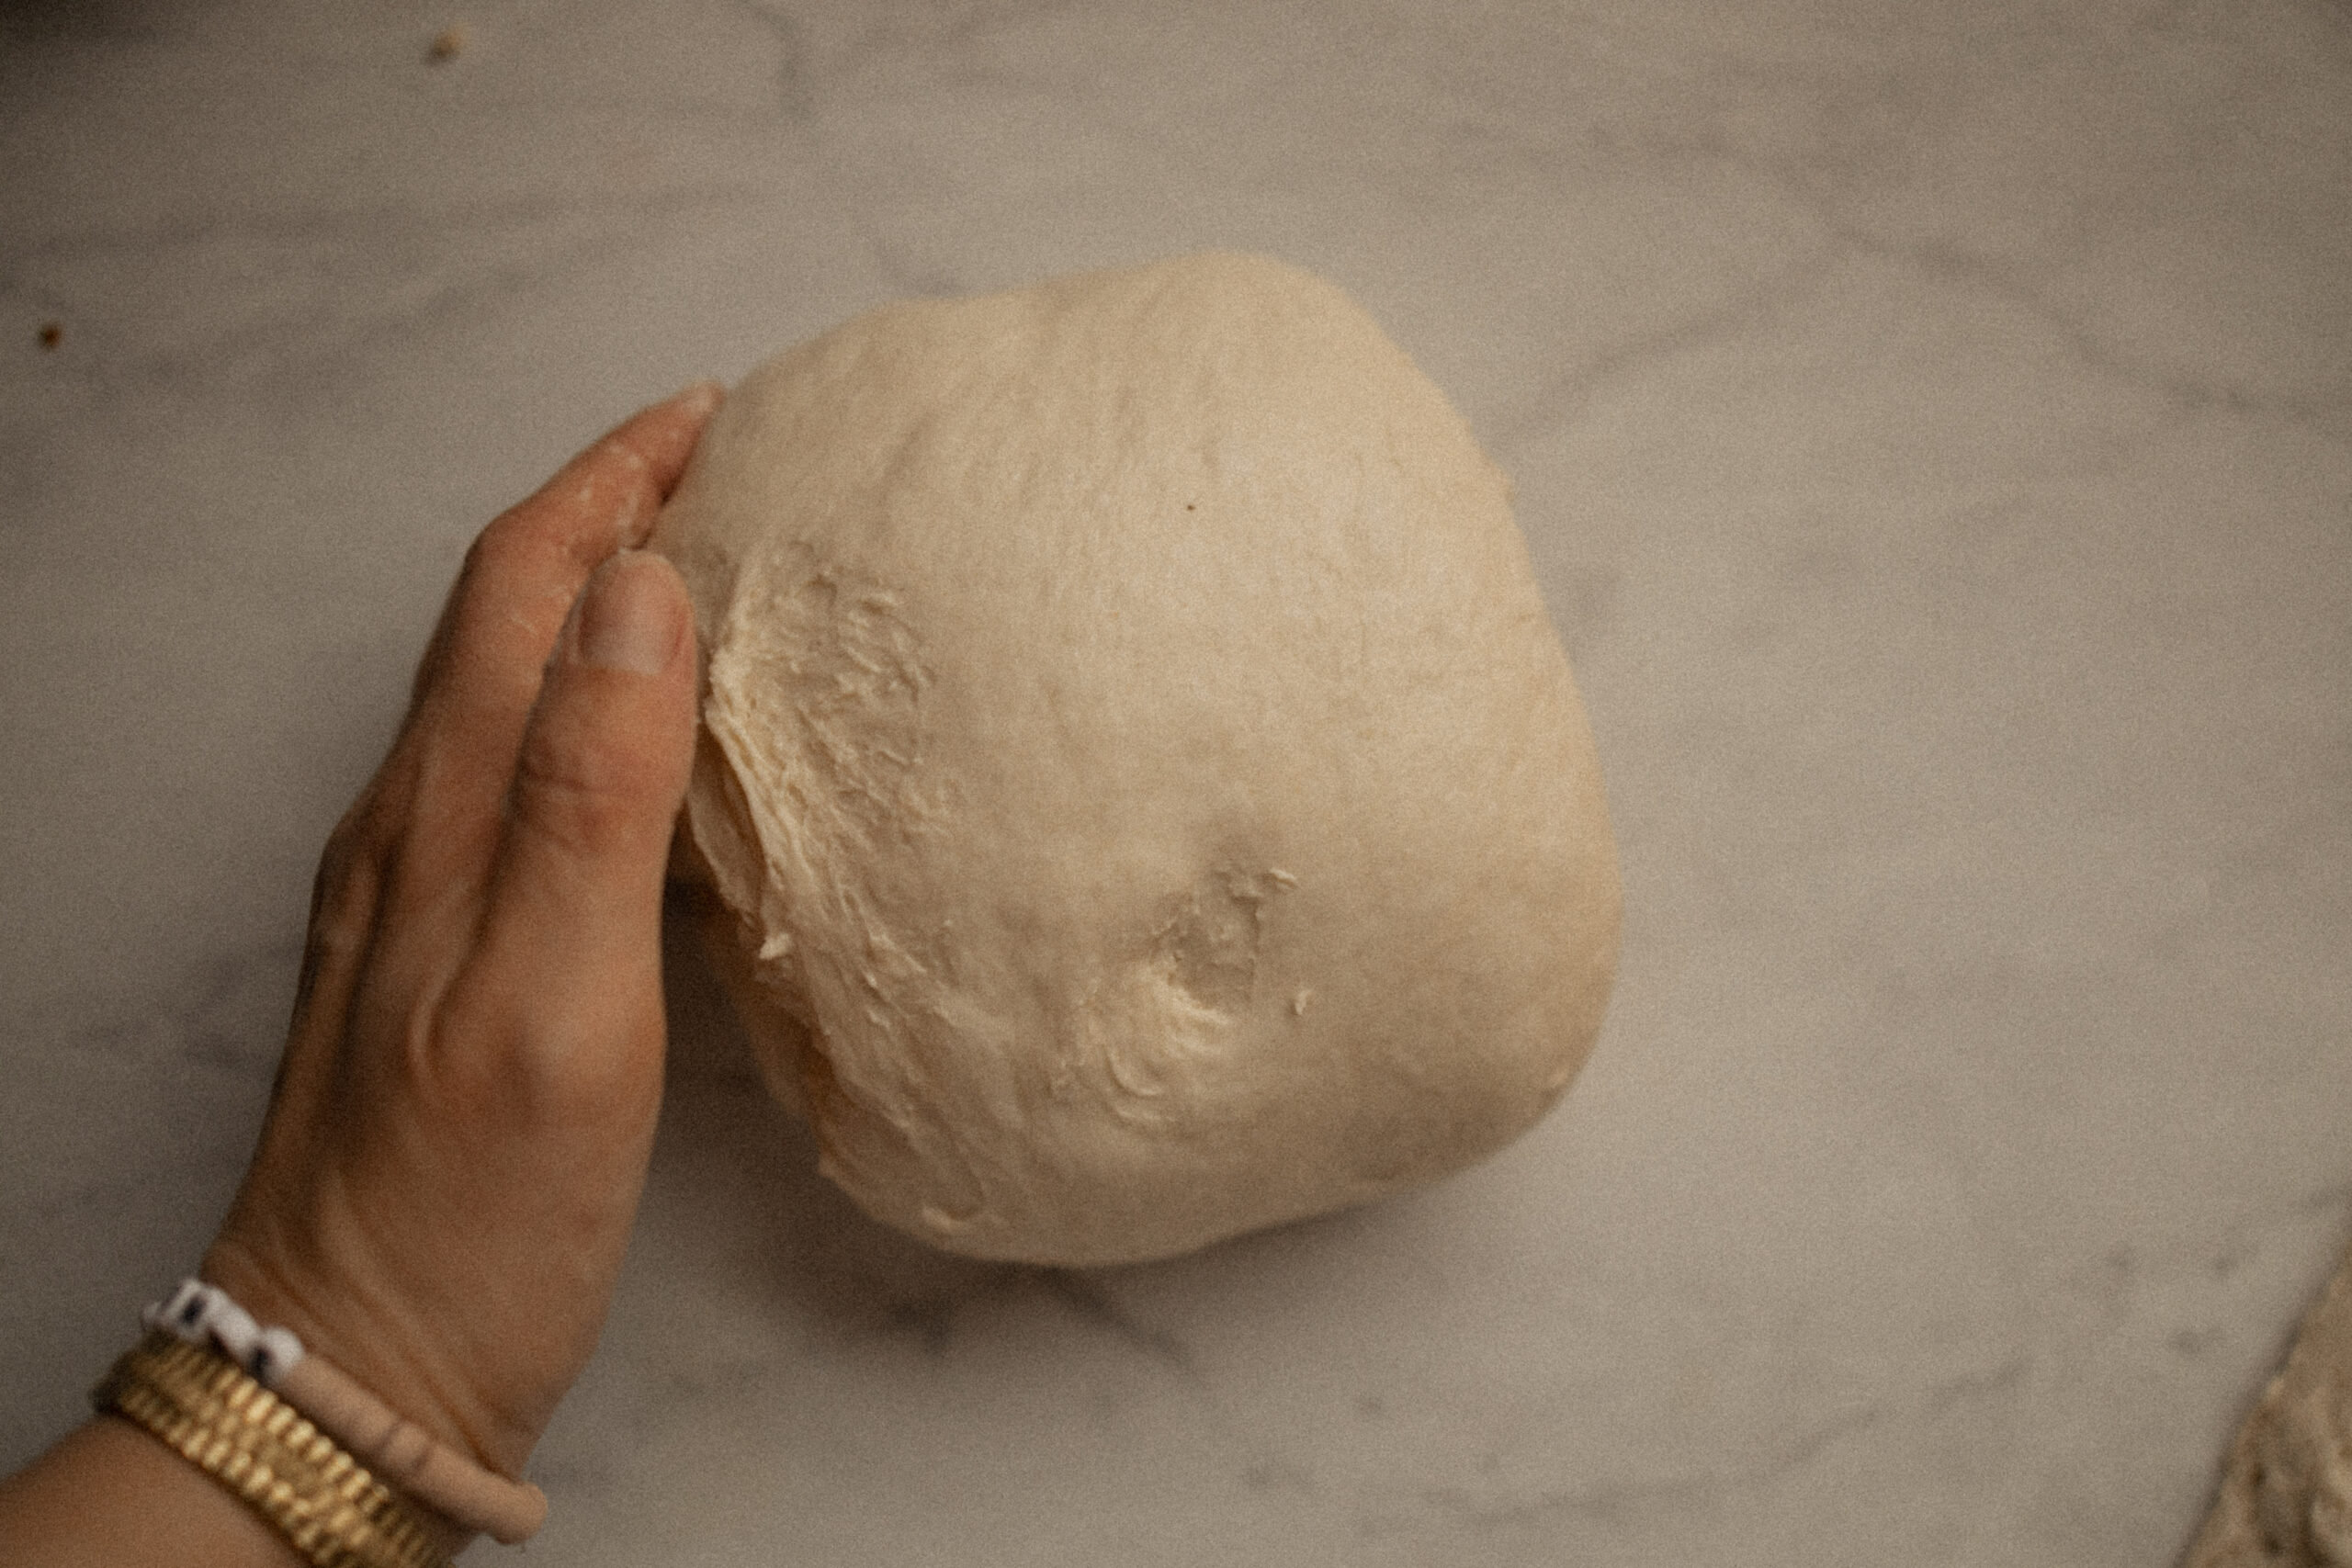
Here you can see how much smoother and softer the dough is by the third round.
11. Cover your bowl with a shower cap, bowl cover, plastic wrap… something that will keep the moisture in and not allow the dough to dry out.
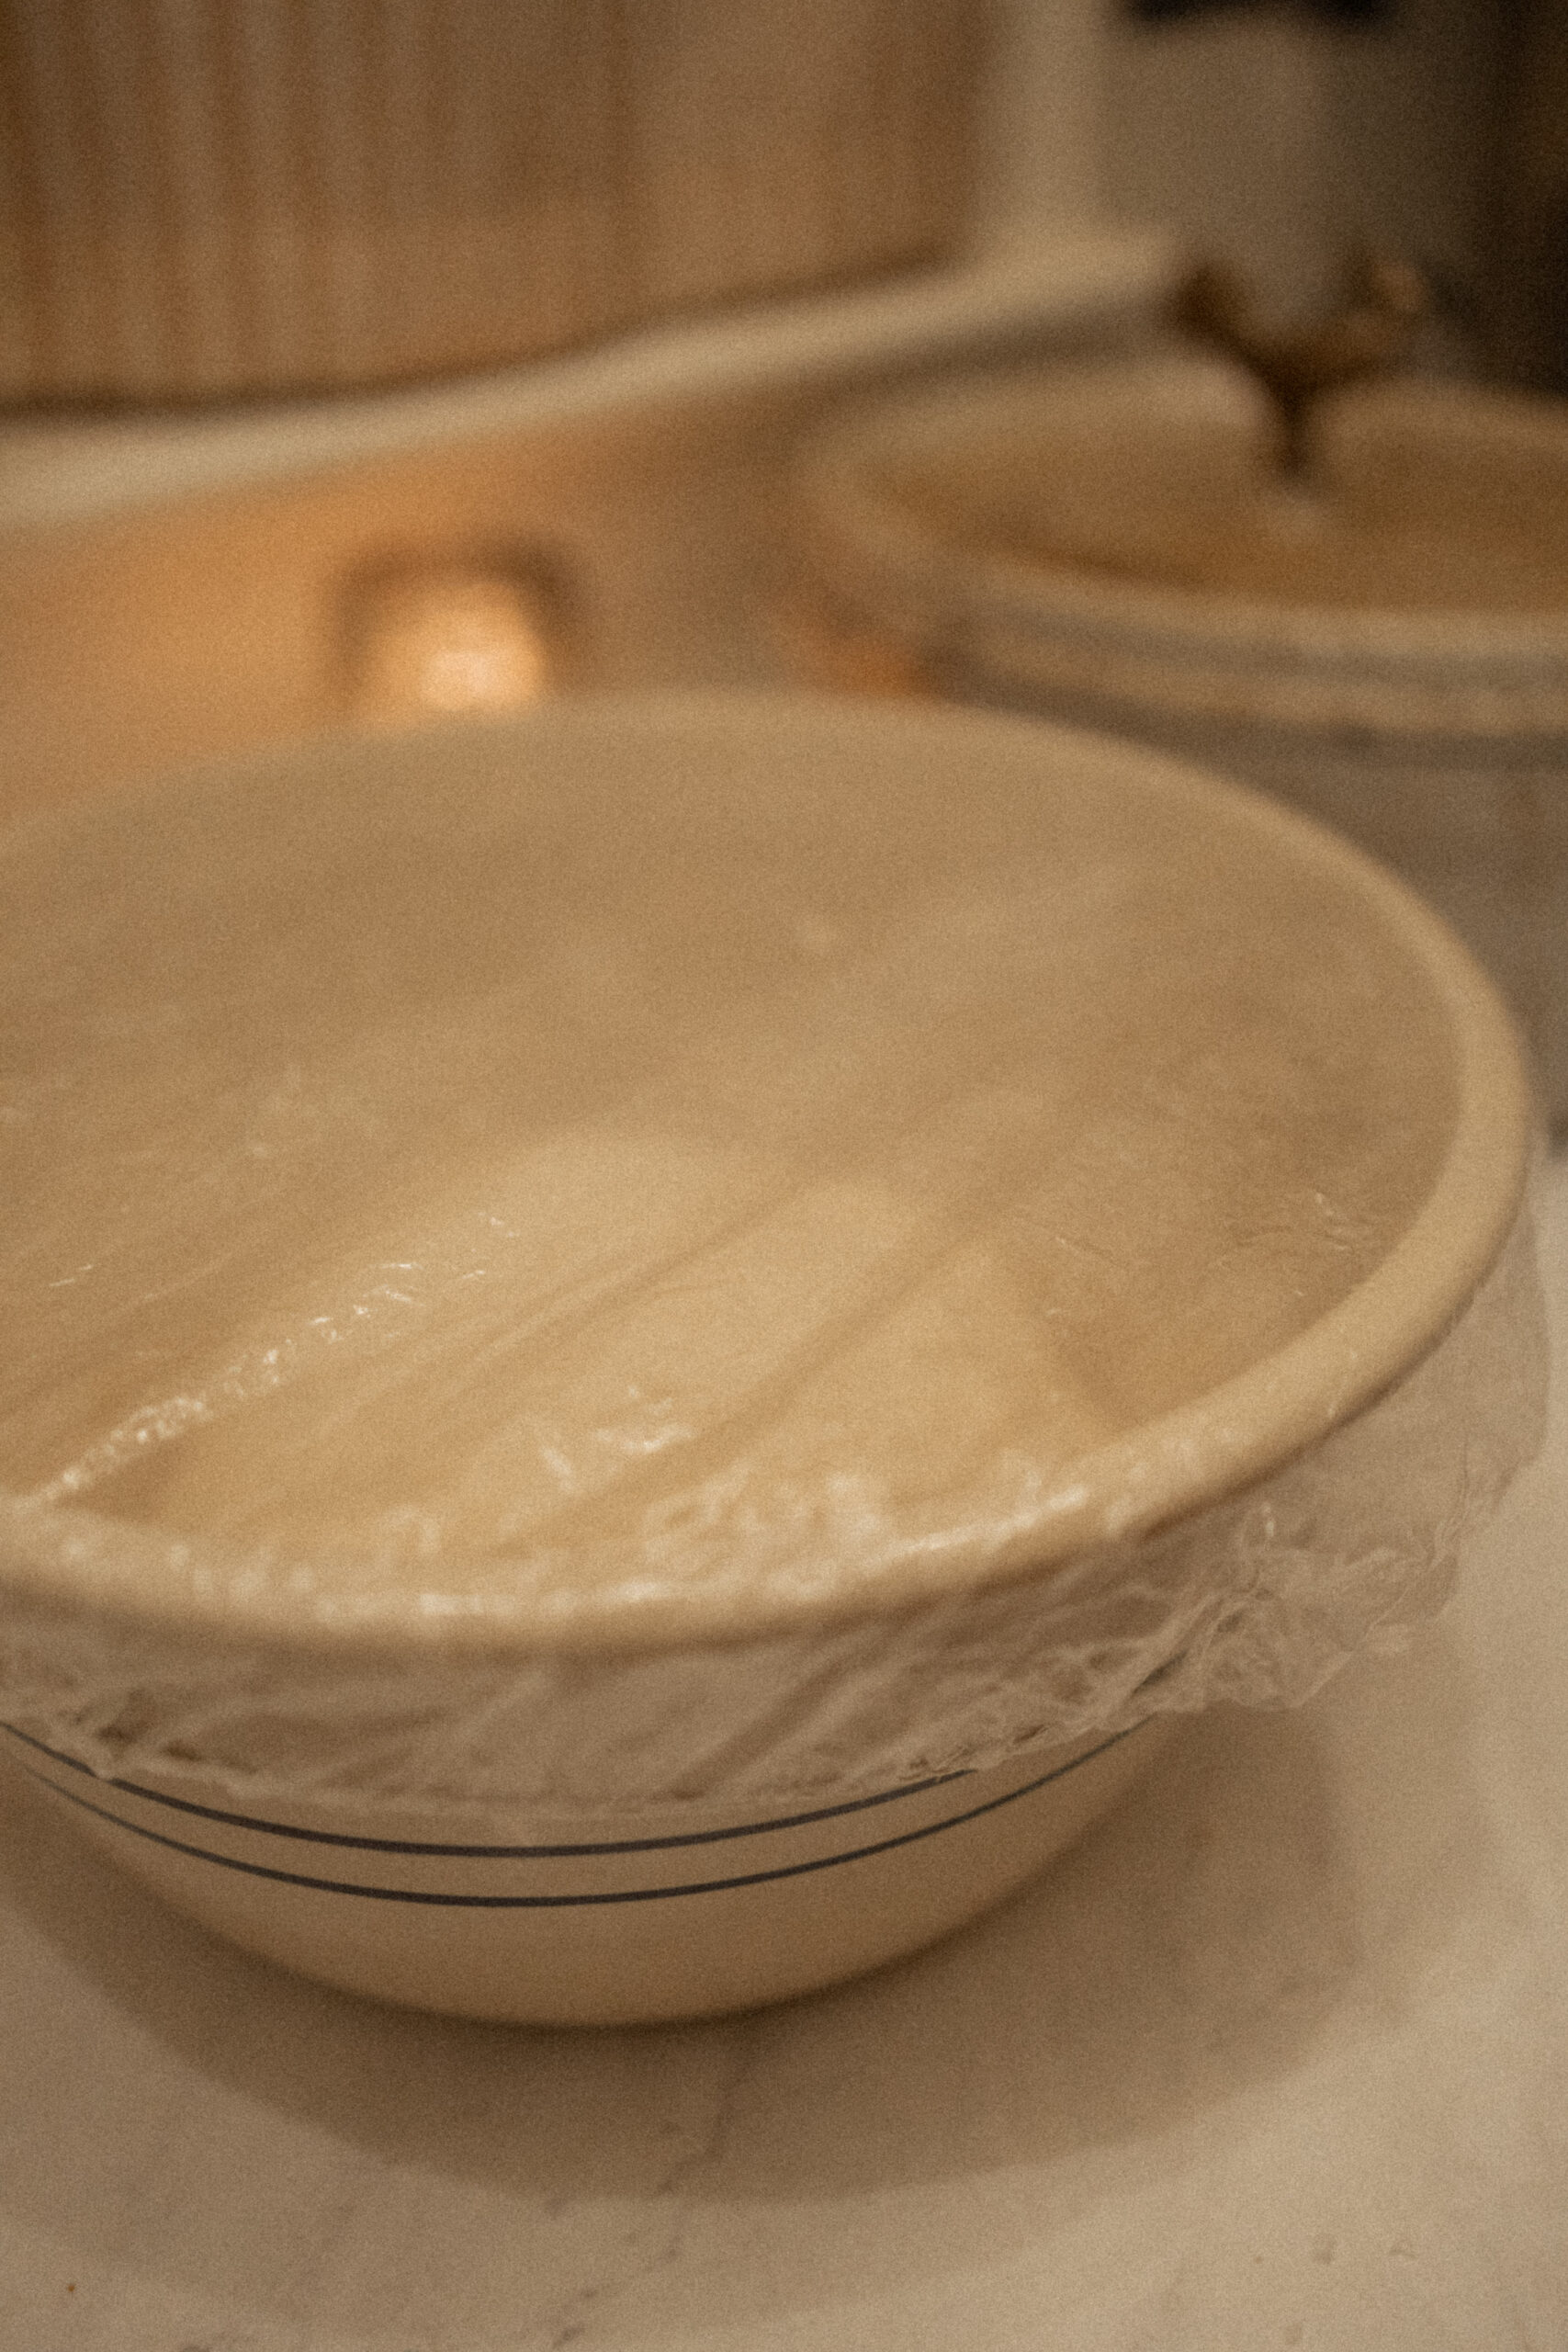
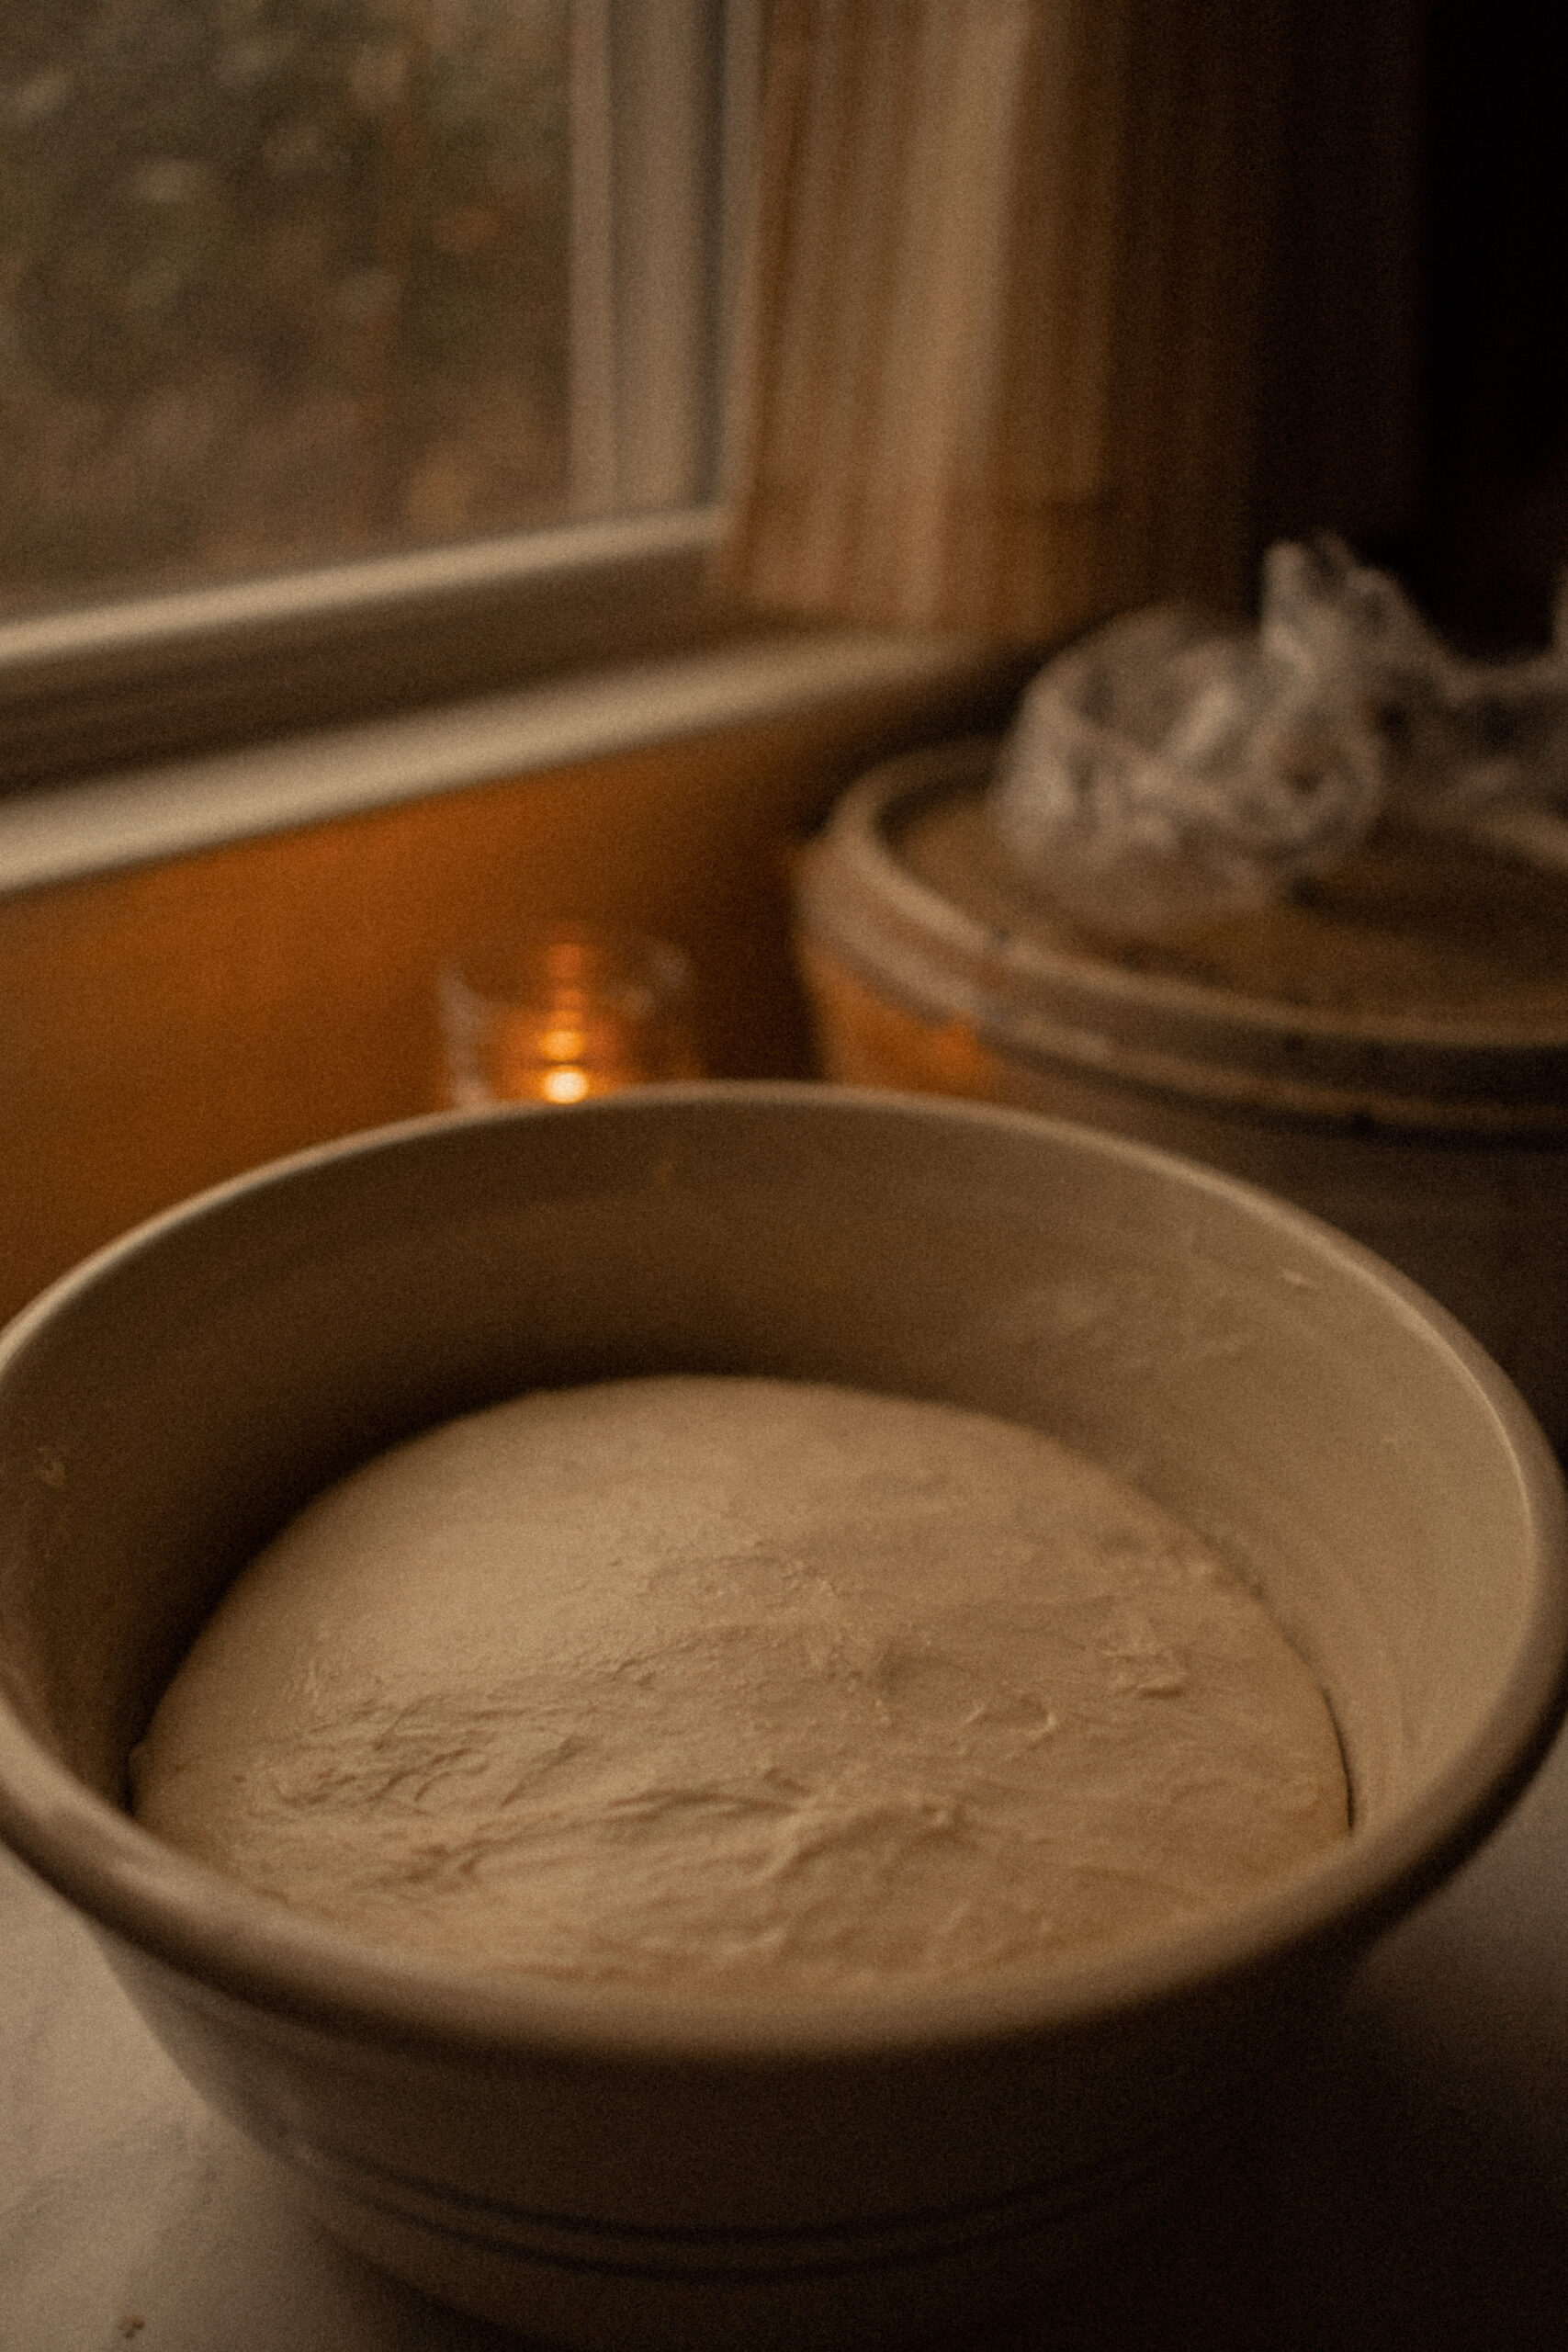
12. Let your dough rest and ferment for a few hours. How many hours specifically truly depends on your house, but for my house I typically have it on my kitchen counter for anywhere from 3-6 hours. It really depends on the season (in the Winter it ALWAYS takes a lot longer to ferment for me personally, but some people have wood stoves that keep their homes really warm in the Winter, so their’s may ferment very quickly), and much shorter in the Summer for me, even with the air conditioning on at all times. It gets very humid here and our house has terrible insulation. Climate genuinely varies SO much from house to house and even season to season… let alone geographic climate and elevation. All these variables just mean you get to the opportunity to experiment all the time and it’s really such a fun hobby and project to take on. Despite needing to pay a little attention to your dough, it’s really not time consuming. A peek every now and then is all it needs.
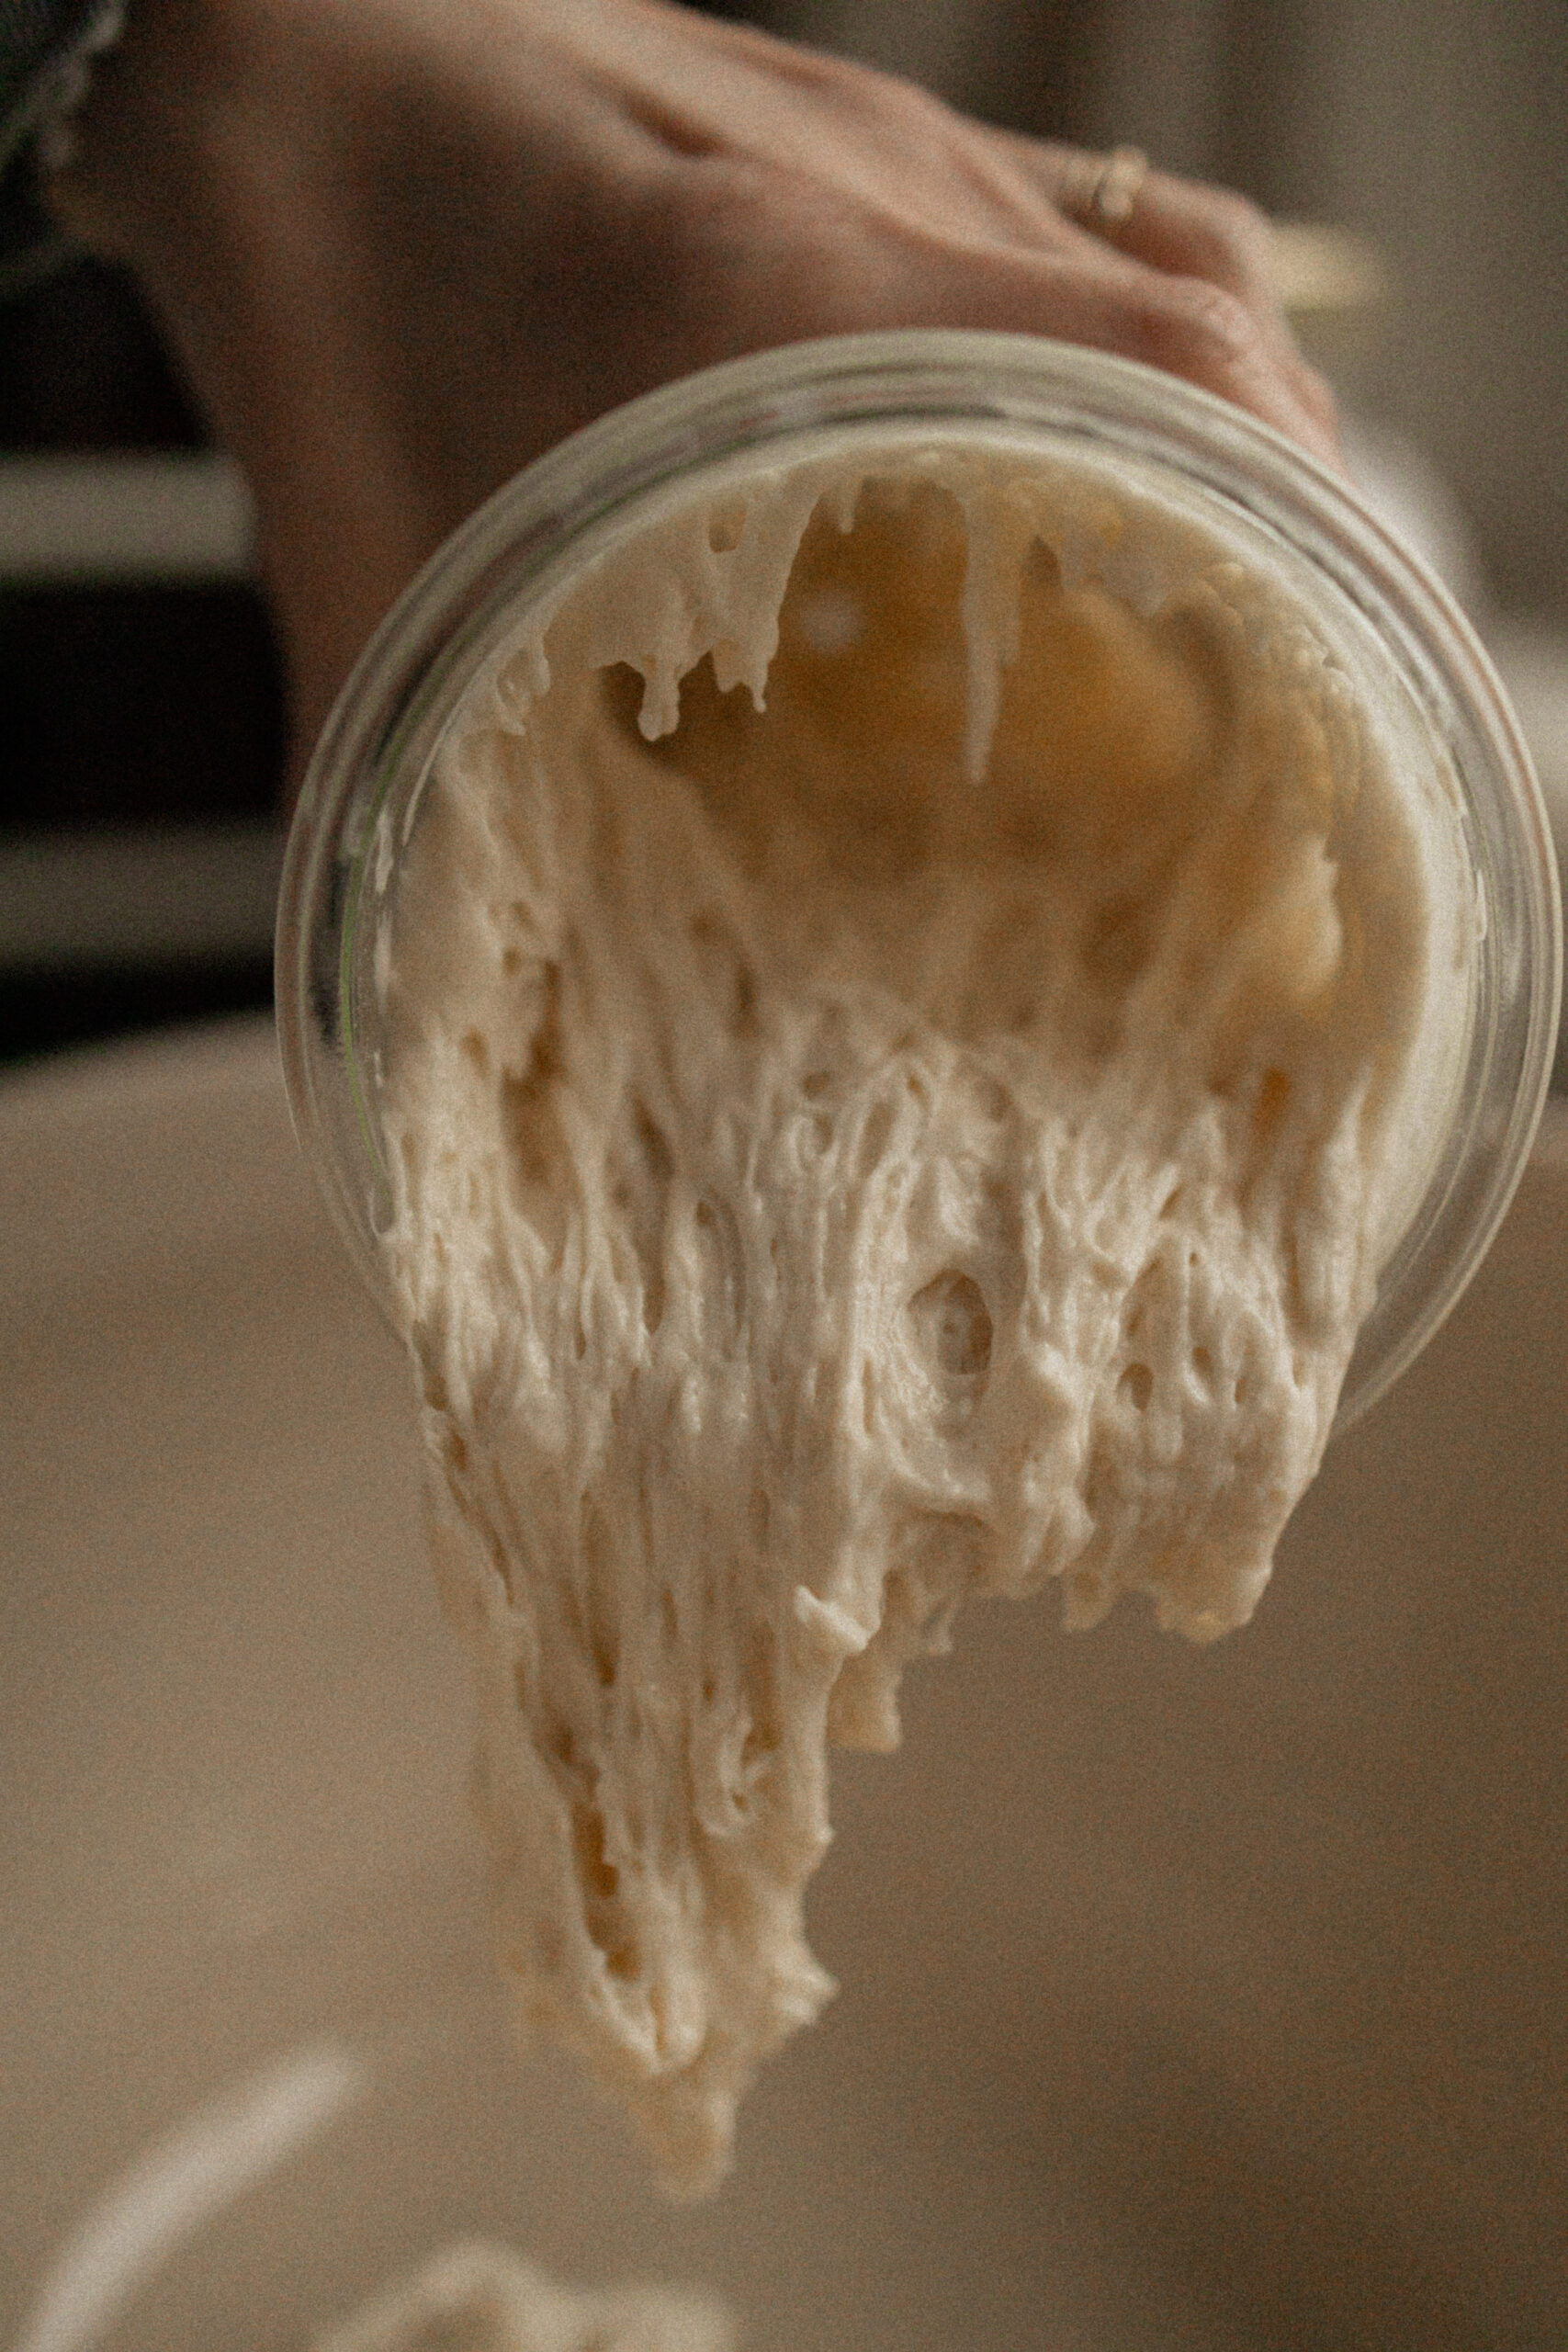
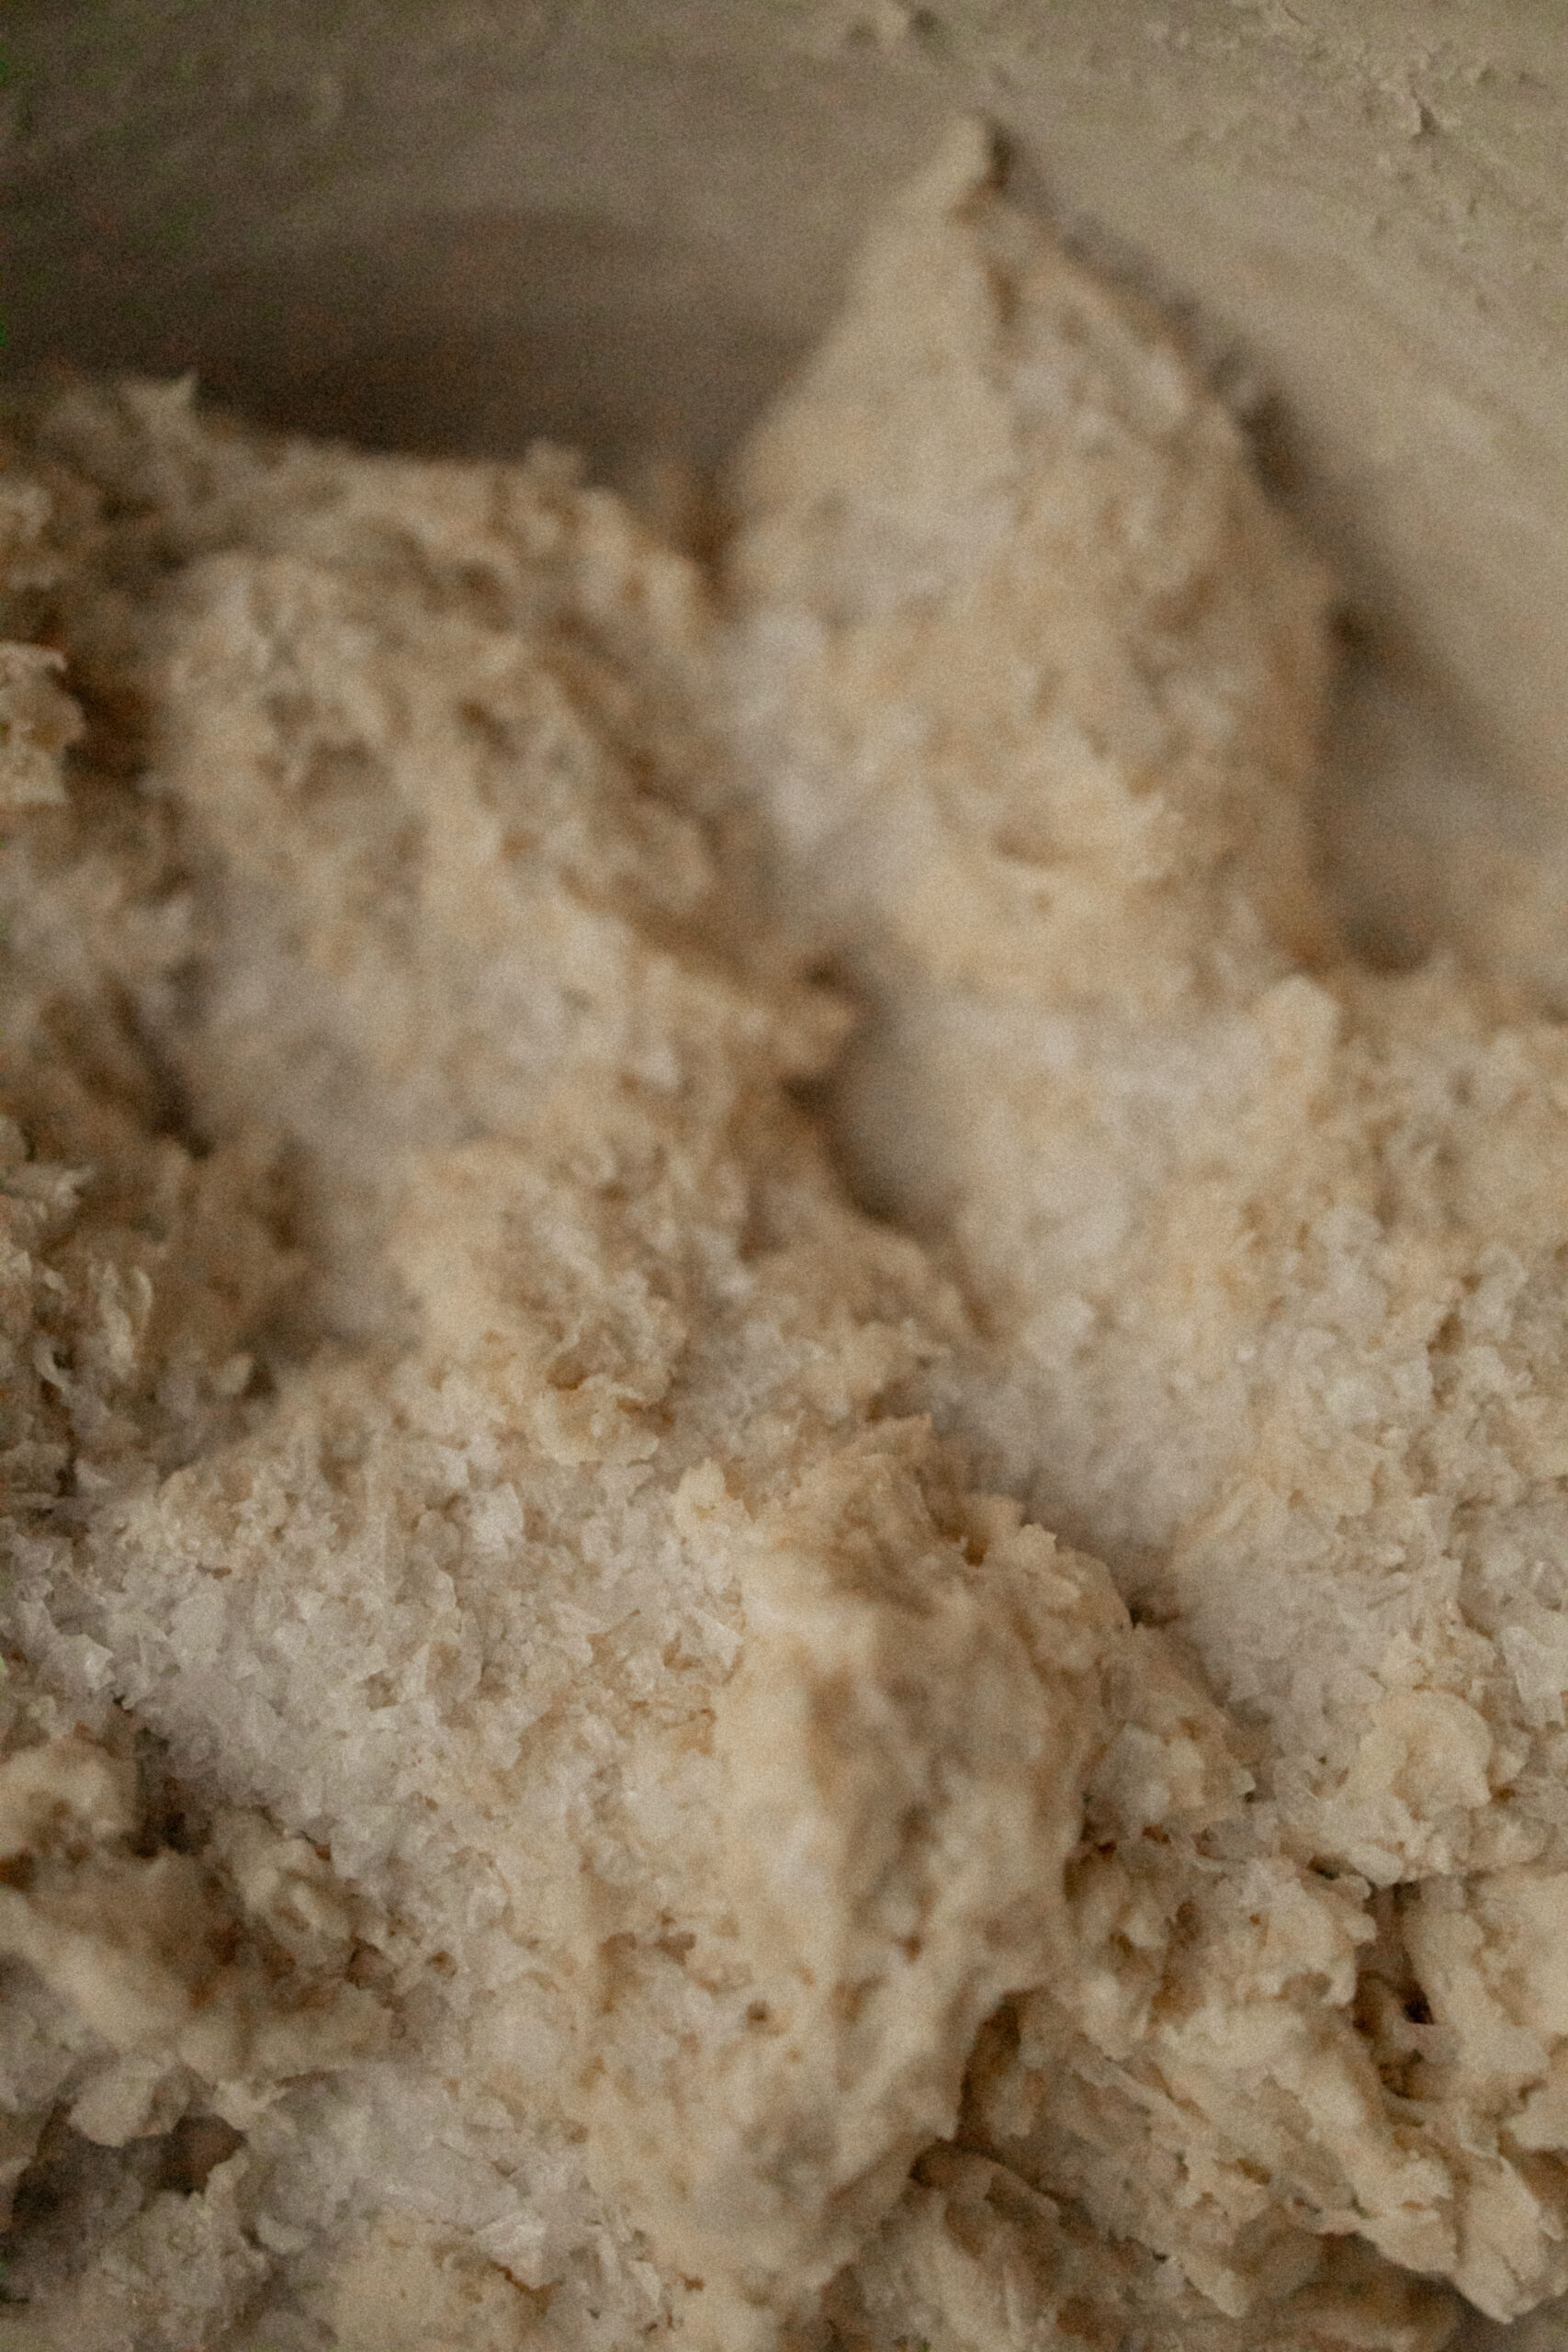
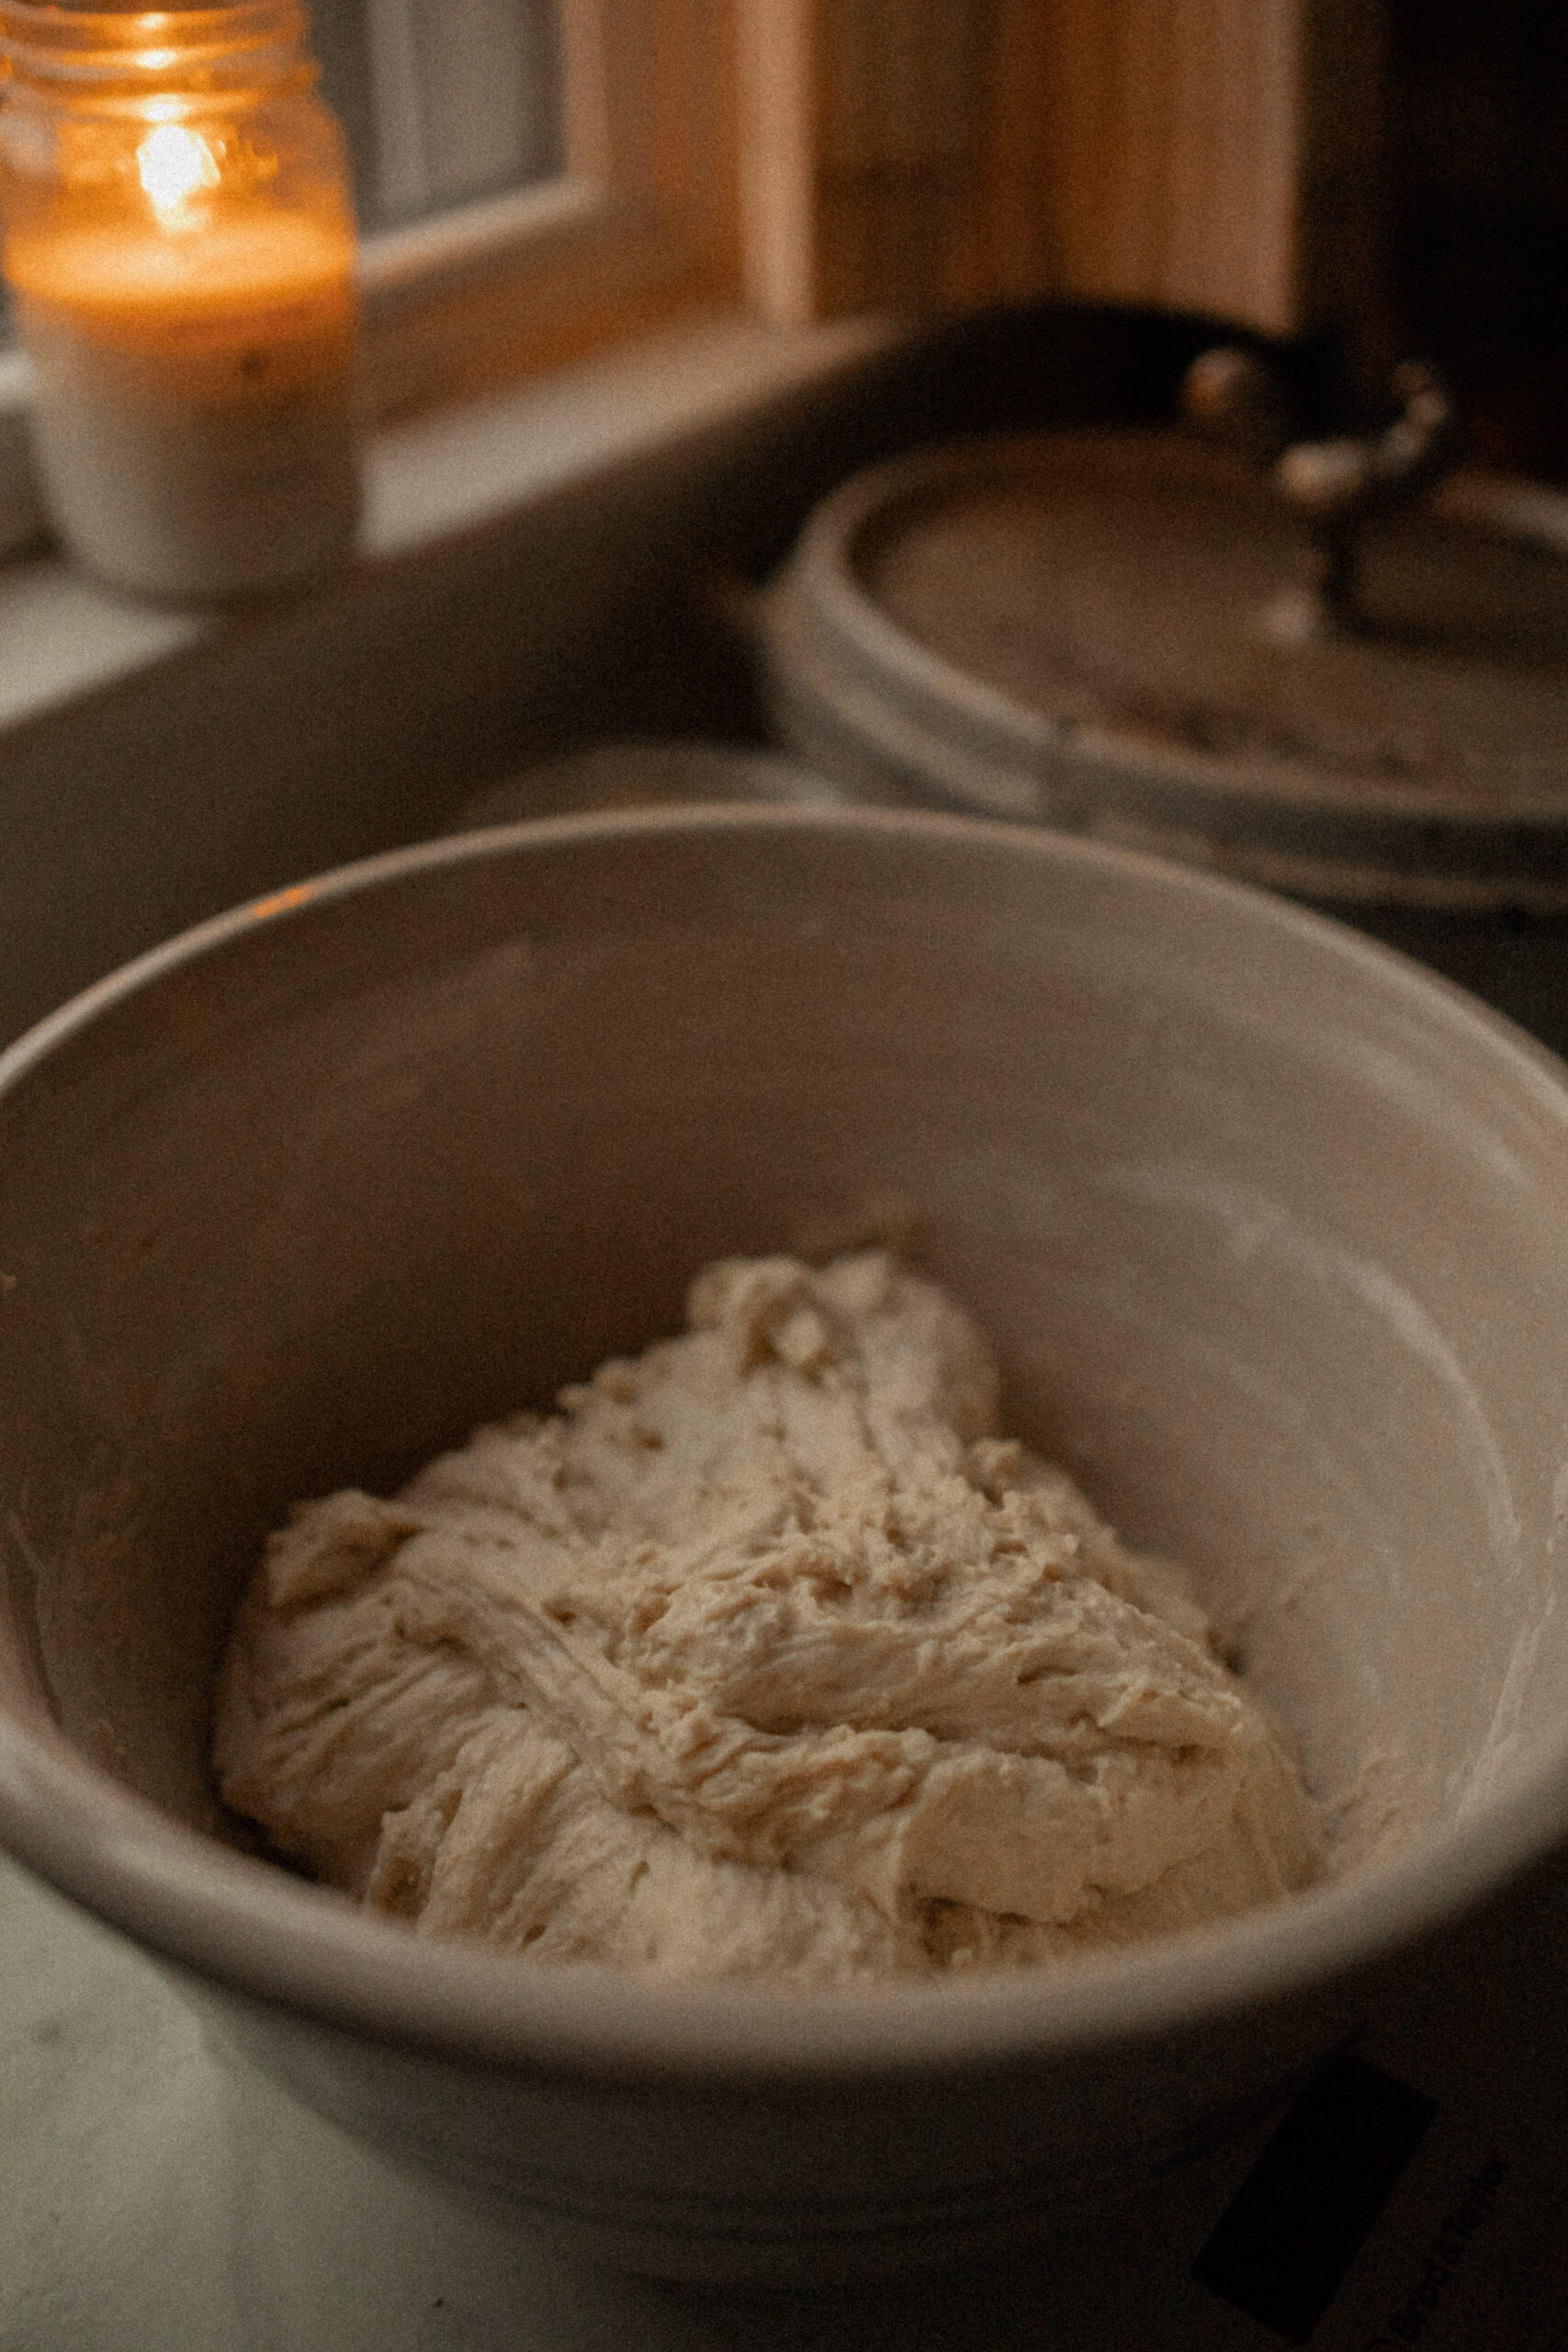
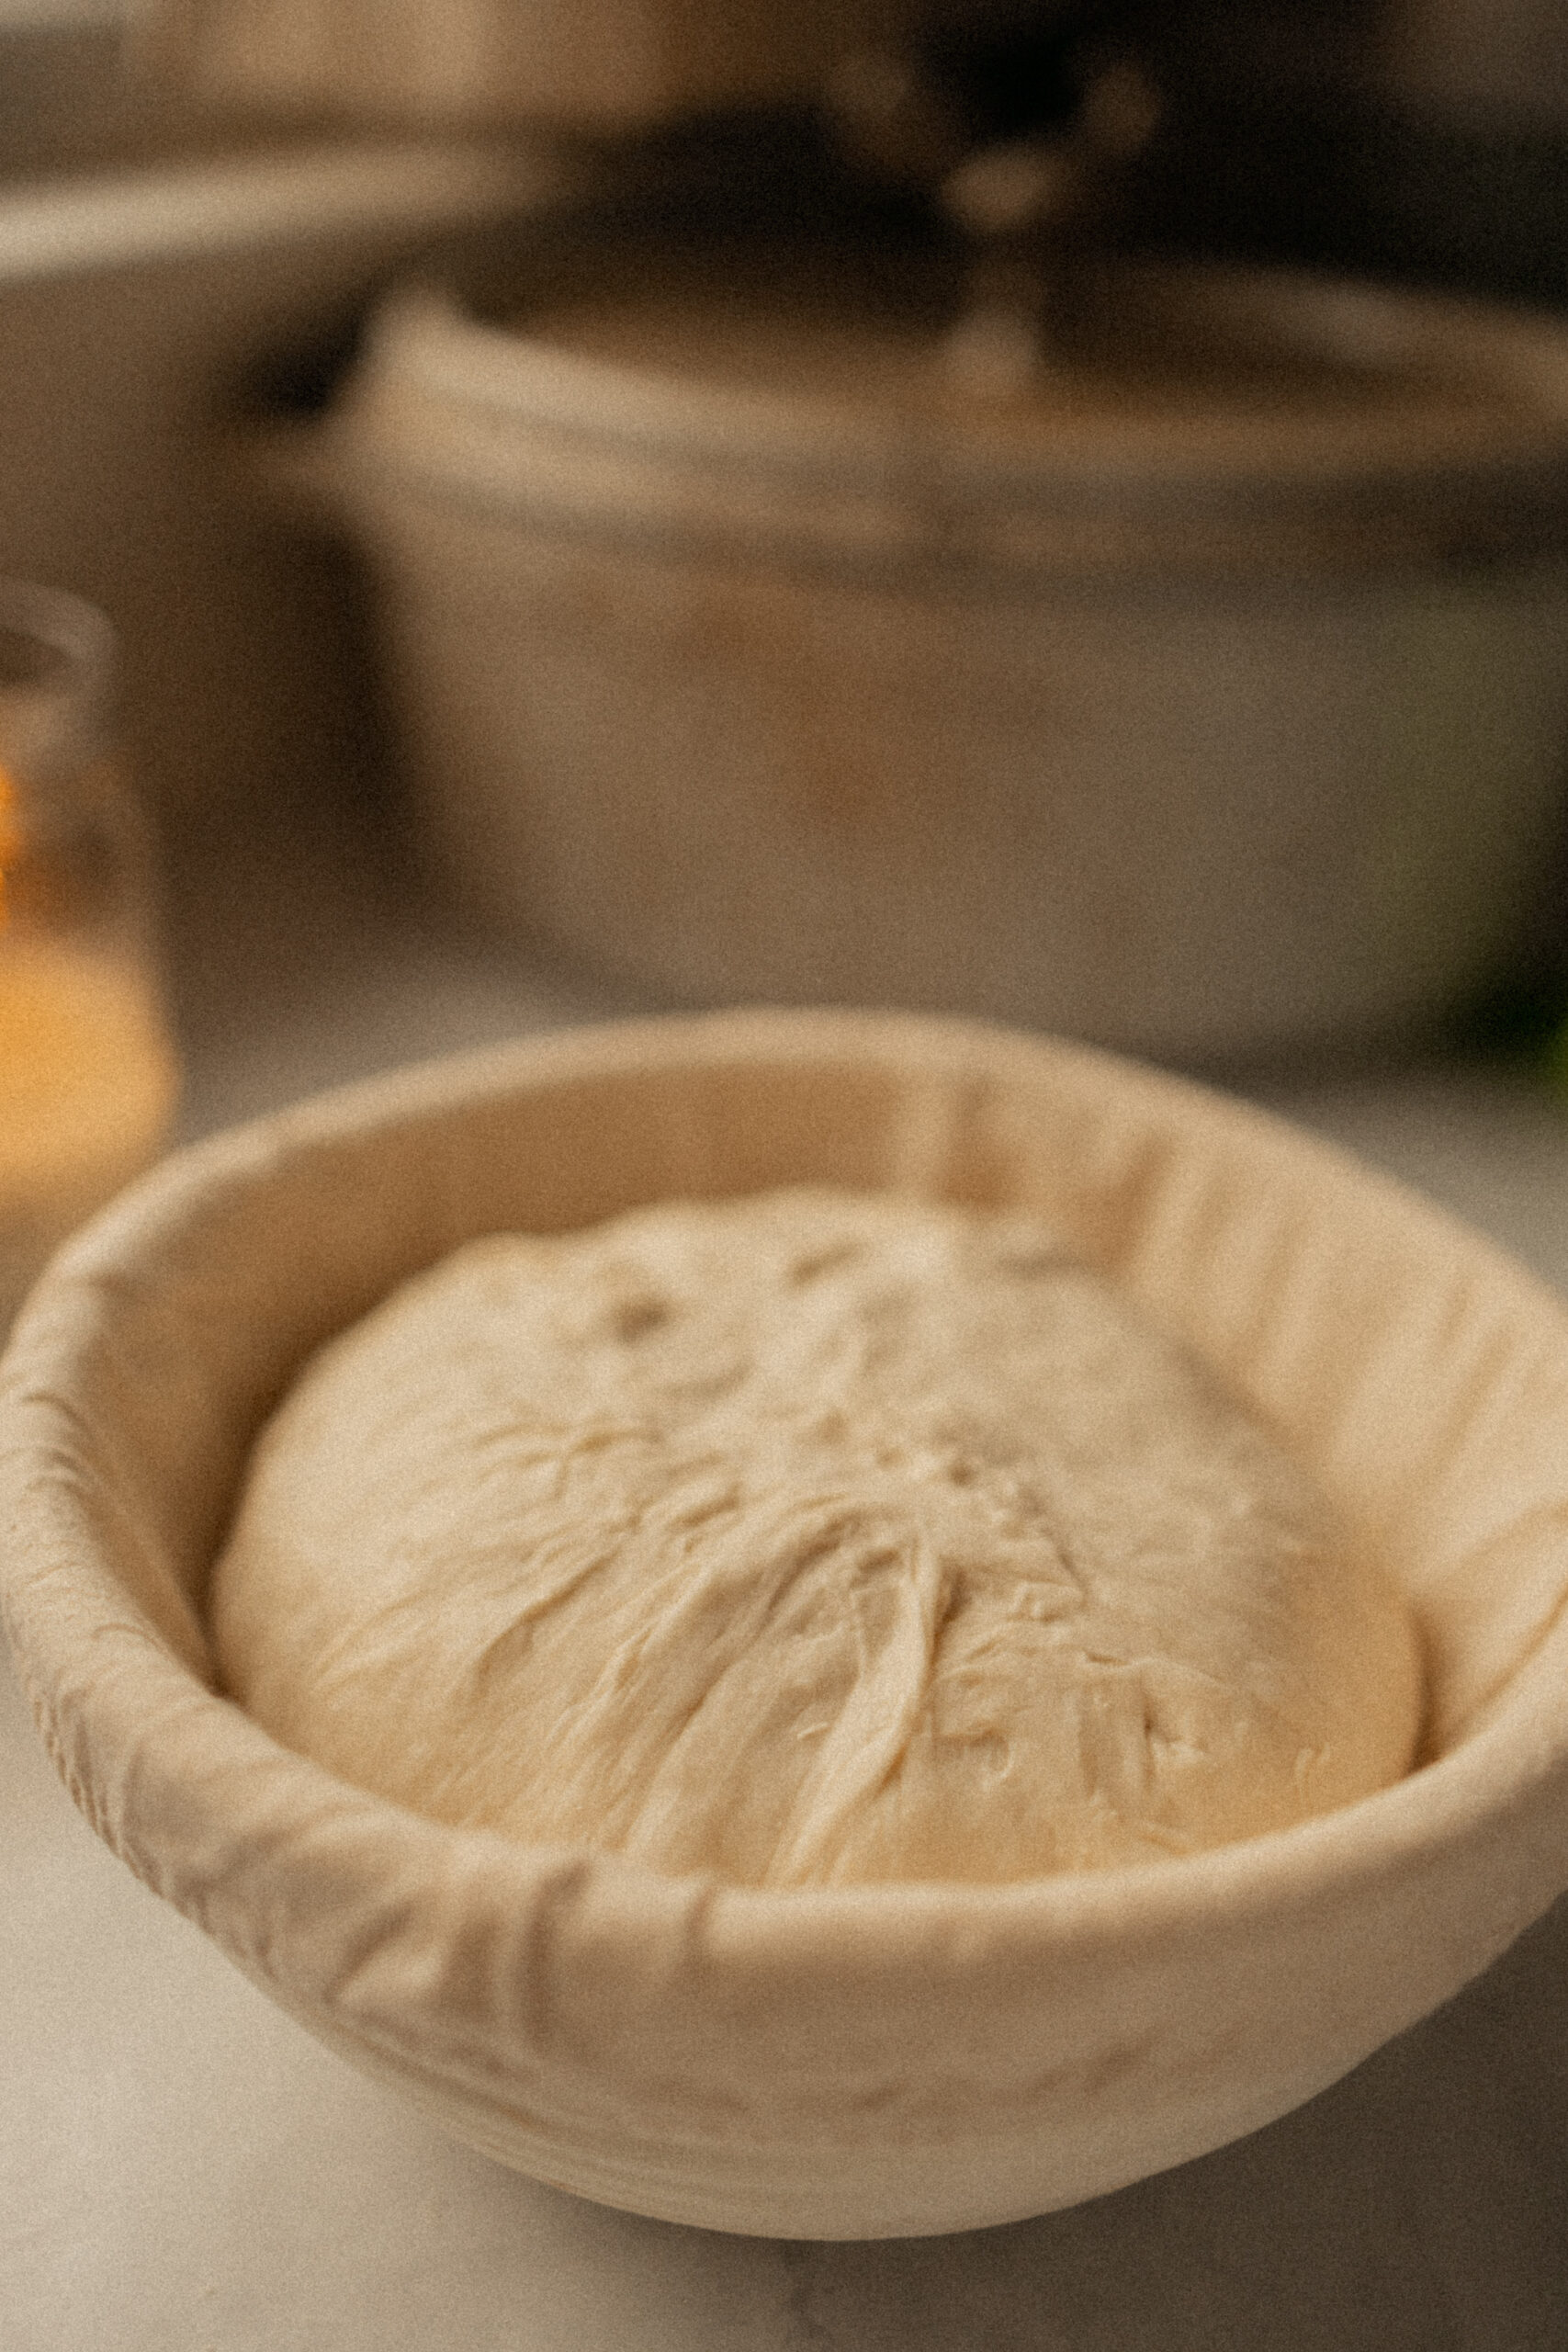
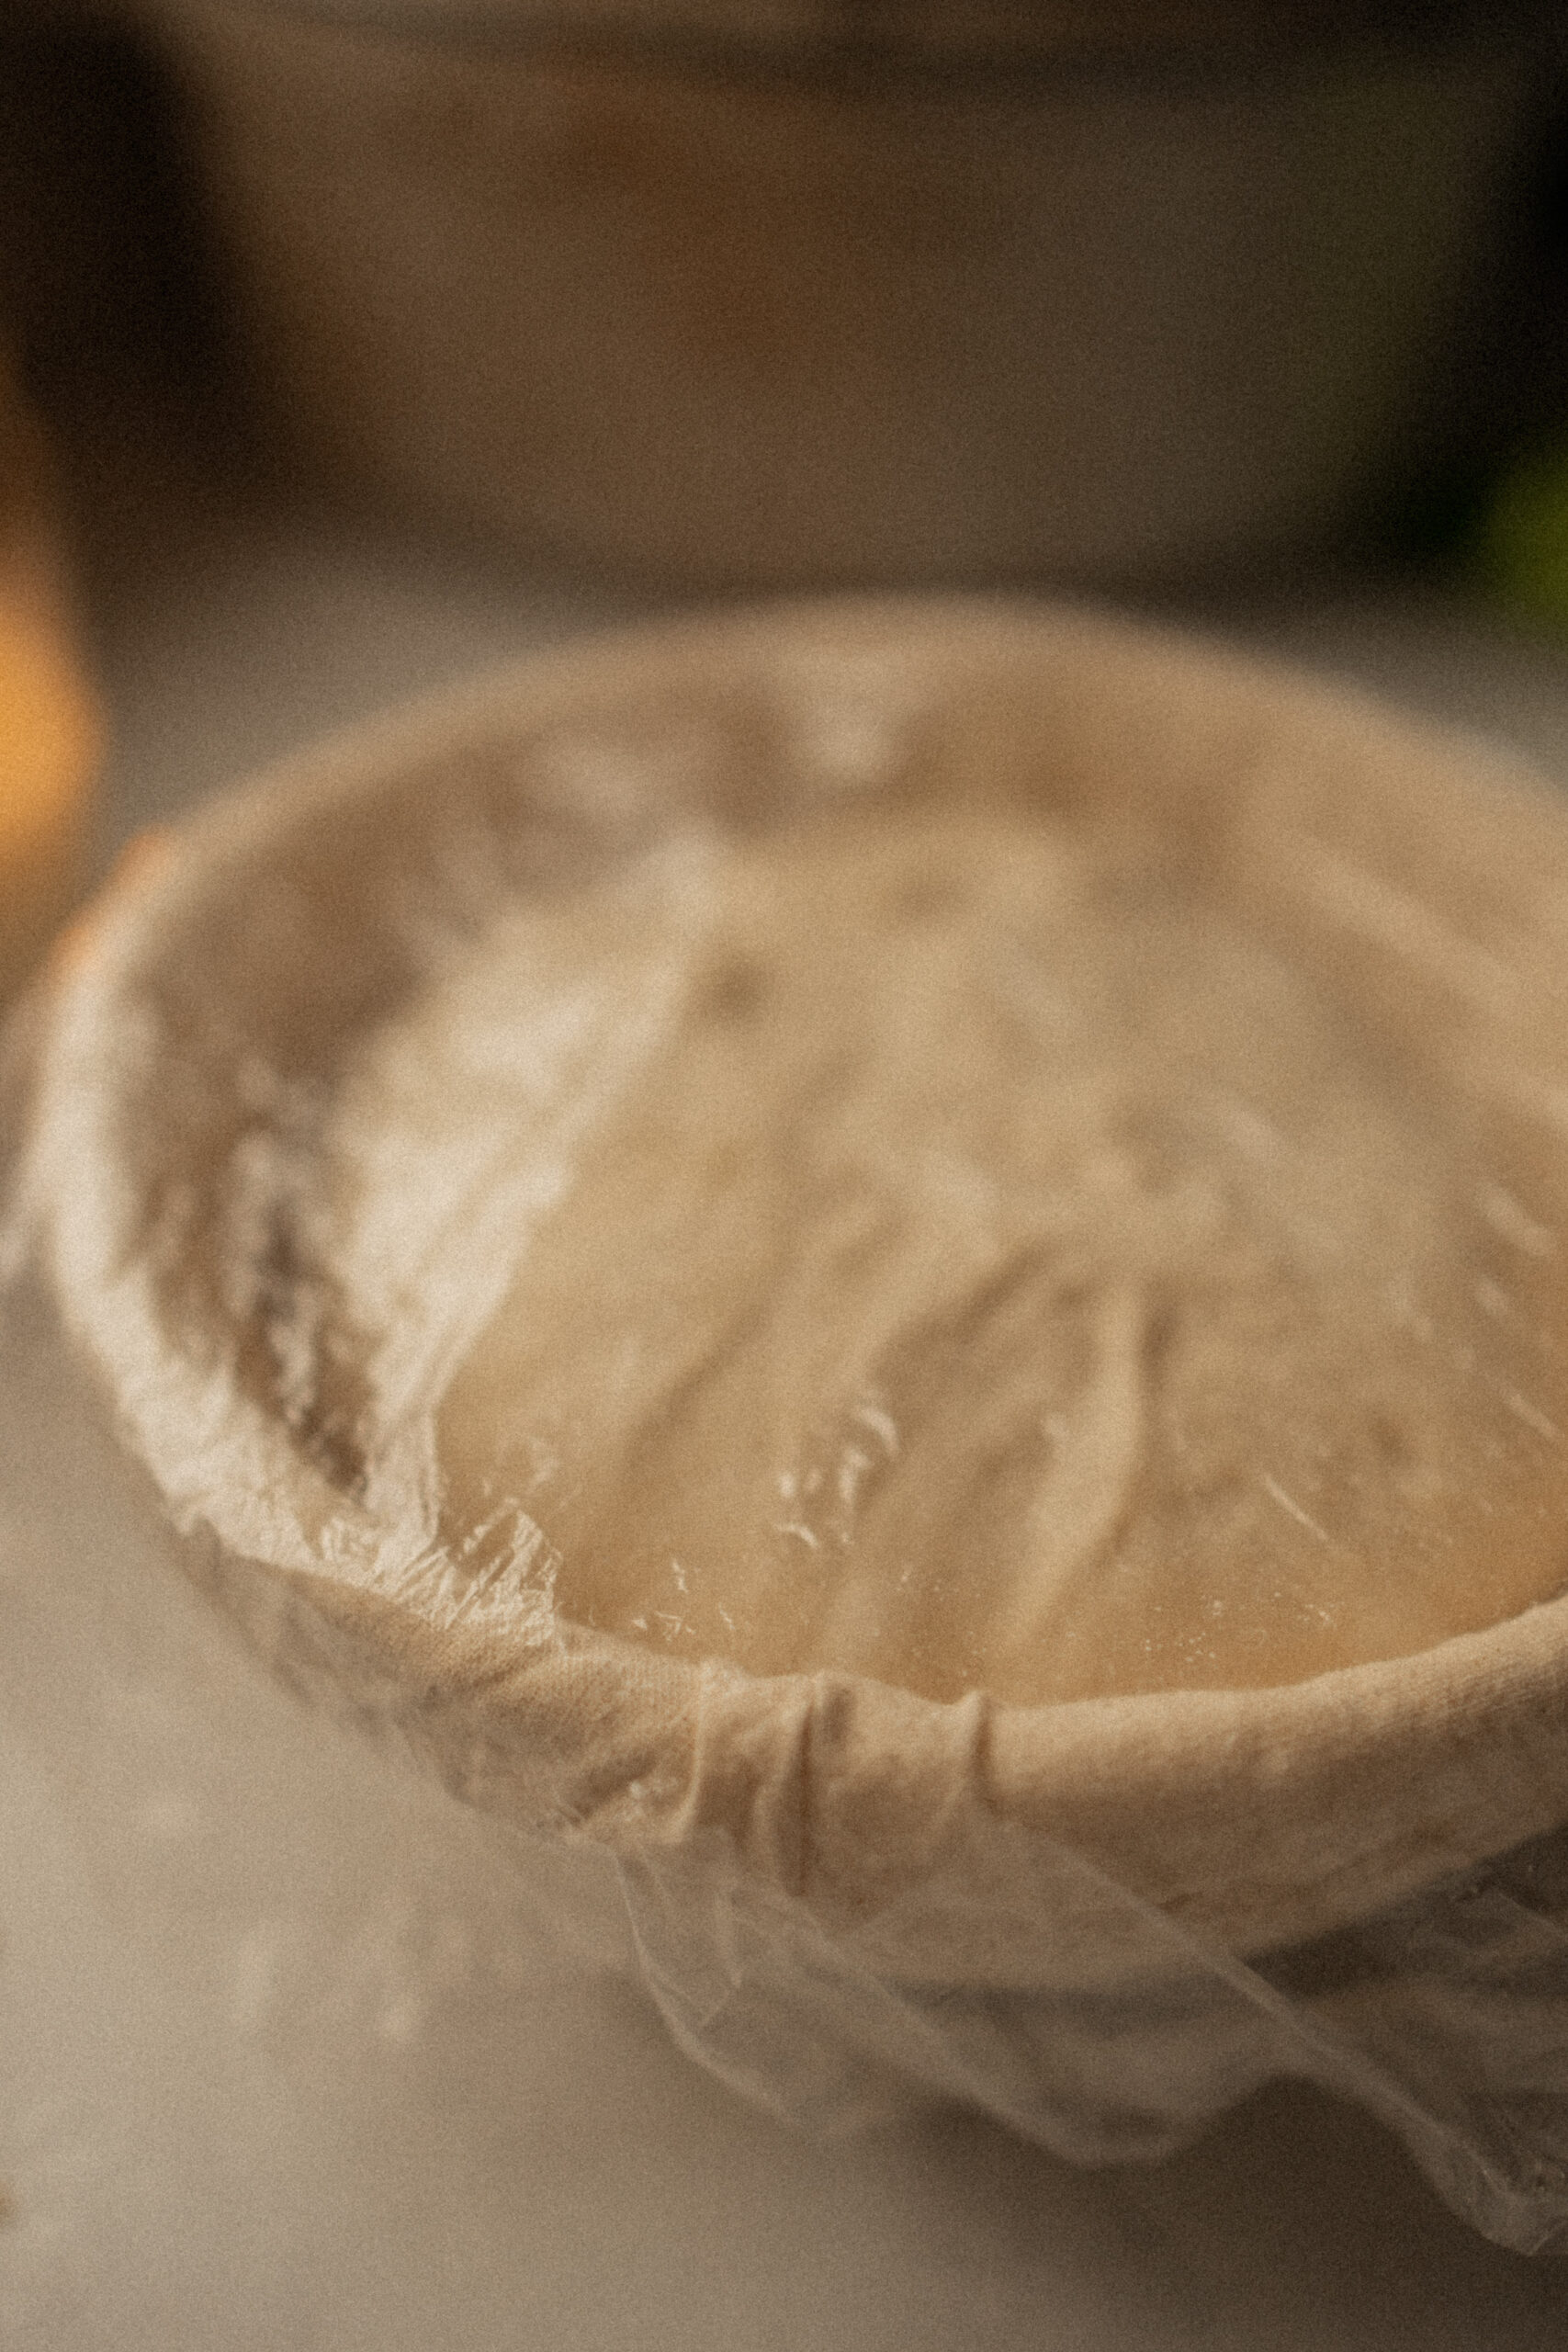
You’ll want your dough to dome. It does not need to double in size, explode out of your bowl, or need to be a specific timeframe. You do want it to have some oxygen in there. You’re essentially looking for a big giant starter. You want to see that their starter has done its job, it’s fermented your dough, and is showing the same signs. You’ll want air bubbles (though not necessarily bubbling from the top), domed over slightly (NOT con-caved in, but rounded), and soft and airy.
This dough sat for only a couple of hours and I needed to go to bed. I knew I needed to transfer it, otherwise it would over proof on the counter overnight.
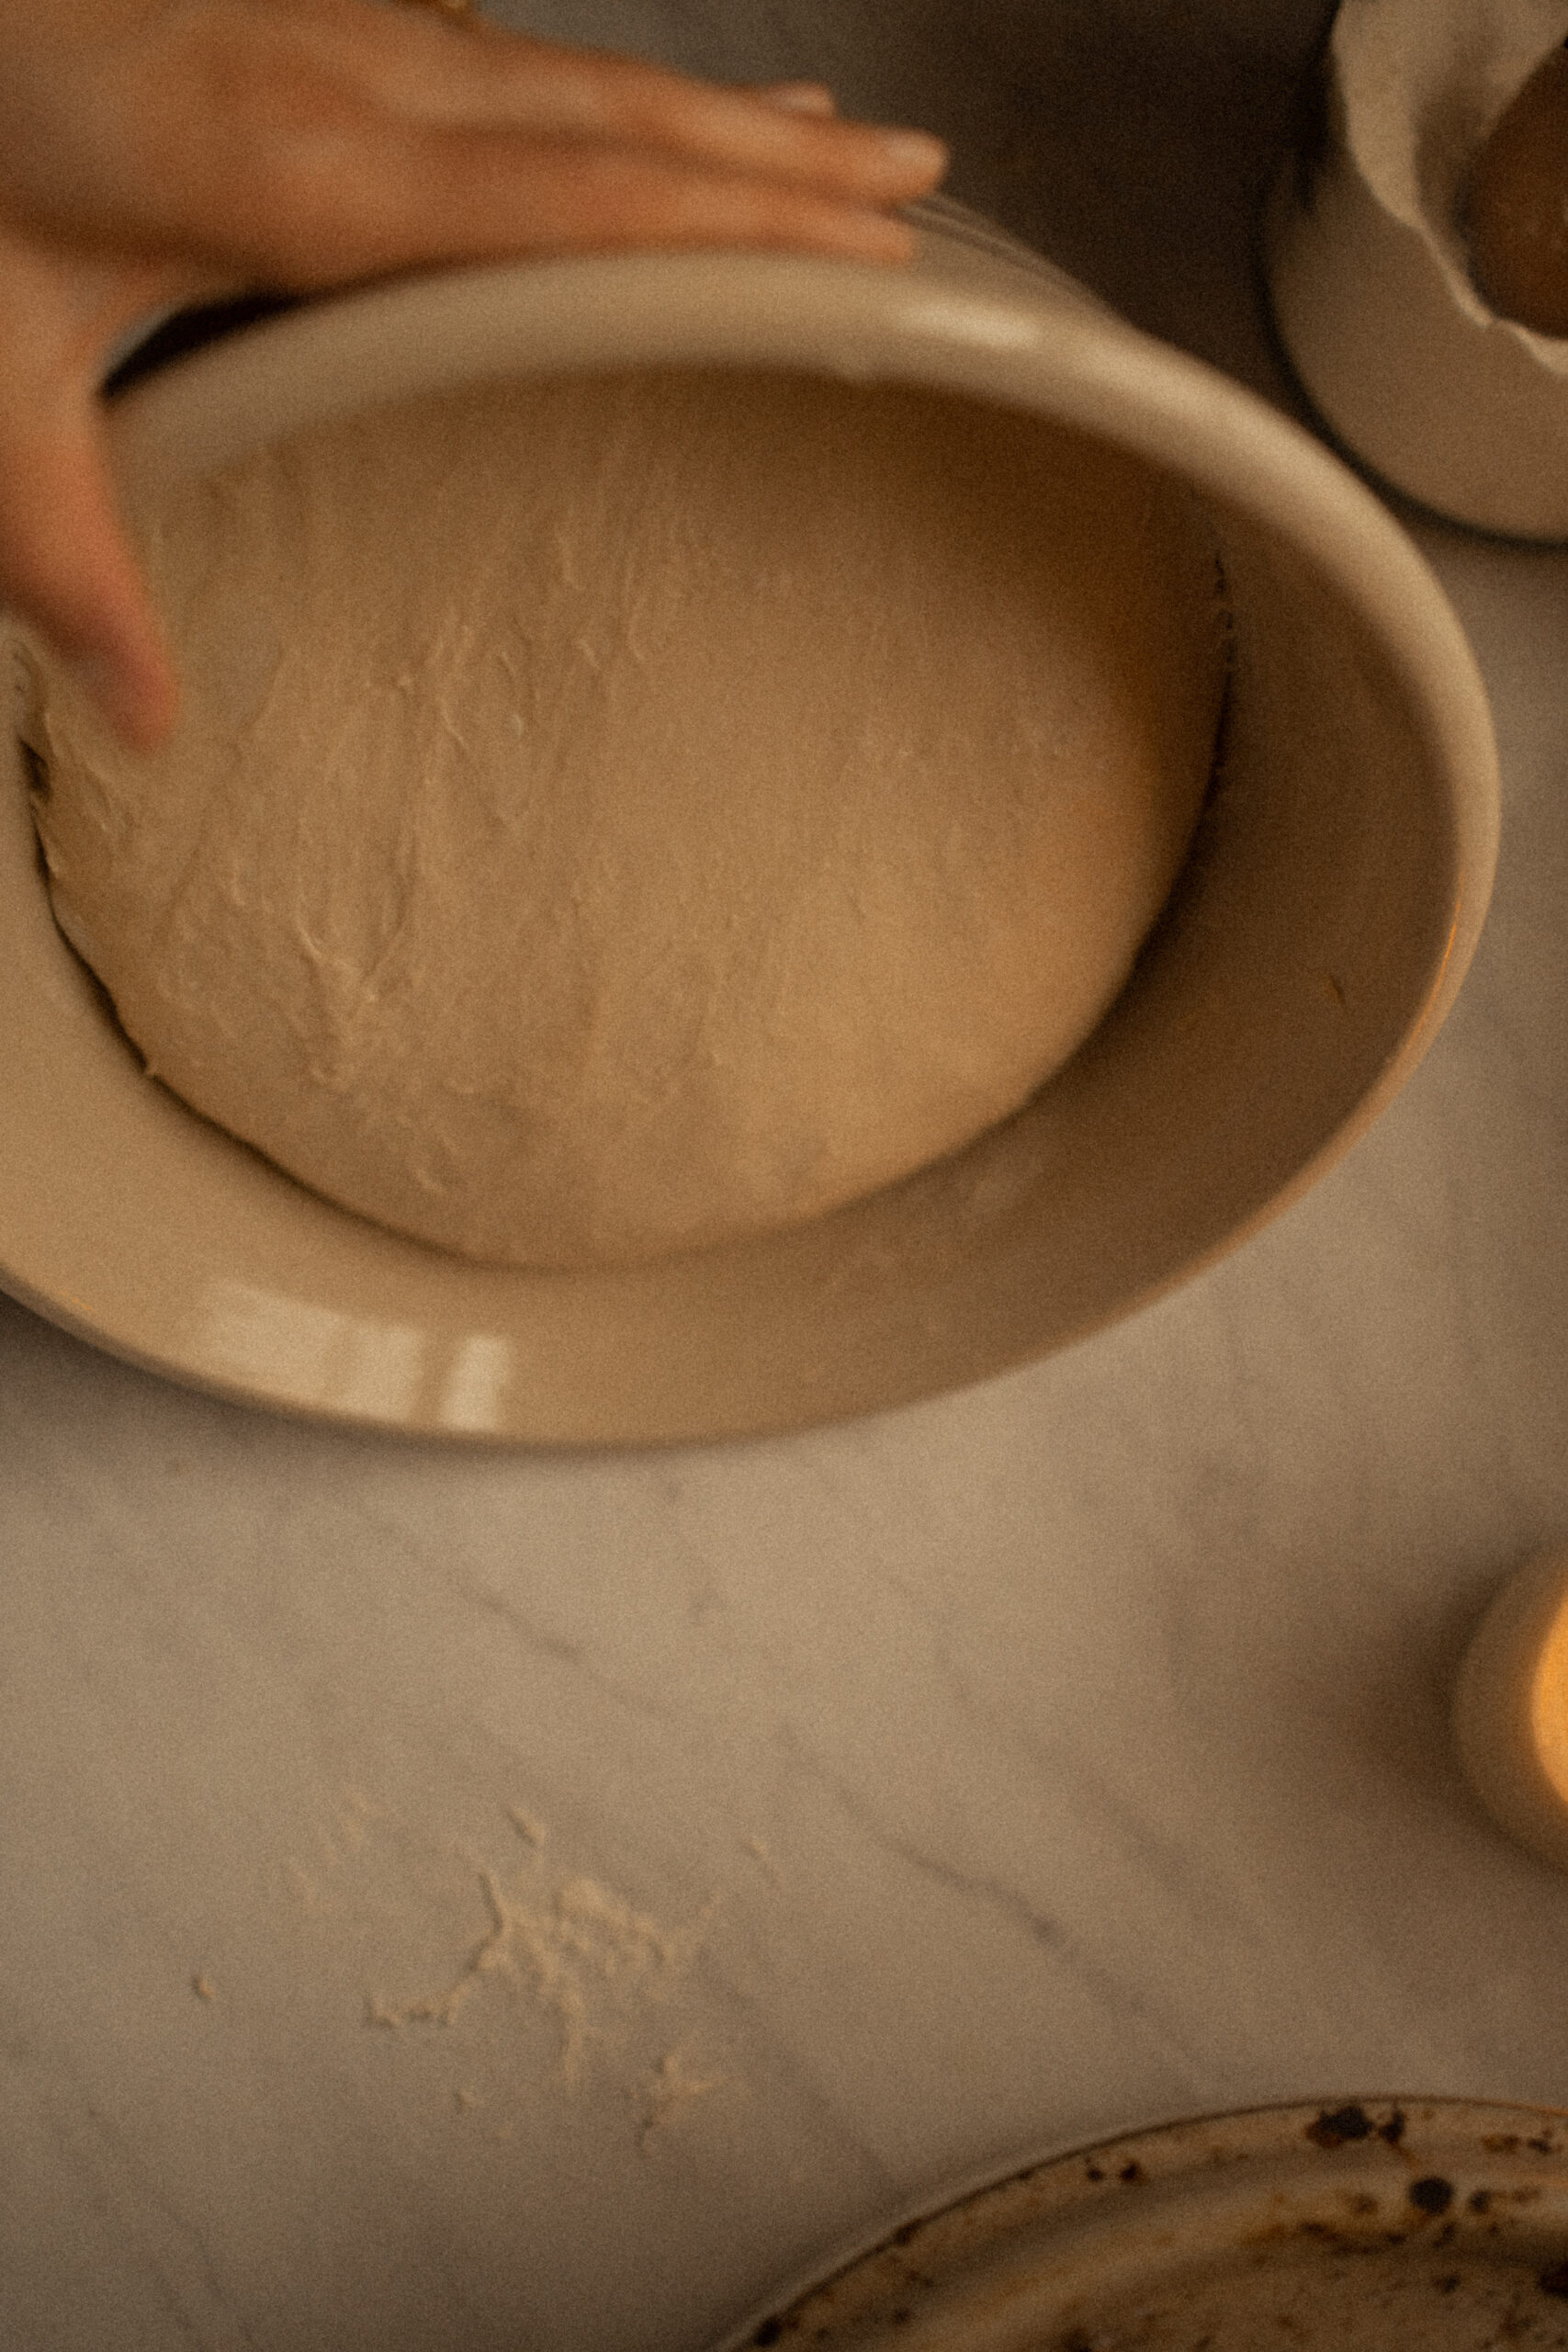
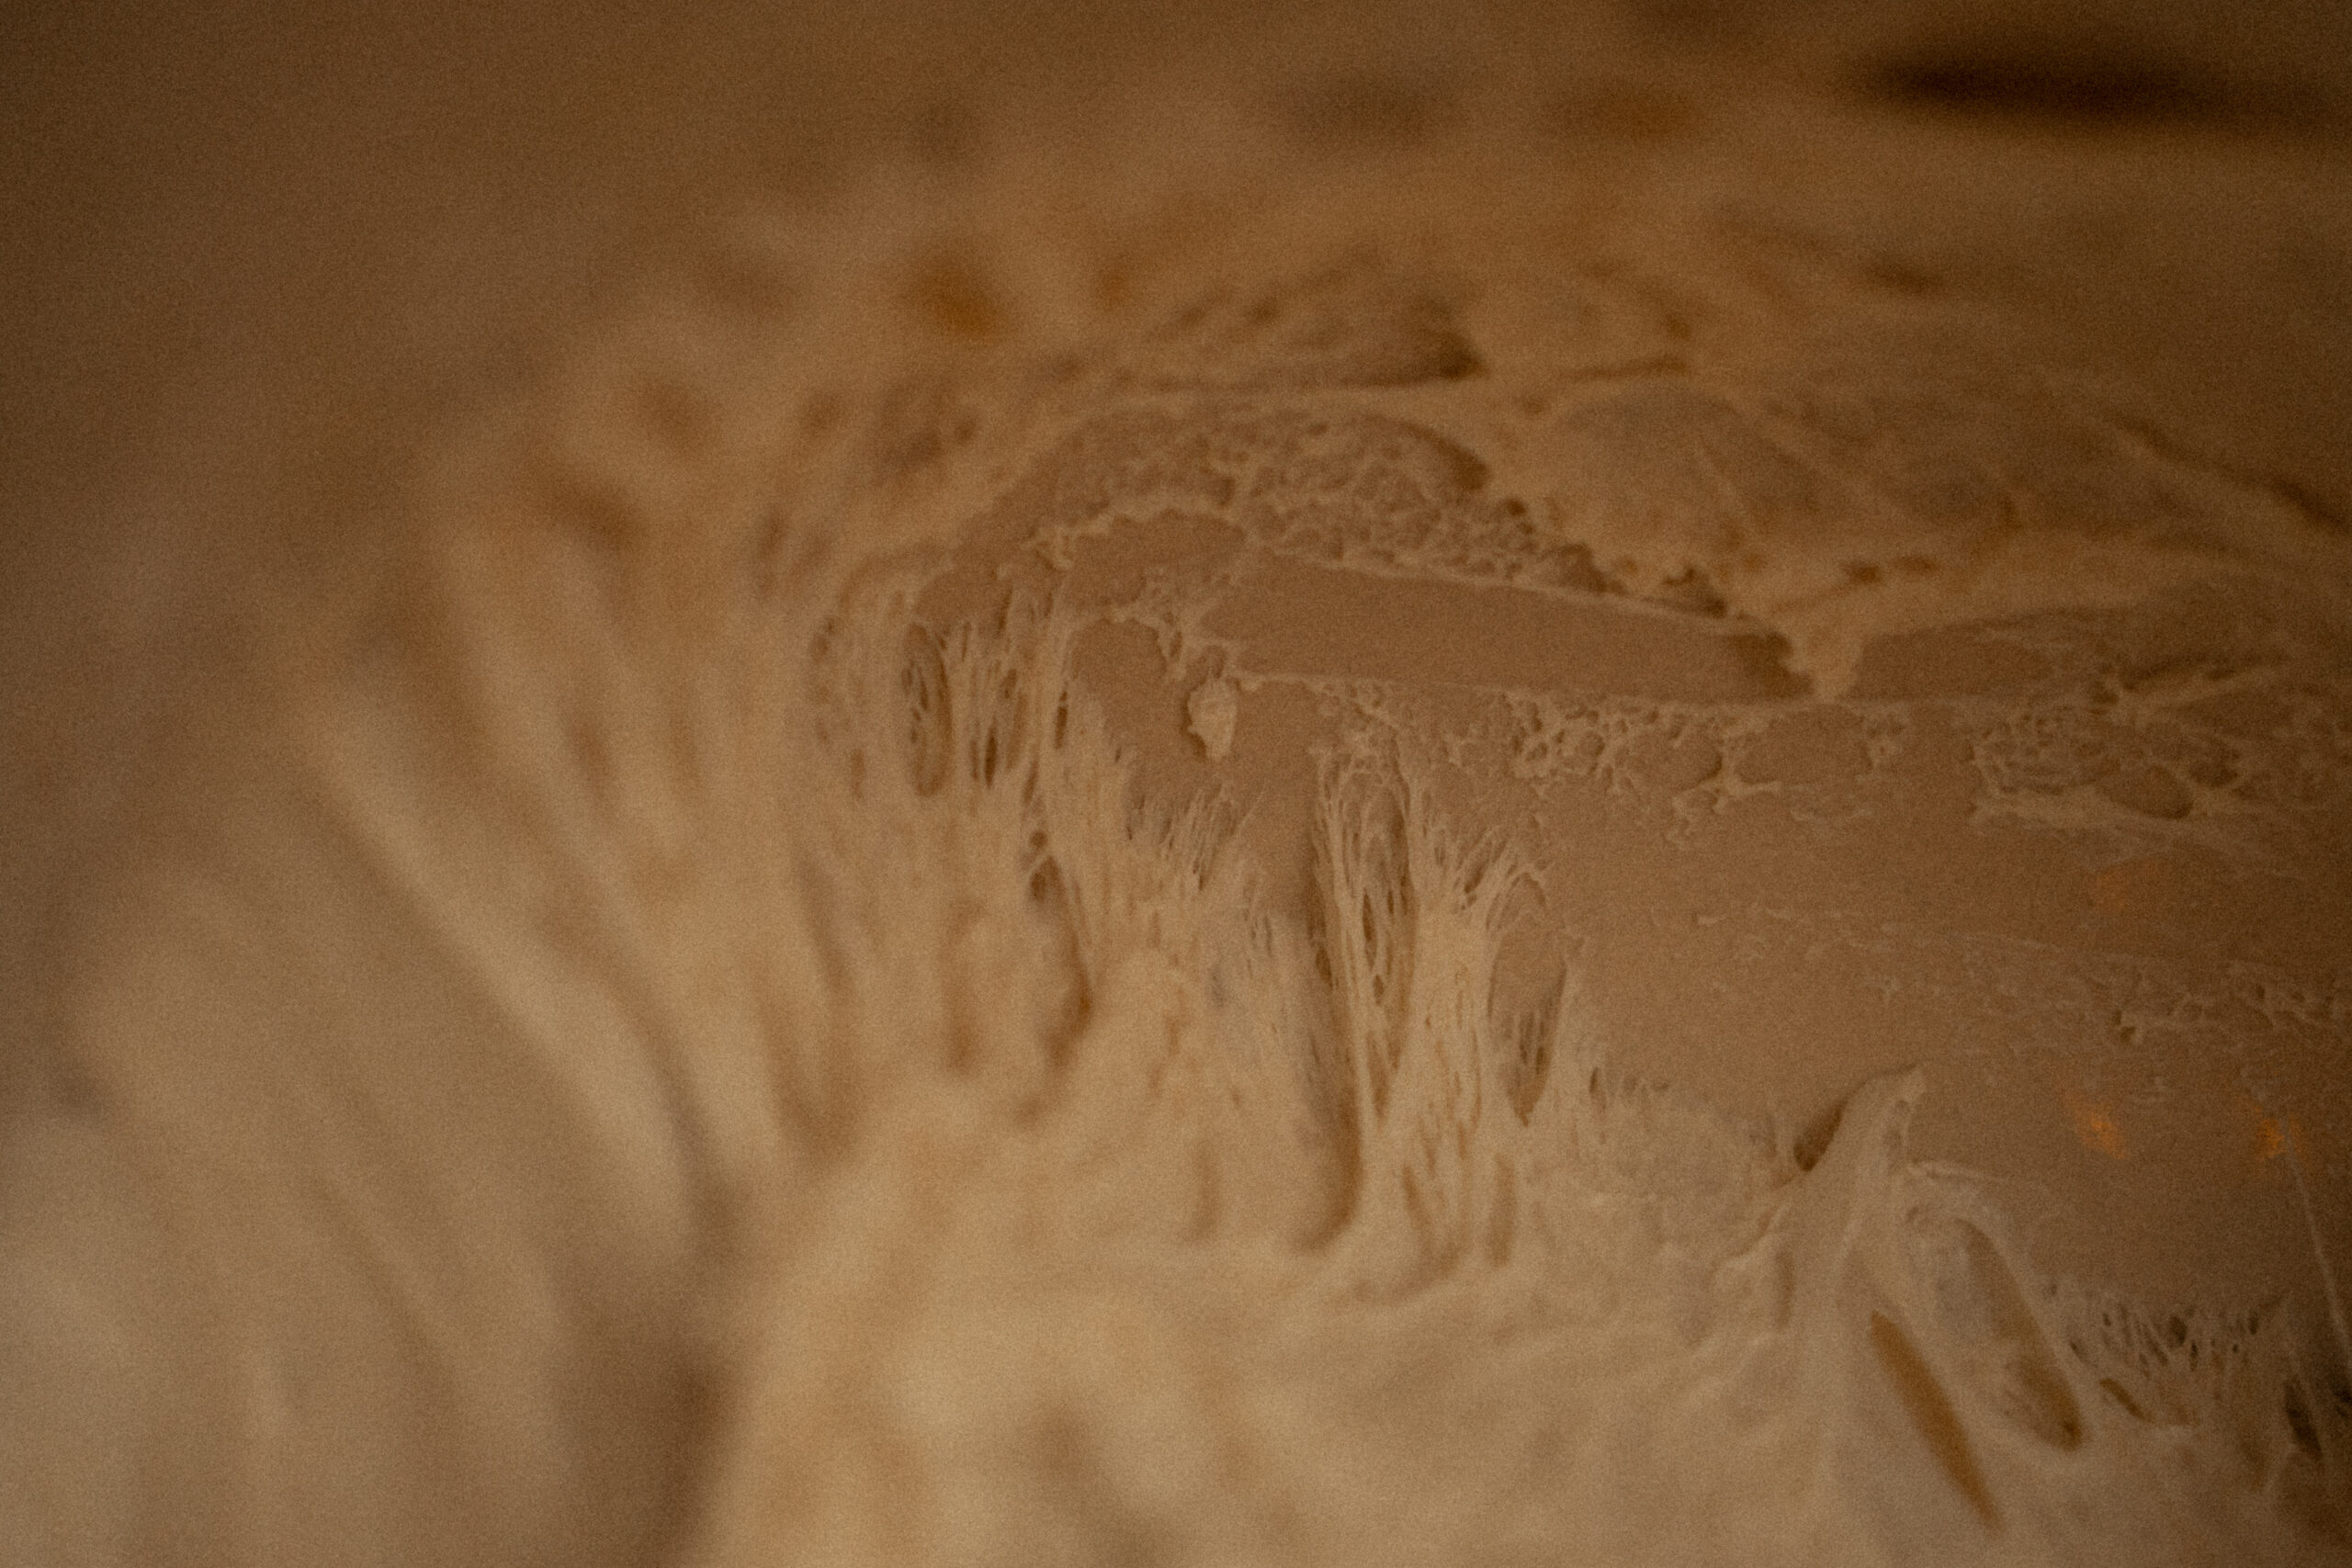
Those webby air pockets that are soft, not too wet, and light are exactly what you want to see! It’s truly just basically a big bowl of starter… but, more doughy.
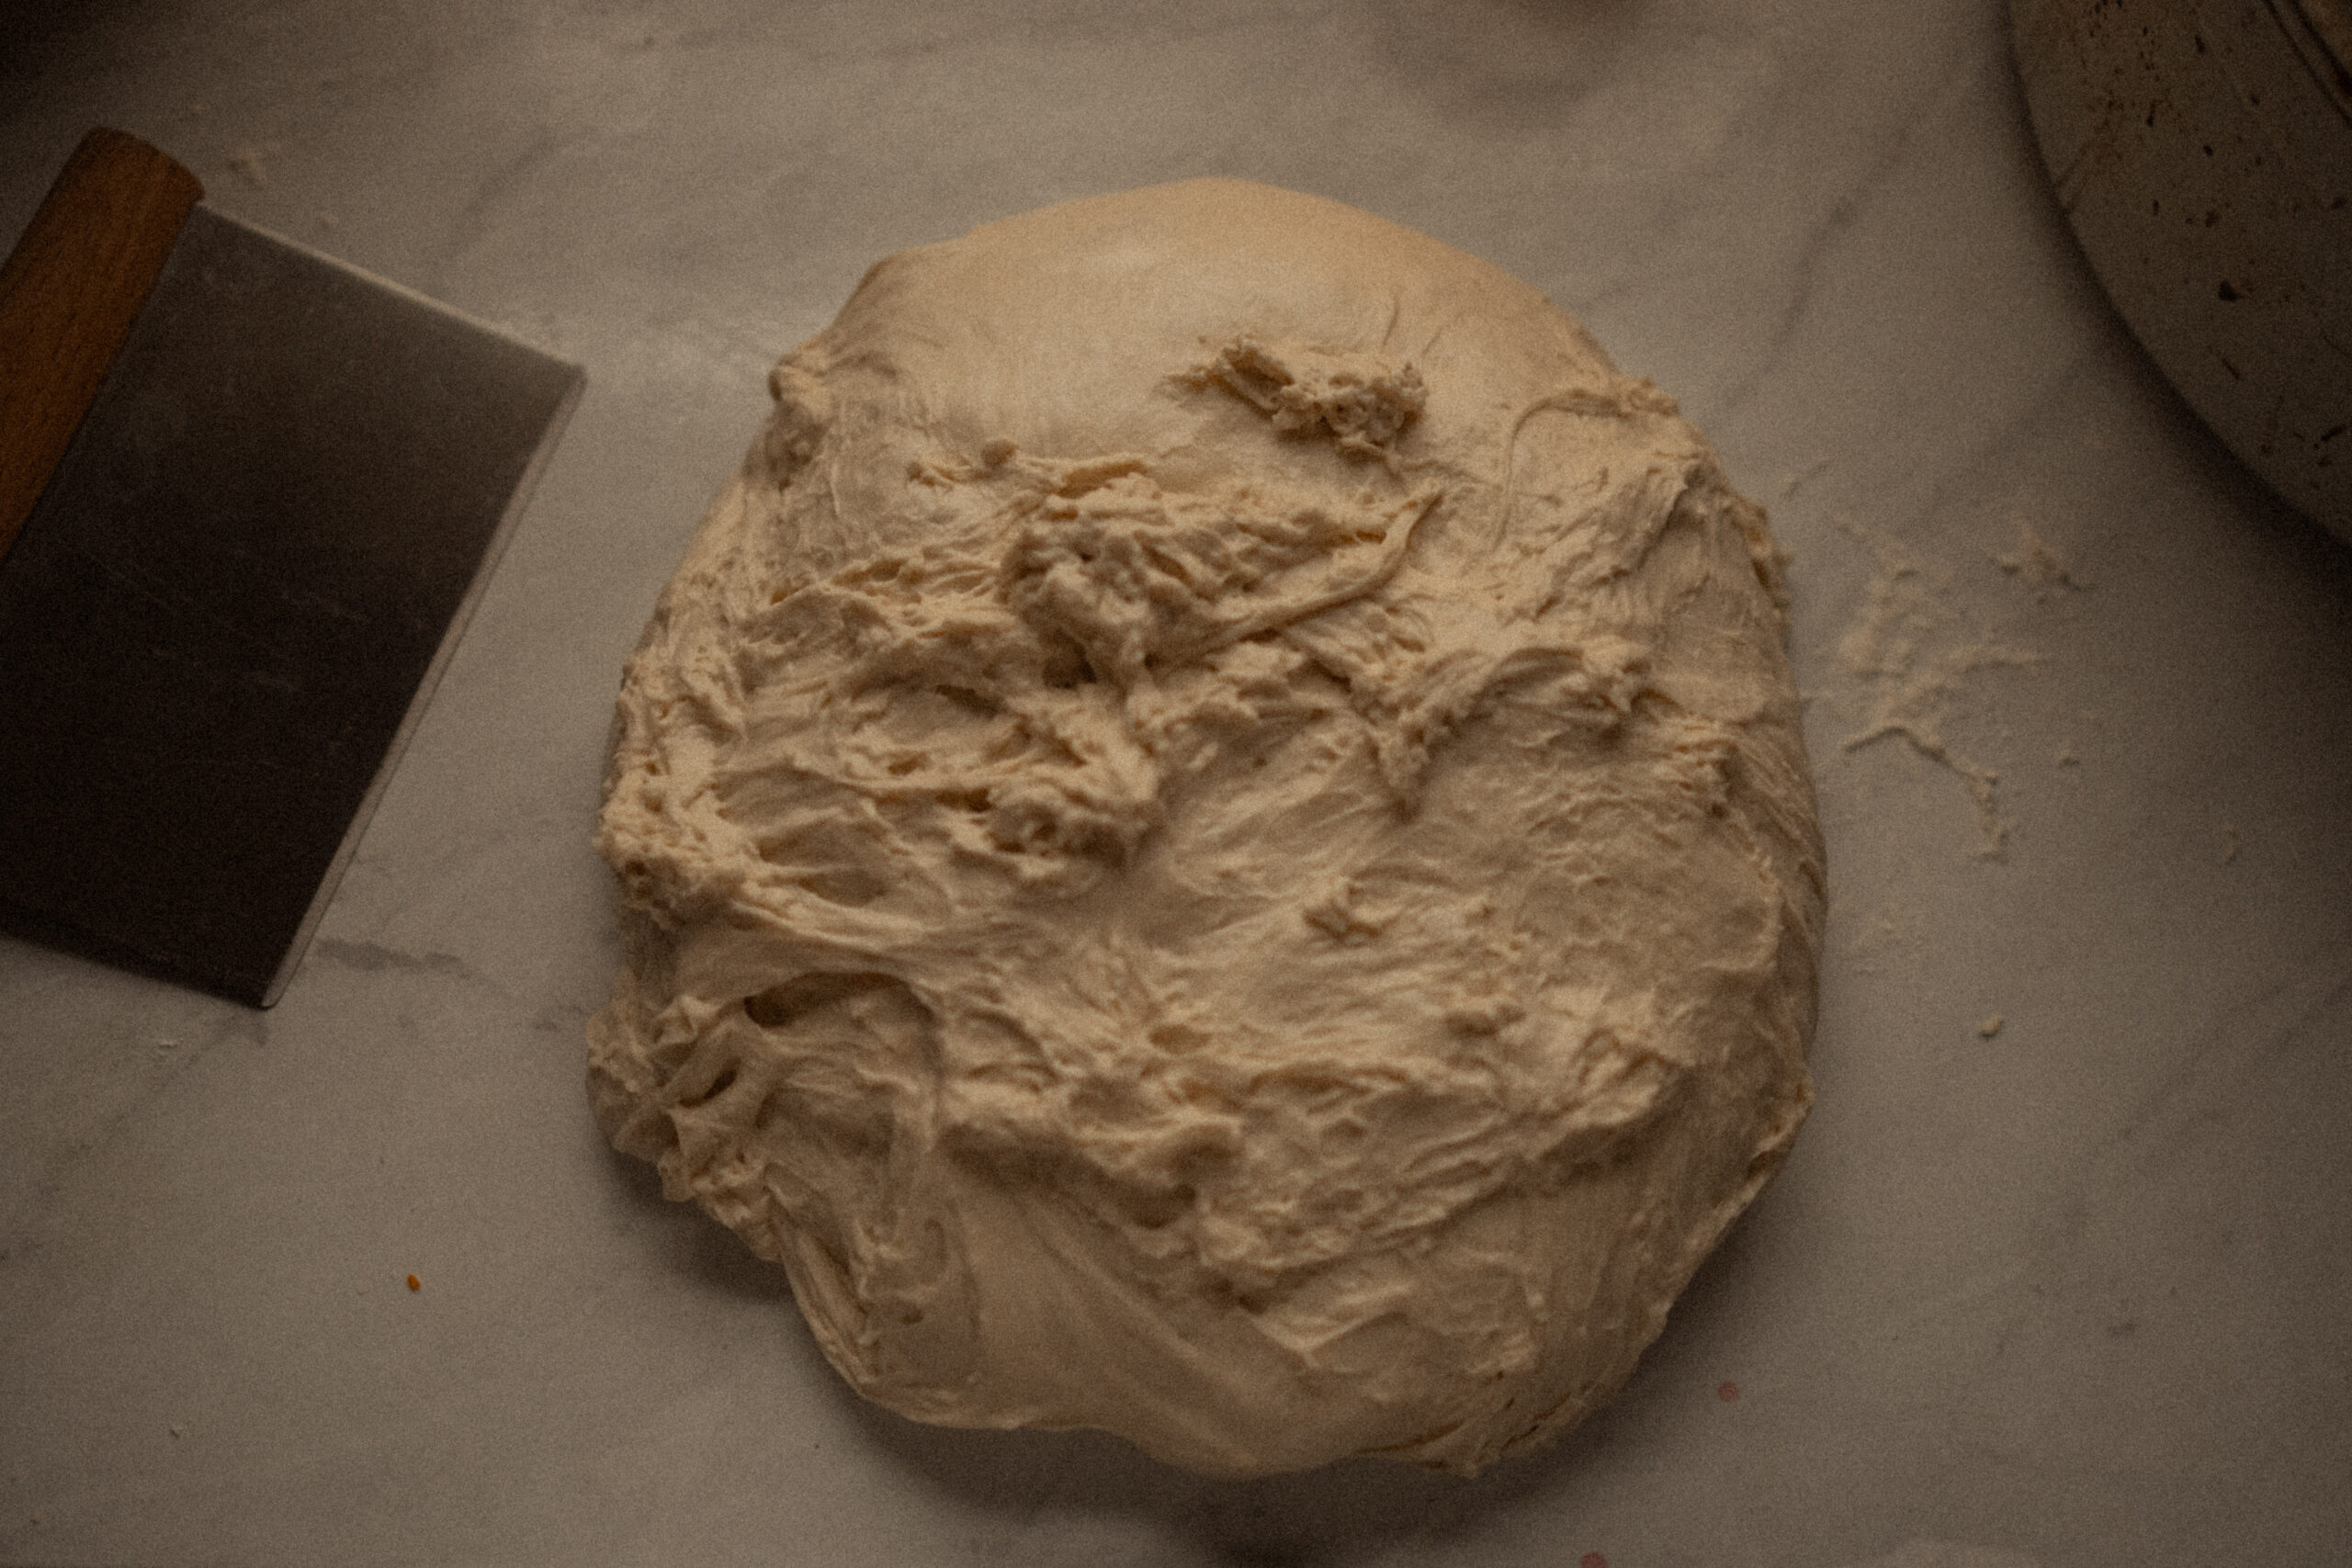
13. Transfer your whole dough to a clean workspace. Use your dough scraper to split it in half. You’re welcome to use your scale to get precise measurements for your dough. I do not do this, but if you’re a perfectionist, now’s when you’d do that.

14. Next is the lamination process. Handle the dough gently but firm. Begin pulling the dough by slapping against the counter a bit, tugging and pulling, until the dough is stretched mostly even, smooth, and flat. Don’t tug it too rough to the point of tearing and breaking apart. ***Not looking for perfection here, simply building strength in our dough. My counter space has been pretty limited the last few years and will continue to be for a while, so just do the best you can! No shame in working with what you’ve got 😉
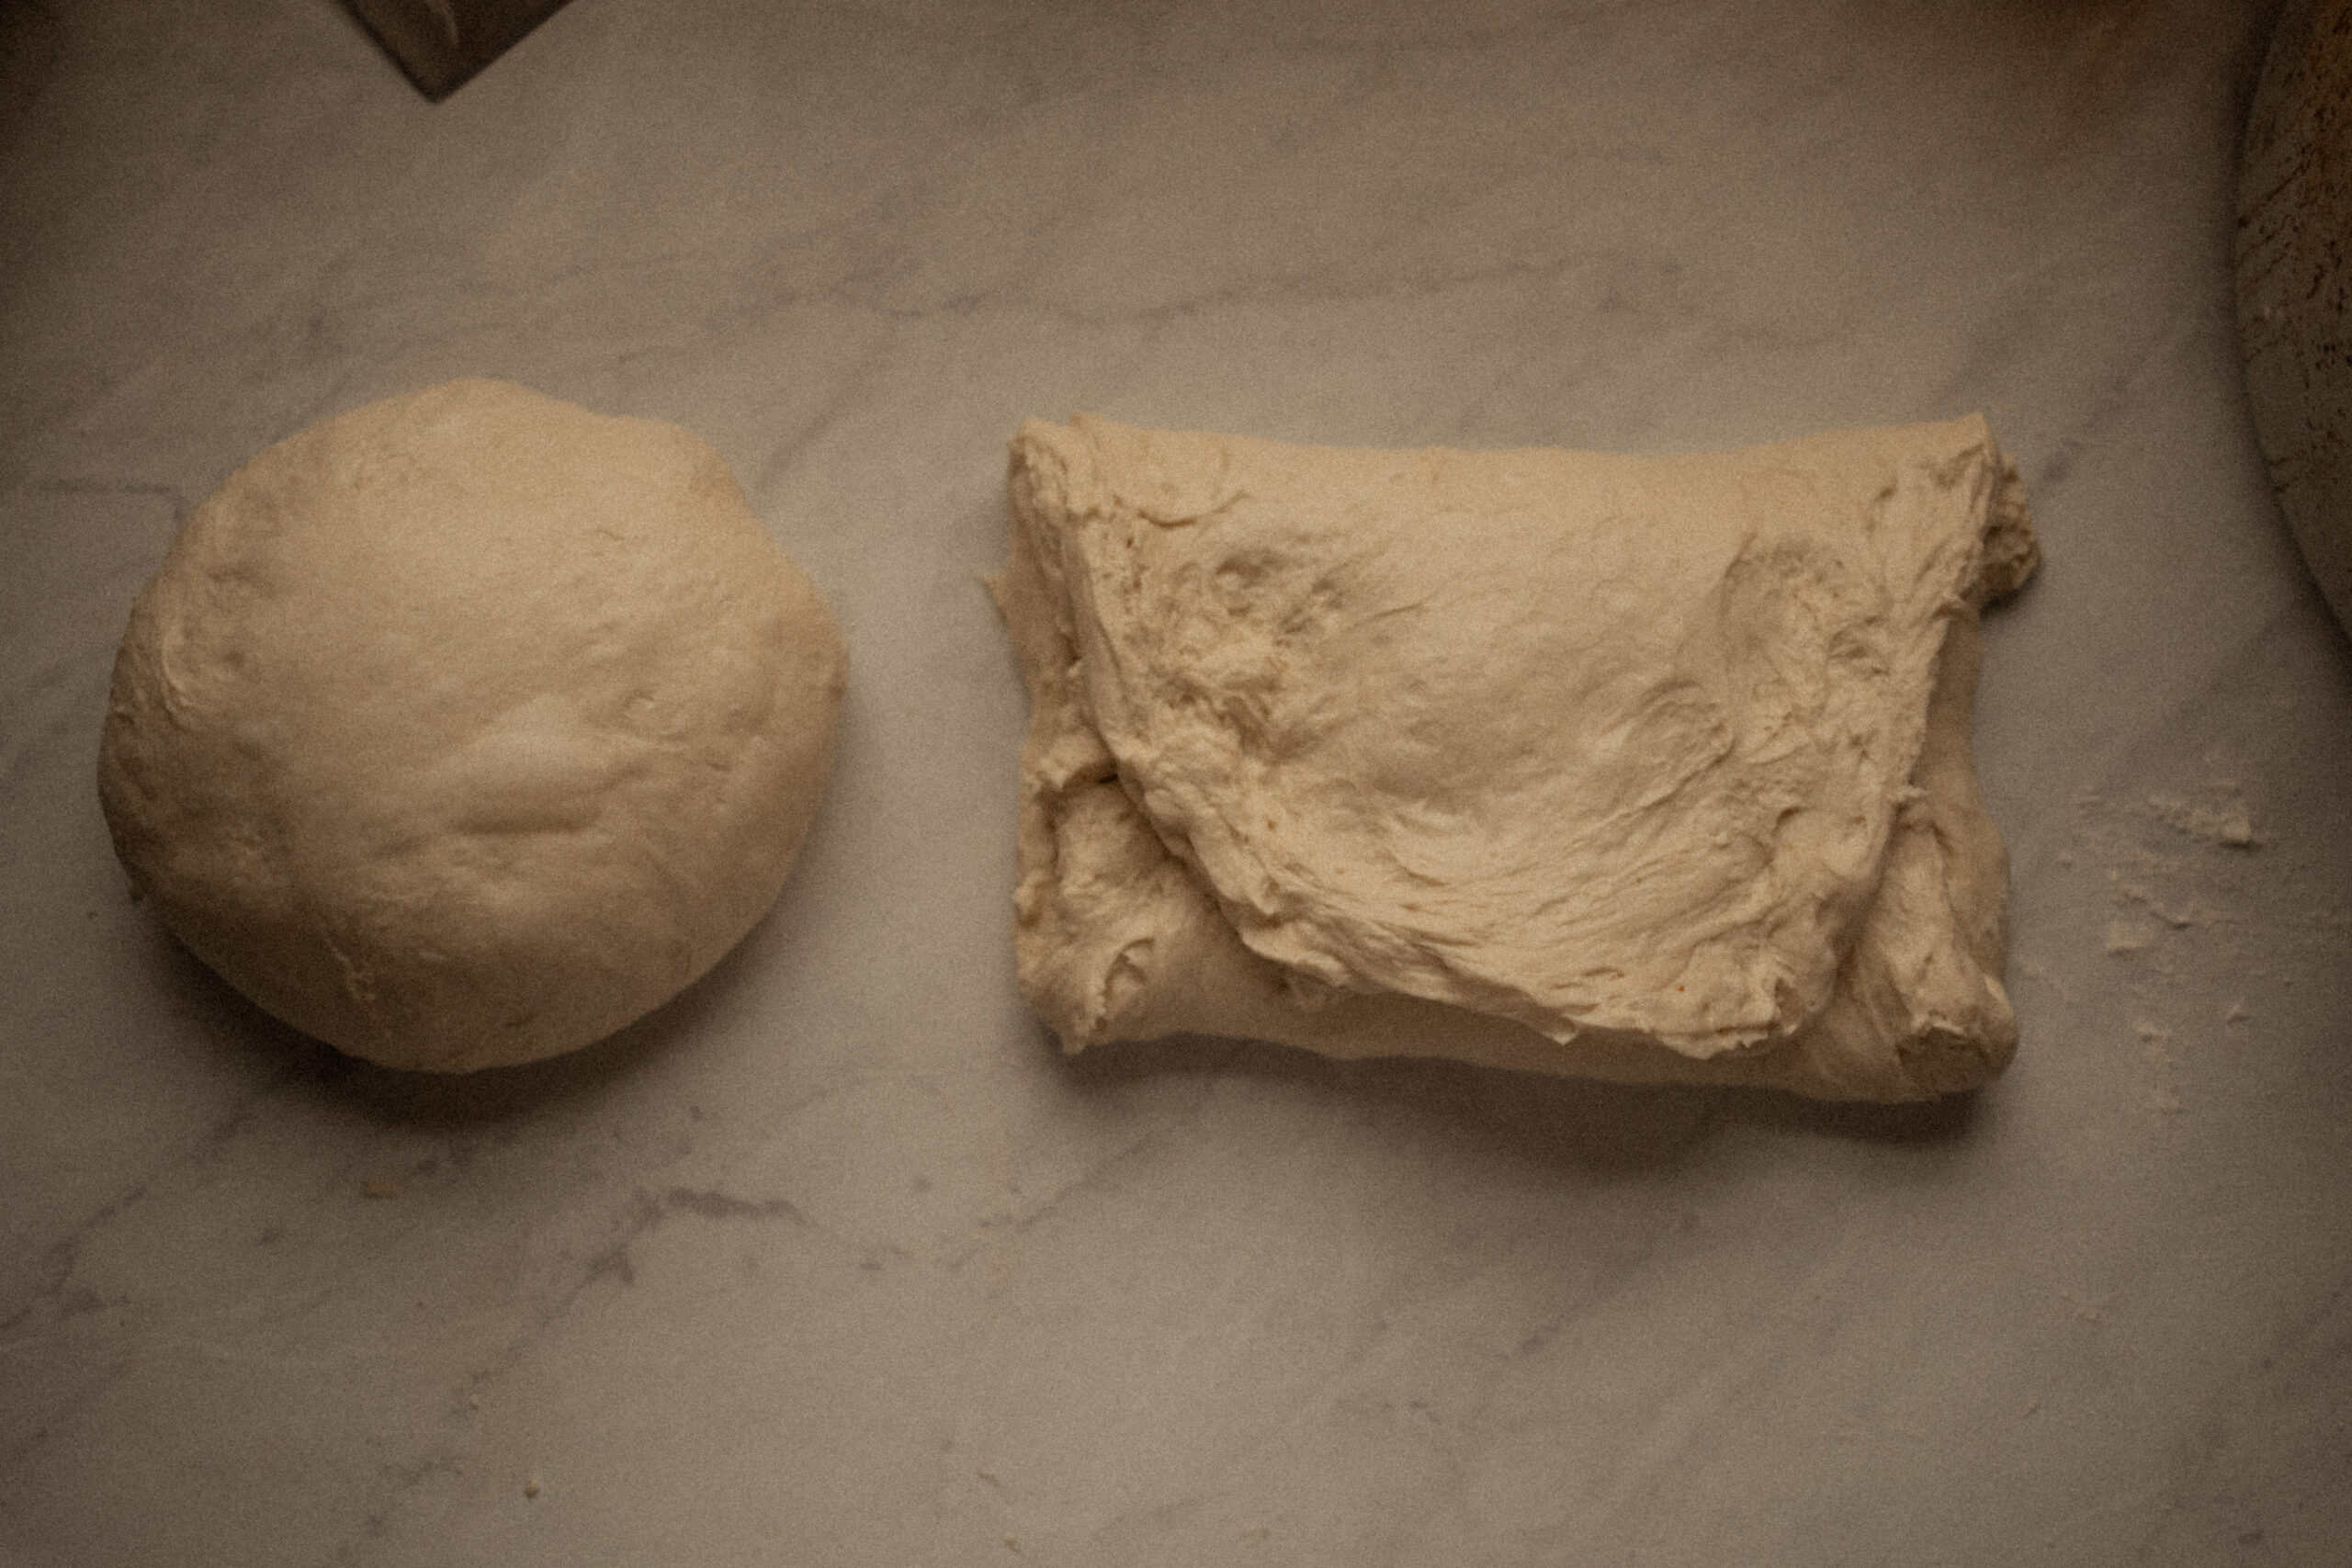
15. Now we begin shaping our dough. I start out by folding my dough into 3 parts, and then again.
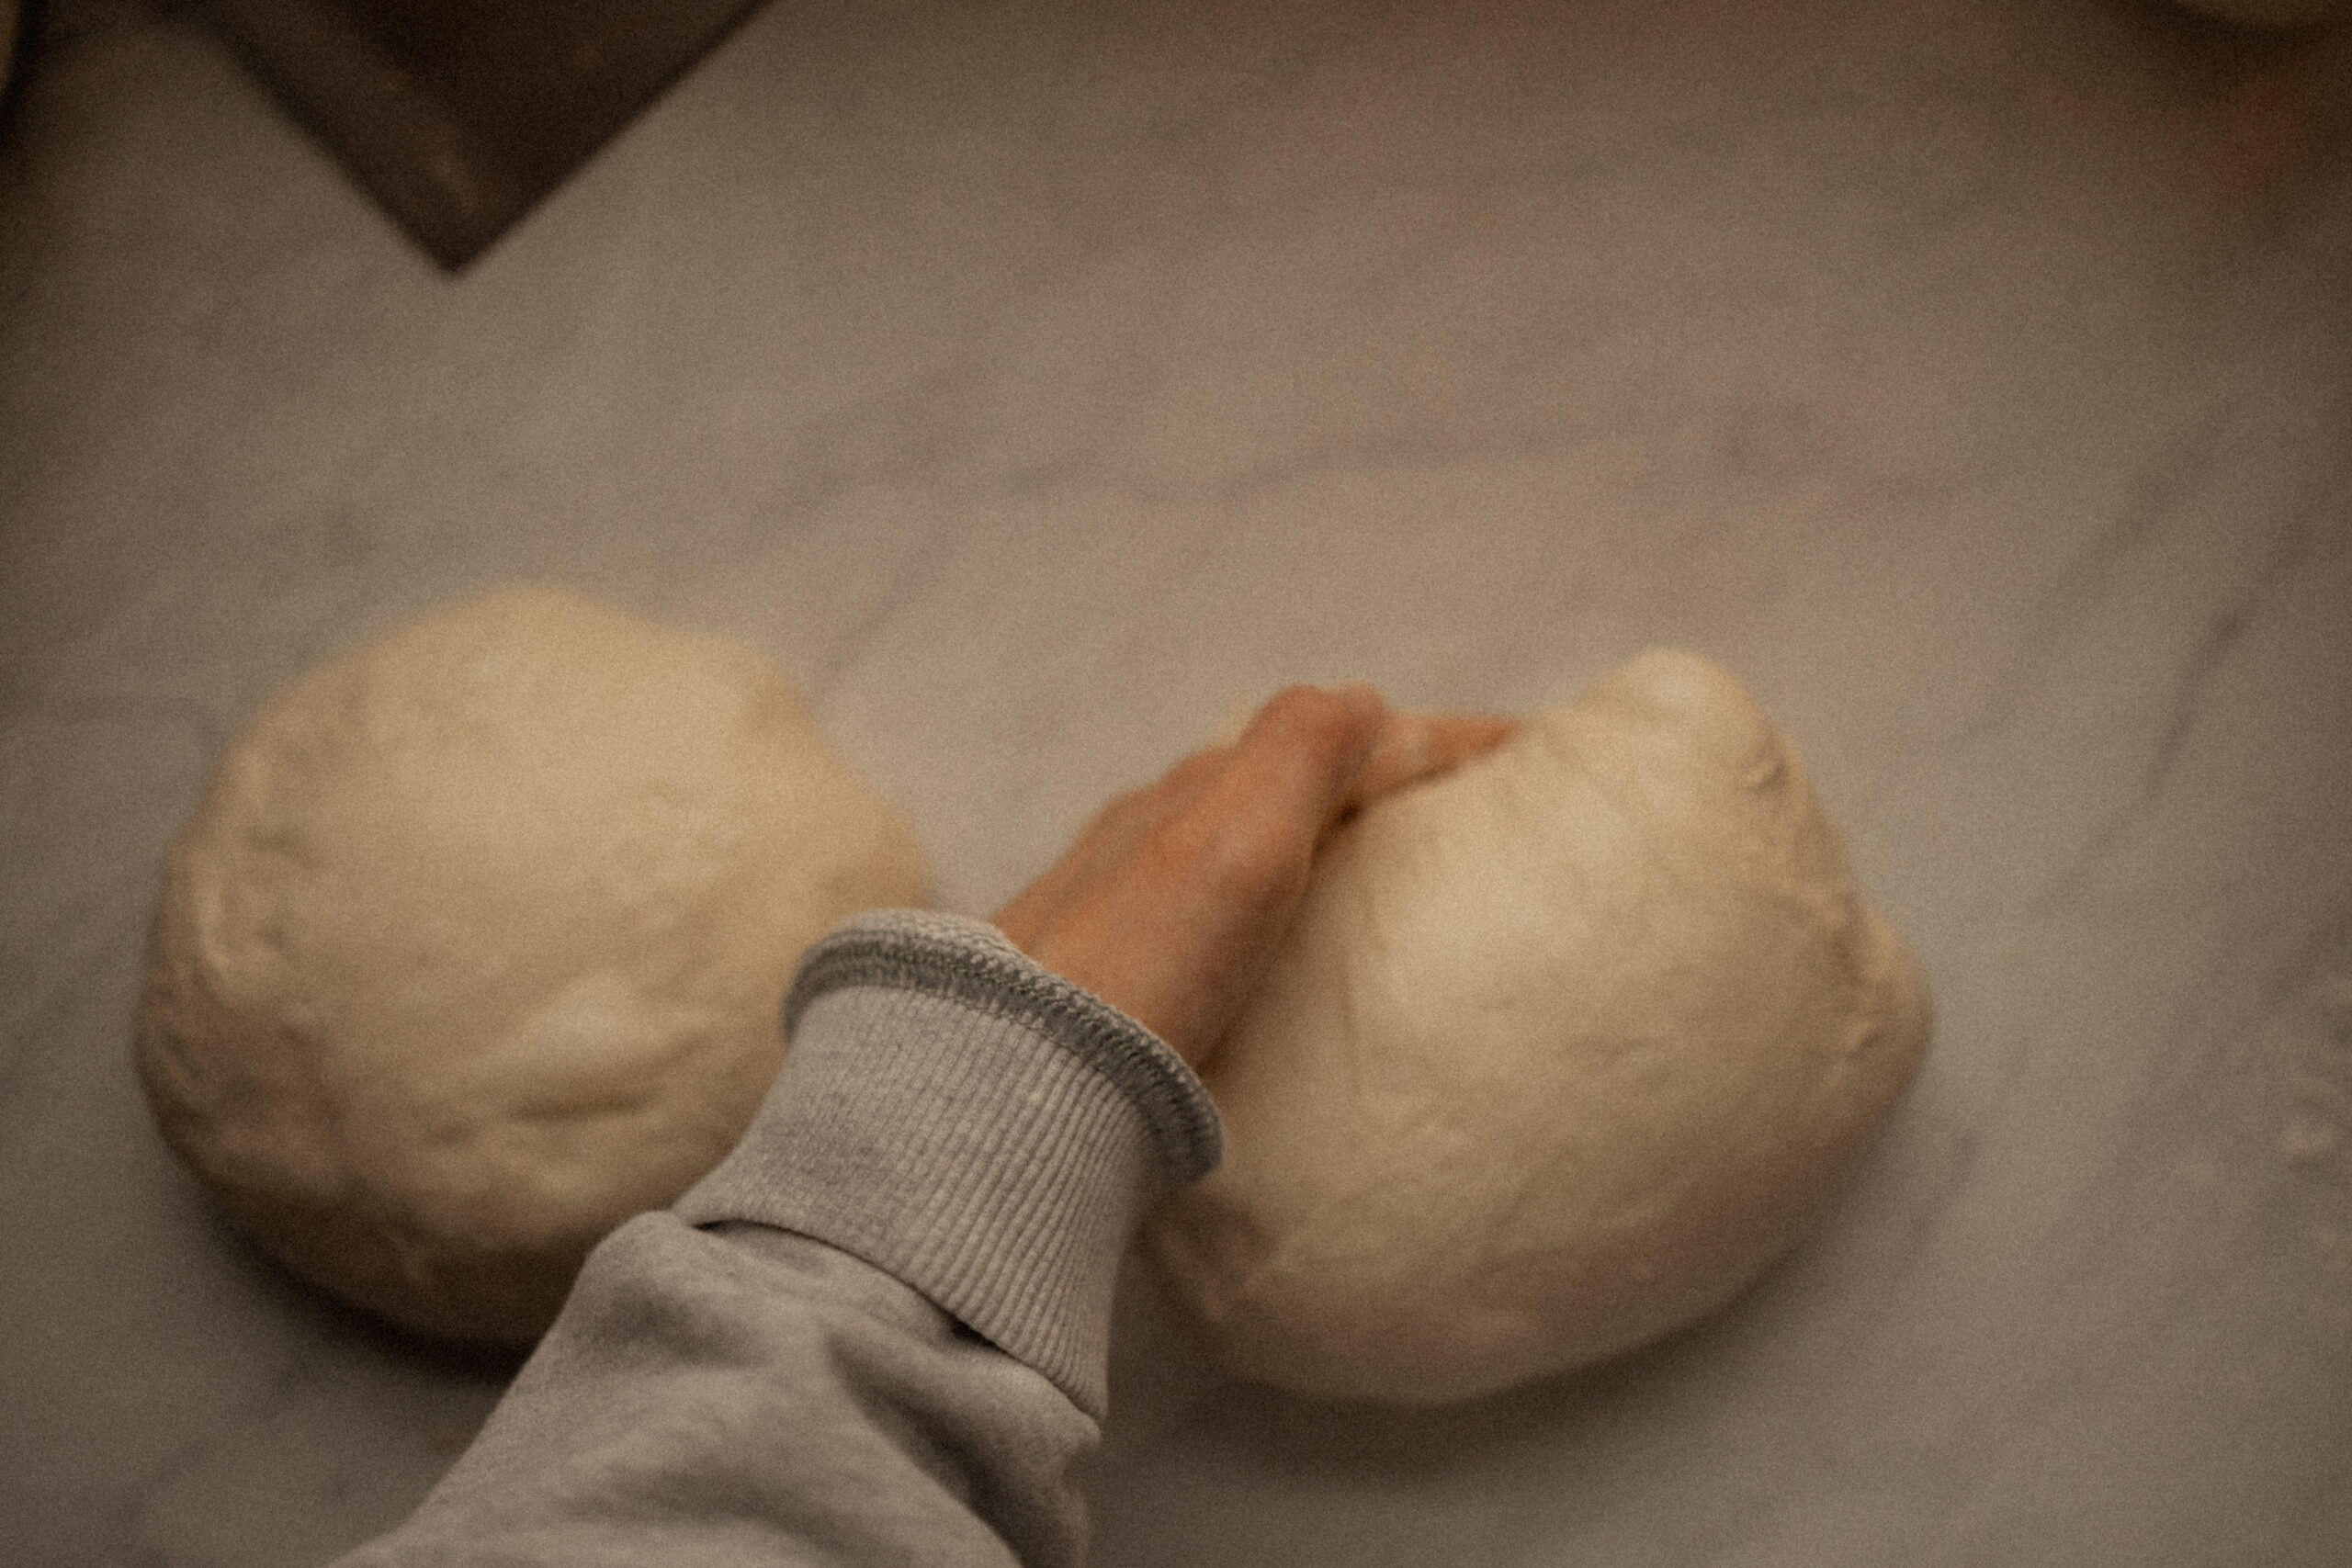
16. After folding, I begin to build tension by using my hand to cup the sides of the dough, and sliding the dough across the counter and creating a nice bouncy outer layer of dough. I push away scarping the dough and making it fold under itself, rotating as I push and then pull back the other direction, creating that same firm tension on the opposite sides. I sometimes use both of my hands to do so in a circular motion, and other times I simply push away and toward me, gently rotating with each push and pull.
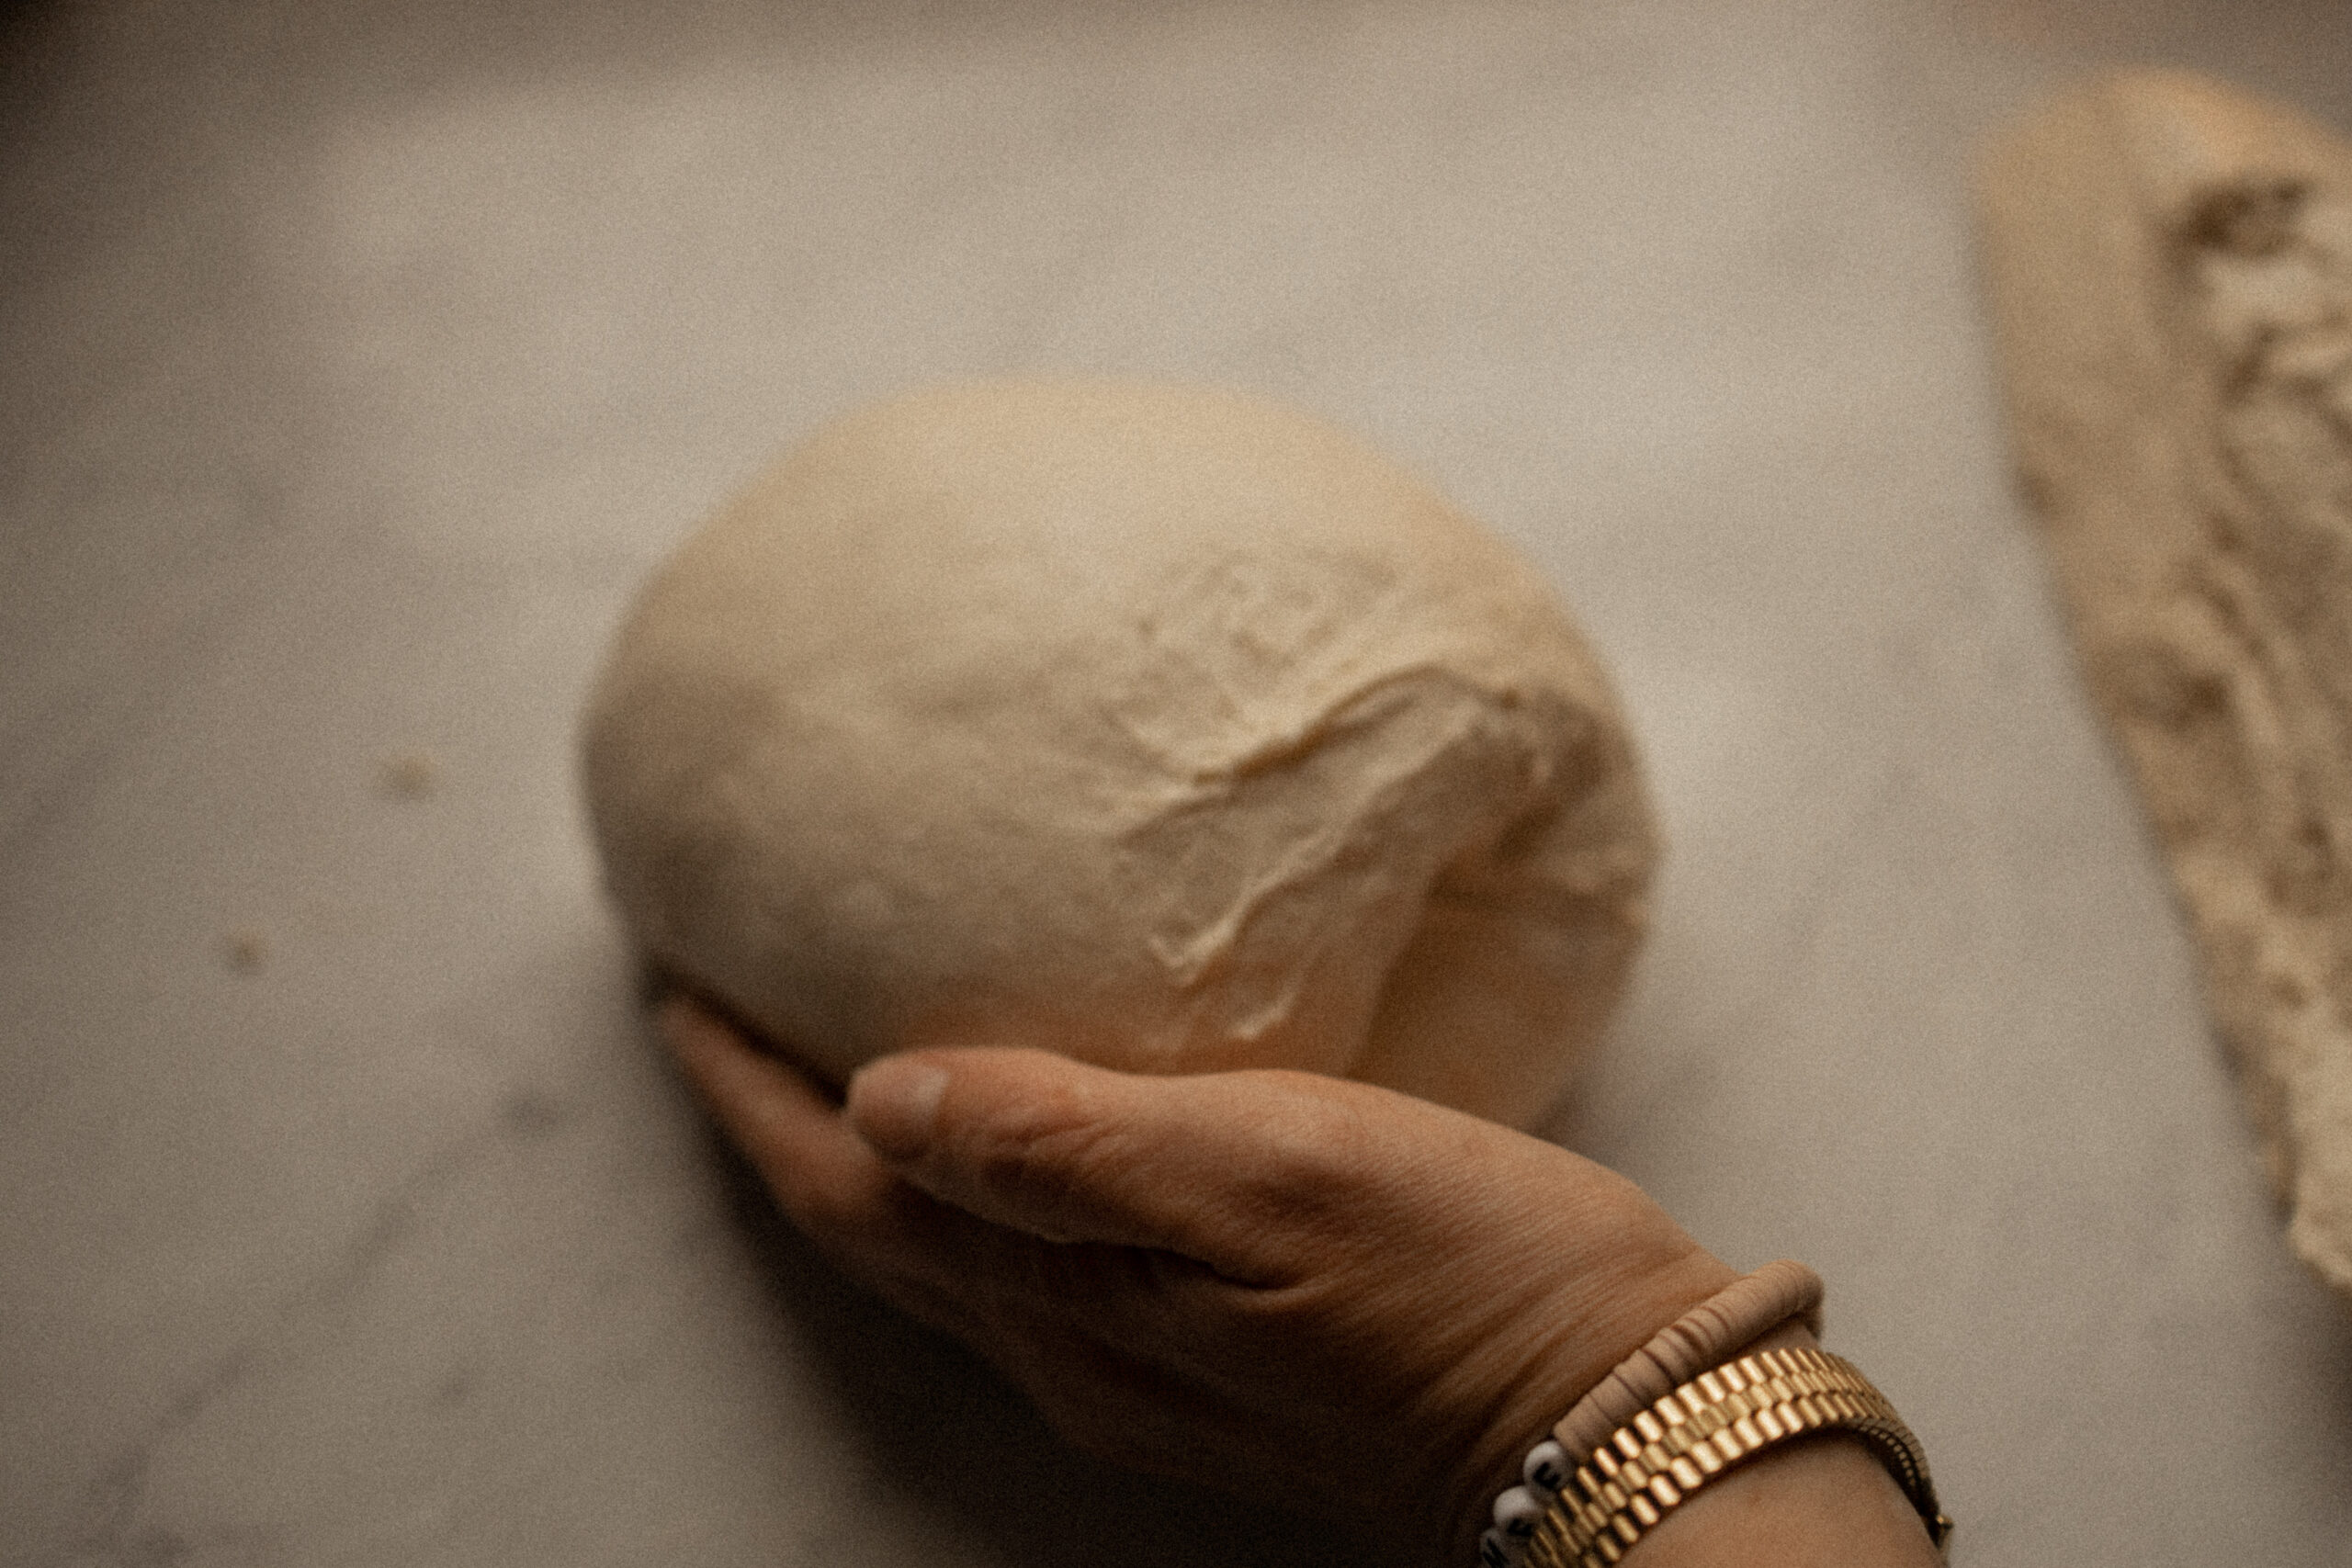
You’re left with a nice firm ball of dough ready for a bench rest. Let the dough sit while you do the same with your other loaf.
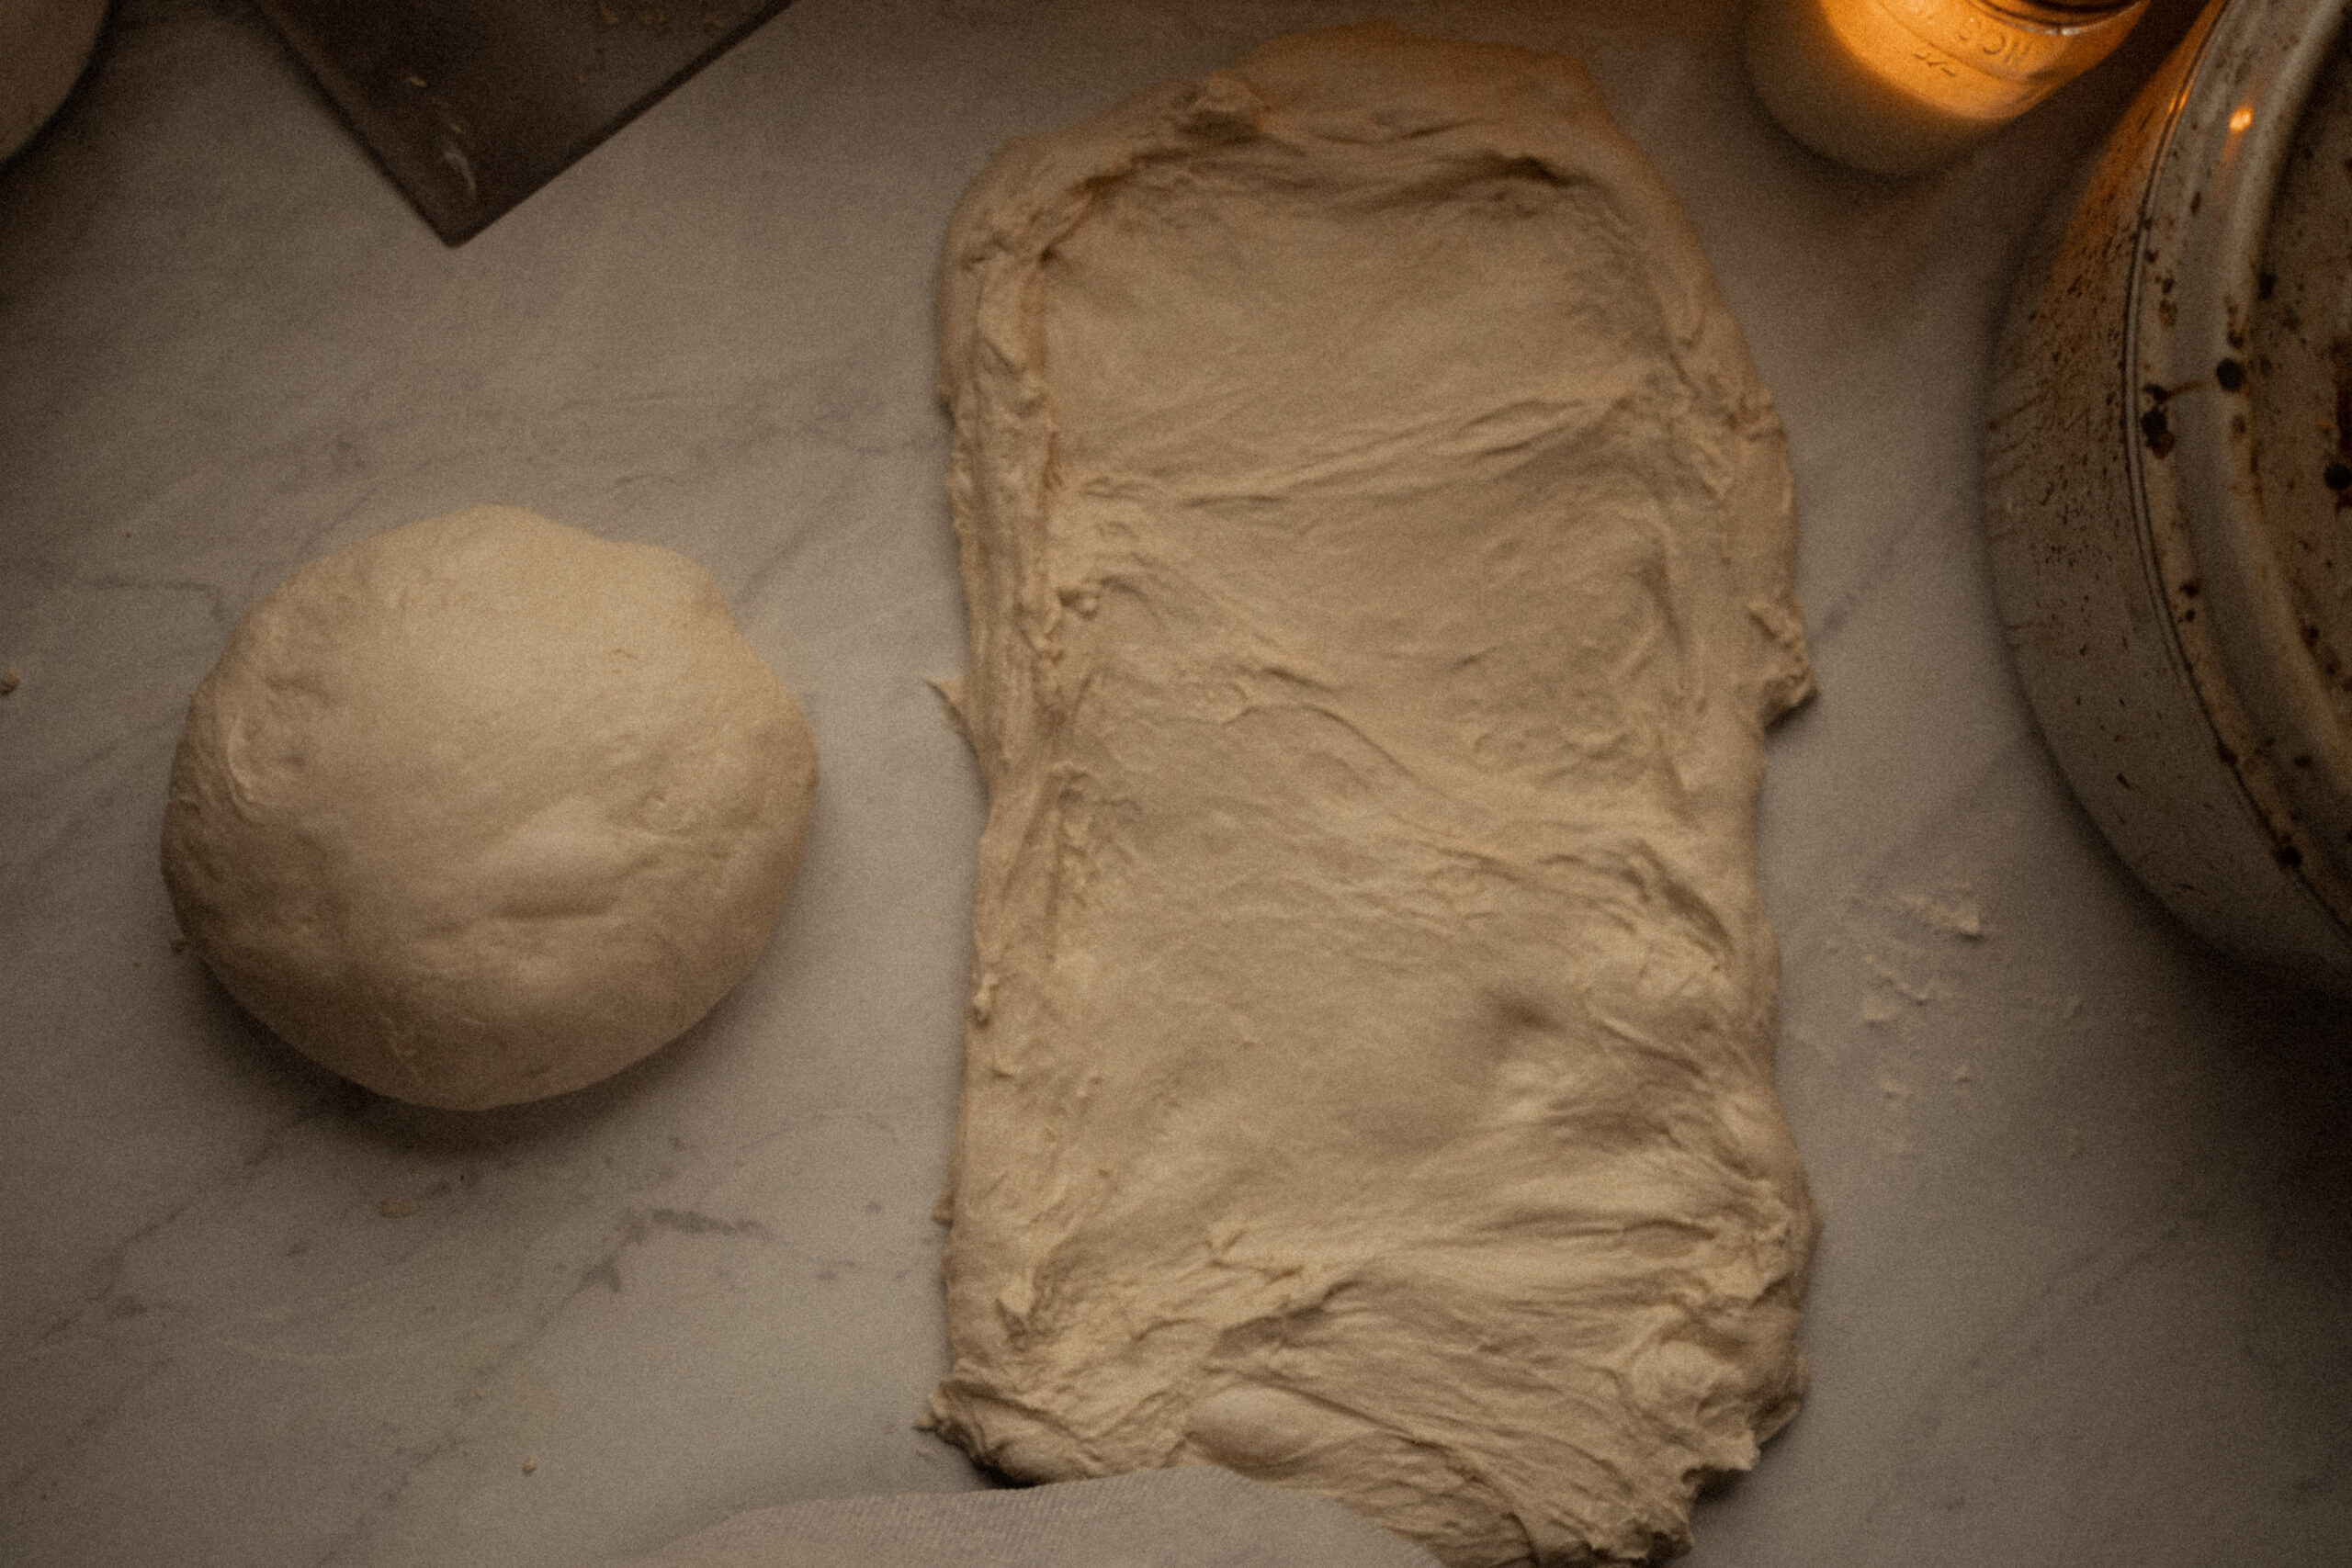
For this loaf, since I’m making a sandwich loaf, I shaped it into a batard rather than a boule (an oval, rather than round). It’s a little trickier, but I’m not worried about perfection here! It’s just going to be plopped into a loaf pan shortly 🙂
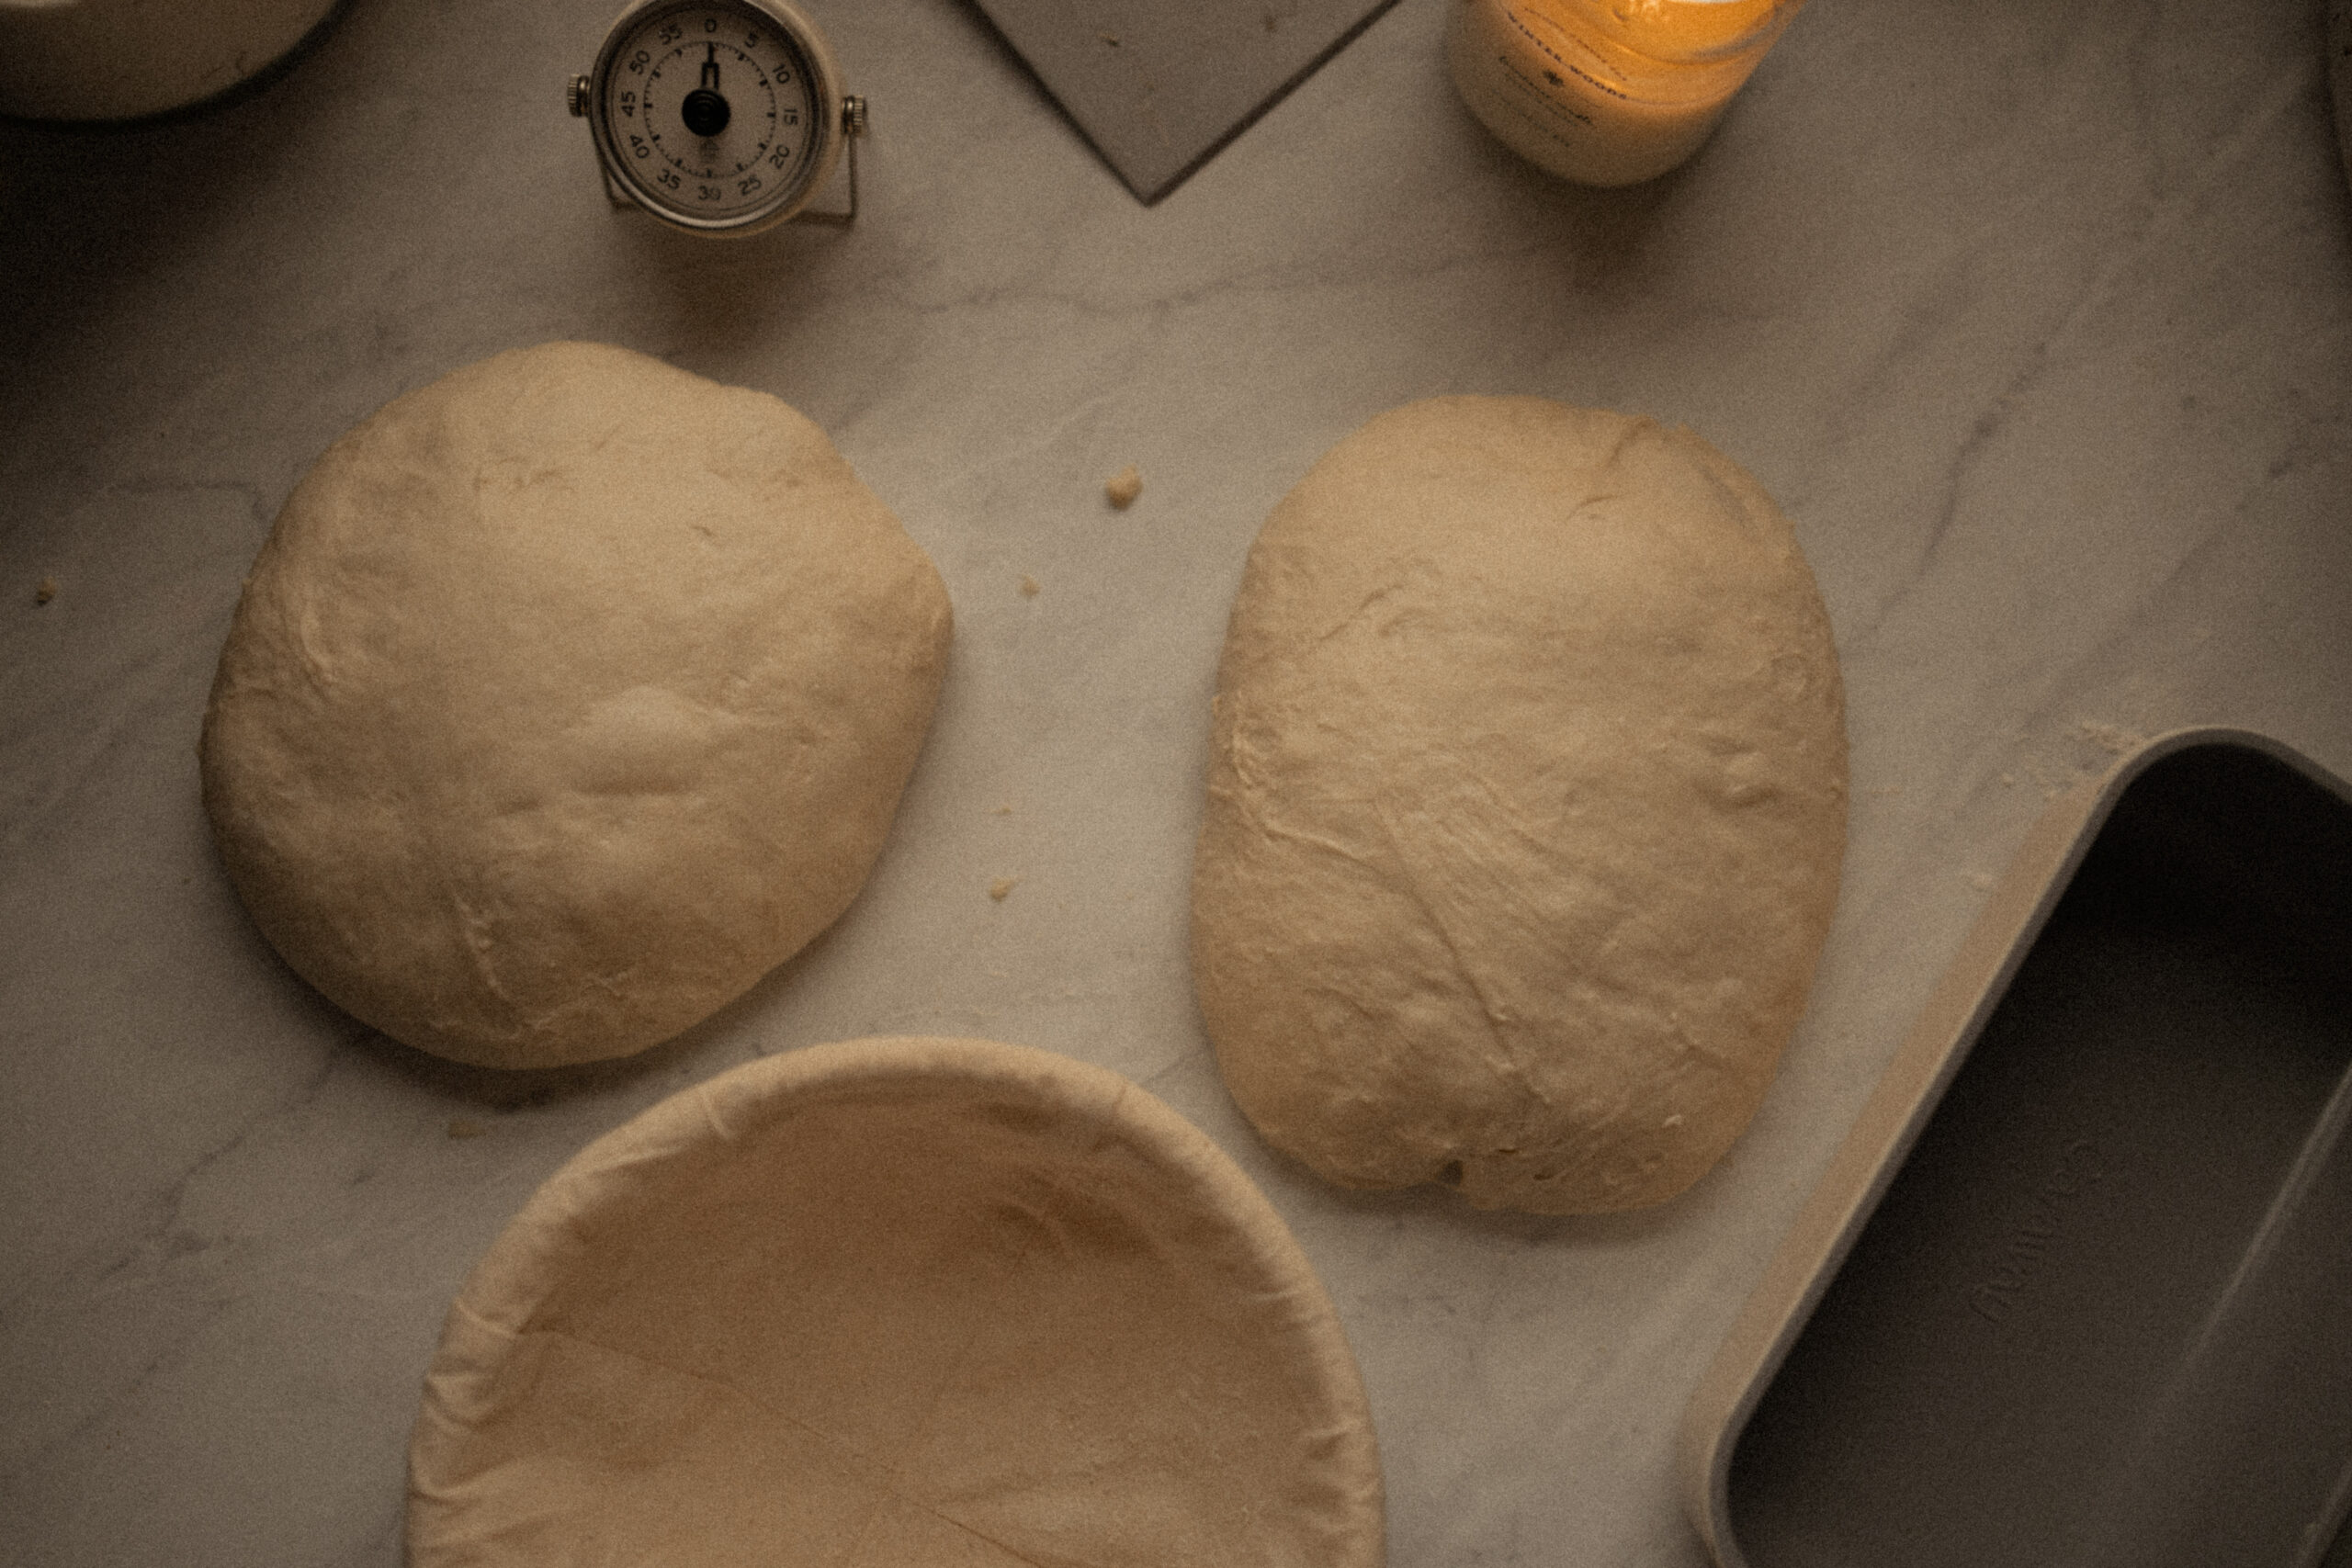
17. Let your loaves rest for 30-60 minutes. I like to put a tea towel over mine so that little hands aren’t tempted to play with the dough (if it’s during the day when they’re up).
18. While they’re resting, make some tea, feed your starter if you didn’t earlier, read a book. Rest alongside your dough!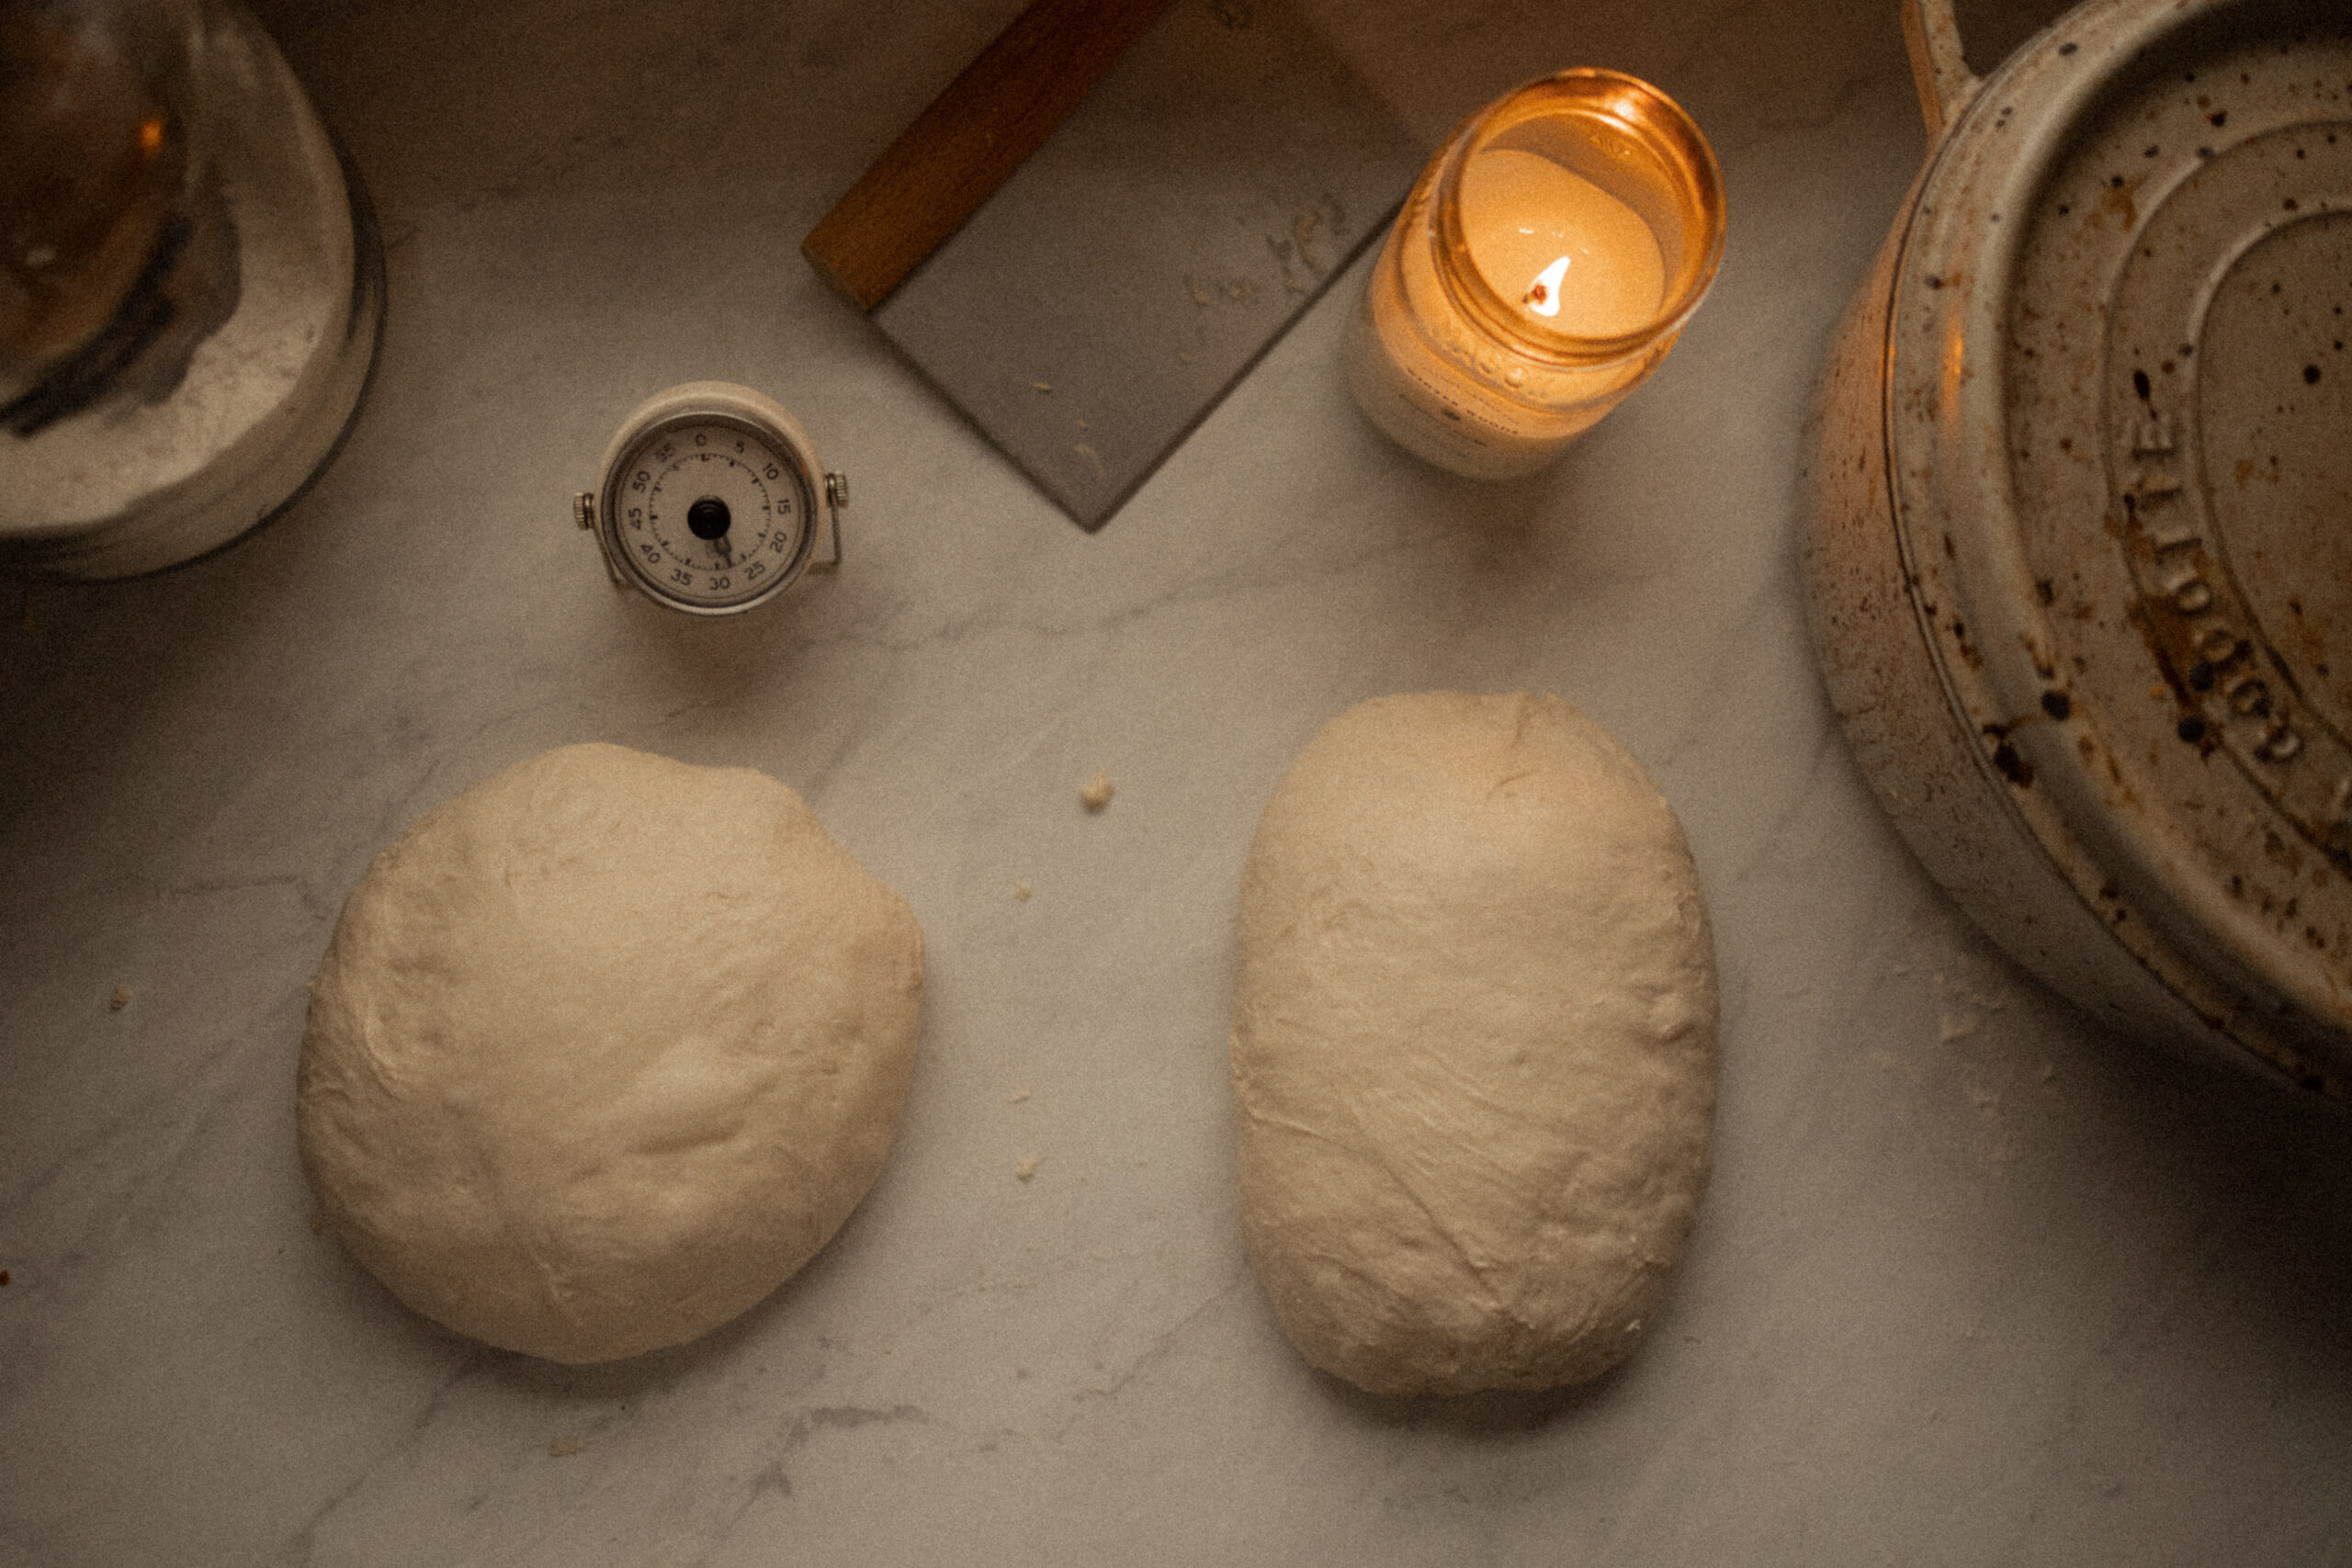
19. Gently shape the loaves one last time, as they will settle a bit during their rest and need to be firmed up a tad.
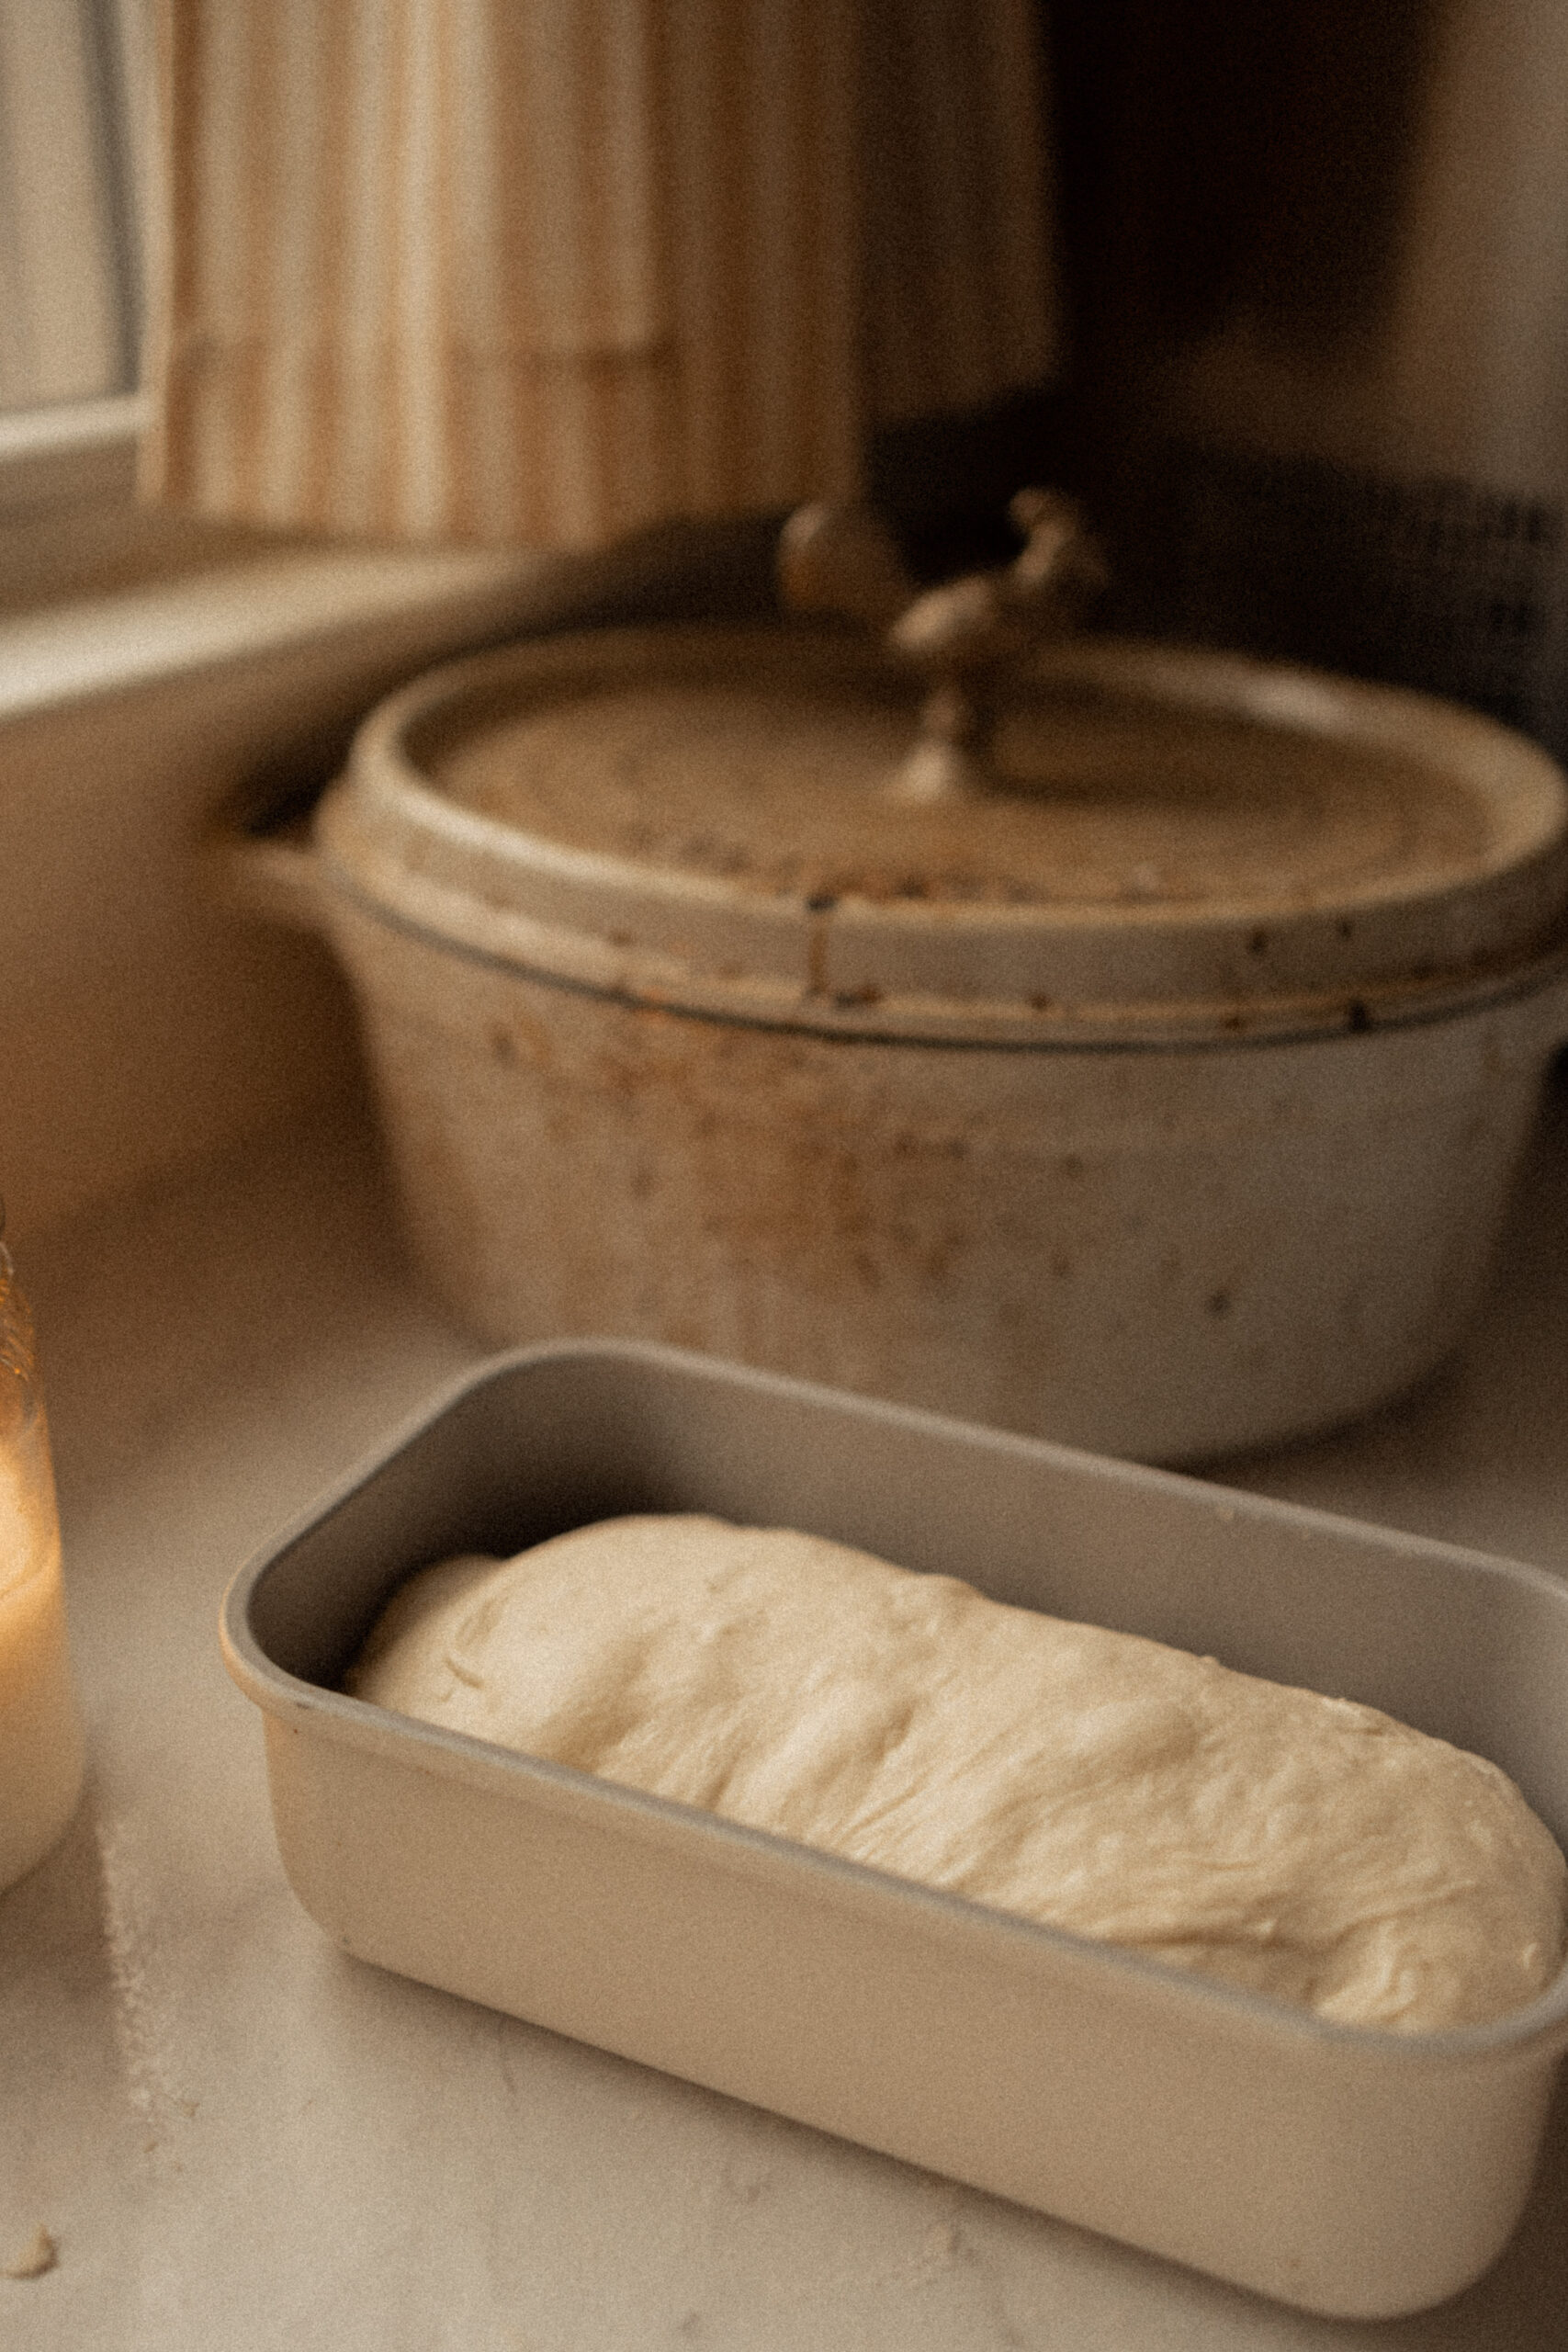
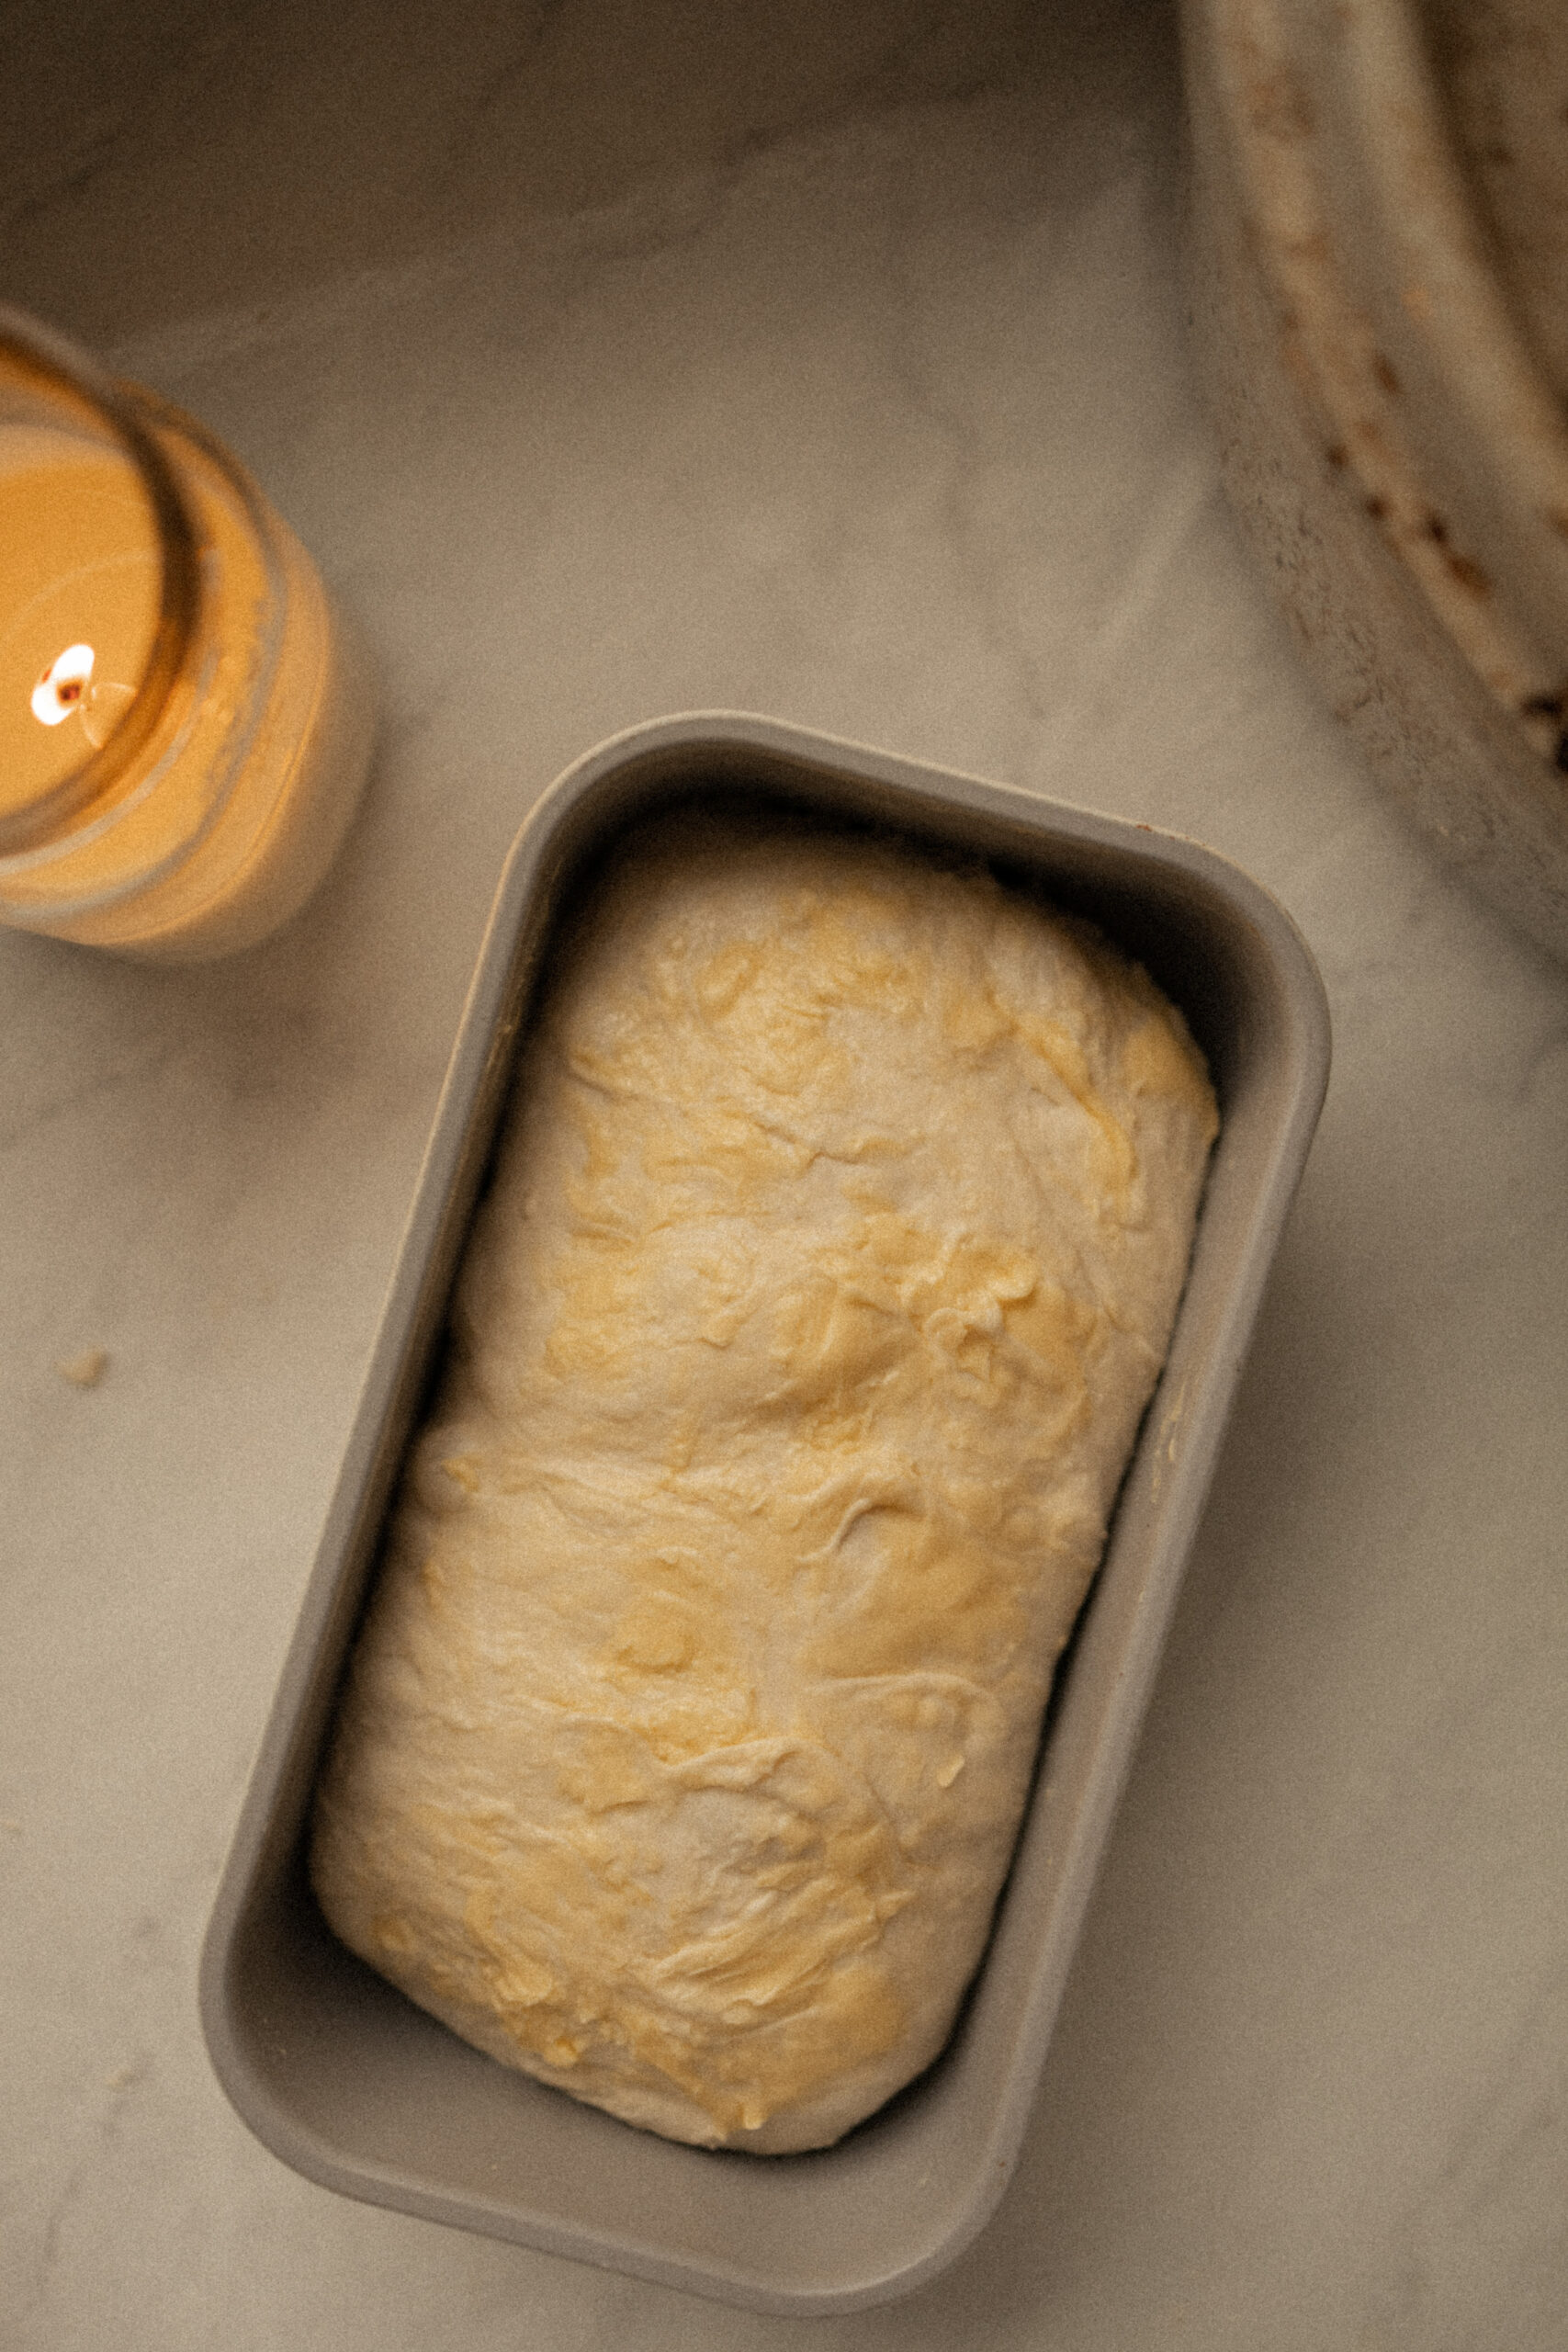
20. Place your sandwich dough into a buttered loaf pan with the “seam side” down, and your boule into a banneton (breathable basket) with the “seam side” facing up.
21. Slather butter atop your sandwich loaf.
22. Place a stretchy plastic cover or a plastic bag over both doughs, and place in the fridge.
For my favorite cozy non-toxic, hand-poured in the USA candles, you can use code MARY20 to save! Click here to check them out.
23. Clean up, and go to bed if you’re following my timeline! 😉
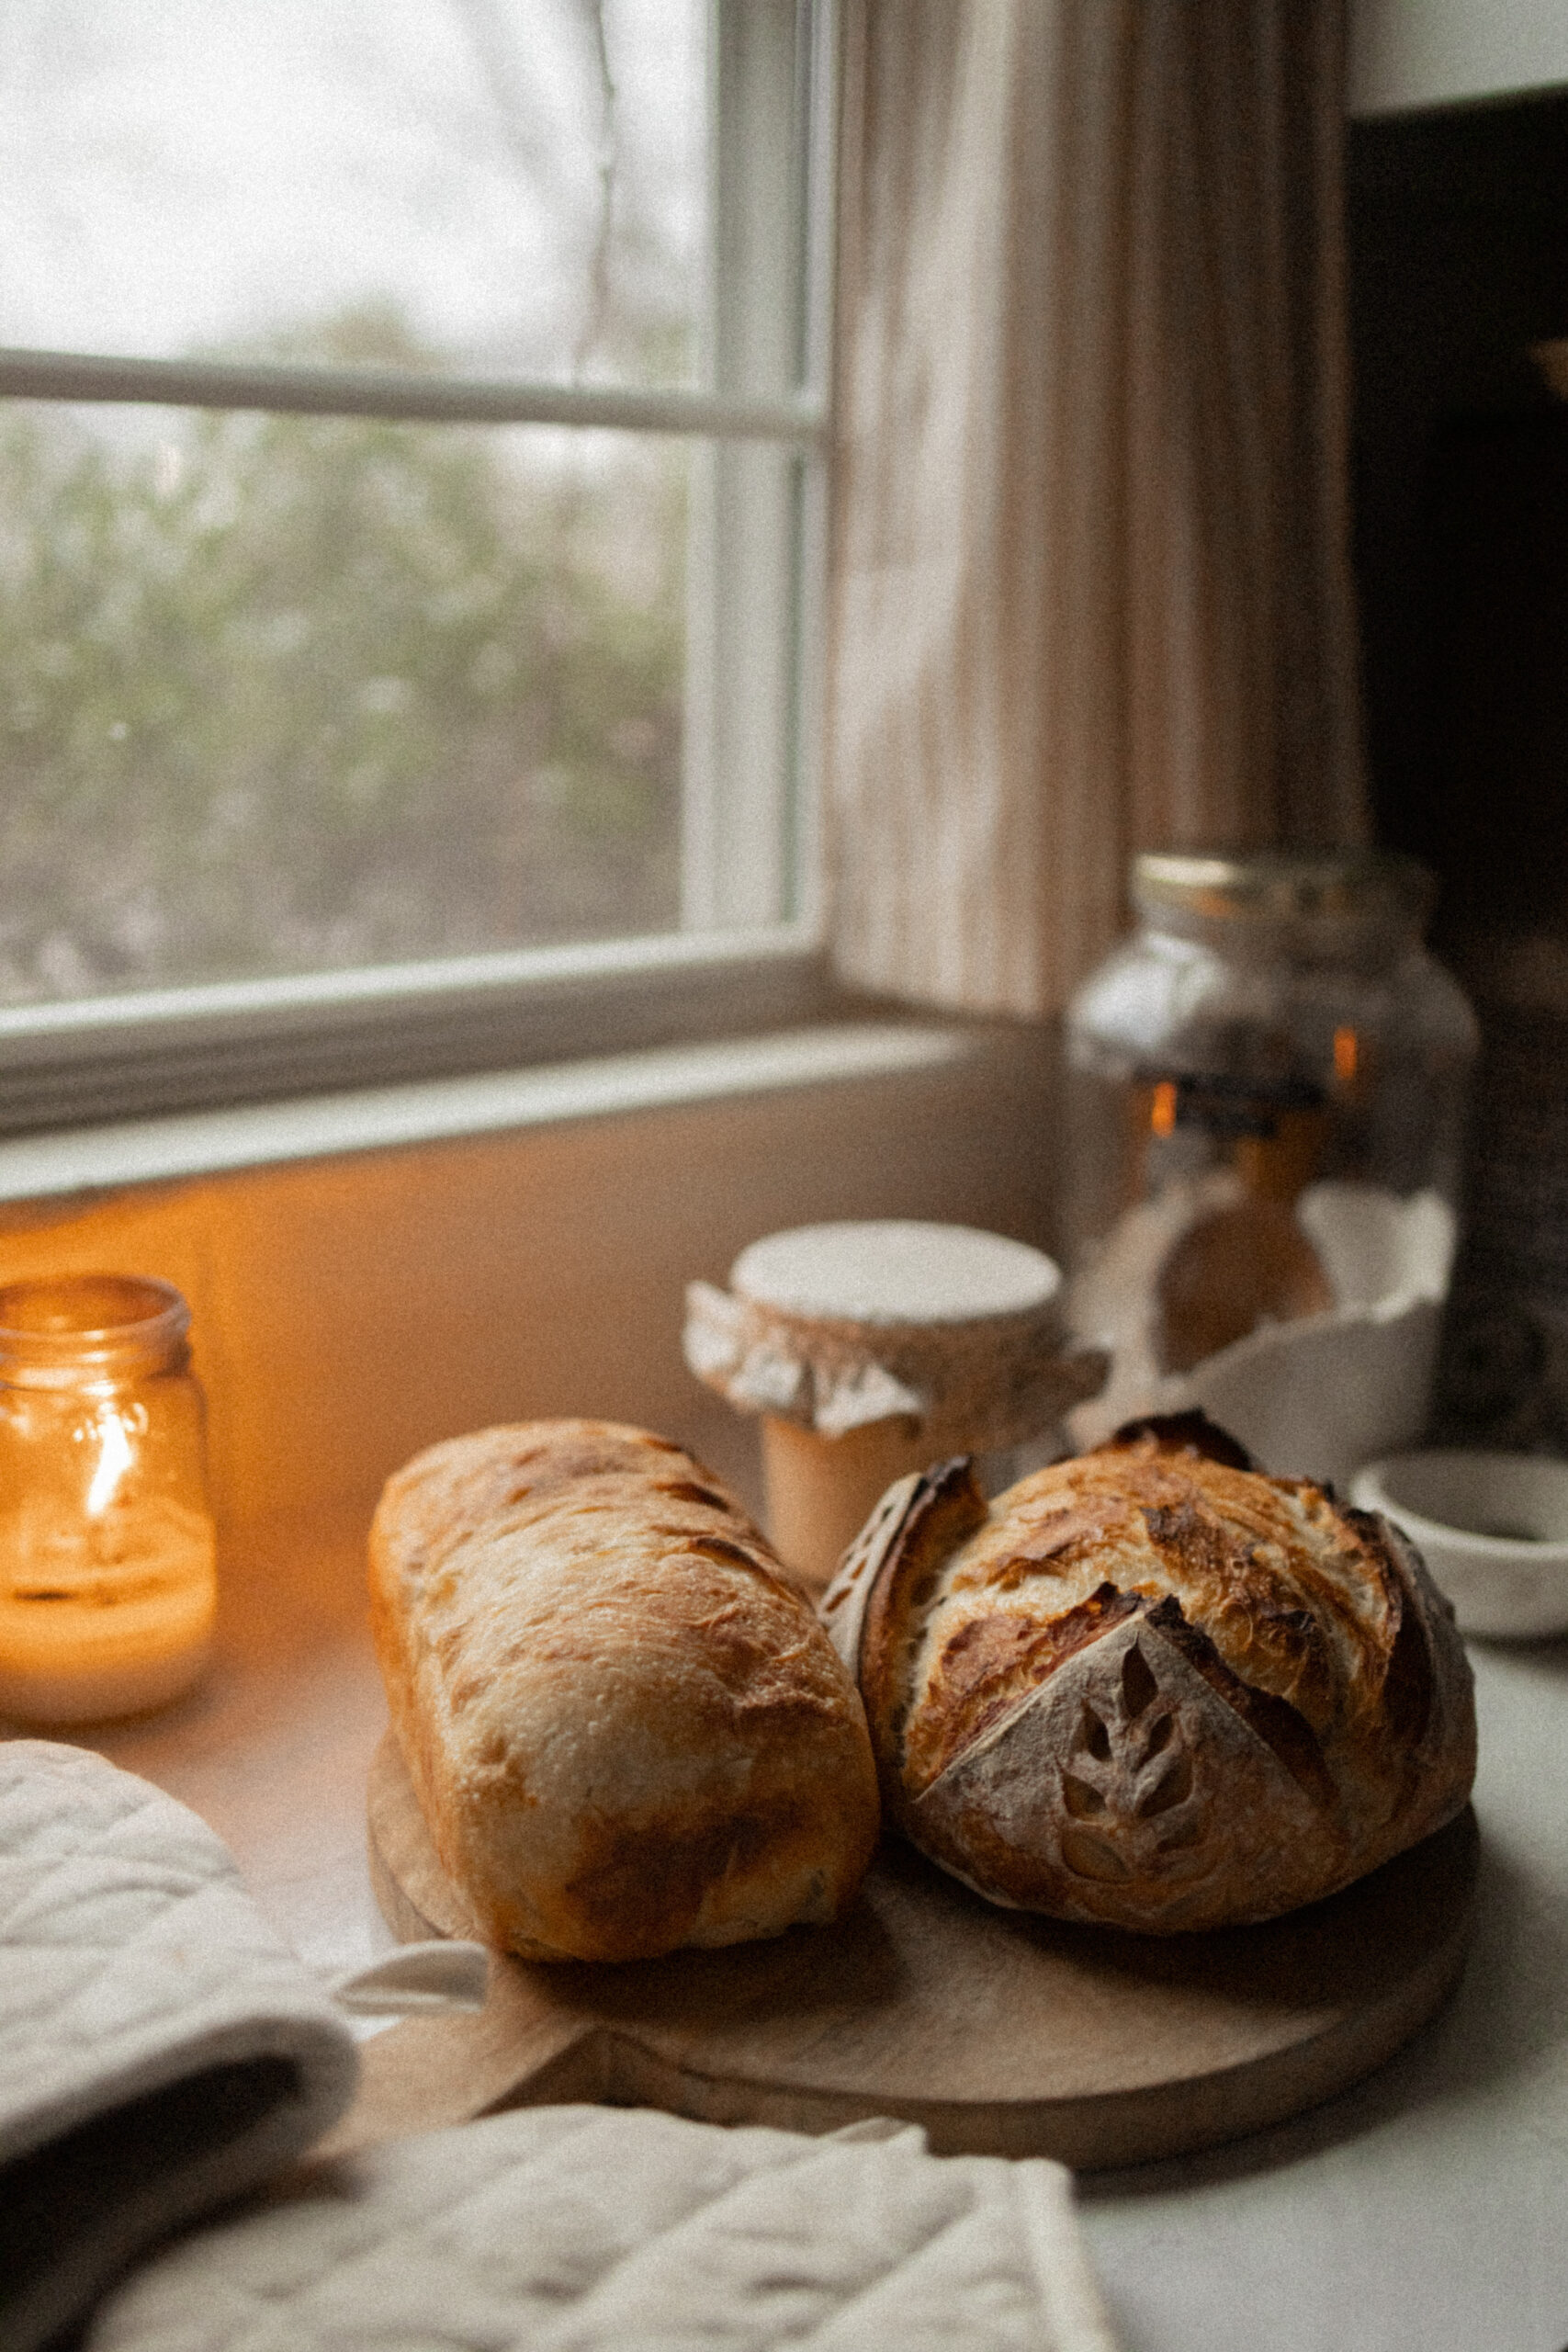
24. Next day, preheat your oven to 375ºF, and bake your sandwich loaf for 40 minutes (or until the top of your loaf is perfectly golden).
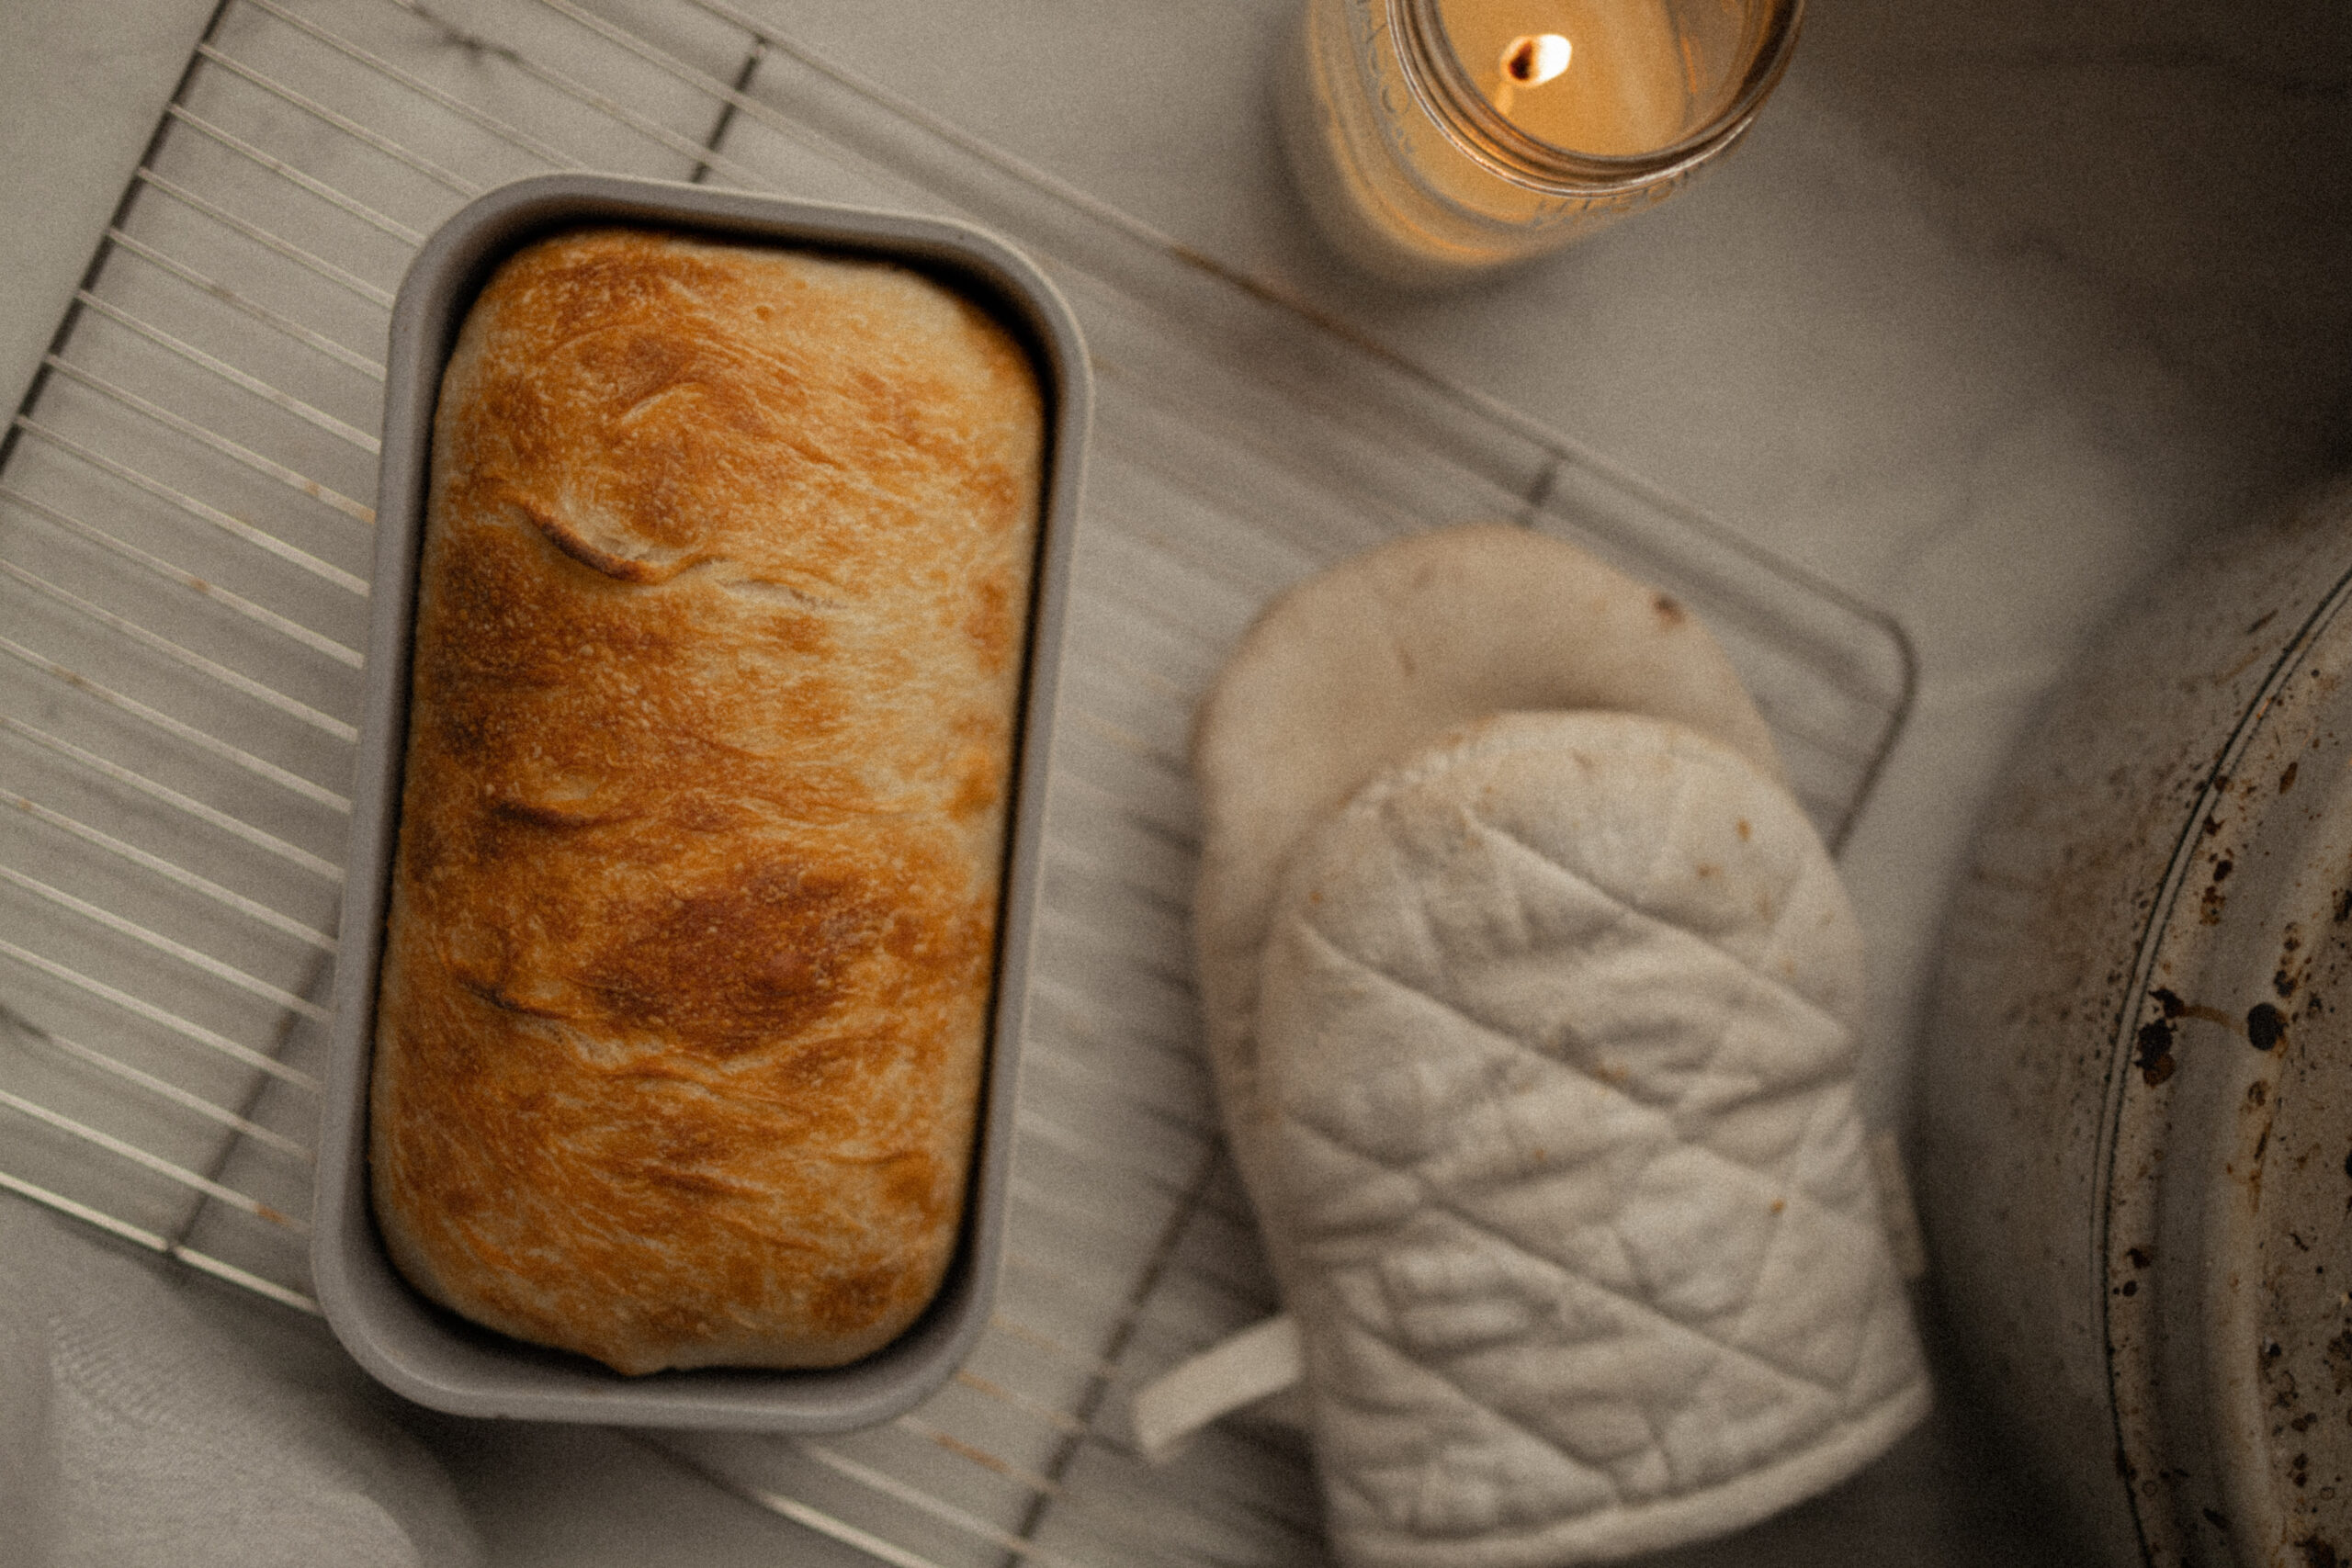
25. Transfer your bread to a cooling rack and resist the urge to immediately cut into so that it can settle and avoid having a gummy texture. Let cool for 30-60 minutes and enjoy! Or cool entirely, and then freeze in an airtight bag. Defrost by simply putting the bag of bread on the counter the night before you need it, and you’ll have a perfectly fresh, soft loaf for the next day!
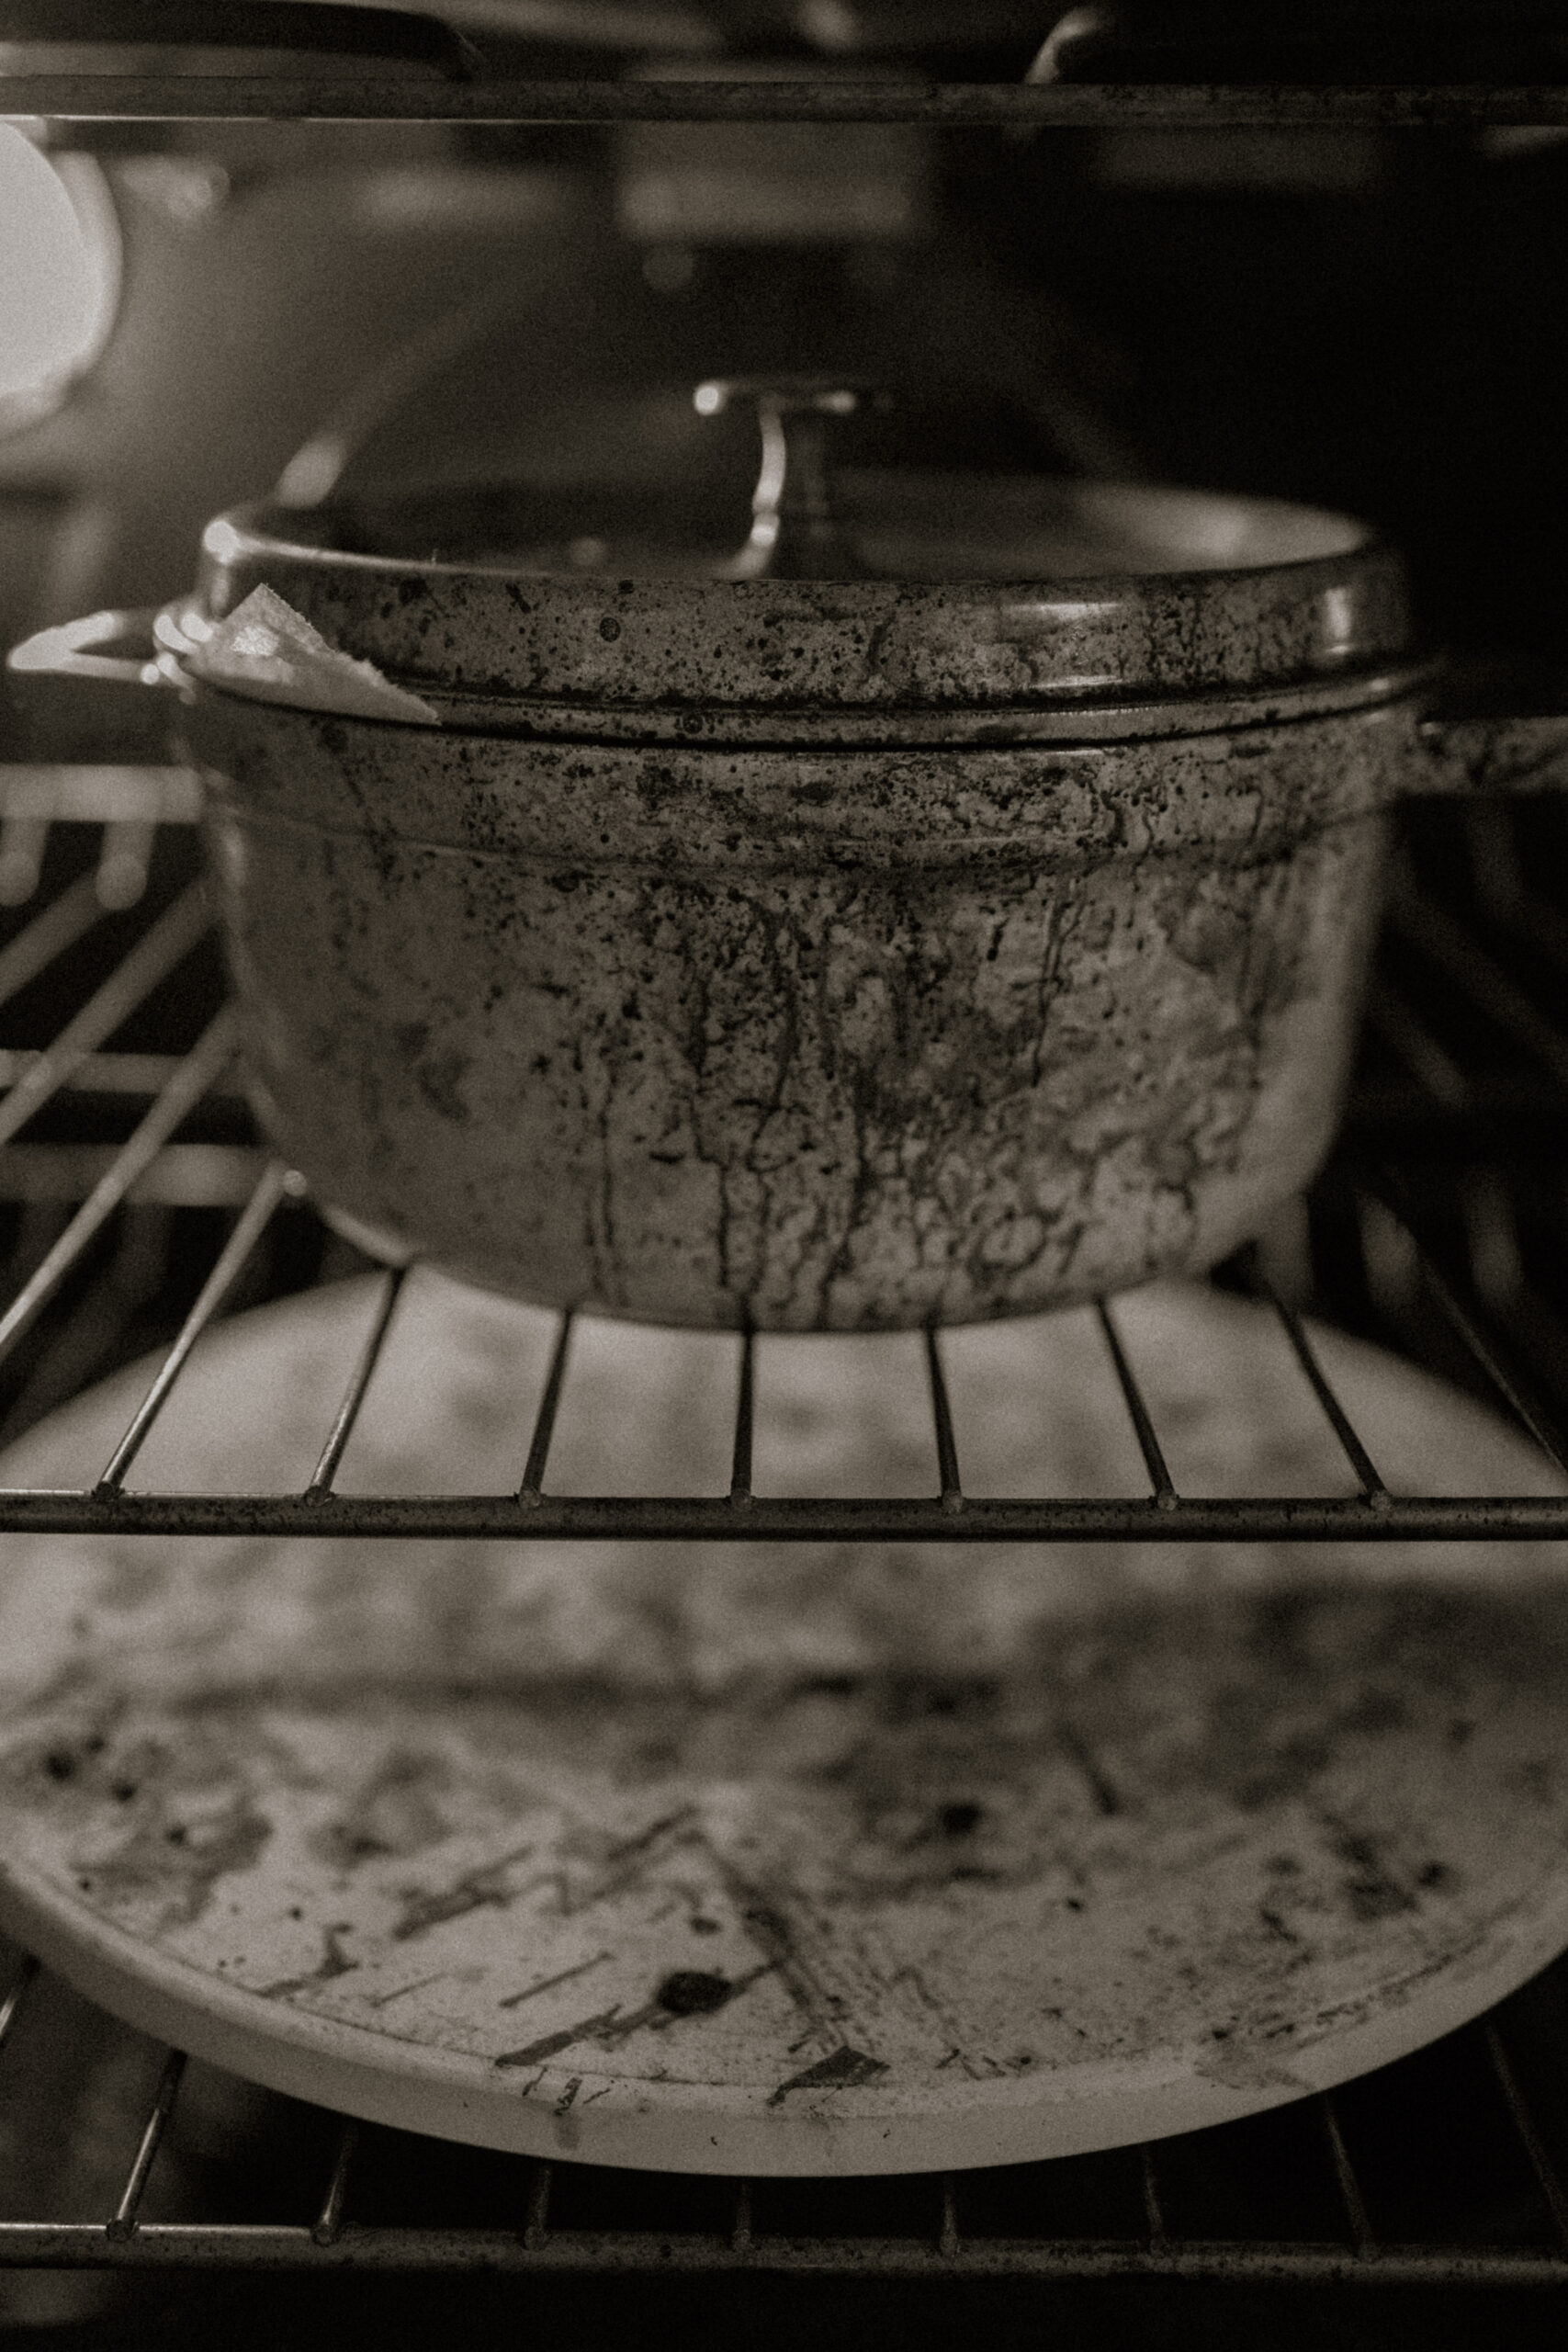
26. Preheat your oven to 450ºF with your lidded dutch oven, for one hour.
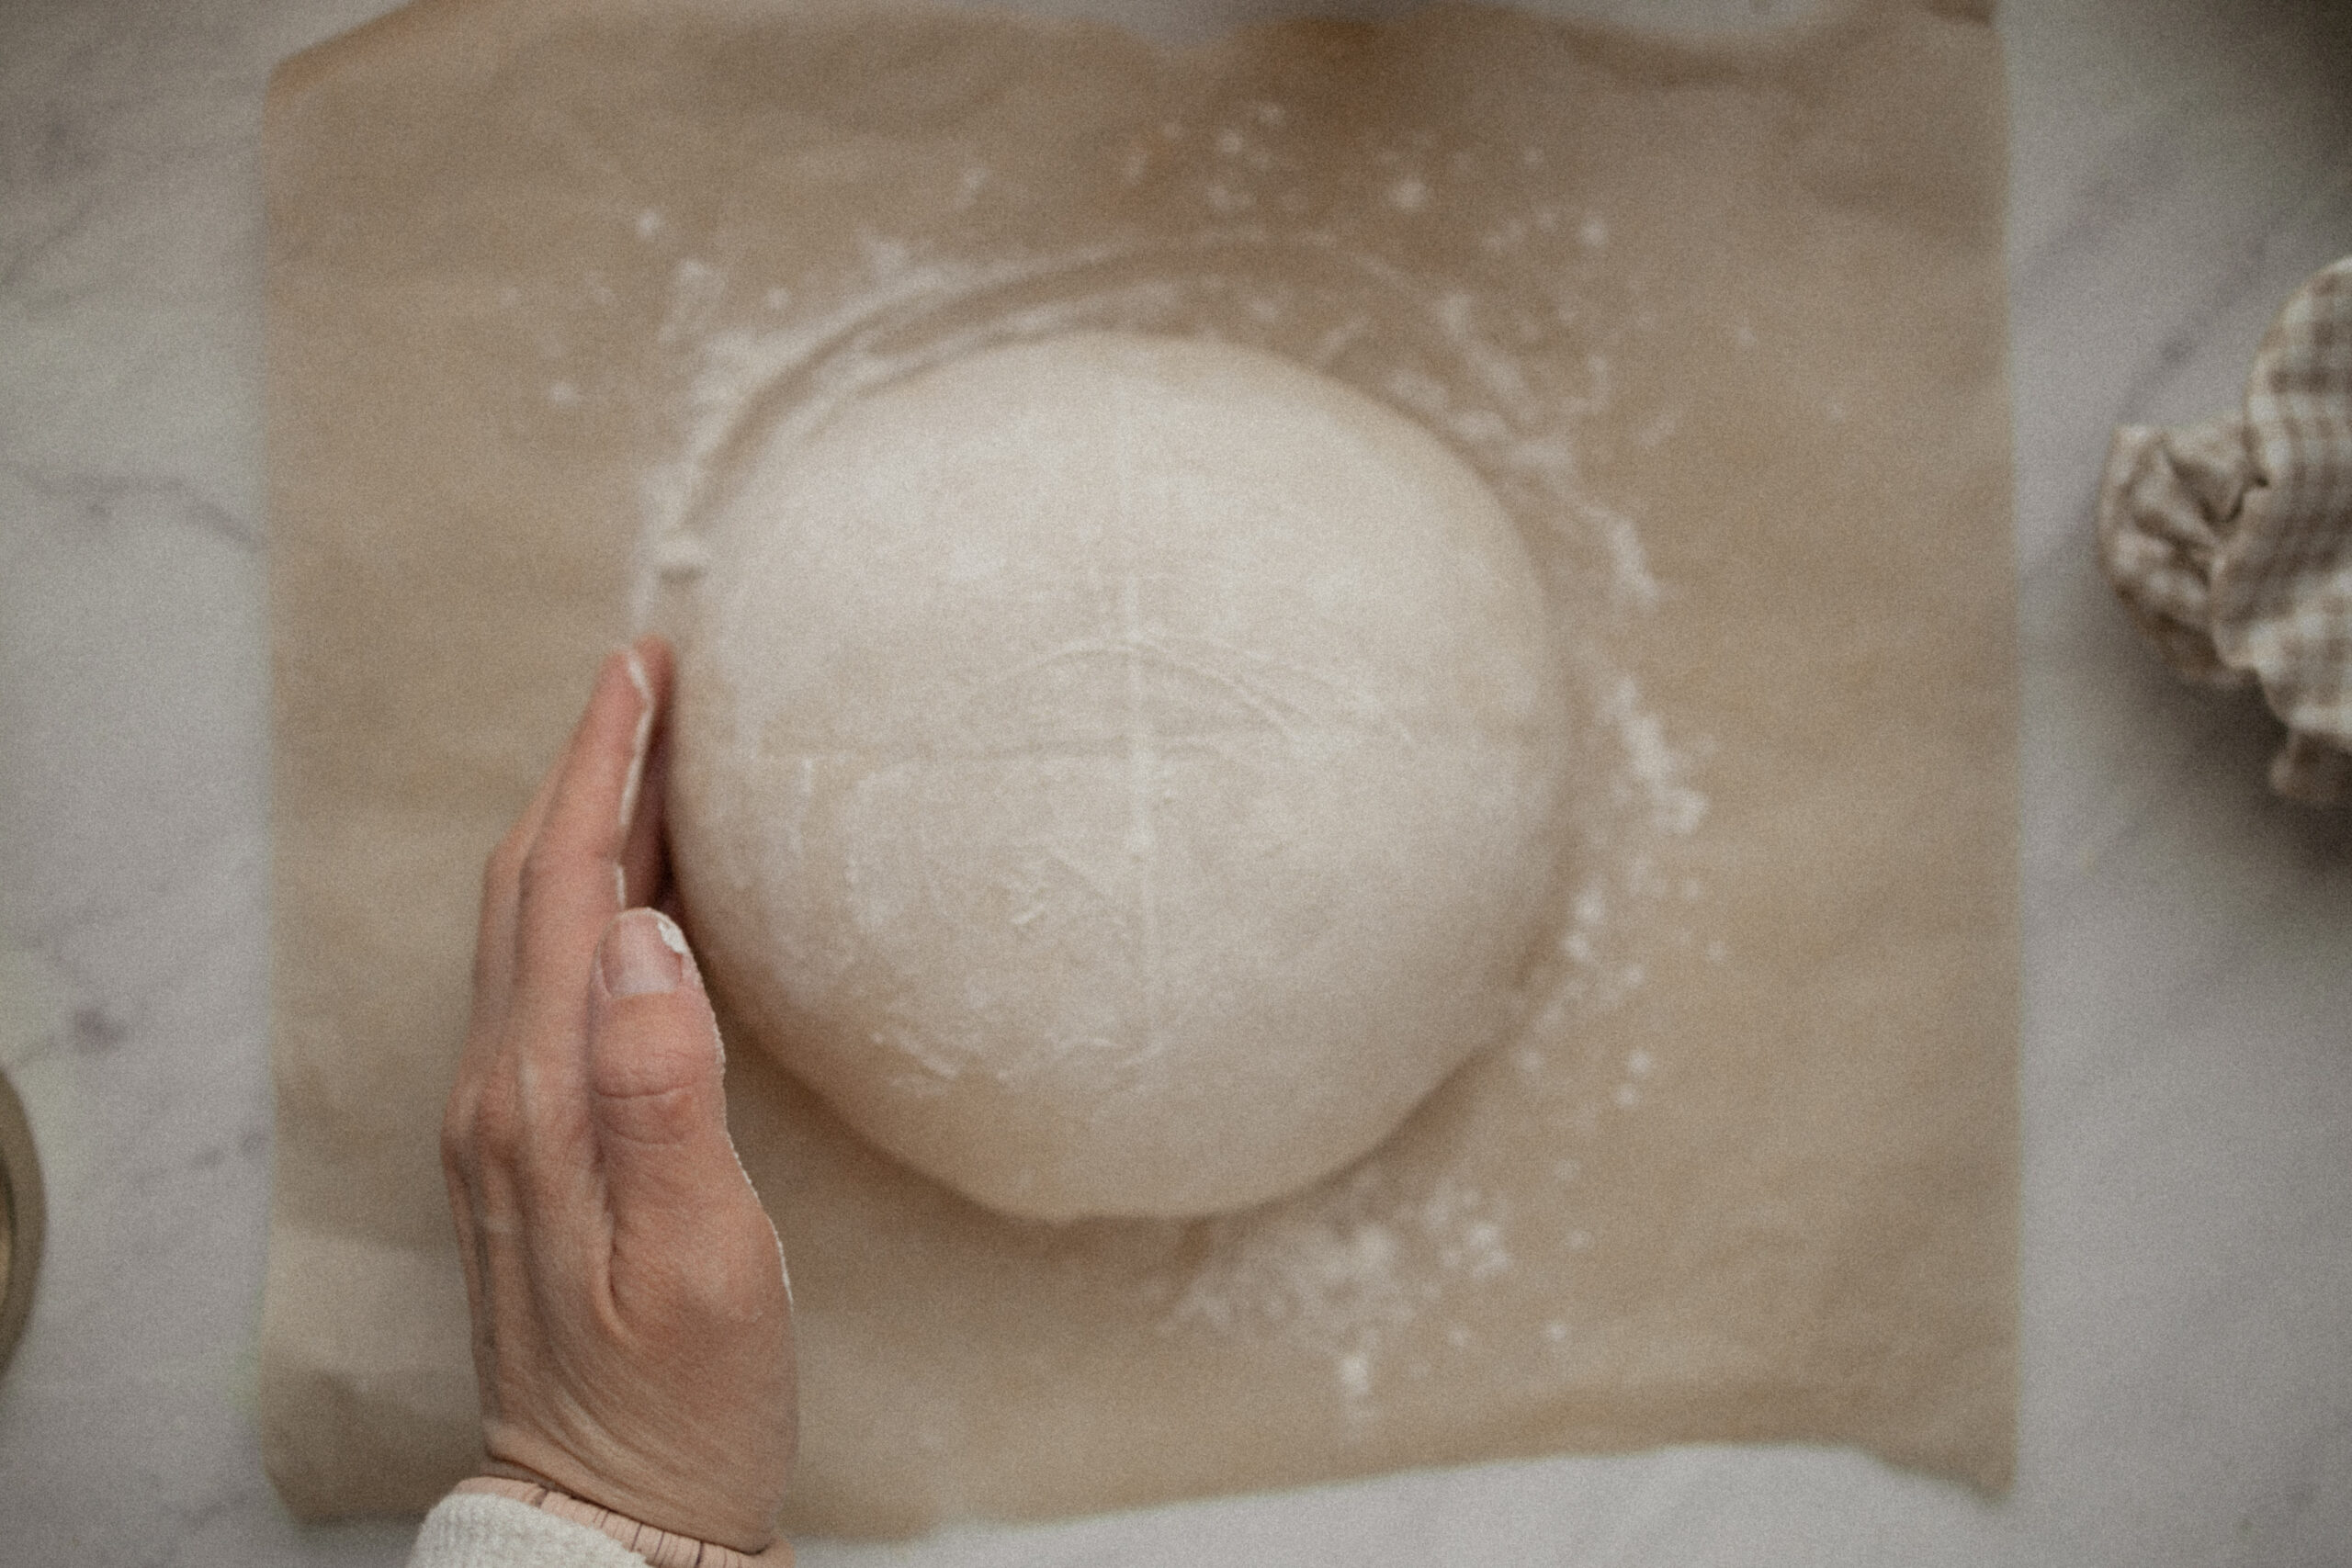
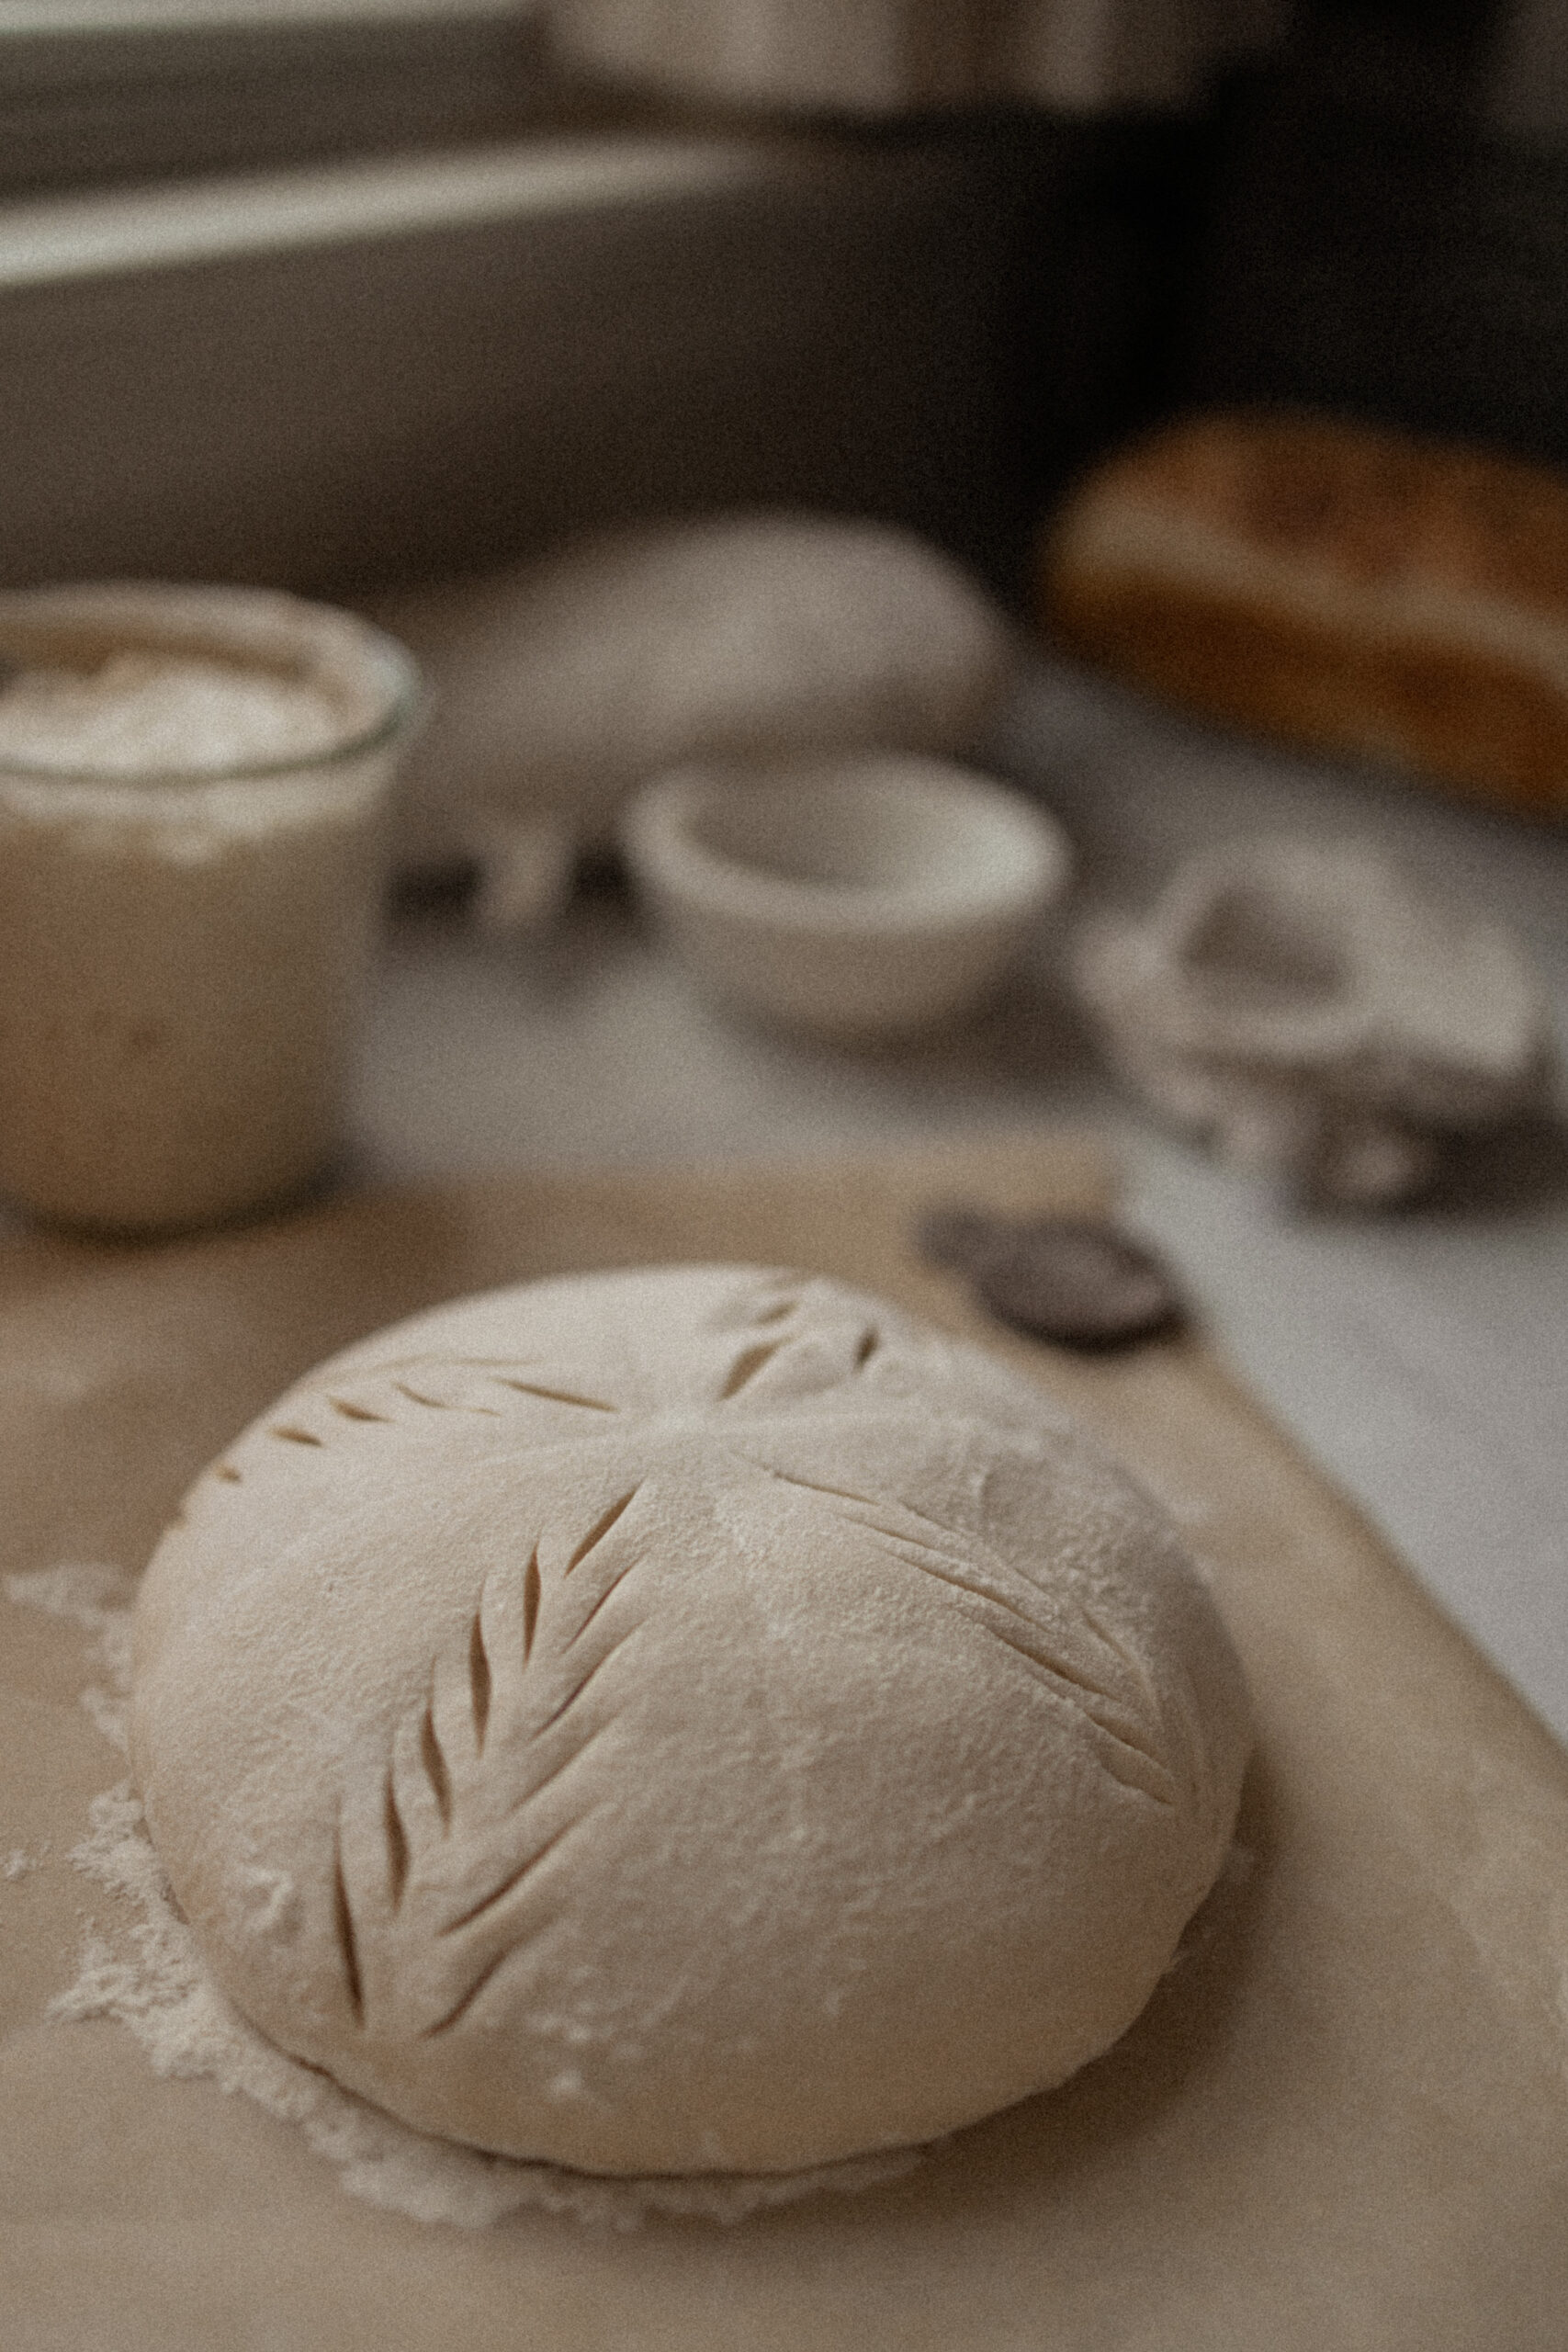
27. When you know it’s near ready, grab some parchment paper and dust lightly with flour (I like organic brown rice flour for dusting so it doesn’t get cakey and I’m not adding non-fermented flour). Pull your dough from the fridge, and plop upside down onto your dusted parchment. You should have a smooth, firm, boule of dough. I like to lightly dust the top with the same flour, and smooth it over with my hands.

28. Score your dough. Scoring doesn’t *have* to be pretty. I enjoy doing more intentional designs solely because I think it’s lovely, but all that’s important is that you’re creating a good amount of depth and air flow so that your entire loaf doesn’t burst at the seams.
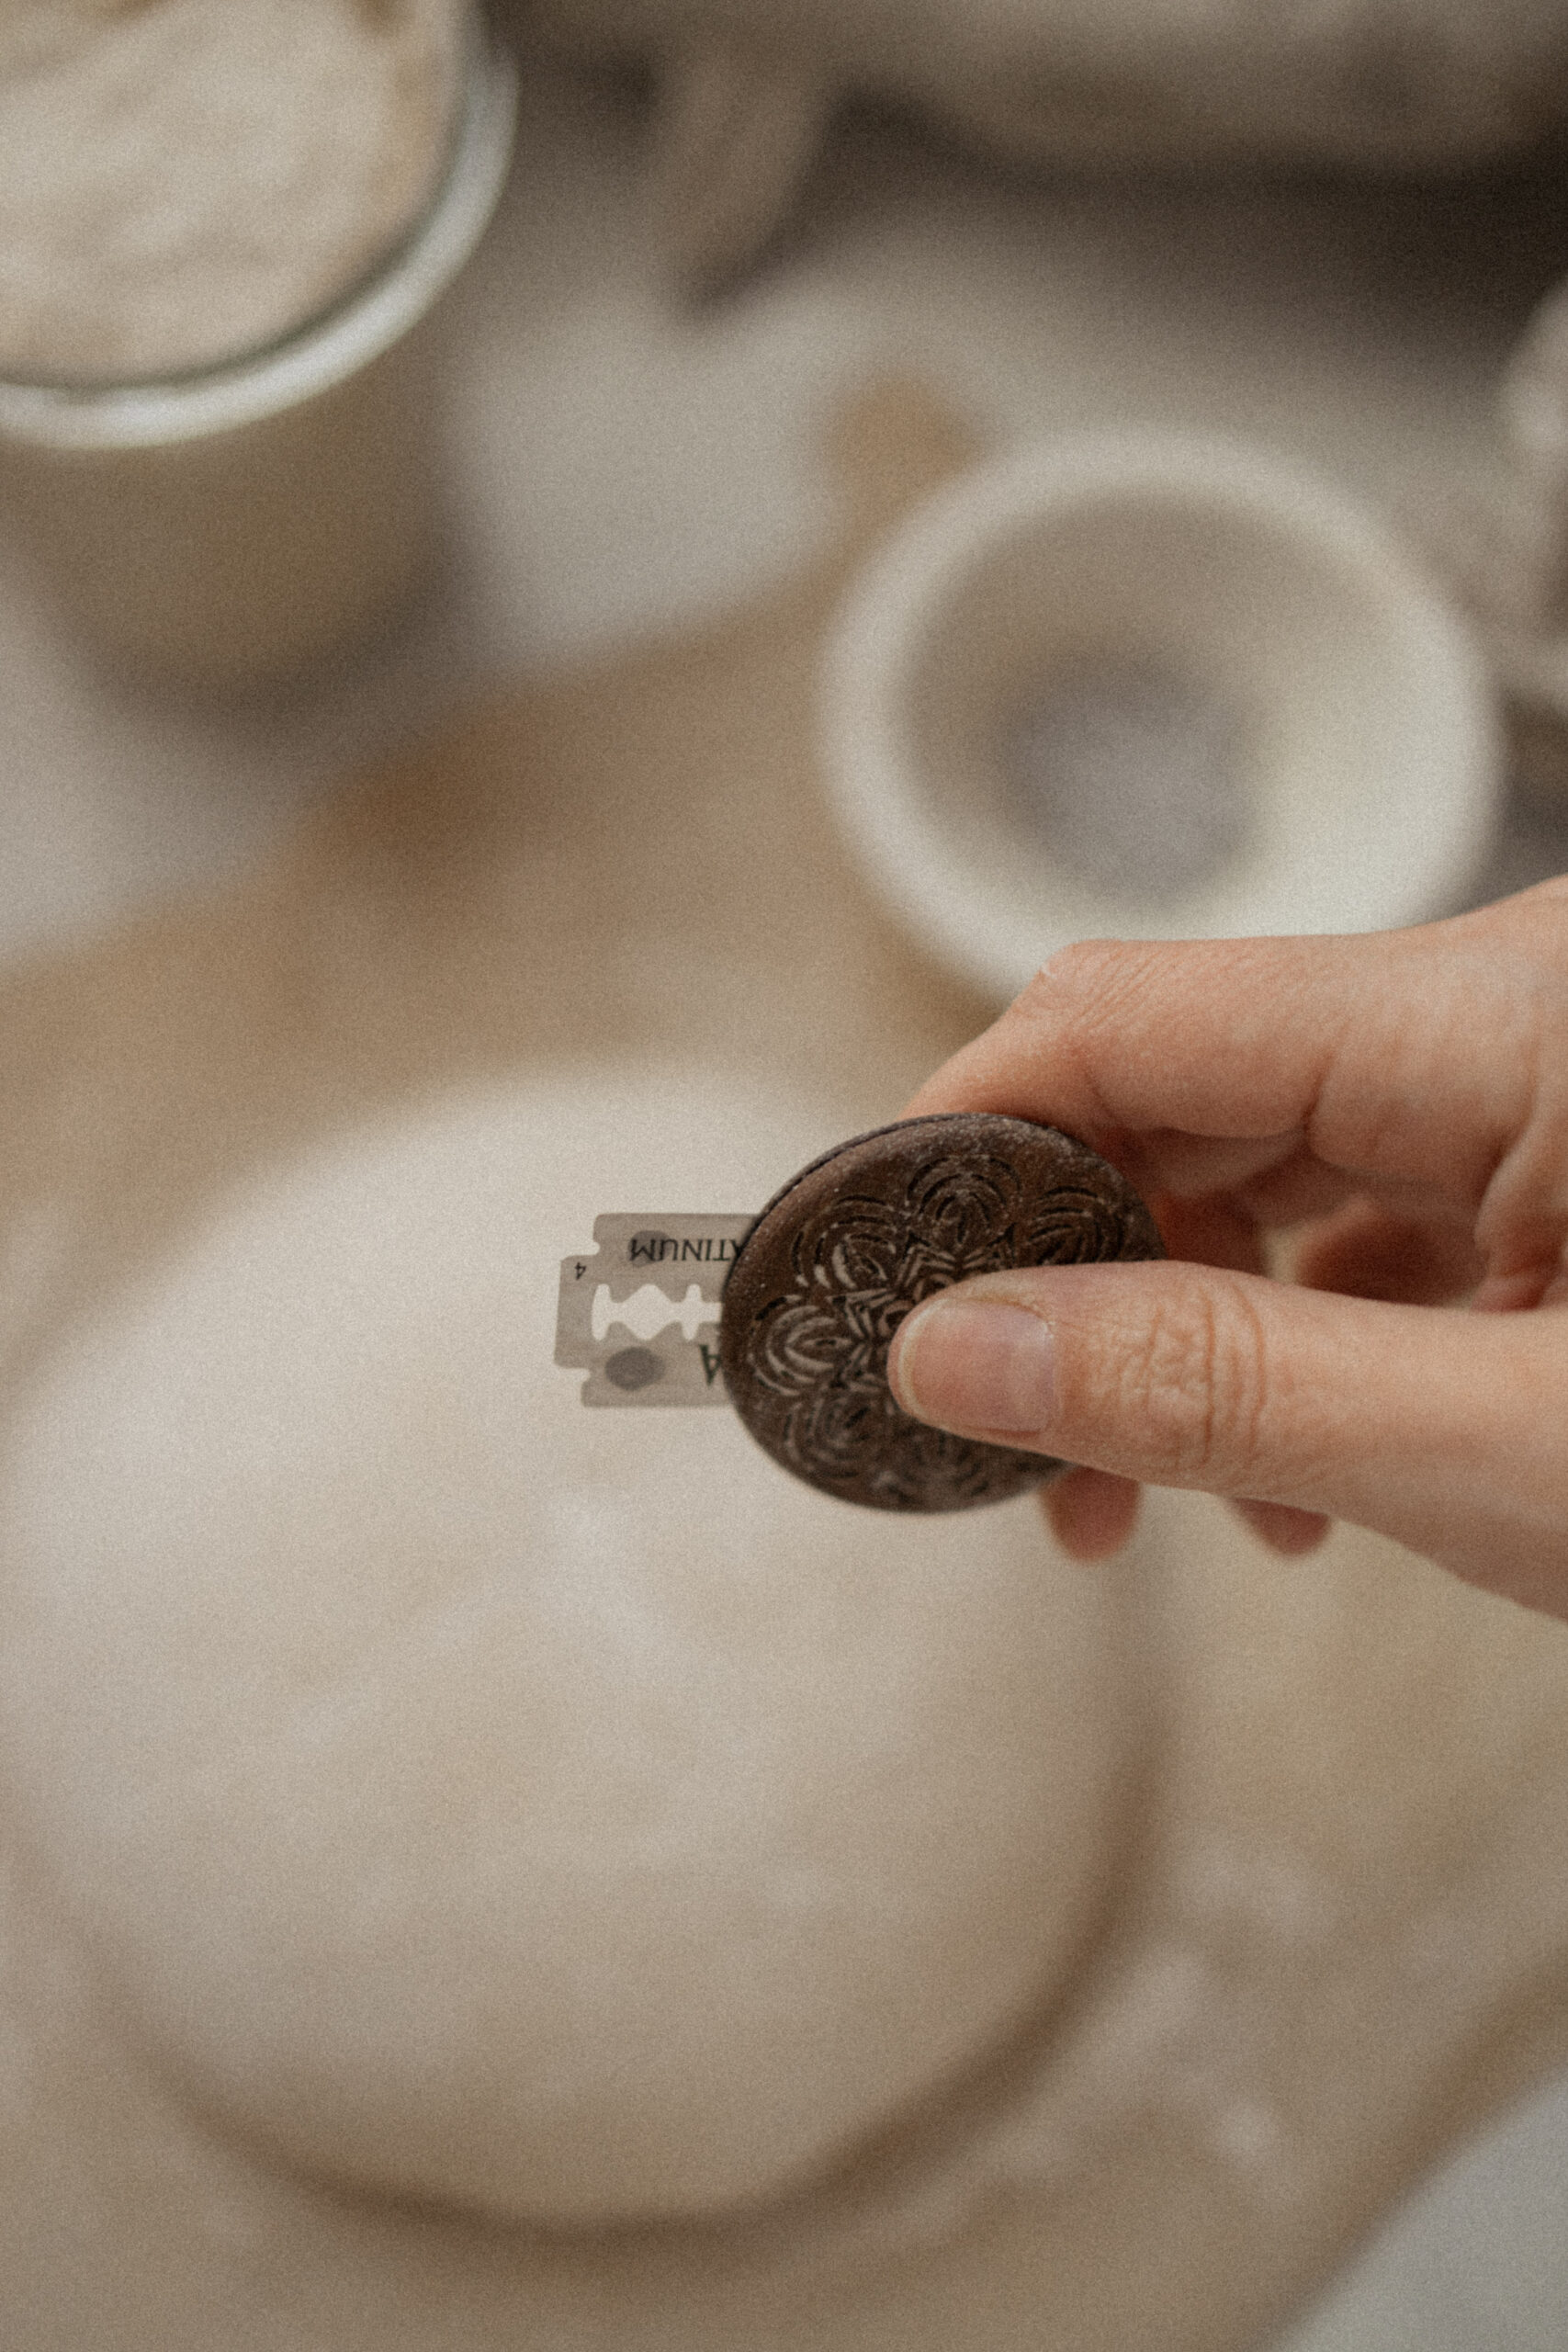
Using a sharp blade (bread lame, preferred!), using swift but firm motions, you can create a design if you wish. Be sure there is at least one cut that is quite deep. Sometimes I swipe the large cut 2-3x to be sure it’s deep enough to not bother and burst the detail cuts. Having your loaf cold, and straight from the fridge helps have a nice firm base to score.
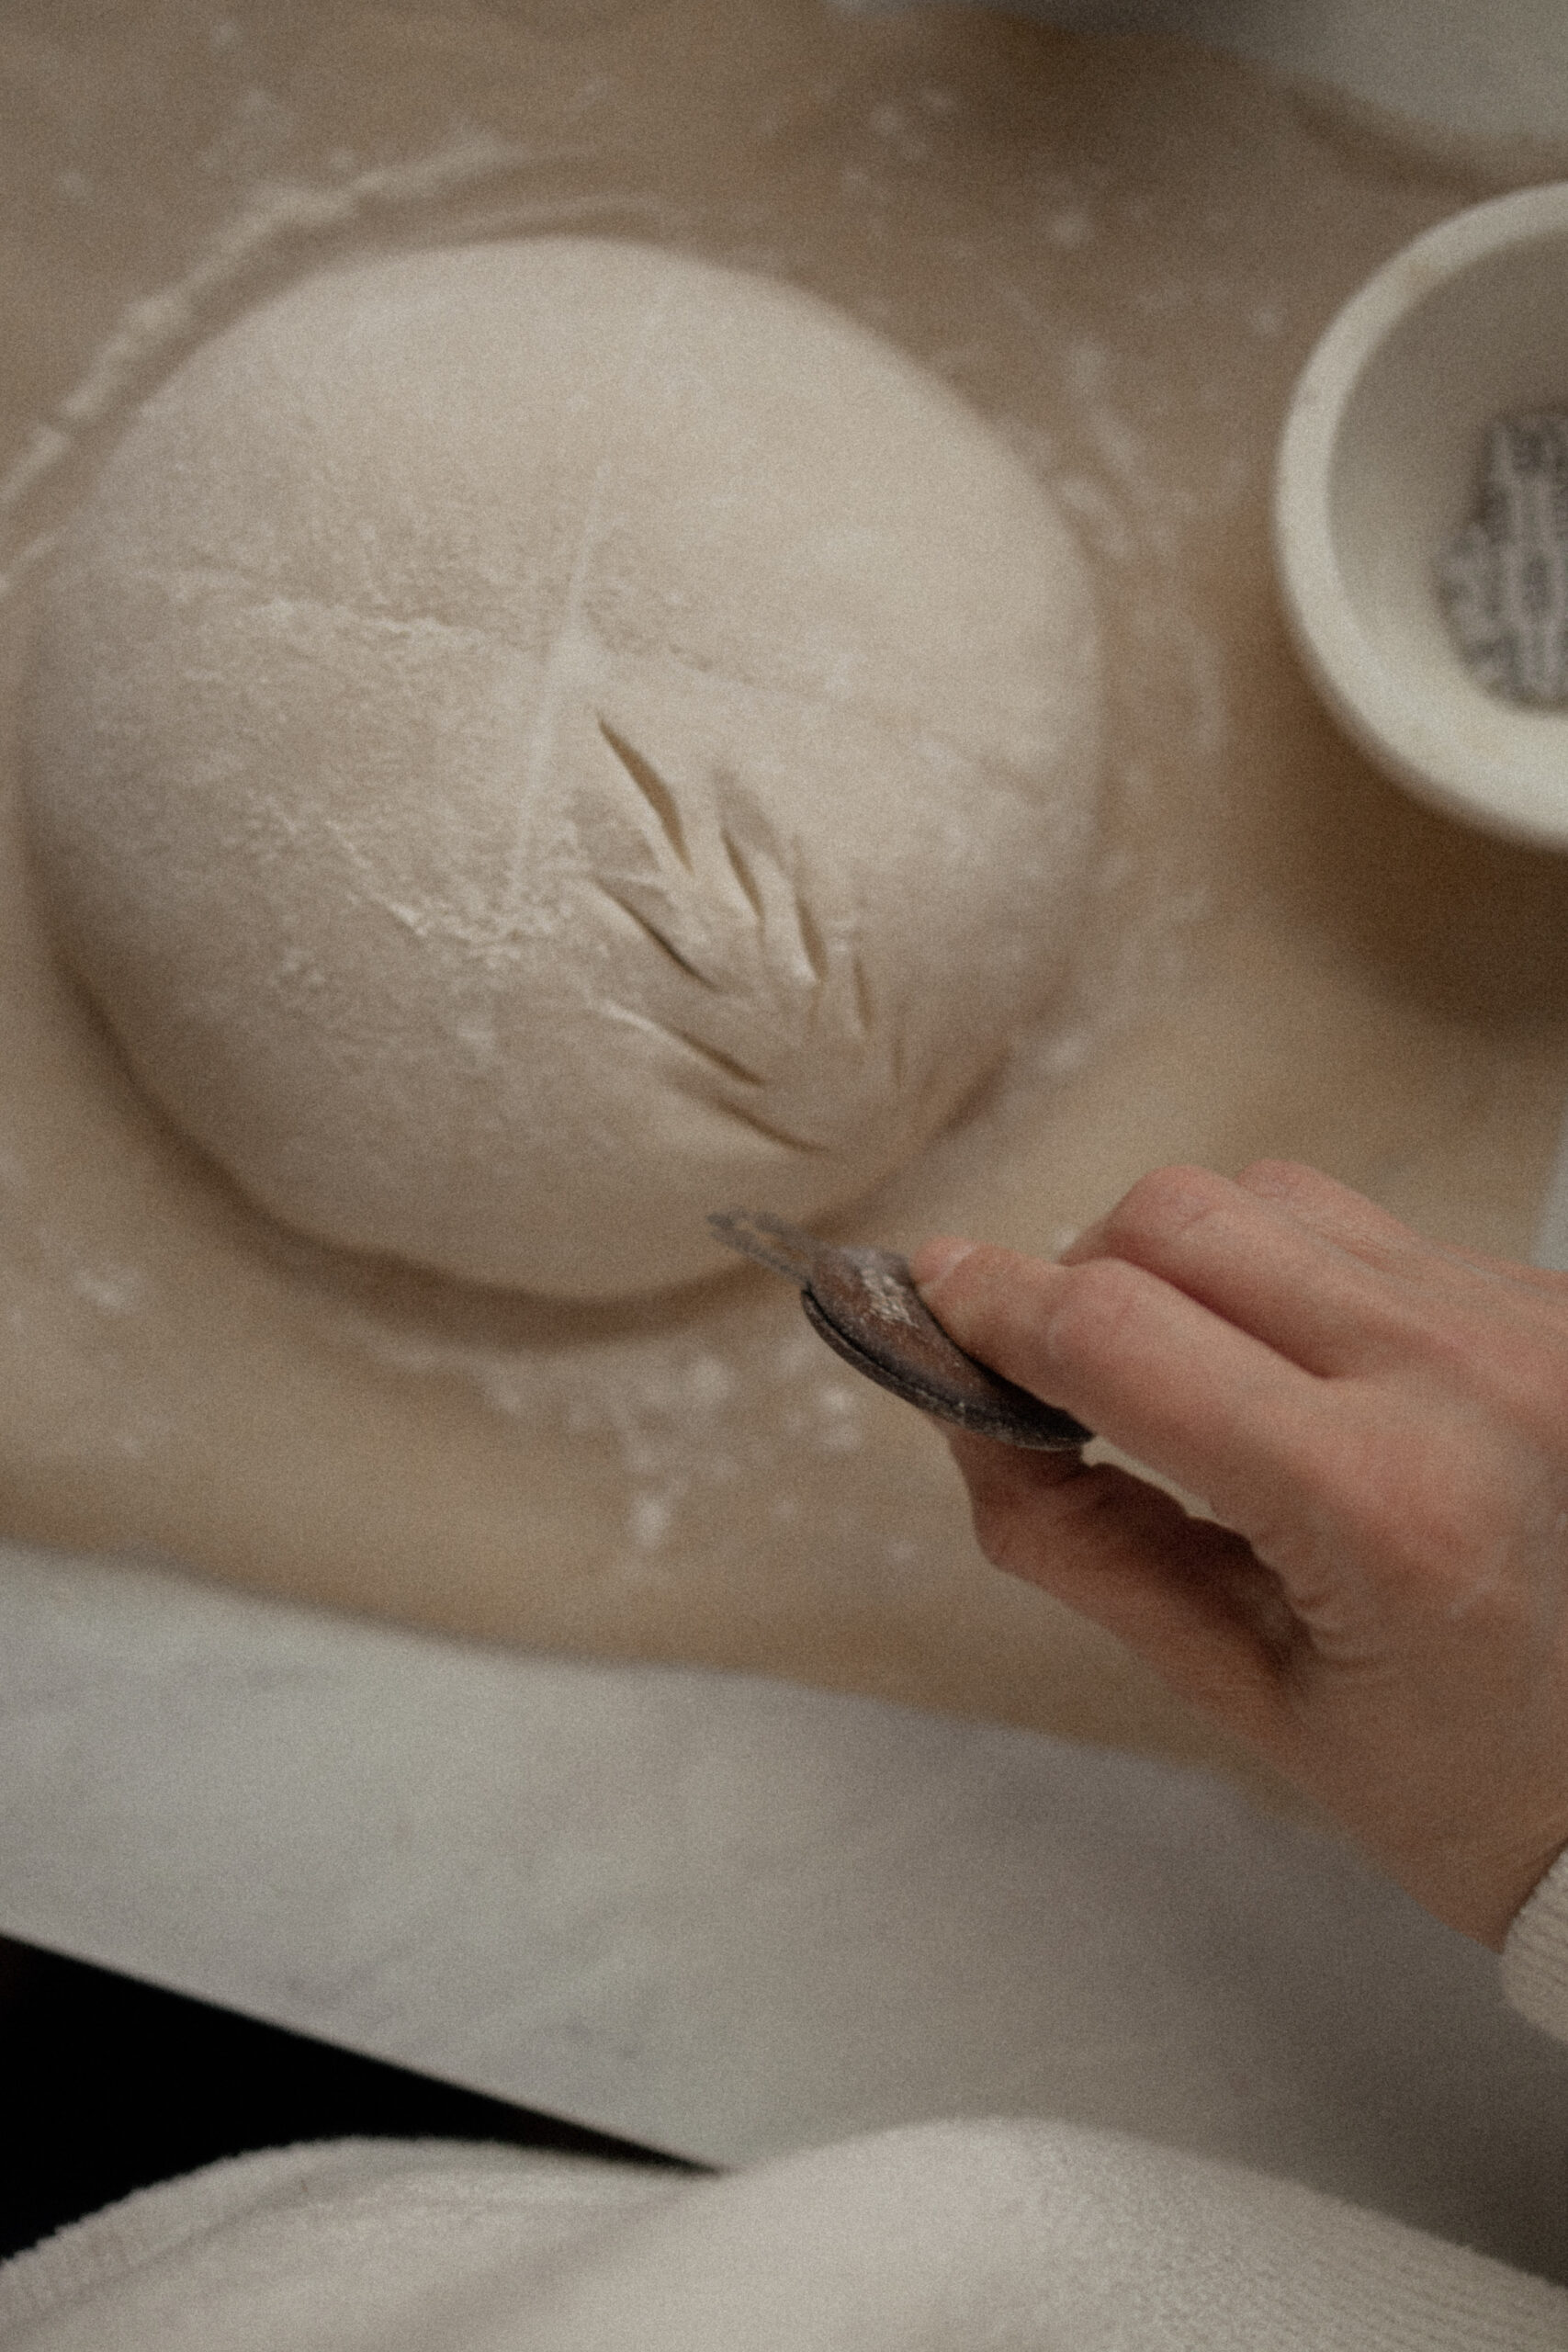
I often use the seam indents from the banneton liner as a guide for making my designs, however you can also use bakers twine to create your own indents in your floured surface atop your dough. Simply use the twine in two hands, and pull it tightly to gently press into the dough, creating guide lines for you to use when scoring.
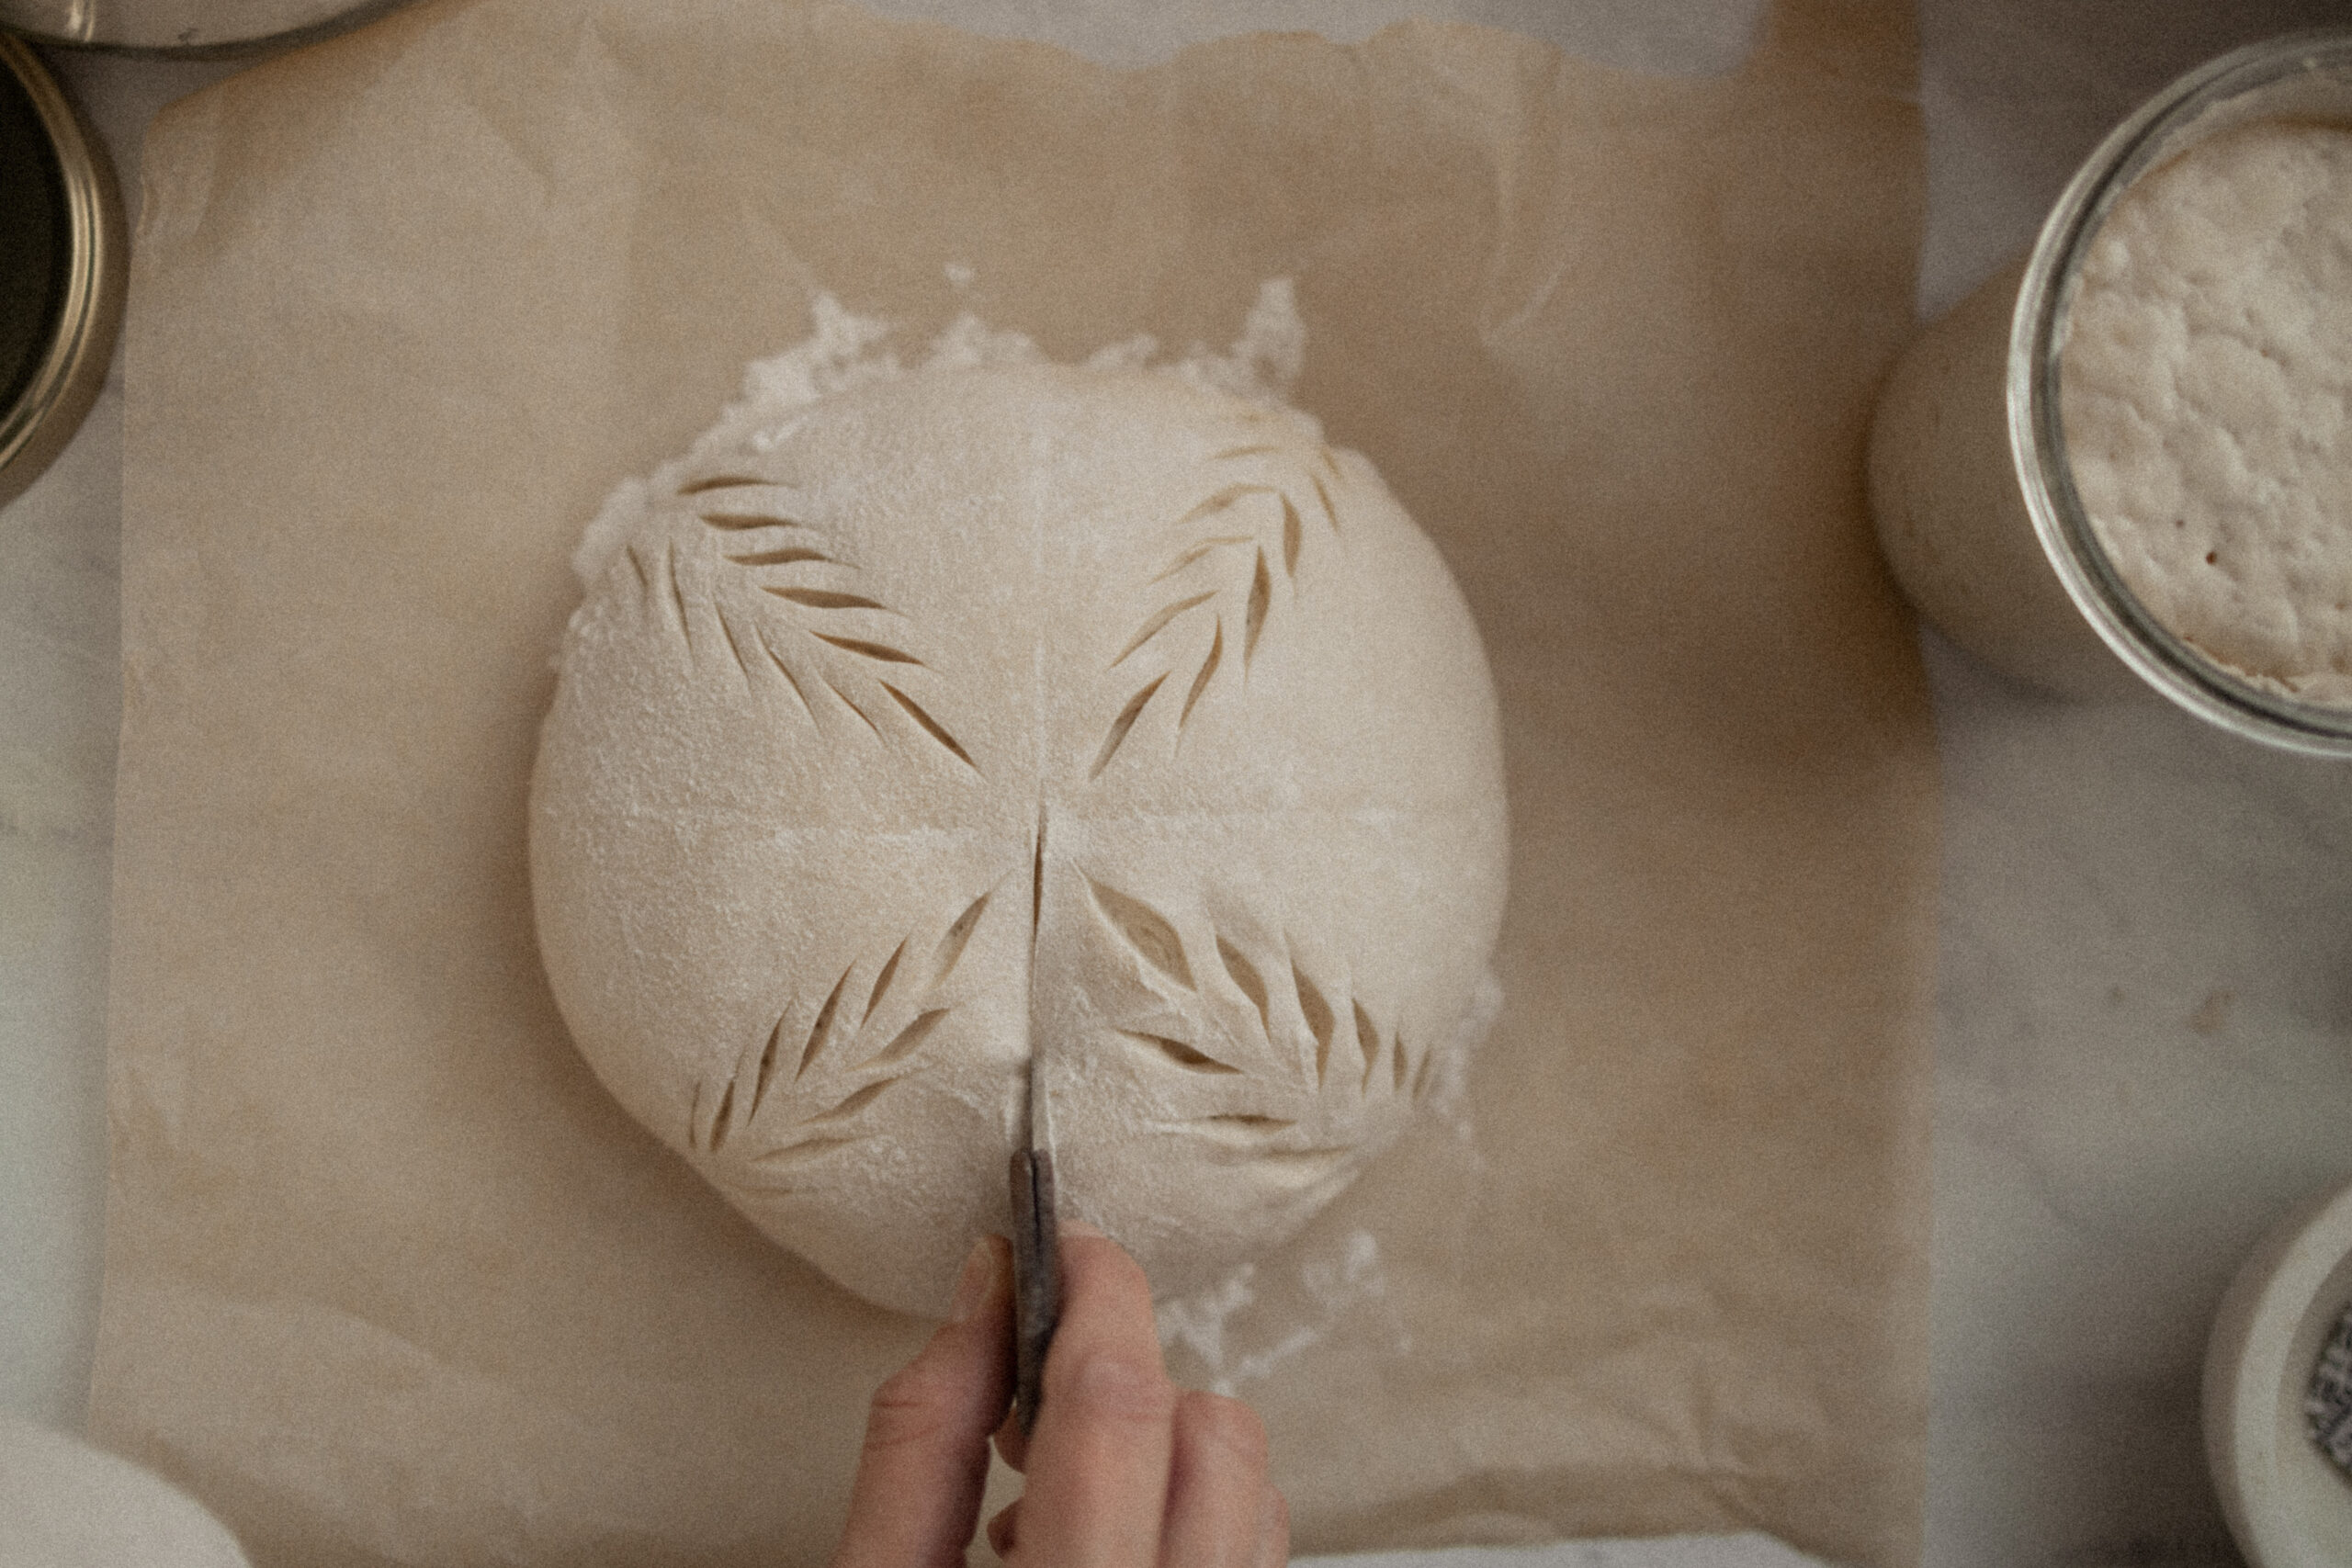
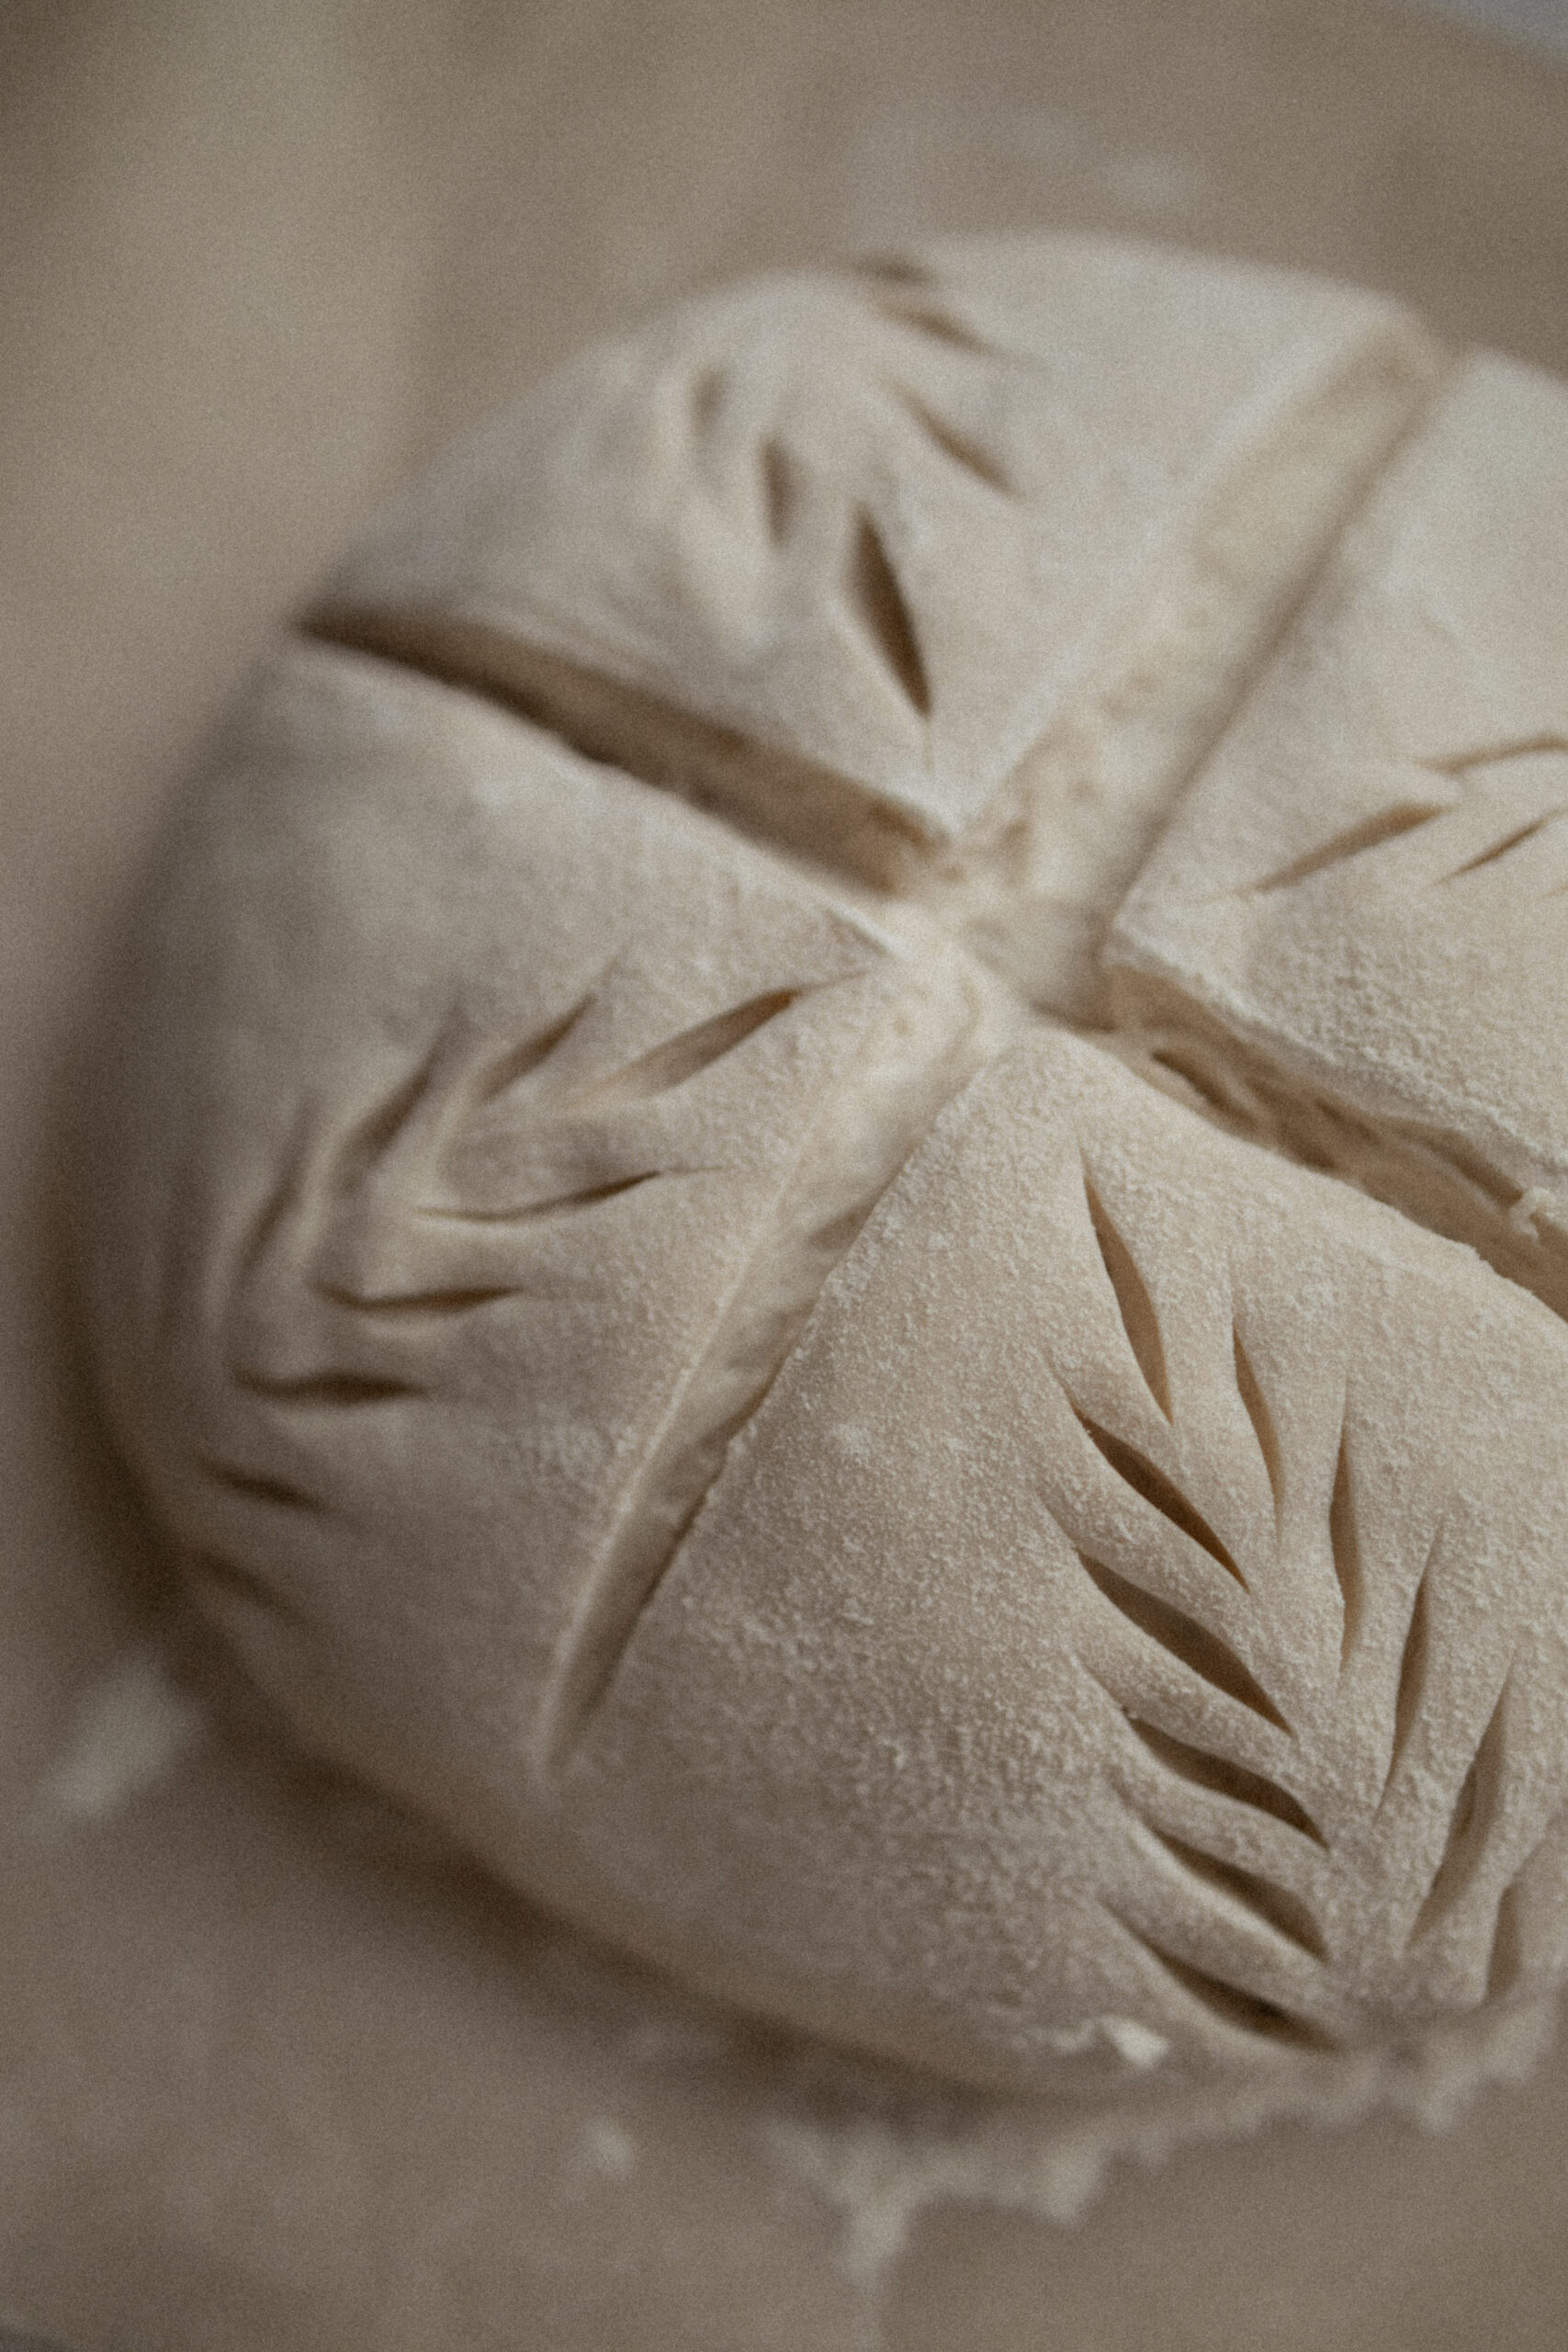
My wheat cuts are deep enough to be seen through the flour dusting, but still fairly shallow. The large scores are much deeper.
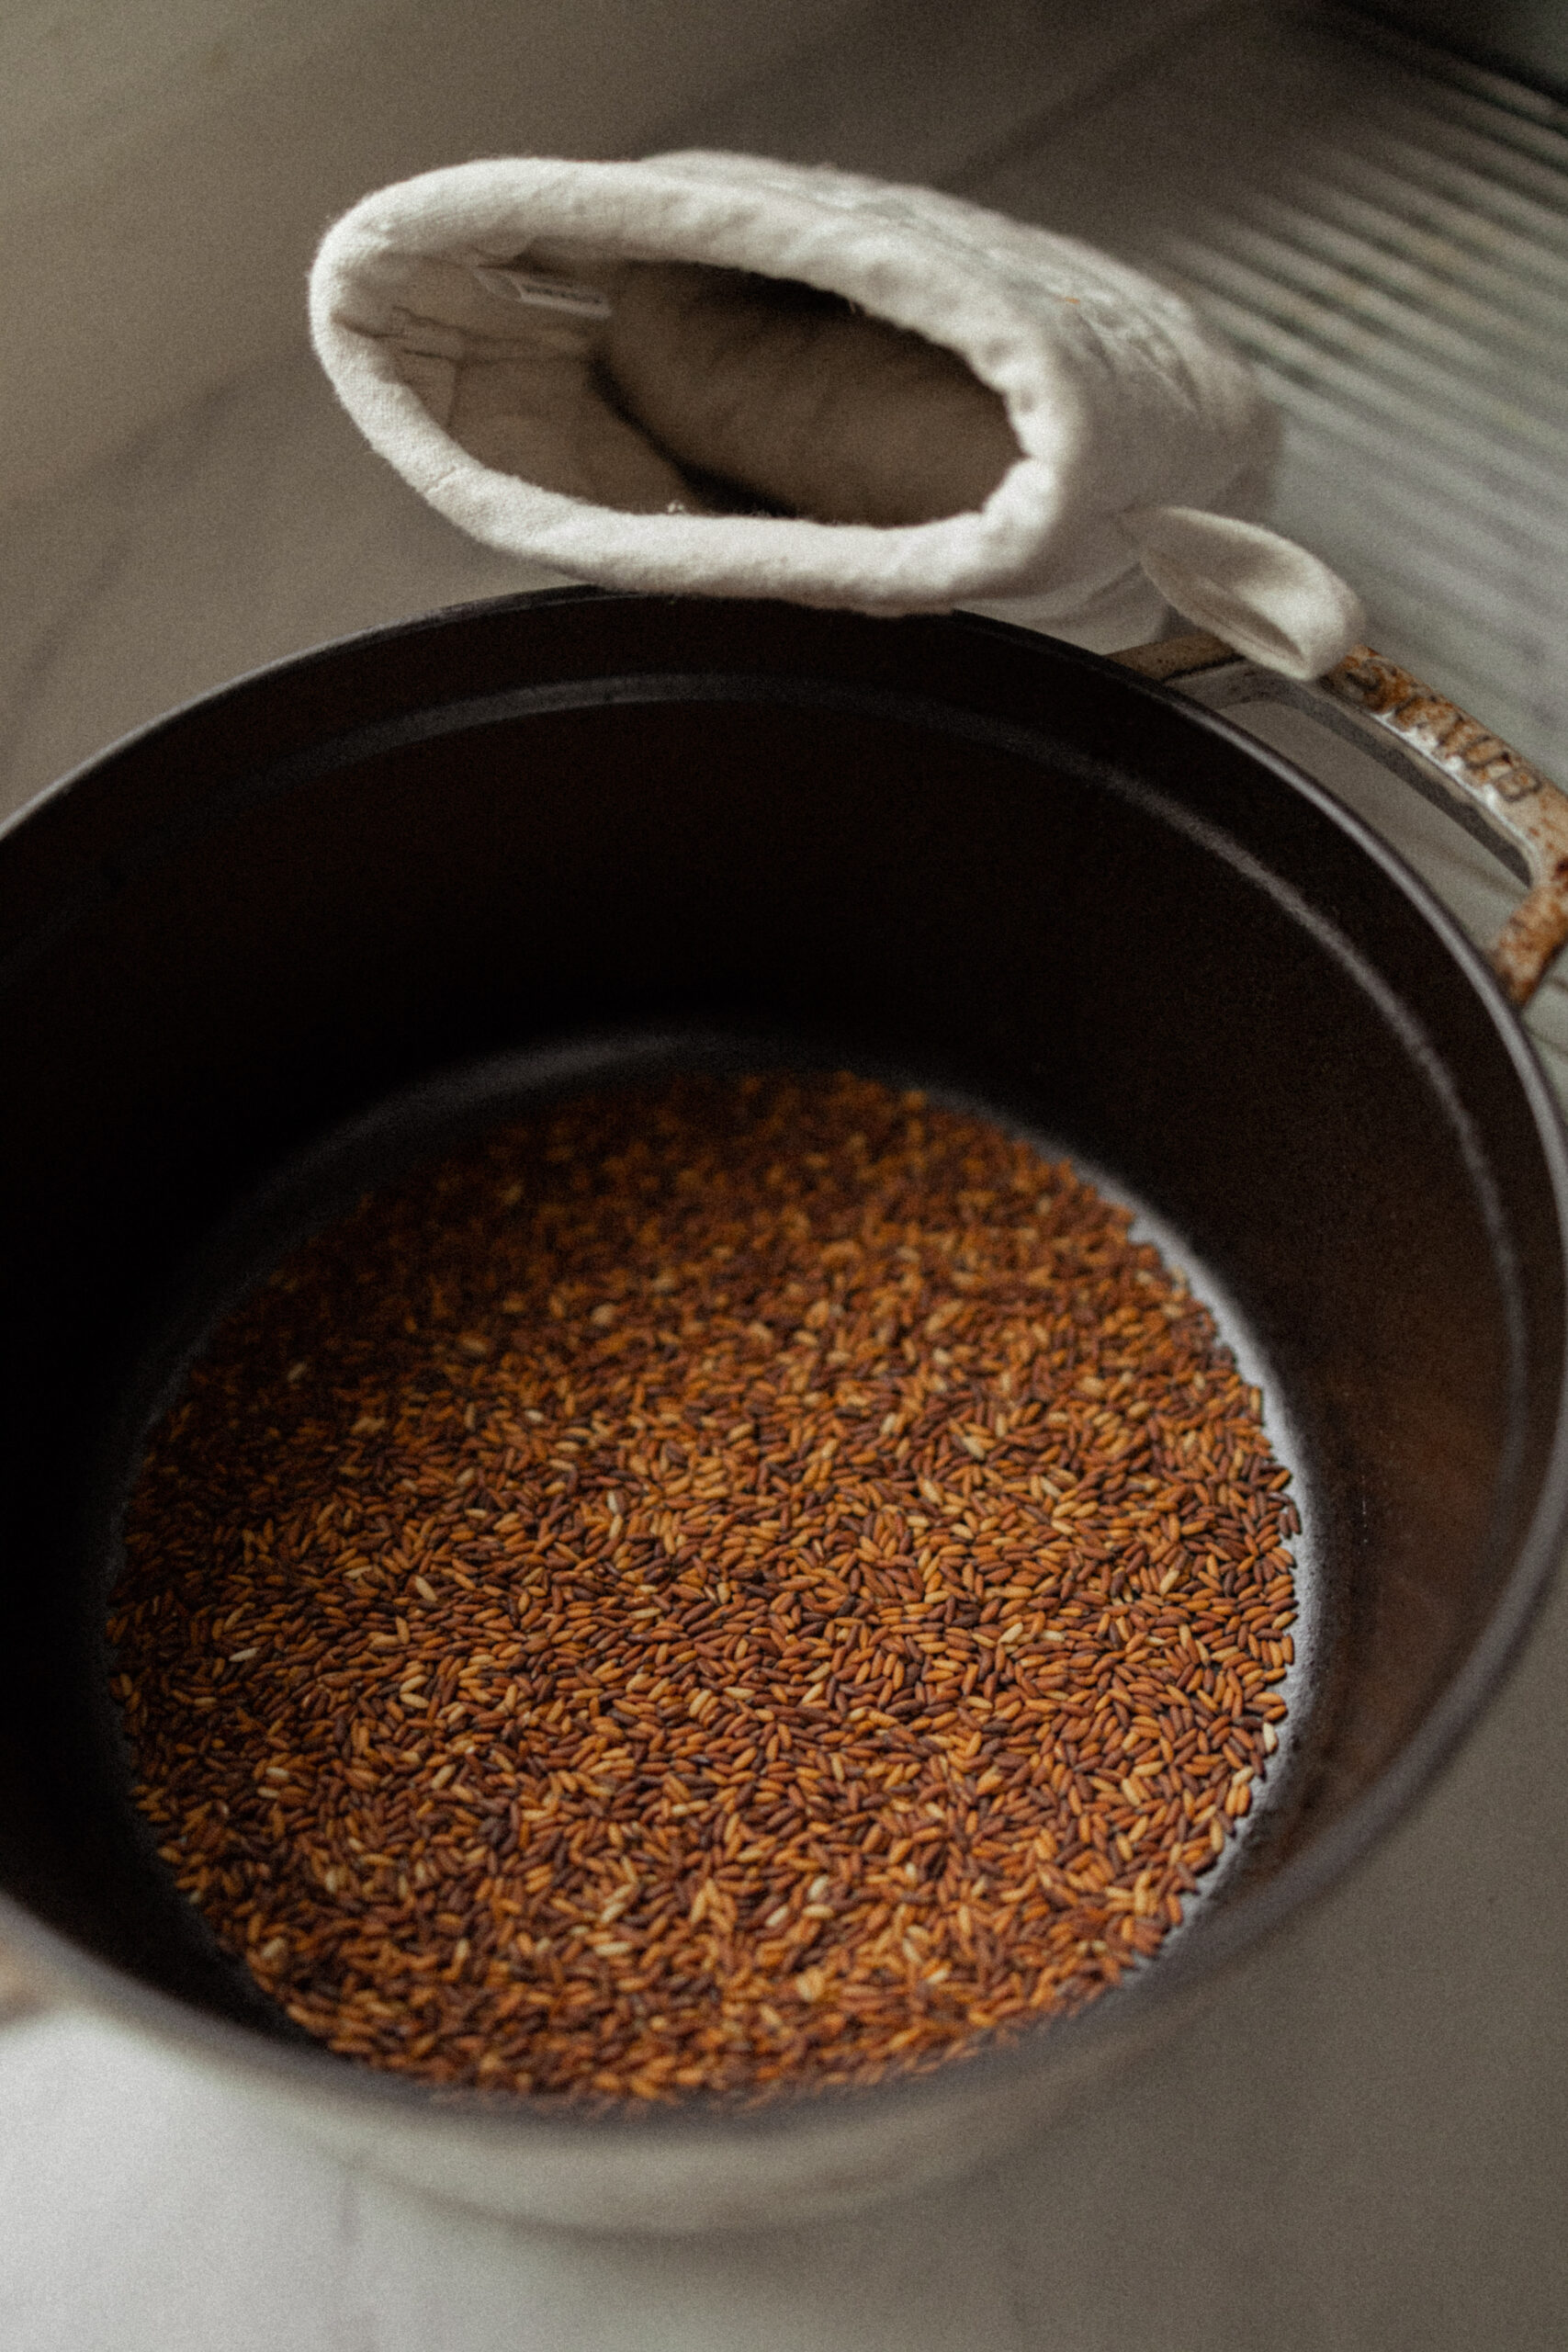
29. Remove your preheated dutch oven, and carefully take off the lid. It will be very hot! Swiftly add uncooked rice to the bottom of your dutch oven (mine is scorched but not cooked, I’d used this rice previously and transferred it before and after preheating so it didn’t entirely burn while preheating. I try to reuse uncooked rice a few times until it’s just a burnt mess). Try not to leave the lid off, or dutch oven out of the heat for too long.
30. Holding your parchment paper, carefully add your dough into the dutch oven, and quickly replace the lid, trying to keep the heat in. Place into the oven.
We keep a pizza stone on the bottom rack of our oven at all times, so we have lots of barriers to prevent a burnt bottom of our loaves.
31. With the lid on, bake for 30 minutes at 450ºF.
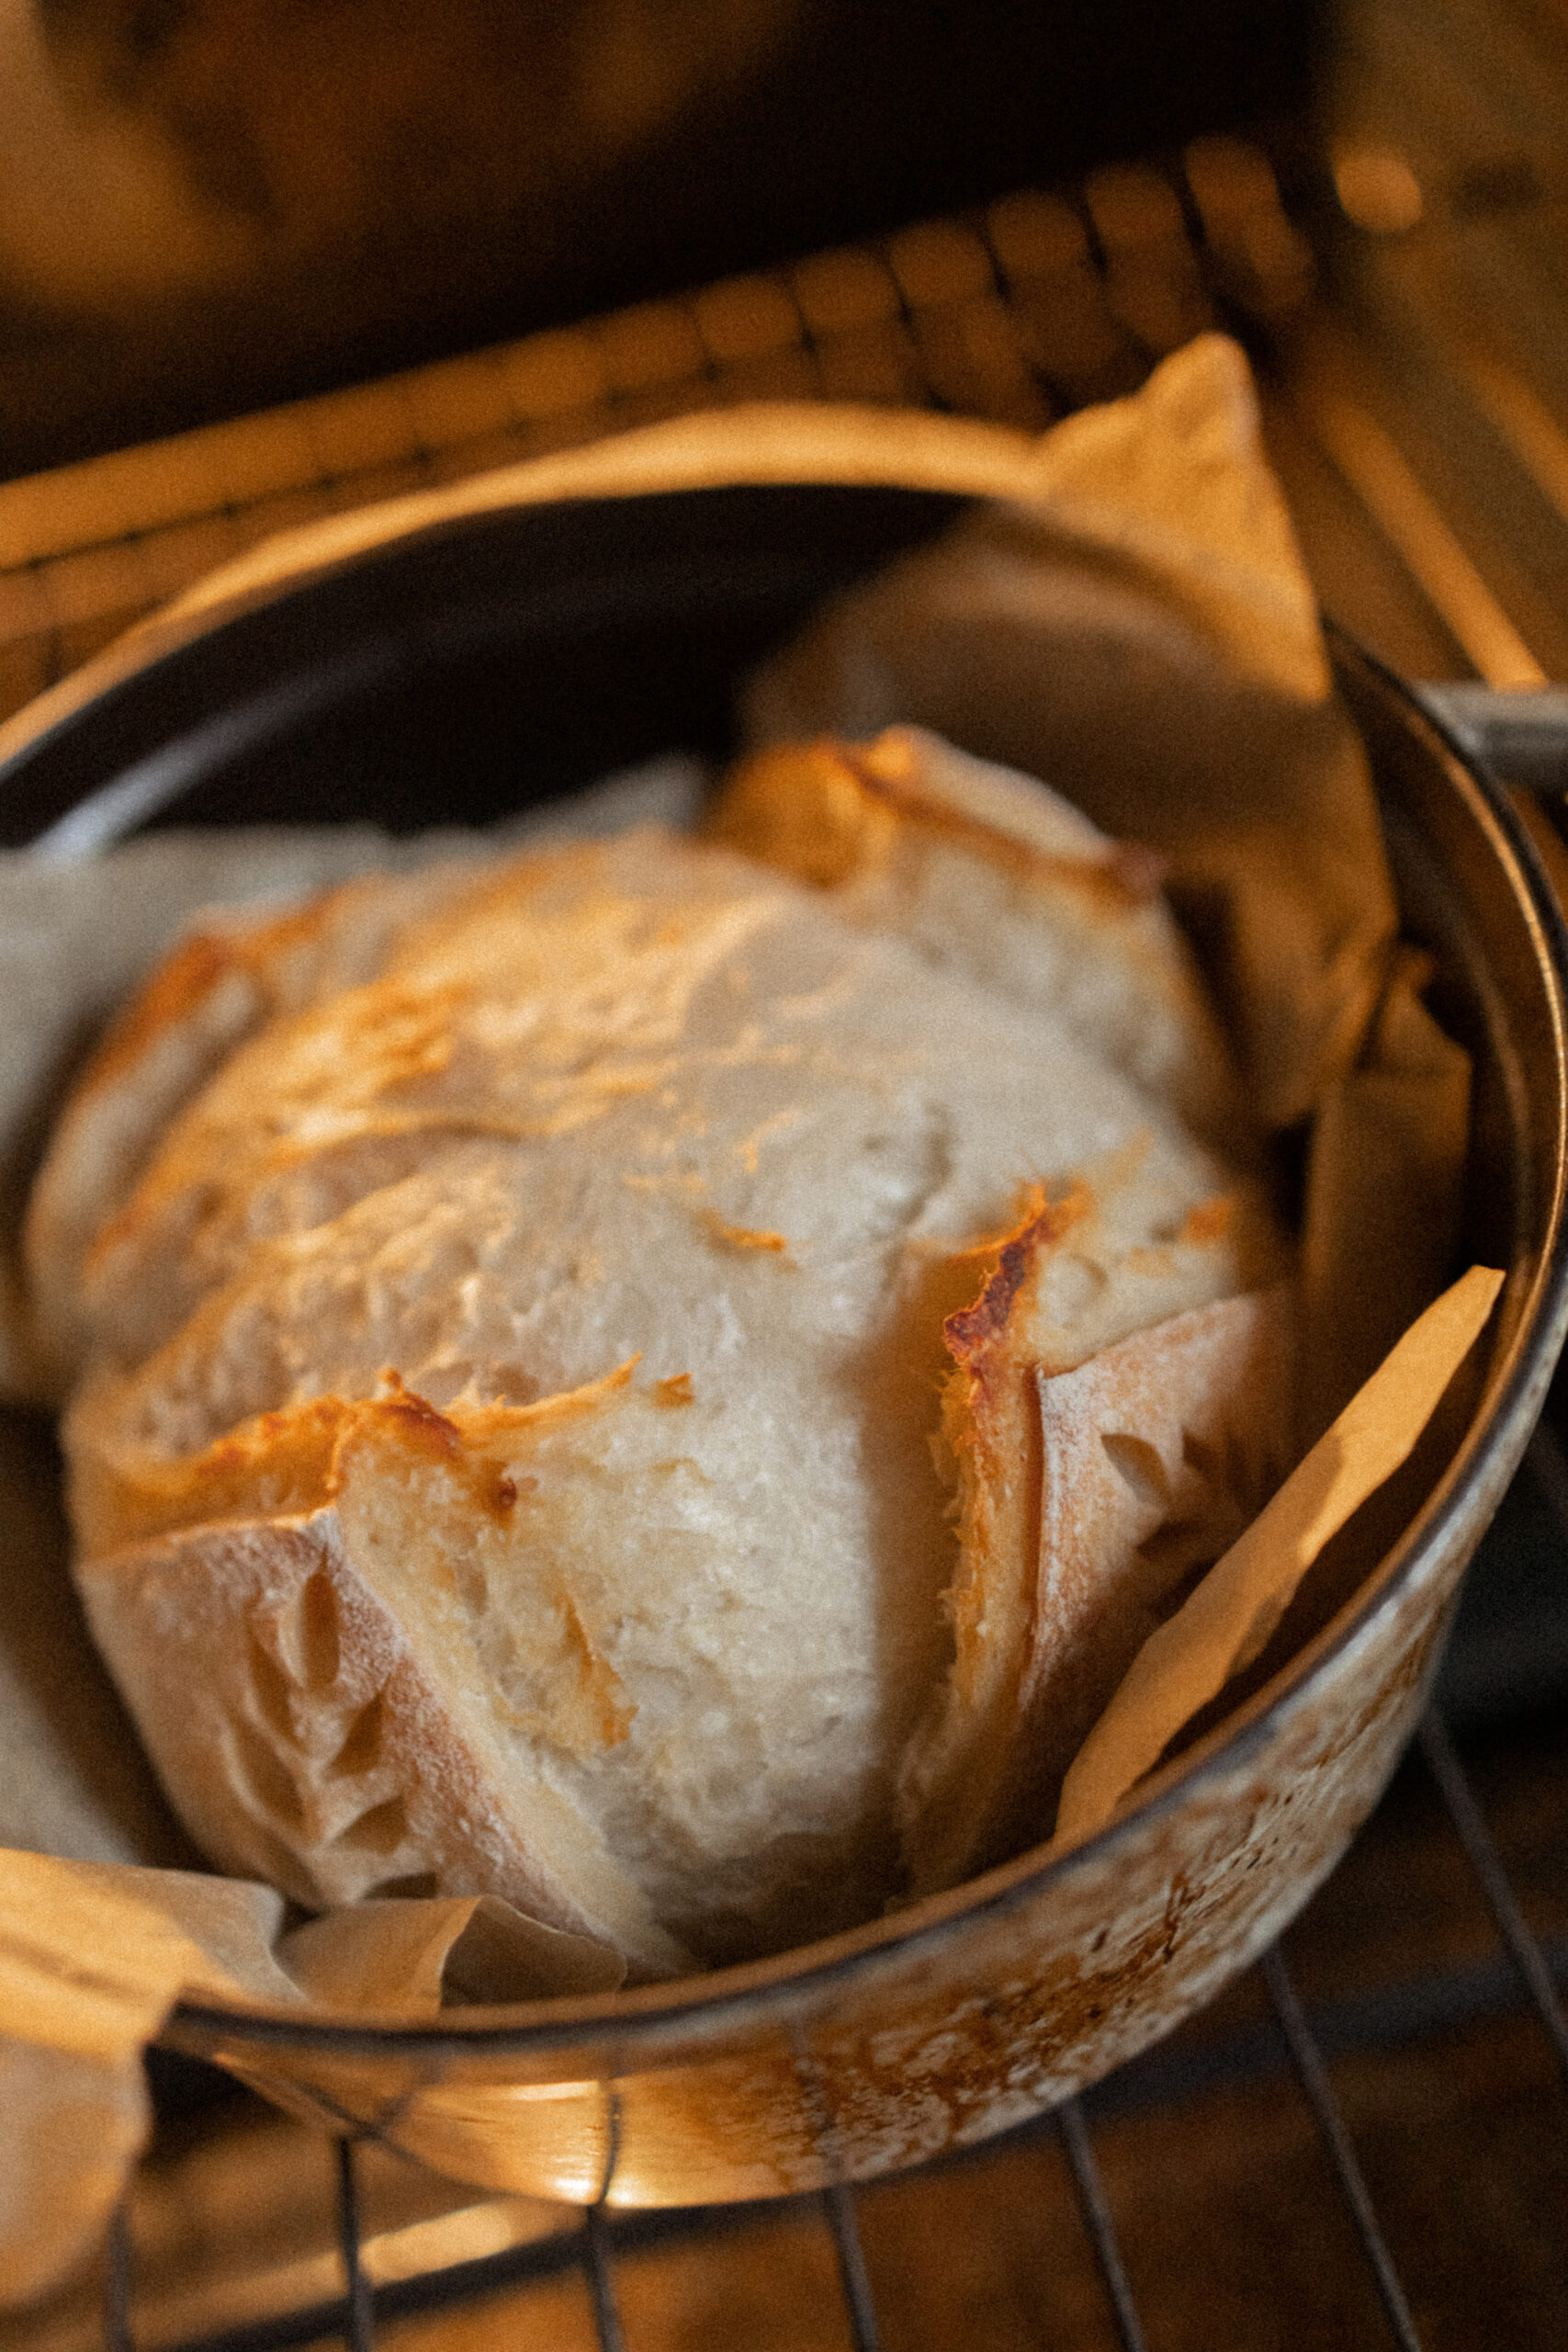 32. At 30 minutes, remove your lid, and bake for an additional 15-20 minutes depending on your oven.
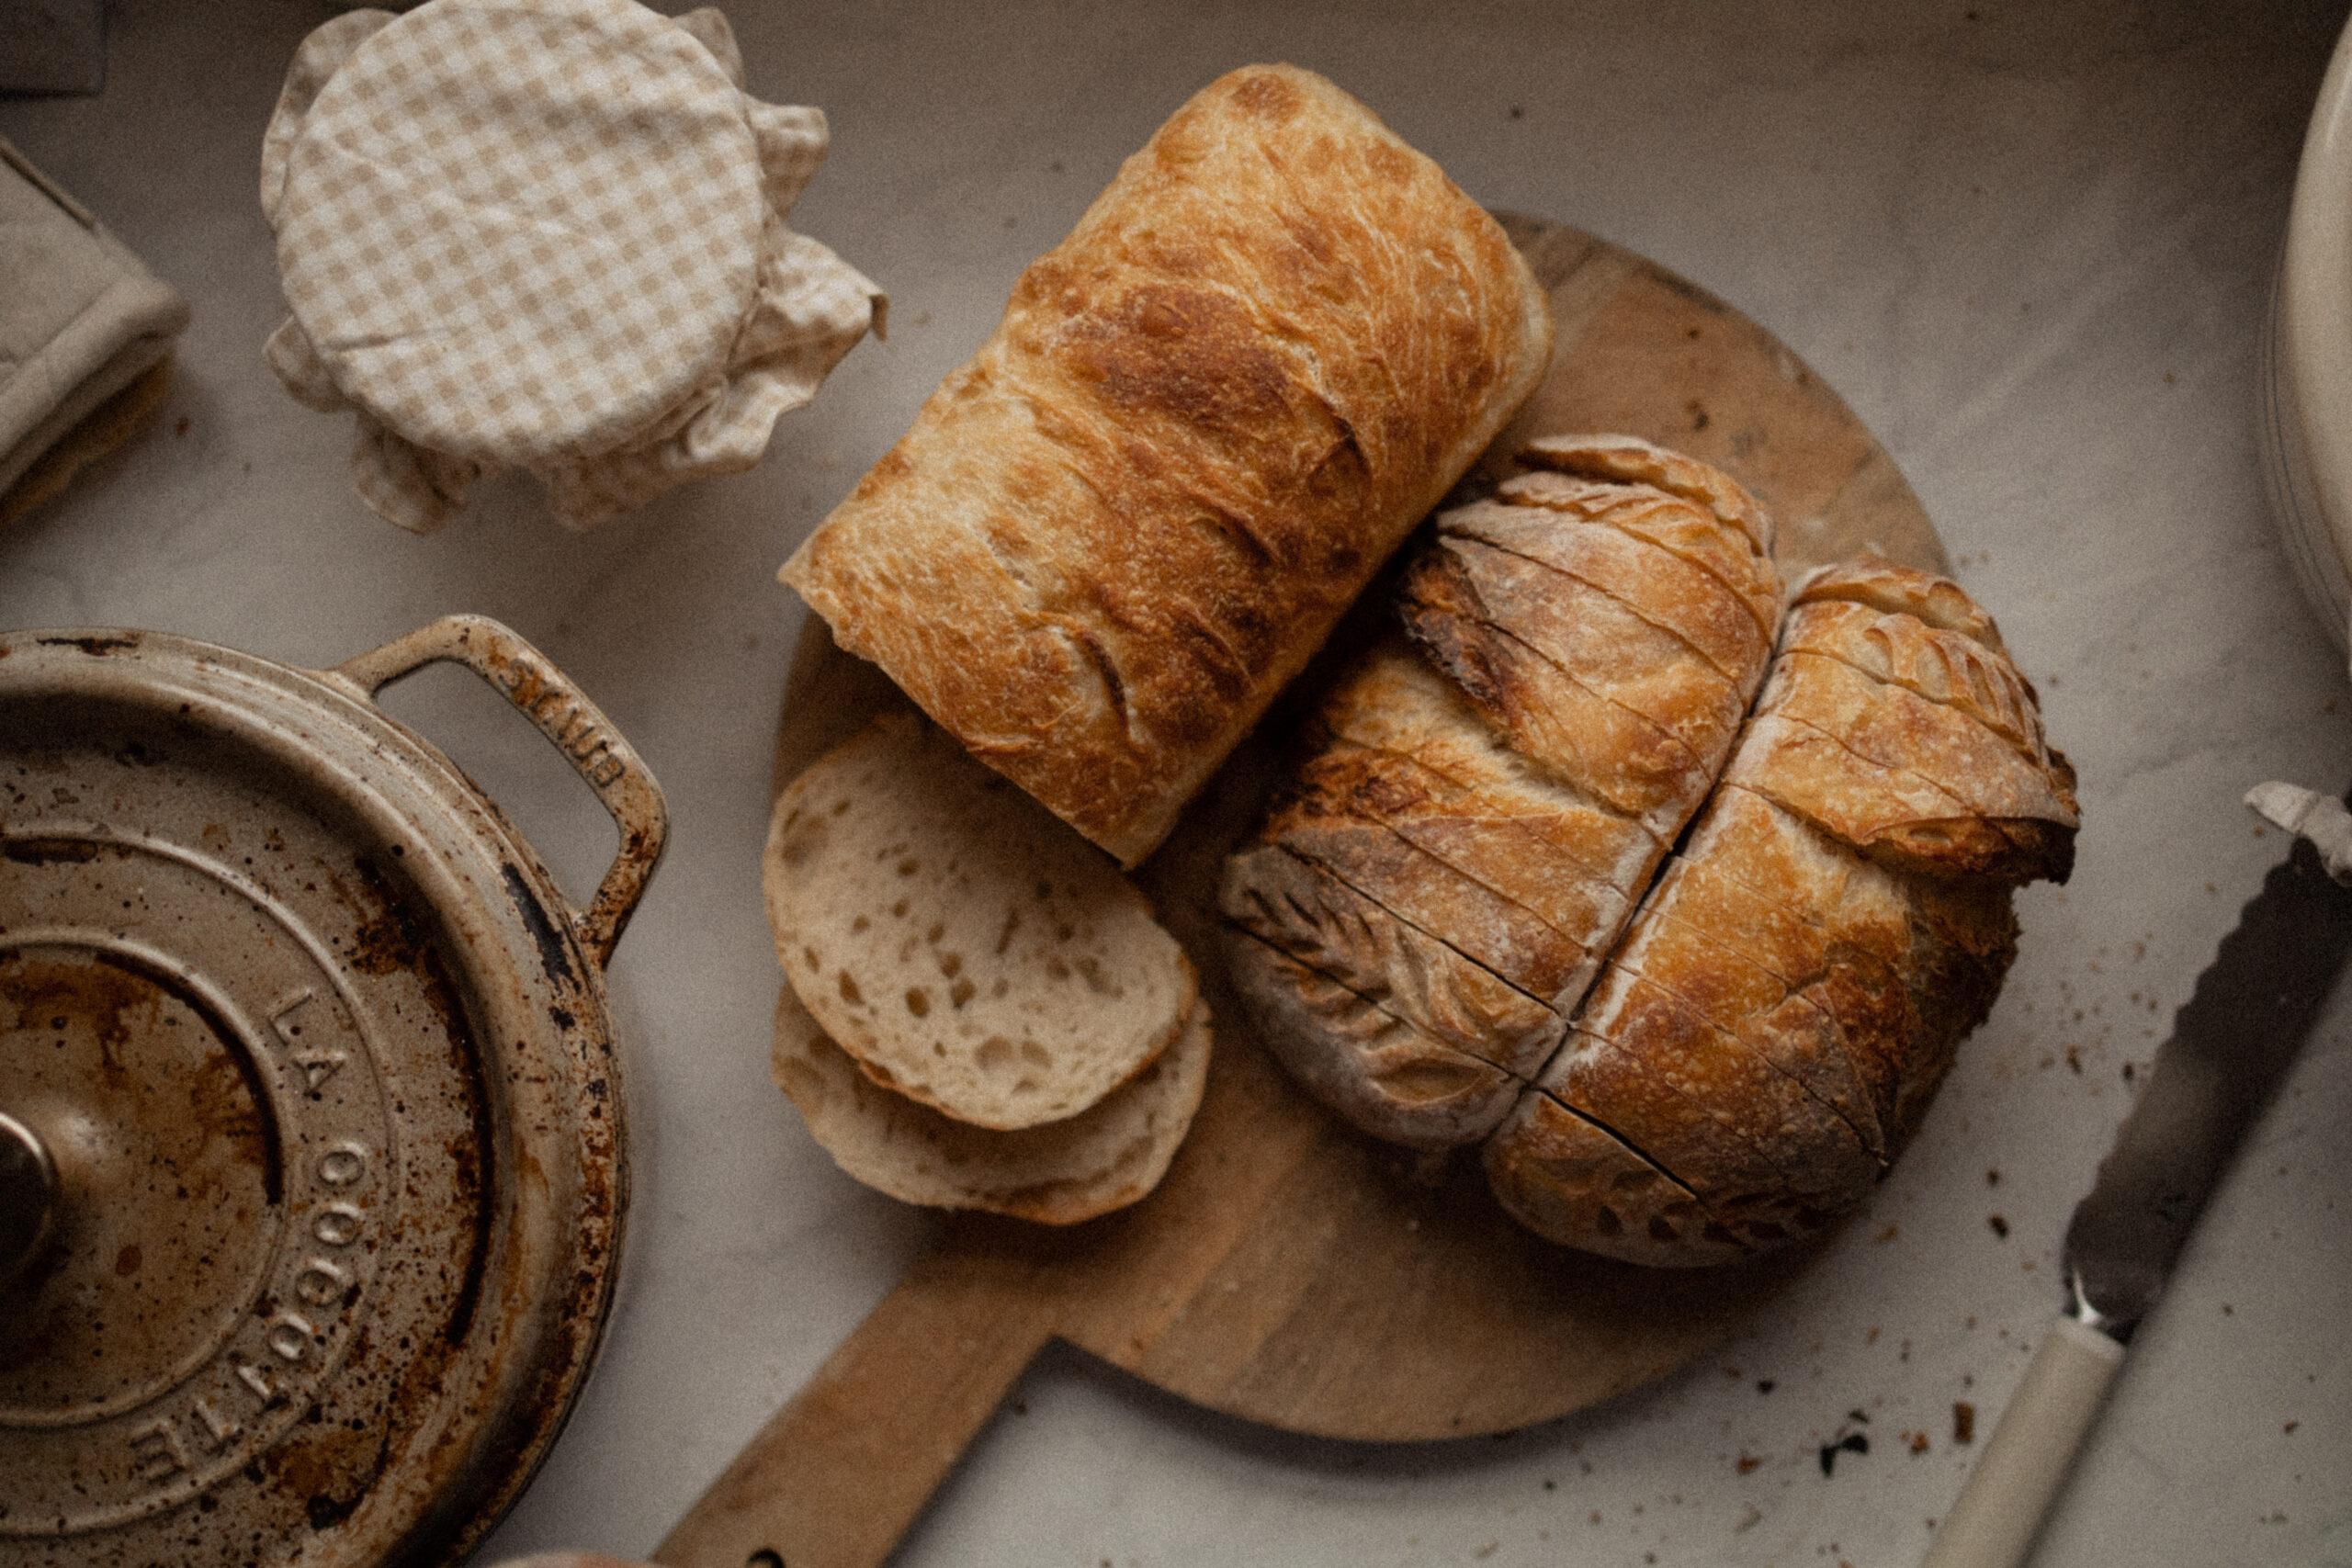
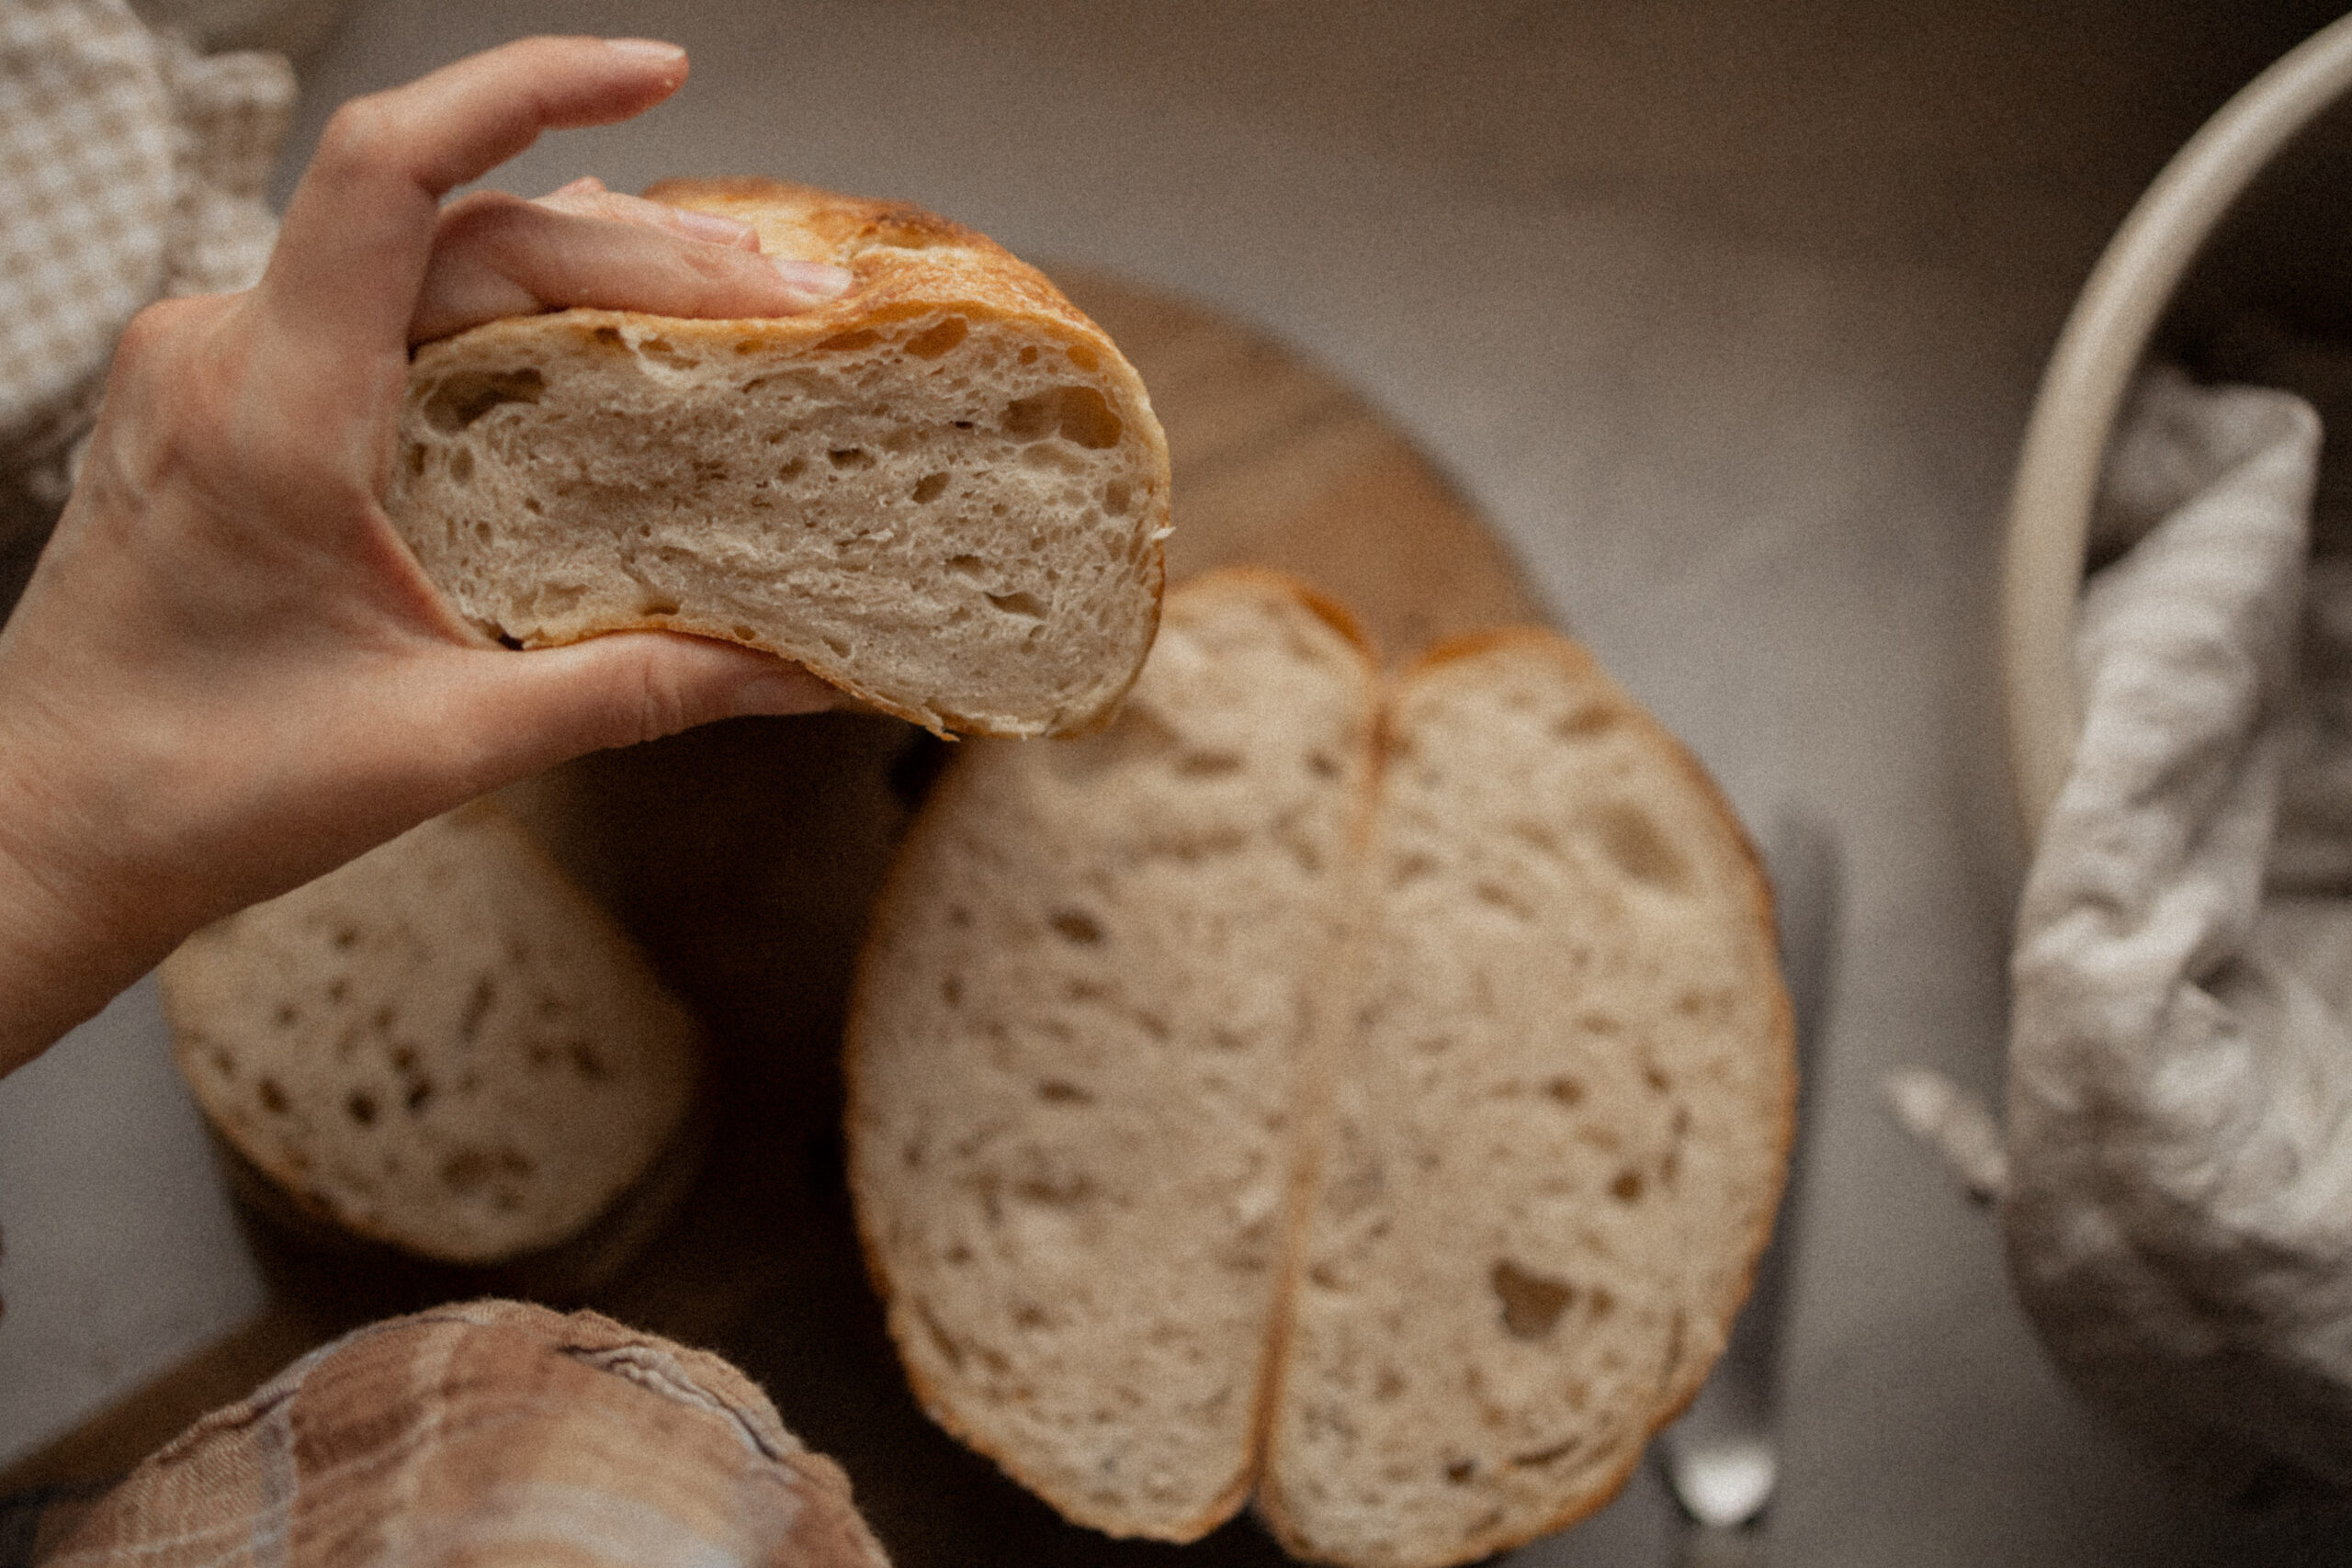
33. When the bread looks caramelized, crusty, and toasty, remove and *carefully* transfer to a wire cooling rack. Again, attempt to avoid cutting into your loaf immediately, as it could lead to a gummy, undercooked texture inside without proper settling. Enjoy the crackle as your loaf settles to temp 🙂 it’s one of our favorite parts of baking sourdough!
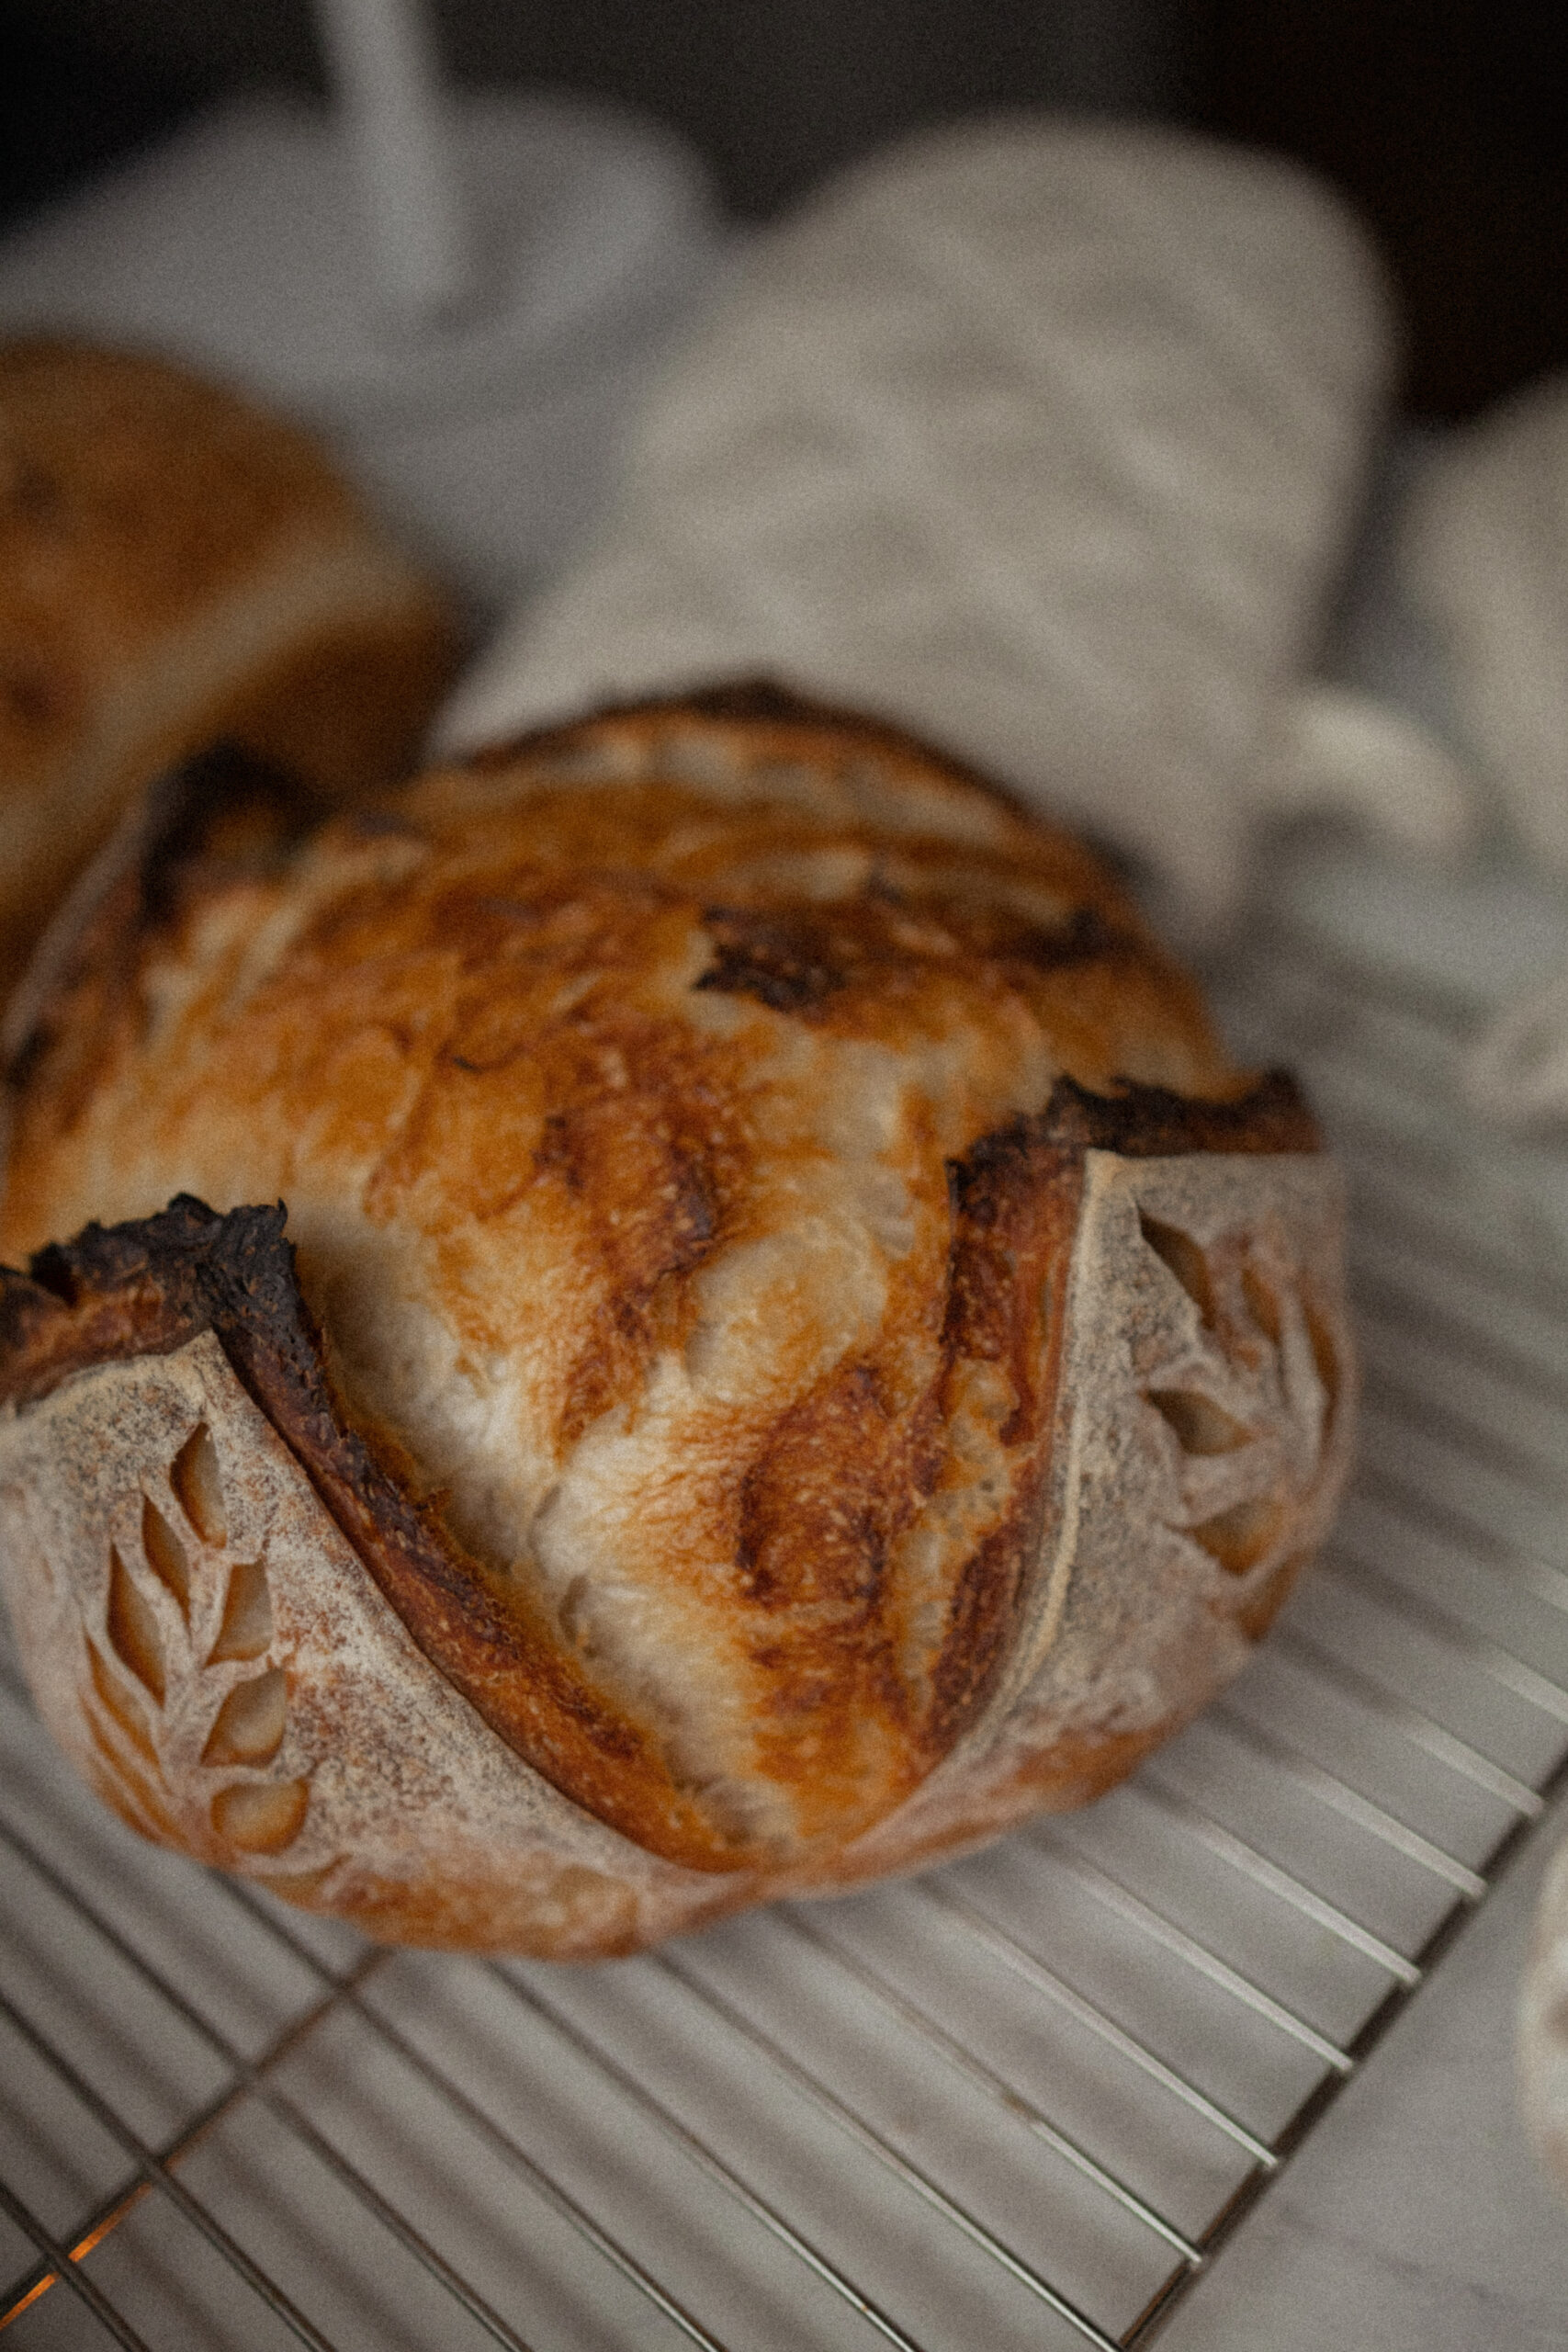
34. After an hour (if you can wait!), enjoy!!! Best slathered with butter, or topped with avocado, eggs, arugula, pickled onions, and freshly grated parmesan 😉
35. Tag me on Instagram if you try it! I always love seeing your bakes! @ourkinandhome
SIMPLE SOURDOUGH RECIPE
INGREDIENTS FOR SIMPLE SOURDOUGH
- 100g active sourdough starter (visit my blog post for more insight on starter)
- 700g filtered room temp or slightly warm water
- 1000g organic flour (bread flour, Costco brand, or any high protein organic flour)
STEPS TO MAKE SOURDOUGH BREAD
1.Pour starter into your clean bowl.
2.With your bowl on your scale, measure your water then mix thoroughly using a whisk until it’s milky.
Still using your scale, measure your flour and then slowly mix fully. Use the dough whisk or your hands to ensure all bits of flour and water are fully combined. You’ll have a soft, shaggy dough and will appear dry, not liquidy.
5. Let your dough sit and rest for at least 30 minutes, can be longer. This is the time when I will typically feed my starter and put away flour and cream up other supplies.
6. When your dough has rested, measure out 20g of salt. I really like to recommend a pure and unadulterated salt. We love the flaky one linked in my supplies list above. Quality salt can be game changer.
7. Begin pinching the salt to your dough, slowly kneading and folding it in.
8. Then, go ahead and do your first set of stretch-and-folds.
9. Set your timer for another 30 minutes, live your life.
10. Another set of stretch-and-folds. These are building strength in your dough! I’ve done MANY loaves without doing this because sometimes life is just busy, but it absolutely makes a huge difference! Don’t skimp it if you can avoid it, but if life is life, then just go with it. It’ll be okay 🙂
Going from pinching in the salt, to stretch and folds here. You’ll begin to lift and pull your dough, sort of scraping the side off, then stretching it upward, and folding it over. Do this in quarters by doing a stretch, fold, and turning your bowl, until it’s folded into a ball.
11. Cover your bowl with a shower cap, bowl cover, plastic wrap… something that will keep the moisture in and not allow the dough to dry out.
12. Let your dough rest and ferment for a few hours. How many hours specifically truly depends on your house, but for my house I typically have it on my kitchen counter for anywhere from 3-6 hours. It really depends on the season (in the Winter it ALWAYS takes a lot longer to ferment for me personally, but some people have wood stoves that keep their homes really warm in the Winter, so their’s may ferment very quickly), and much shorter in the Summer for me, even with the air conditioning on at all times. It gets very humid here and our house has terrible insulation. Climate genuinely varies SO much from house to house and even season to season… let alone geographic climate and elevation. All these variables just mean you get to the opportunity to experiment all the time and it’s really such a fun hobby and project to take on. Despite needing to pay a little attention to your dough, it’s really not time consuming. A peek every now and then is all it needs.
You’ll want your dough to dome. It does not need to double in size, explode out of your bowl, or need to be a specific timeframe. You do want it to have some oxygen in there. You’re essentially looking for a big giant starter. You want to see that their starter has done its job, it’s fermented your dough, and is showing the same signs. You’ll want air bubbles (though not necessarily bubbling from the top), domed over slightly (NOT con-caved in, but rounded), and soft and airy.
13. Transfer your whole dough to a clean workspace. Use your dough scraper to split it in half. You’re welcome to use your scale to get precise measurements for your dough. I do not do this, but if you’re a perfectionist, now’s when you’d do that.
14. Next is the lamination process. Handle the dough gently but firm. Begin pulling the dough by slapping against the counter a bit, tugging and pulling, until the dough is stretched mostly even, smooth, and flat. Don’t tug it too rough to the point of tearing and breaking apart. ***Not looking for perfection here, simply building strength in our dough. My counter space has been pretty limited the last few years and will continue to be for a while, so just do the best you can! No shame in working with what you’ve got 😉
15. Now we begin shaping our dough. I start out by folding my dough into 3 parts, and then again.
16. After folding, I begin to build tension by using my hand to cup the sides of the dough, and sliding the dough across the counter and creating a nice bouncy outer layer of dough. I push away scarping the dough and making it fold under itself, rotating as I push and then pull back the other direction, creating that same firm tension on the opposite sides. I sometimes use both of my hands to do so in a circular motion, and other times I simply push away and toward me, gently rotating with each push and pull.
You’re left with a nice firm ball of dough ready for a bench rest. Let the dough sit while you do the same with your other loaf.
17. Let your loaves rest for 30-60 minutes. I like to put a tea towel over mine so that little hands aren’t tempted to play with the dough (if it’s during the day when they’re up).
18. While they’re resting, make some tea, feed your starter if you didn’t earlier, read a book. Rest alongside your dough!
19. Gently shape the loaves one last time, as they will settle a bit during their rest and need to be firmed up a tad.
20. Place your sandwich dough into a buttered loaf pan with the “seam side” down, and your boule into a banneton (breathable basket) with the “seam side” facing up.
21. Slather butter atop your sandwich loaf.
22. Place a stretchy plastic cover or a plastic bag over both doughs, and place in the fridge.
23. Clean up, and go to bed if you’re following my timeline! 😉
24. Next day, preheat your oven to 375ºF, and bake your sandwich loaf for 40 minutes (or until the top of your loaf is perfectly golden).
25. Transfer your bread to a cooling rack and resist the urge to immediately cut into so that it can settle and avoid having a gummy texture. Let cool for 30-60 minutes and enjoy! Or cool entirely, and then freeze in an airtight bag. Defrost by simply putting the bag of bread on the counter the night before you need it, and you’ll have a perfectly fresh, soft loaf for the next day!
26. Preheat your oven to 450ºF with your lidded dutch oven, for one hour.
27. When you know it’s near ready, grab some parchment paper and dust lightly with flour (I like organic brown rice flour for dusting so it doesn’t get cakey and I’m not adding non-fermented flour). Pull your dough from the fridge, and plop upside down onto your dusted parchment. You should have a smooth, firm, boule of dough. I like to lightly dust the top with the same flour, and smooth it over with my hands.
28. Score your dough. Scoring doesn’t *have* to be pretty. I enjoy doing more intentional designs solely because I think it’s lovely, but all that’s important is that you’re creating a good amount of depth and air flow so that your entire loaf doesn’t burst at the seams.
Using a sharp blade (bread lame, preferred!), using swift but firm motions, you can create a design if you wish. Be sure there is at least one cut that is quite deep. Sometimes I swipe the large cut 2-3x to be sure it’s deep enough to not bother and burst the detail cuts. Having your loaf cold, and straight from the fridge helps have a nice firm base to score.
I often use the seam indents from the banneton liner as a guide for making my designs, however you can also use bakers twine to create your own indents in your floured surface atop your dough. Simply use the twine in two hands, and pull it tightly to gently press into the dough, creating guide lines for you to use when scoring. My wheat cuts are deep enough to be seen through the flour dusting, but still fairly shallow. The large scores are much deeper.
29. Remove your preheated dutch oven, and carefully take off the lid. It will be very hot! Swiftly add uncooked rice to the bottom of your dutch oven (mine is scorched but not cooked, I’d used this rice previously and transferred it before and after preheating so it didn’t entirely burn while preheating. I try to reuse uncooked rice a few times until it’s just a burnt mess). Try not to leave the lid off, or dutch oven out of the heat for too long.
30. Holding your parchment paper, carefully add your dough into the dutch oven, and quickly replace the lid, trying to keep the heat in. Place into the oven.
31. With the lid on, bake for 30 minutes at 450ºF.
32. At 30 minutes, remove your lid, and bake for an additional 15-20 minutes depending on your oven.
33. When the bread looks caramelized, crusty, and toasty, remove and *carefully* transfer to a wire cooling rack. Again, attempt to avoid cutting into your loaf immediately, as it could lead to a gummy, undercooked texture inside without proper settling. Enjoy the crackle as your loaf settles to temp 🙂 it’s one of our favorite parts of baking sourdough!
34. After an hour (if you can wait!), enjoy!!! Best slathered with butter, or topped with avocado, eggs, arugula, pickled onions, and freshly grated parmesan 😉
35. Tag me on Instagram if you try it! I always love seeing your bakes! @ourkinandhome
You can always use code MARY20 for my favorite non-toxic, hand-poured in the USA candles, too! Click here to check them out.
shop my tools: