I will never forget the day I went home one rainy January afternoon a few years ago with a fresh jar of sourdough starter from a friend. I was utterly overwhelmed and terrified I’d ruin it. I was an anxious mess every first step of the way, but clearly it was so worth it! I am a perfectionist about some things, but not at all when it comes to baking or the kitchen in general. I am an unfussy cook and baker and I can honestly say sourdough meets my criteria. If you’ve been anxious to try, and unsure where to begin, I got you!
Sourdough Starter
You’ll need a starter in order to make a loaf of sourdough. The starter is simply flour, water, and wild yeast (good bacteria in the air that allows fermentation). You can get some starter from a friend, a little jar of their discard (which simply means, some of their starter that they’re “discarding” as they feed their starter), or buy some dehydrated starter online. It may or may not be freshly fed, but that’s my personal preference for getting your hands on a starter! You can make your own which is truly not difficult at all! Just requires some patience and consistency. King Arthur has a straightforward recipe, here.
I have a glass jar with starter that I maintain pretty low, until I know I’m going to bake. I don’t want to waste flour! I use 100g starter on baking days, so I make sure I have enough starter on those days for that. I keep about 20-30g starter in my jar, then feed 50g flour, 50g filtered room temp water on bake days. Usually the day after I bake I just skip a feed and leave it on my counter. On non-bake days, I discard about half of my starter to a jar of discard (unfed starter) that I keep in my fridge, and feed 25g flour, 25g filtered room temp water. Then usually let it sit another day if I’m not going to bake the next day. There are so many discard recipes out there! Plus you can just pull from here to feed and gift to a friend.
Despite popular belief, t’s truly not easy to kill a starter. Grey liquid on top (usually when in the fridge for a longer time), simply means that it’s hungry. It’s not mold, and it’s not killed. Just dump or mix in the “hooch” (fermented alcohol from the yeast), and feed as normal. The only time that a starter is truly “killed” is if it got baked in the oven (this has happened to me twice), or if it gets PINK mold. Wild yeast gone unfed can start to look funky. Now, if it’s been unfed on your counter for a month… I make no promises. But, if you know you’re taking a prolonged break from baking sourdough, your safest move is to feed your starter and place it in the fridge to keep it from fermenting so quickly. I’ve left mine in the fridge unfed for months, and it still came back like a champ. Don’t fret too much!
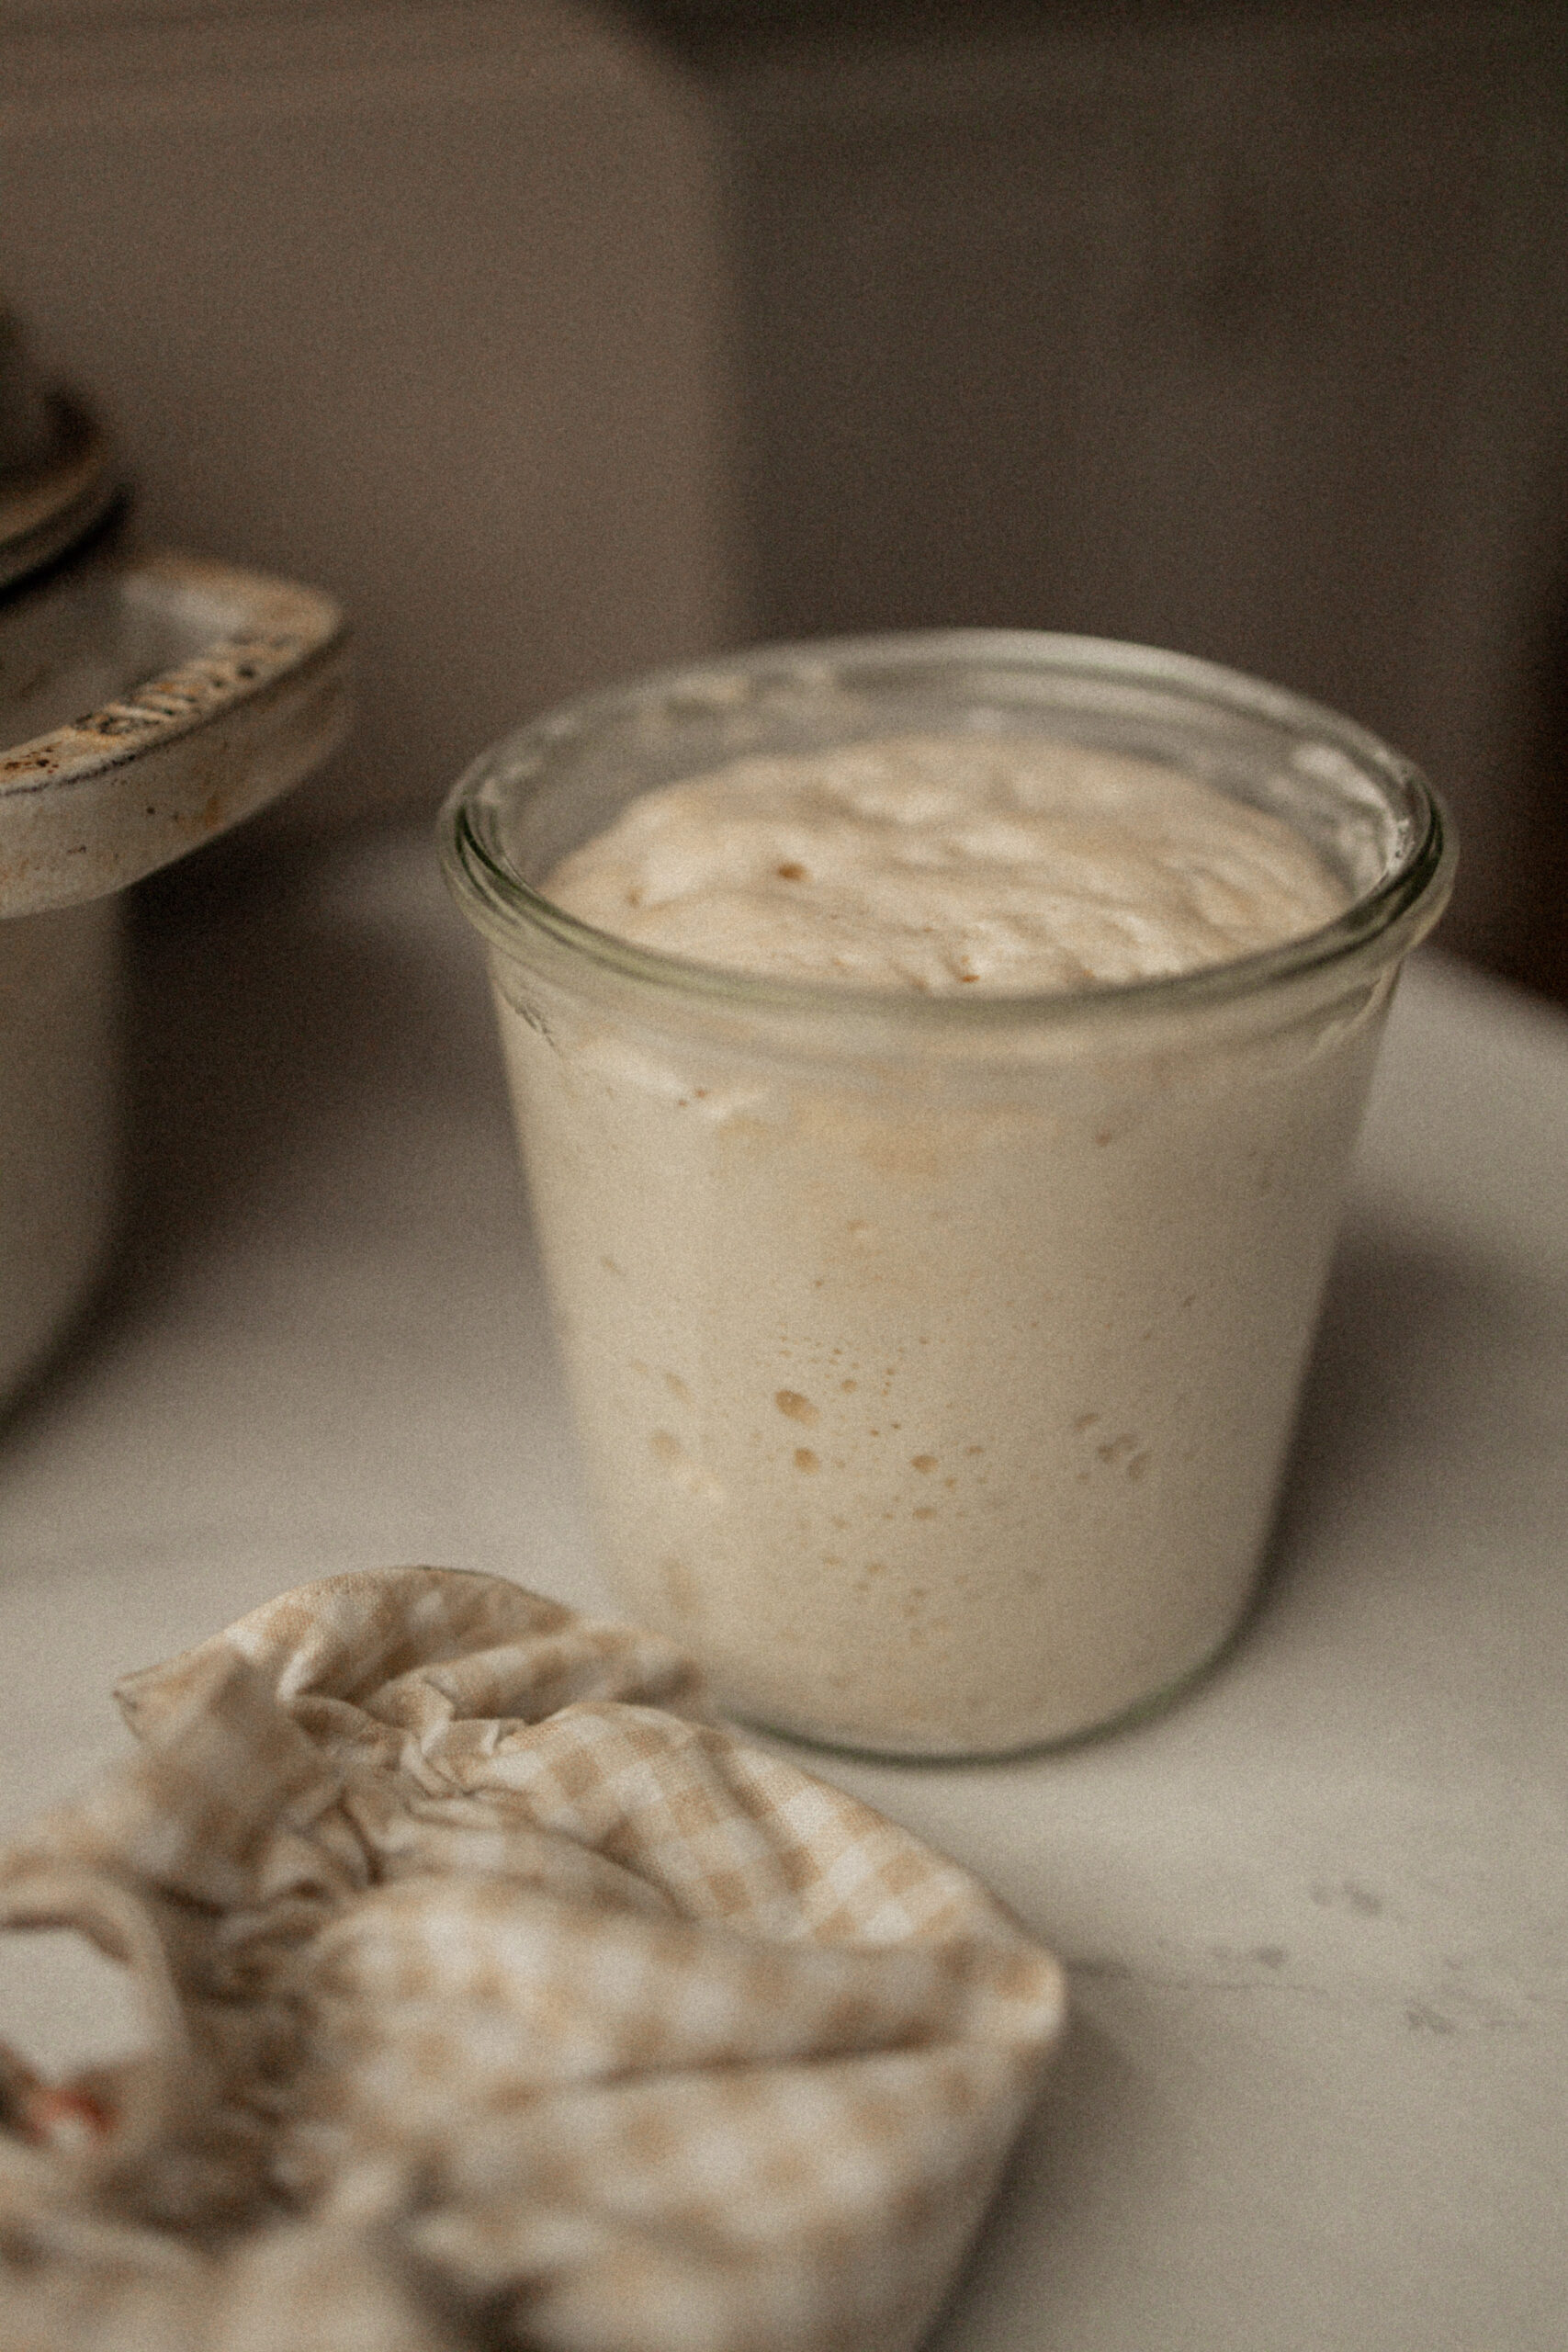
To make sourdough, you’ll need to make sure you have a happy and active starter. That means, it’s nicely fermented, there are clear and visible bubbles throughout the jar, and they’re even breaking through the top surface. In the Winter, I will feed my starter in the morning, as it typically takes longer to ferment. In the Summer, I feed my starter in the afternoon, and in both cases, it’s ready to go by my evening rhythm. You’ll have to find what works for you, your home environment, and the schedule that works best for you! It may be entirely opposite than what works for me. Play around, experiment, and enjoy the process!
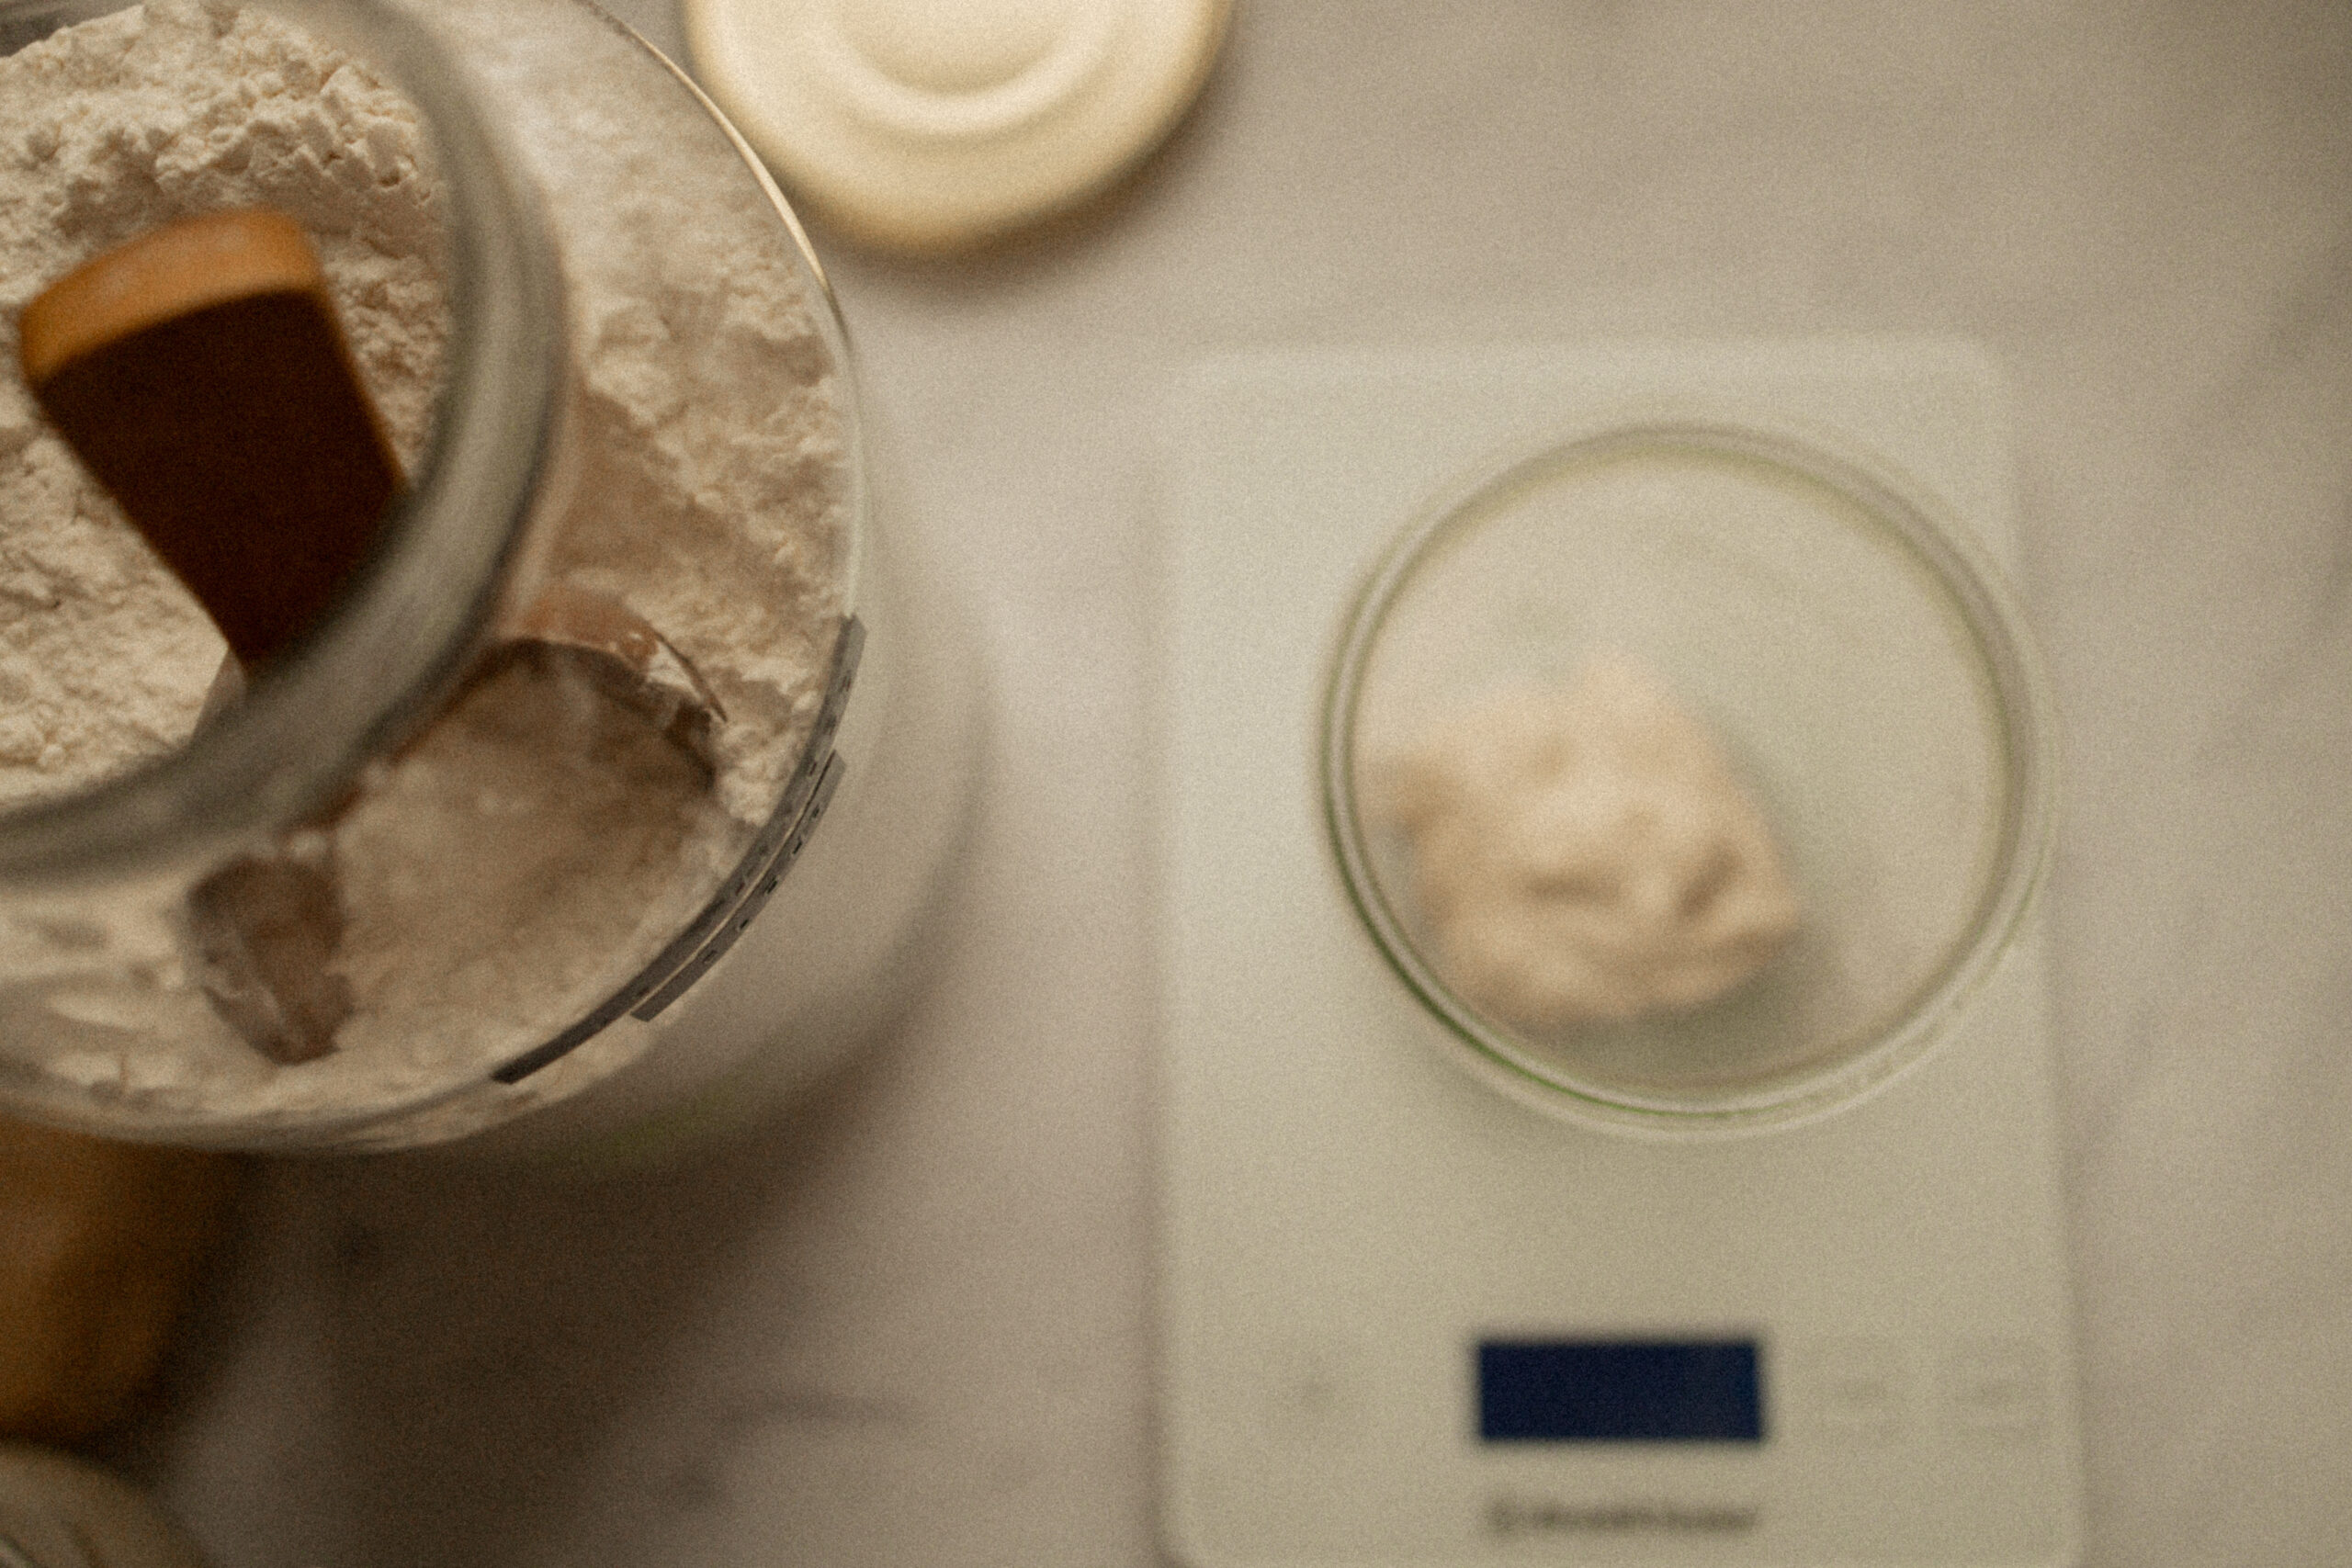
For measuring, you’ll need a food scale, organic flour (we get ours from Costco), and a clean jar.

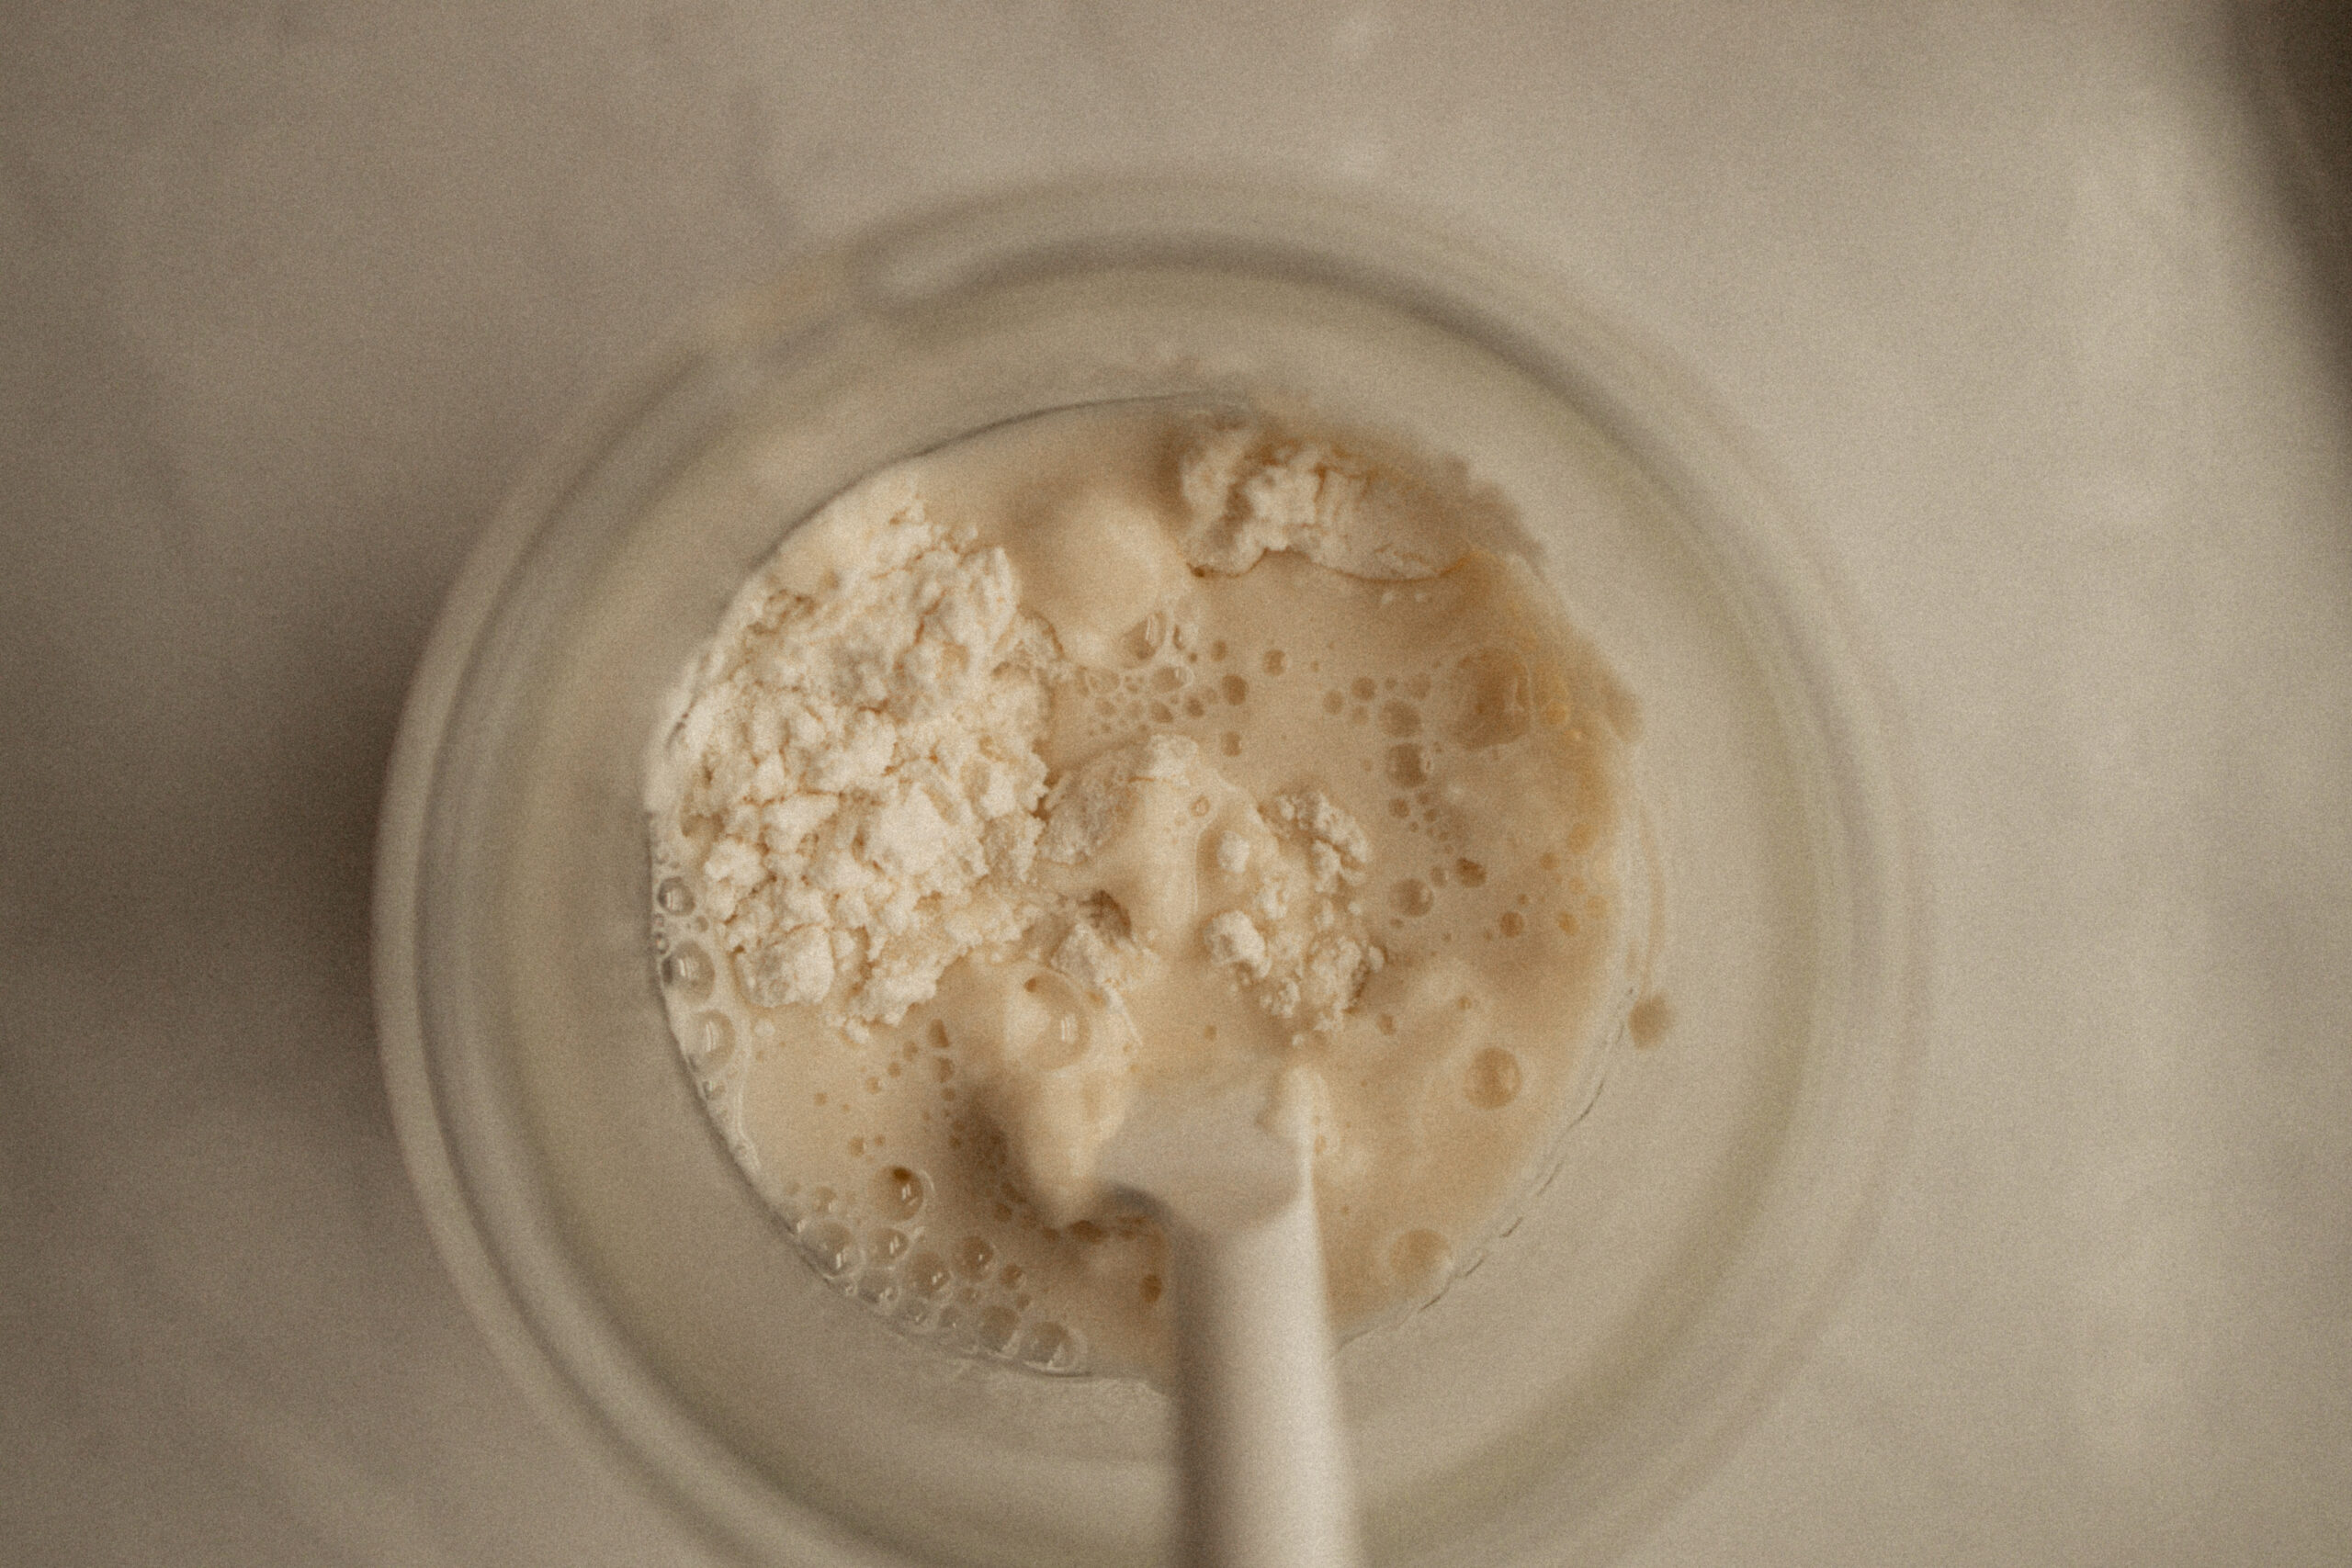
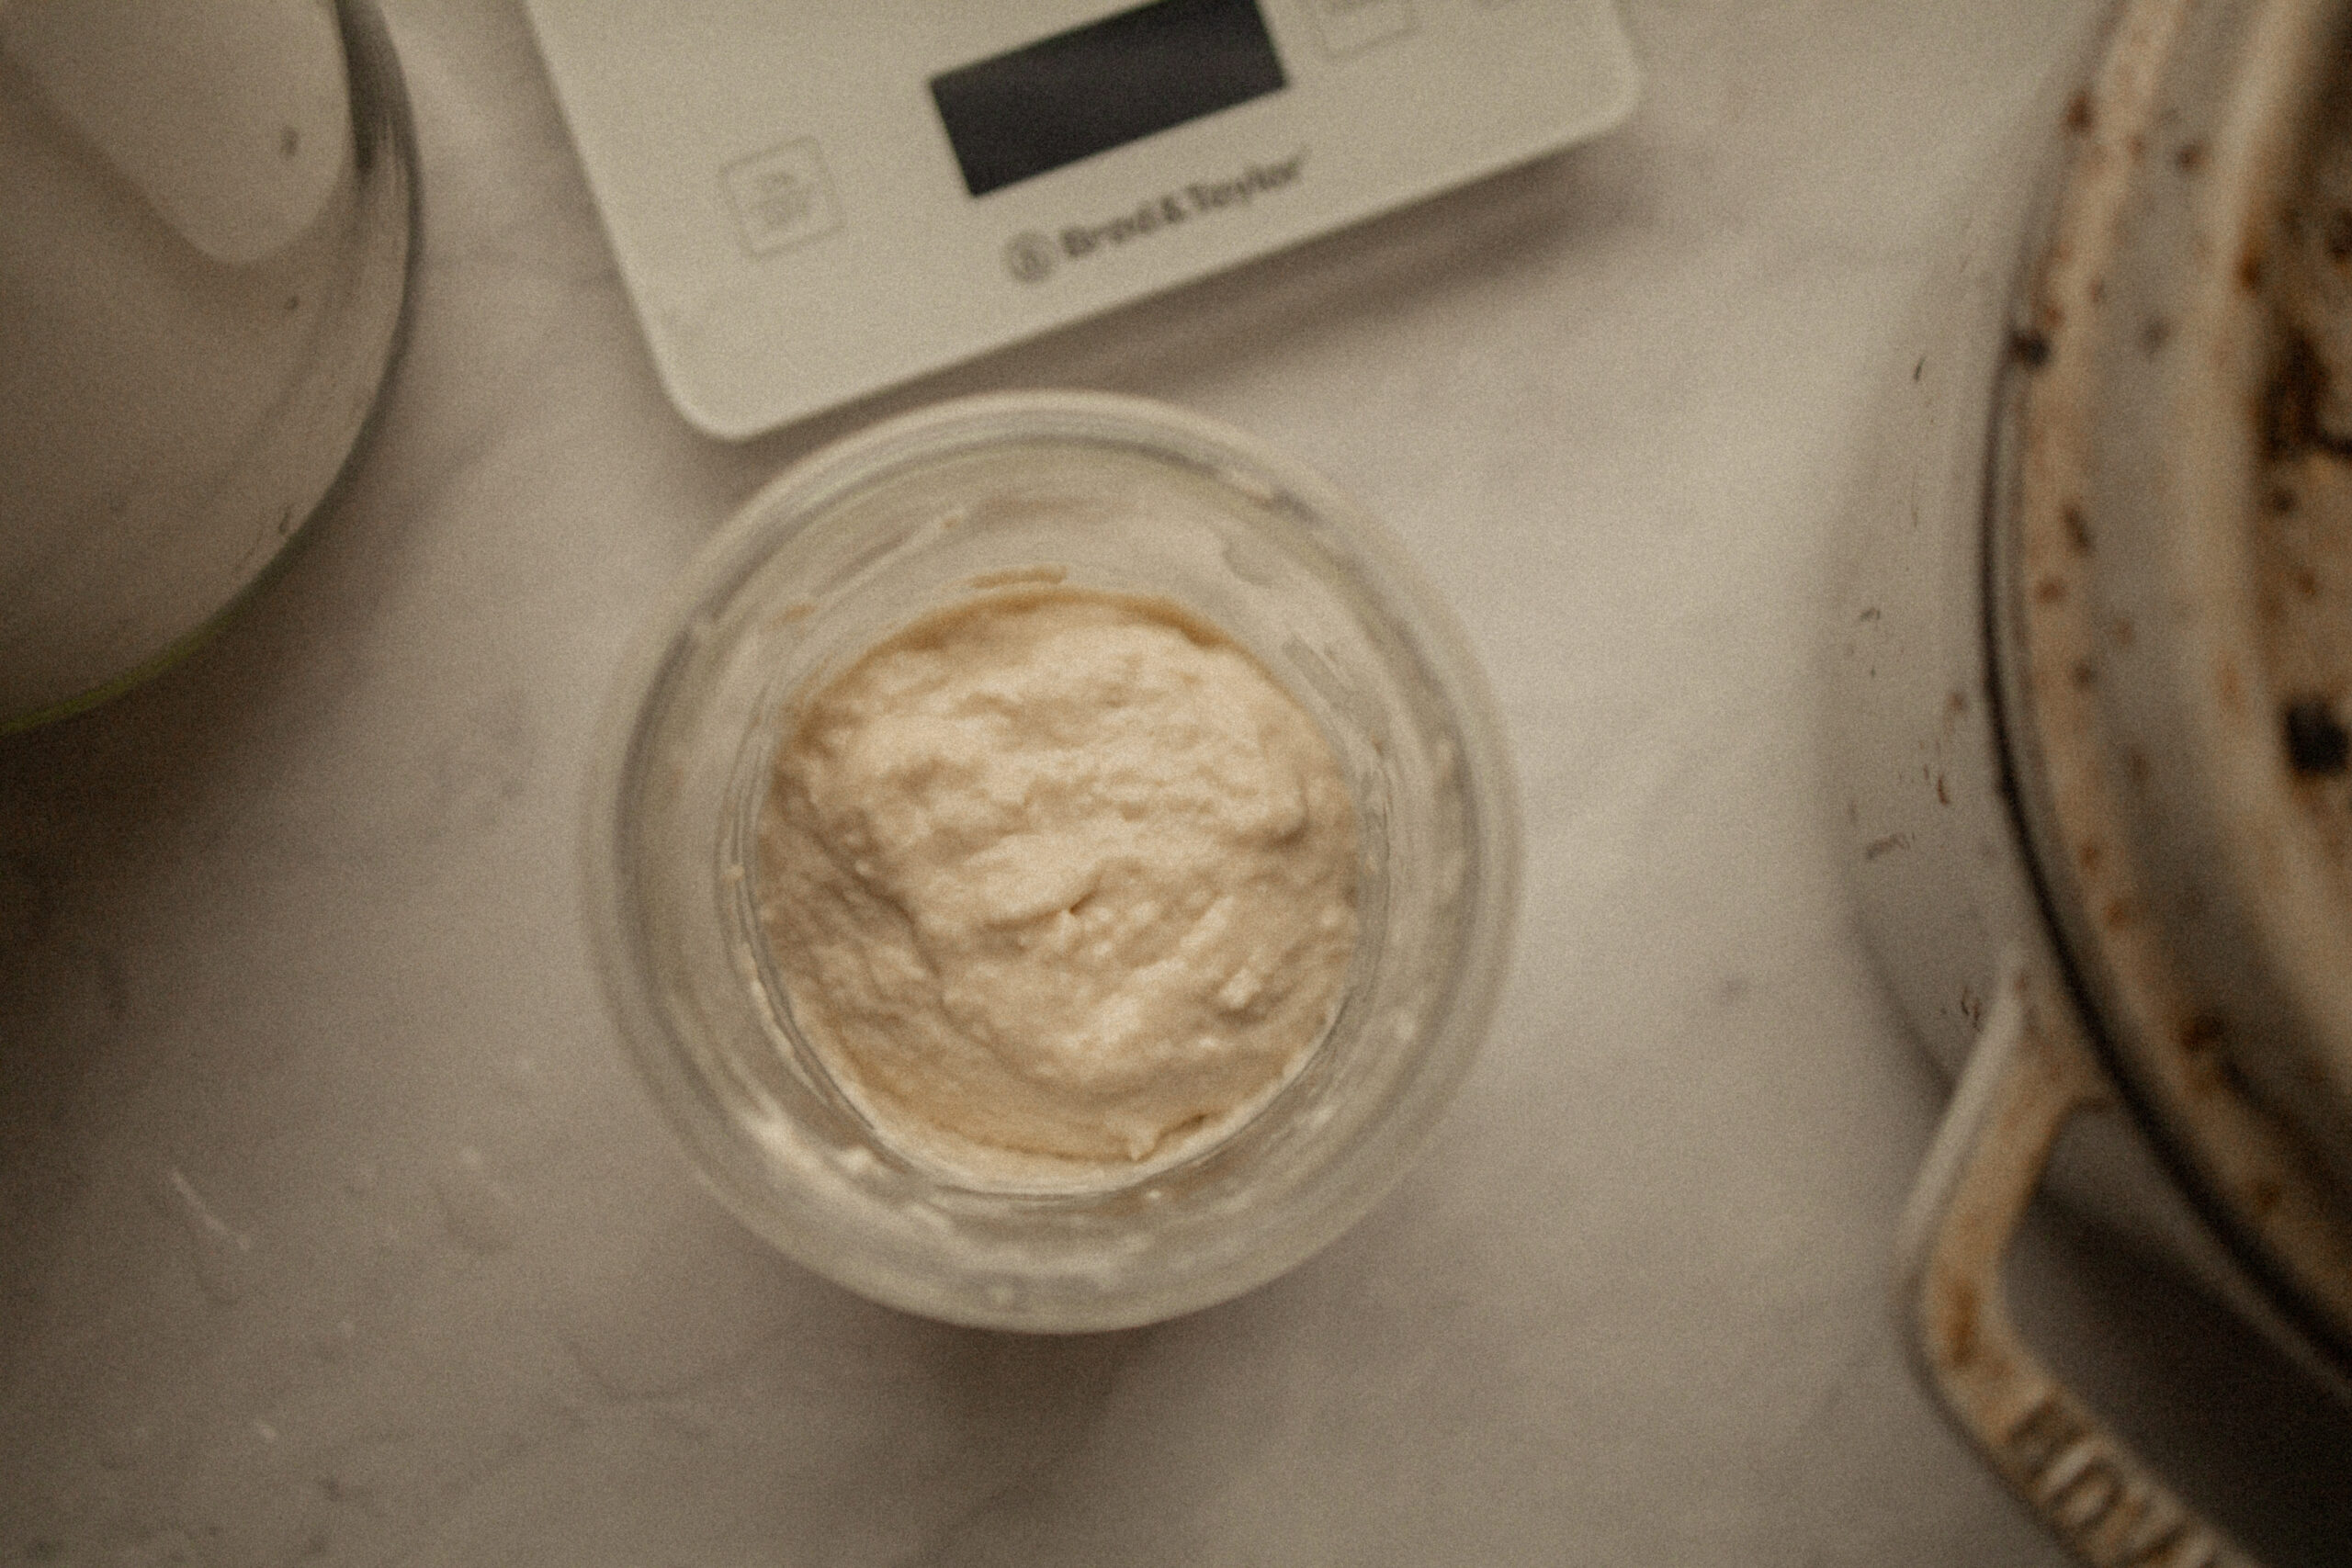
Mix well. You’ll end up with a thick pancake batter consistency. Cover with an elastic fabric jar cover, or fabric or a paper towel with a rubber band or jar rim to hold in place. It needs to breathe, so do not seal the jar shut, but you do need to cover it to keep moisture in and bugs out. Starter is a magnet for fruit flies!
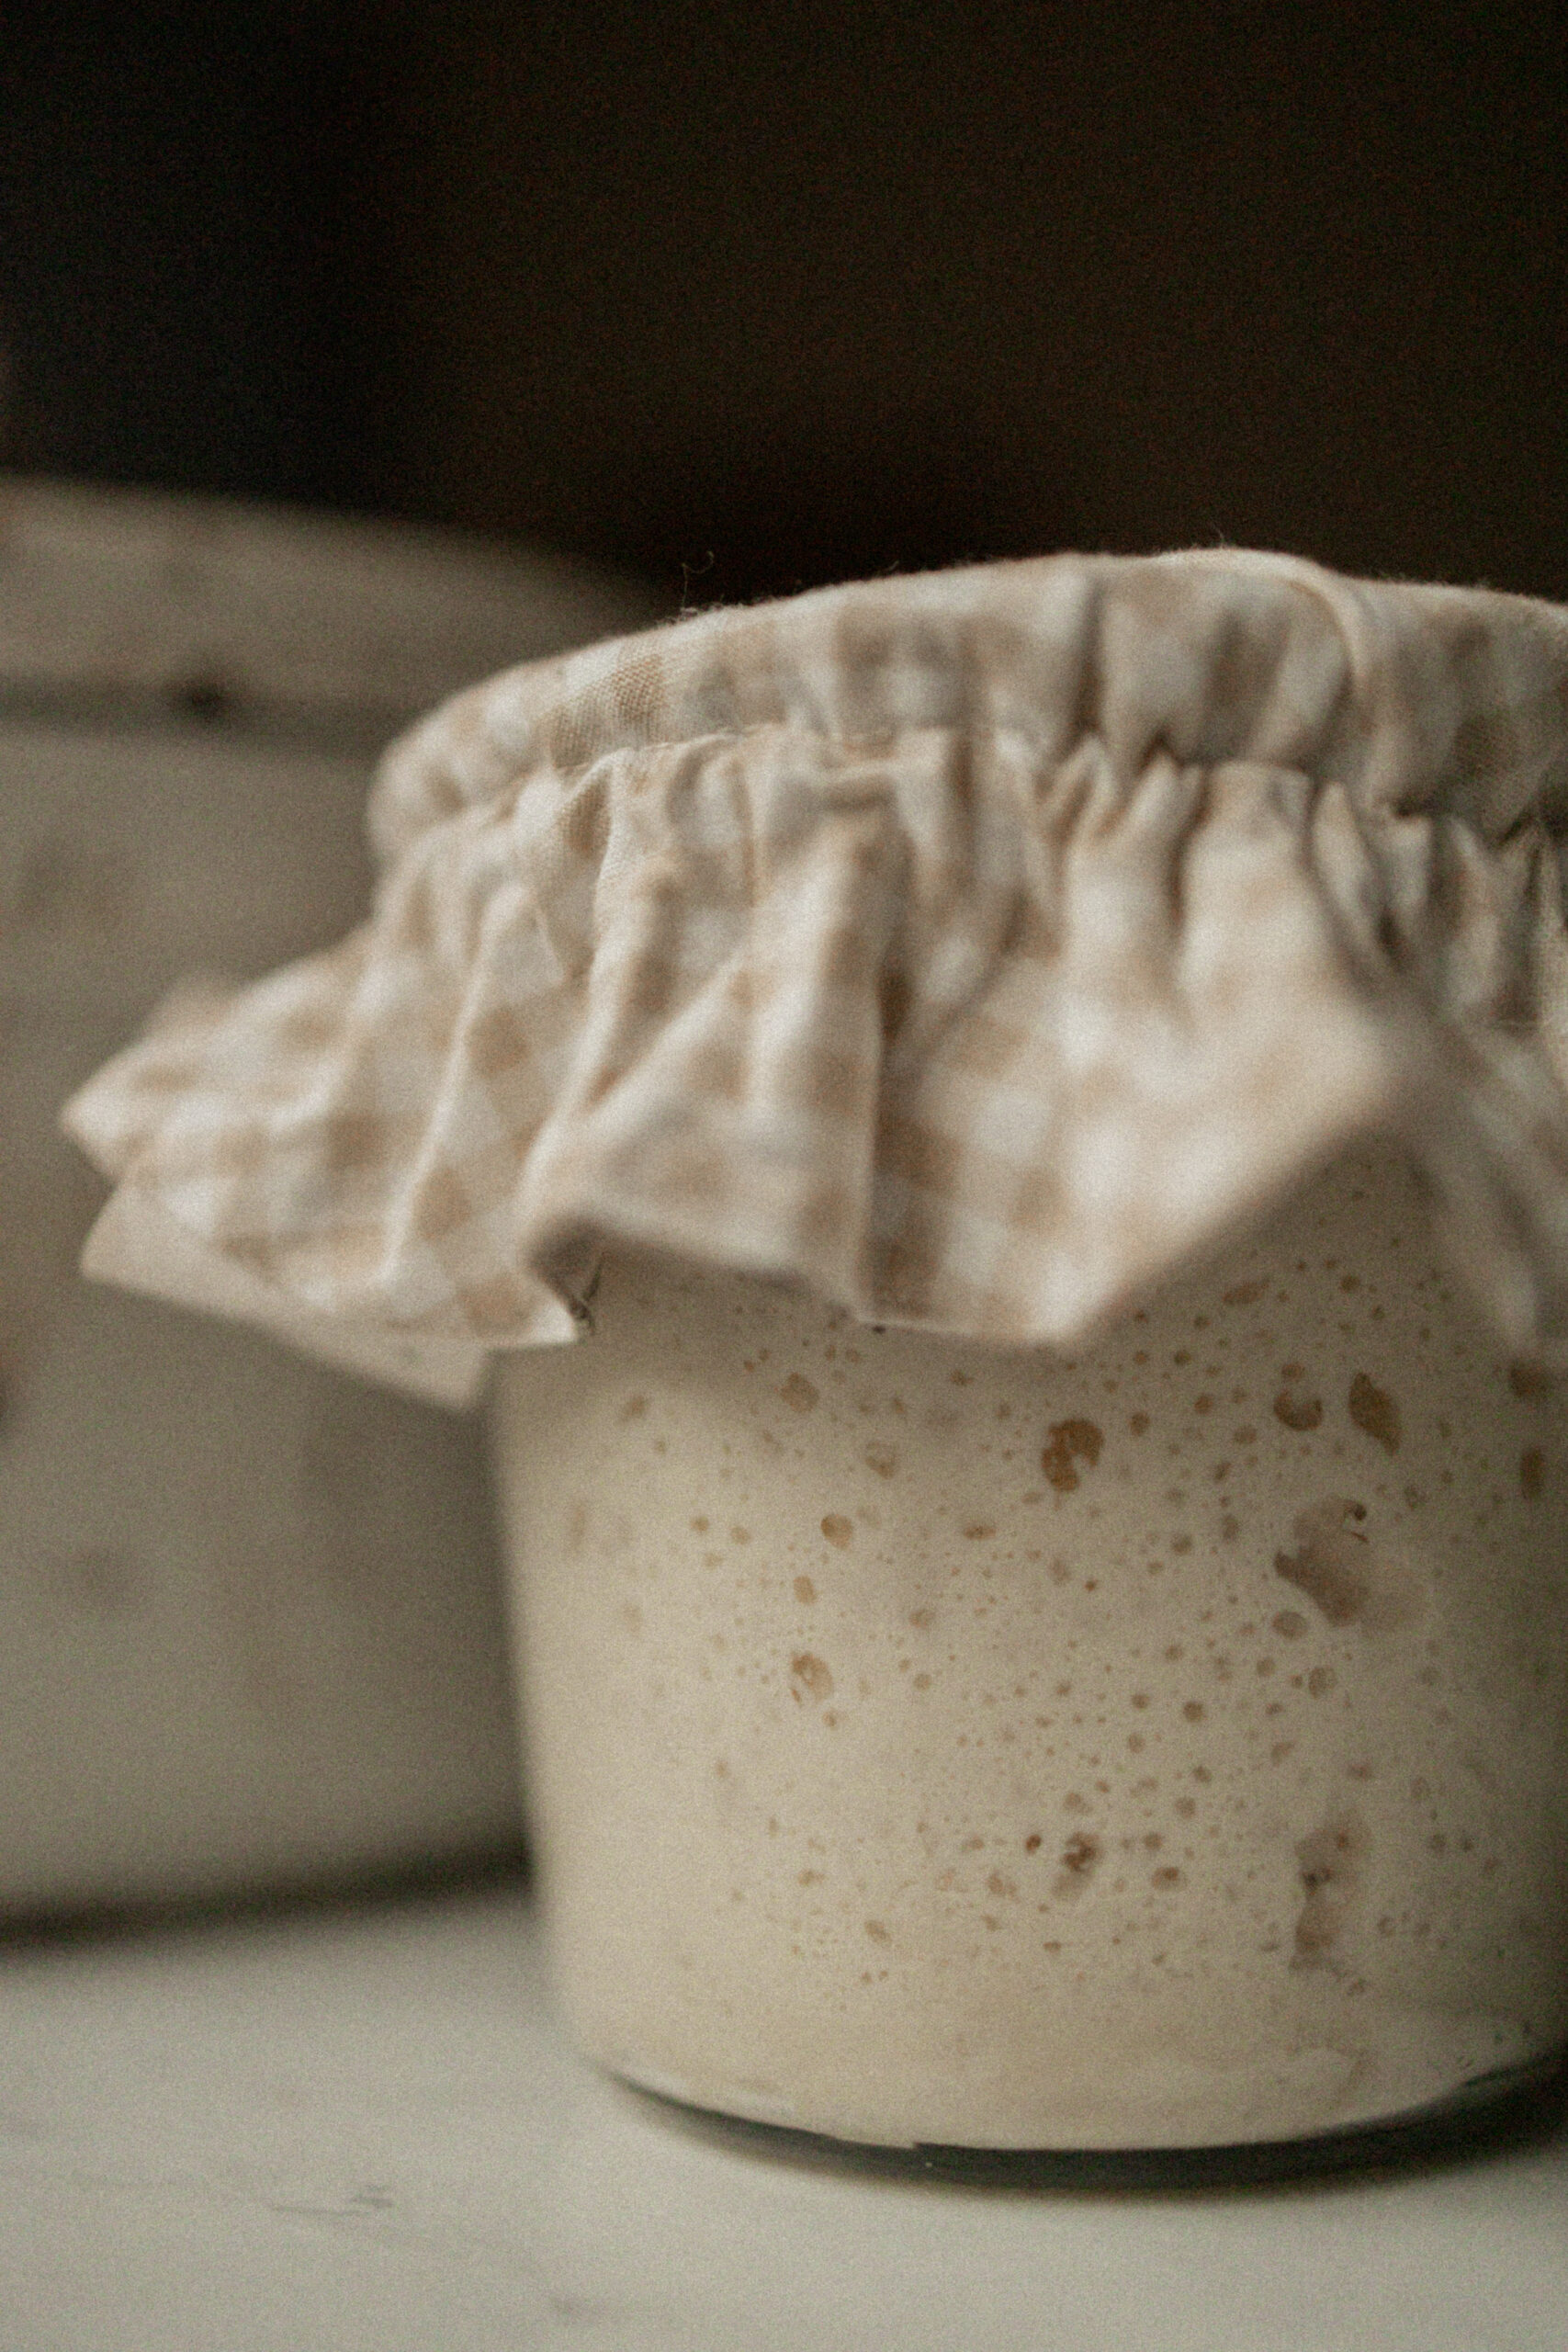
In a few (or several, depending on the strength of your starter, ratios fed, or house climate) hours you should start to see bubbles all throughout. Once they start bubbling through the surface, you’re about ready to begin making your dough.
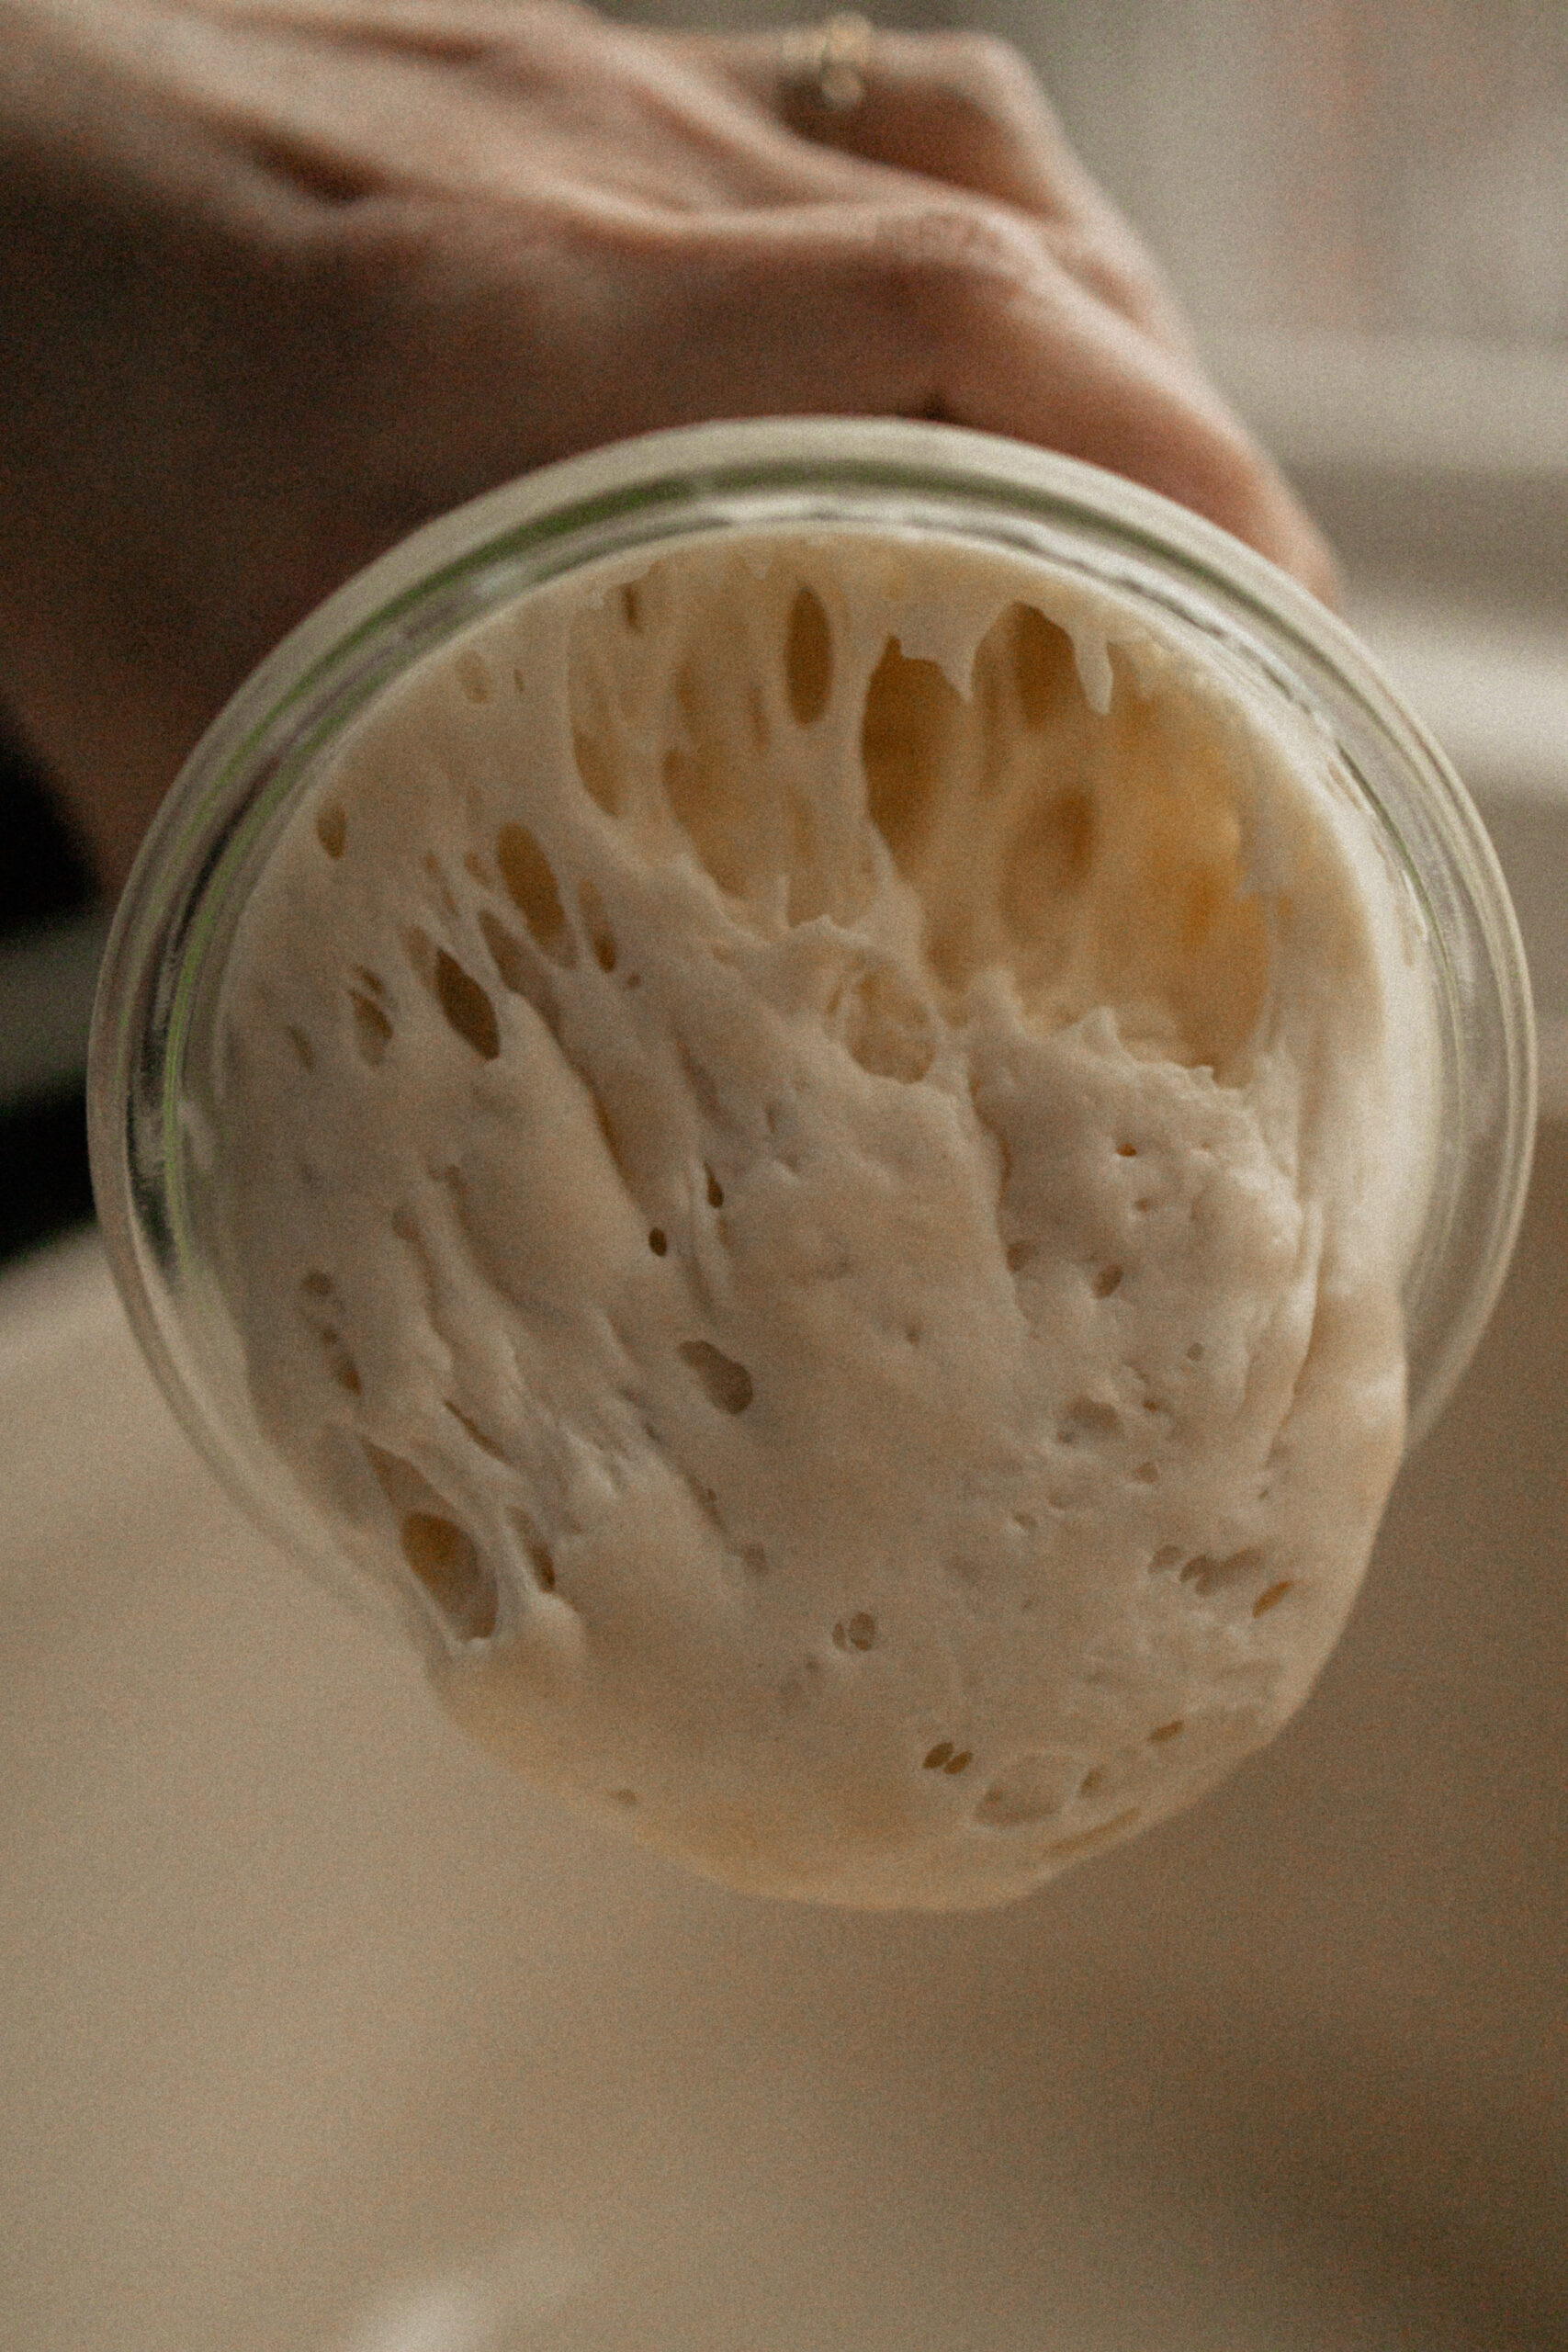
The starter will rise and fall. At its peak is when it’s most ideal to make dough, however, I’ve made plenty of wonderful, beautiful, and delicious loaves with starter that was not at its peak. In an ideal situation with perfect timing, you would use your starter that is active and fully peaked, just before it begins to fall. Then, feed it just after taking the amount needed for your dough. I always feed my starter immediately after taking some for my dough, and keep it at a low maintenance level. Sometimes your starter will peak at the most inconvenient timing. Been there! Just move on and do what you gotta do. Don’t stress. The important thing is that when you do go to make your dough, your starter must be active, risen, and bubbly. An inactive starter will not give you a good loaf of bread. The starter in your dough, is essentially like what’s left in the jar before doing a feeding. You’re feeding your starter in the bowl, with the flour, water and salt to make bread, not just maintain a starter though. Pretty neat to think about! It’s “starting” the fermentation in the dough.
 Recipe for making bread is in the next blog post! Be sure to tag me on Instagram if this has been helpful for you!
You can find all my favorite sourdough tools here!