I am so thankful I took the leap and learned the skill of making sourdough bread. I went through so many different recipes and methods before finally landing on this Easy Artisan Sourdough Recipe that never fails me. It’s simple to follow and has become a rhythm; part of our weekly routine. I hope you love it as much I as I do!
I have officially been baking my own sourdough bread for a whole year! I do not by any means feel like I’m any sort of professional and to be totally truthful… I’m just not a recipe gal. I am a throw-it-all-together and hope for the best kinda cook. When I first set out on the quest to make sourdough, I was incredibly overwhelmed. Following the recipe to a tee, being sure I don’t “kill” my starter… it all felt very high maintenance and put me out of my realm of confidence. But I’m here to say, it really isn’t as hard as it seems! Once you get a rhythm of it down, you’ll likely (if like me) not even pay attention to your recipe, or look for perfection each time.
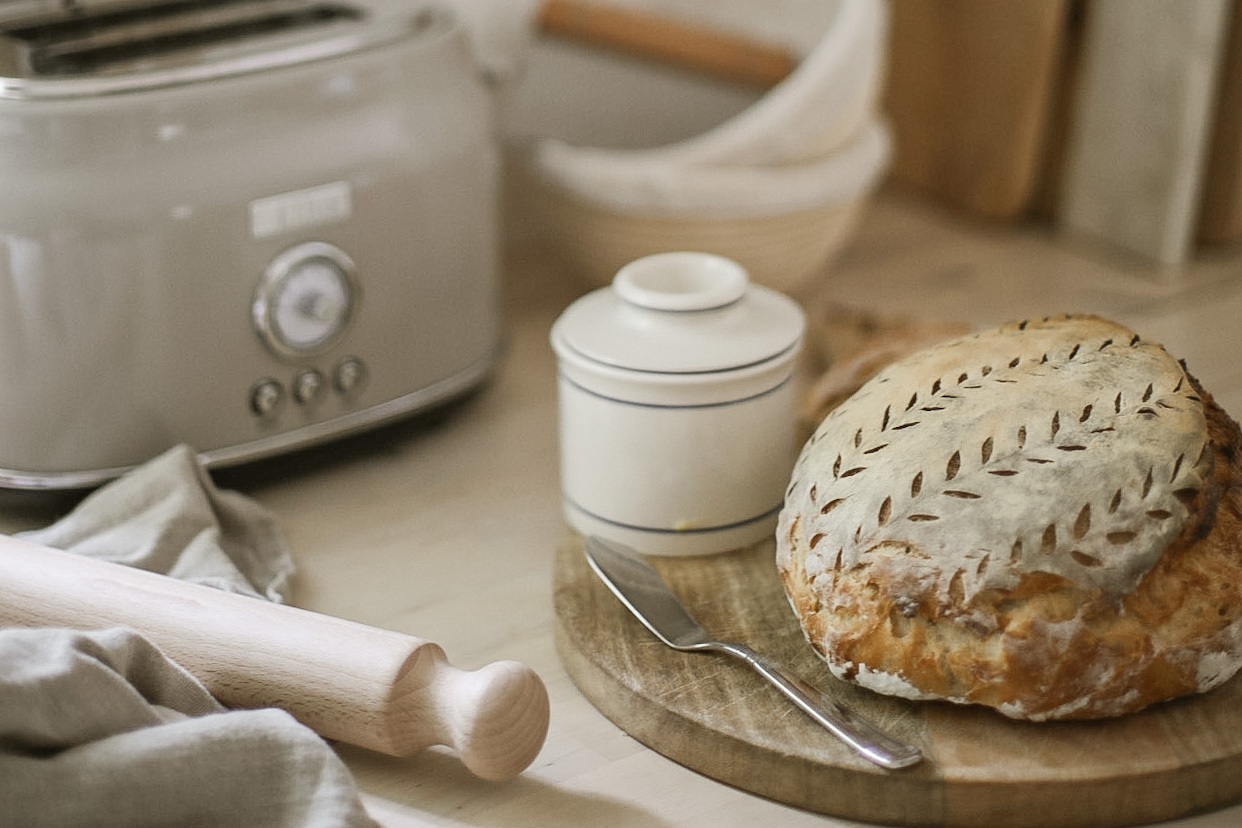
For me, the ability to provide for my family in this way, is invaluable. A skill I’m just grateful to know and now use frequently to nourish my family. I find that making my dough in the evenings after the kitchen is cleaned and kids are in bed, is incredibly therapeutic and then the morning bake is just our favorite. Freshly-baked warm sourdough slathered in creamy grass-fed butter is a staple in our home.
I also want to preface by saying, this is just the method I use. I’m not claiming perfect science to my recipe. But it’s what has worked for me, and has felt the most sustainable for my kitchen rhythms! I’ve also tried out lots of recipe books and a few of my favorites (if you want to have something on hand with extra recipes for discard and all the other goodness sourdough can bring) plus all my tools can be found in the sourdough folder of my amazon storefront, HERE.
I was blessed to have been gifted some starter discard by a friend, so never ended up needing to start from scratch in that regard. If you don’t have someone near you who can share for you to simply feed and revive, visit my friend’s blog for how to make your own sourdough starter, here.
What do you need to make sourdough?
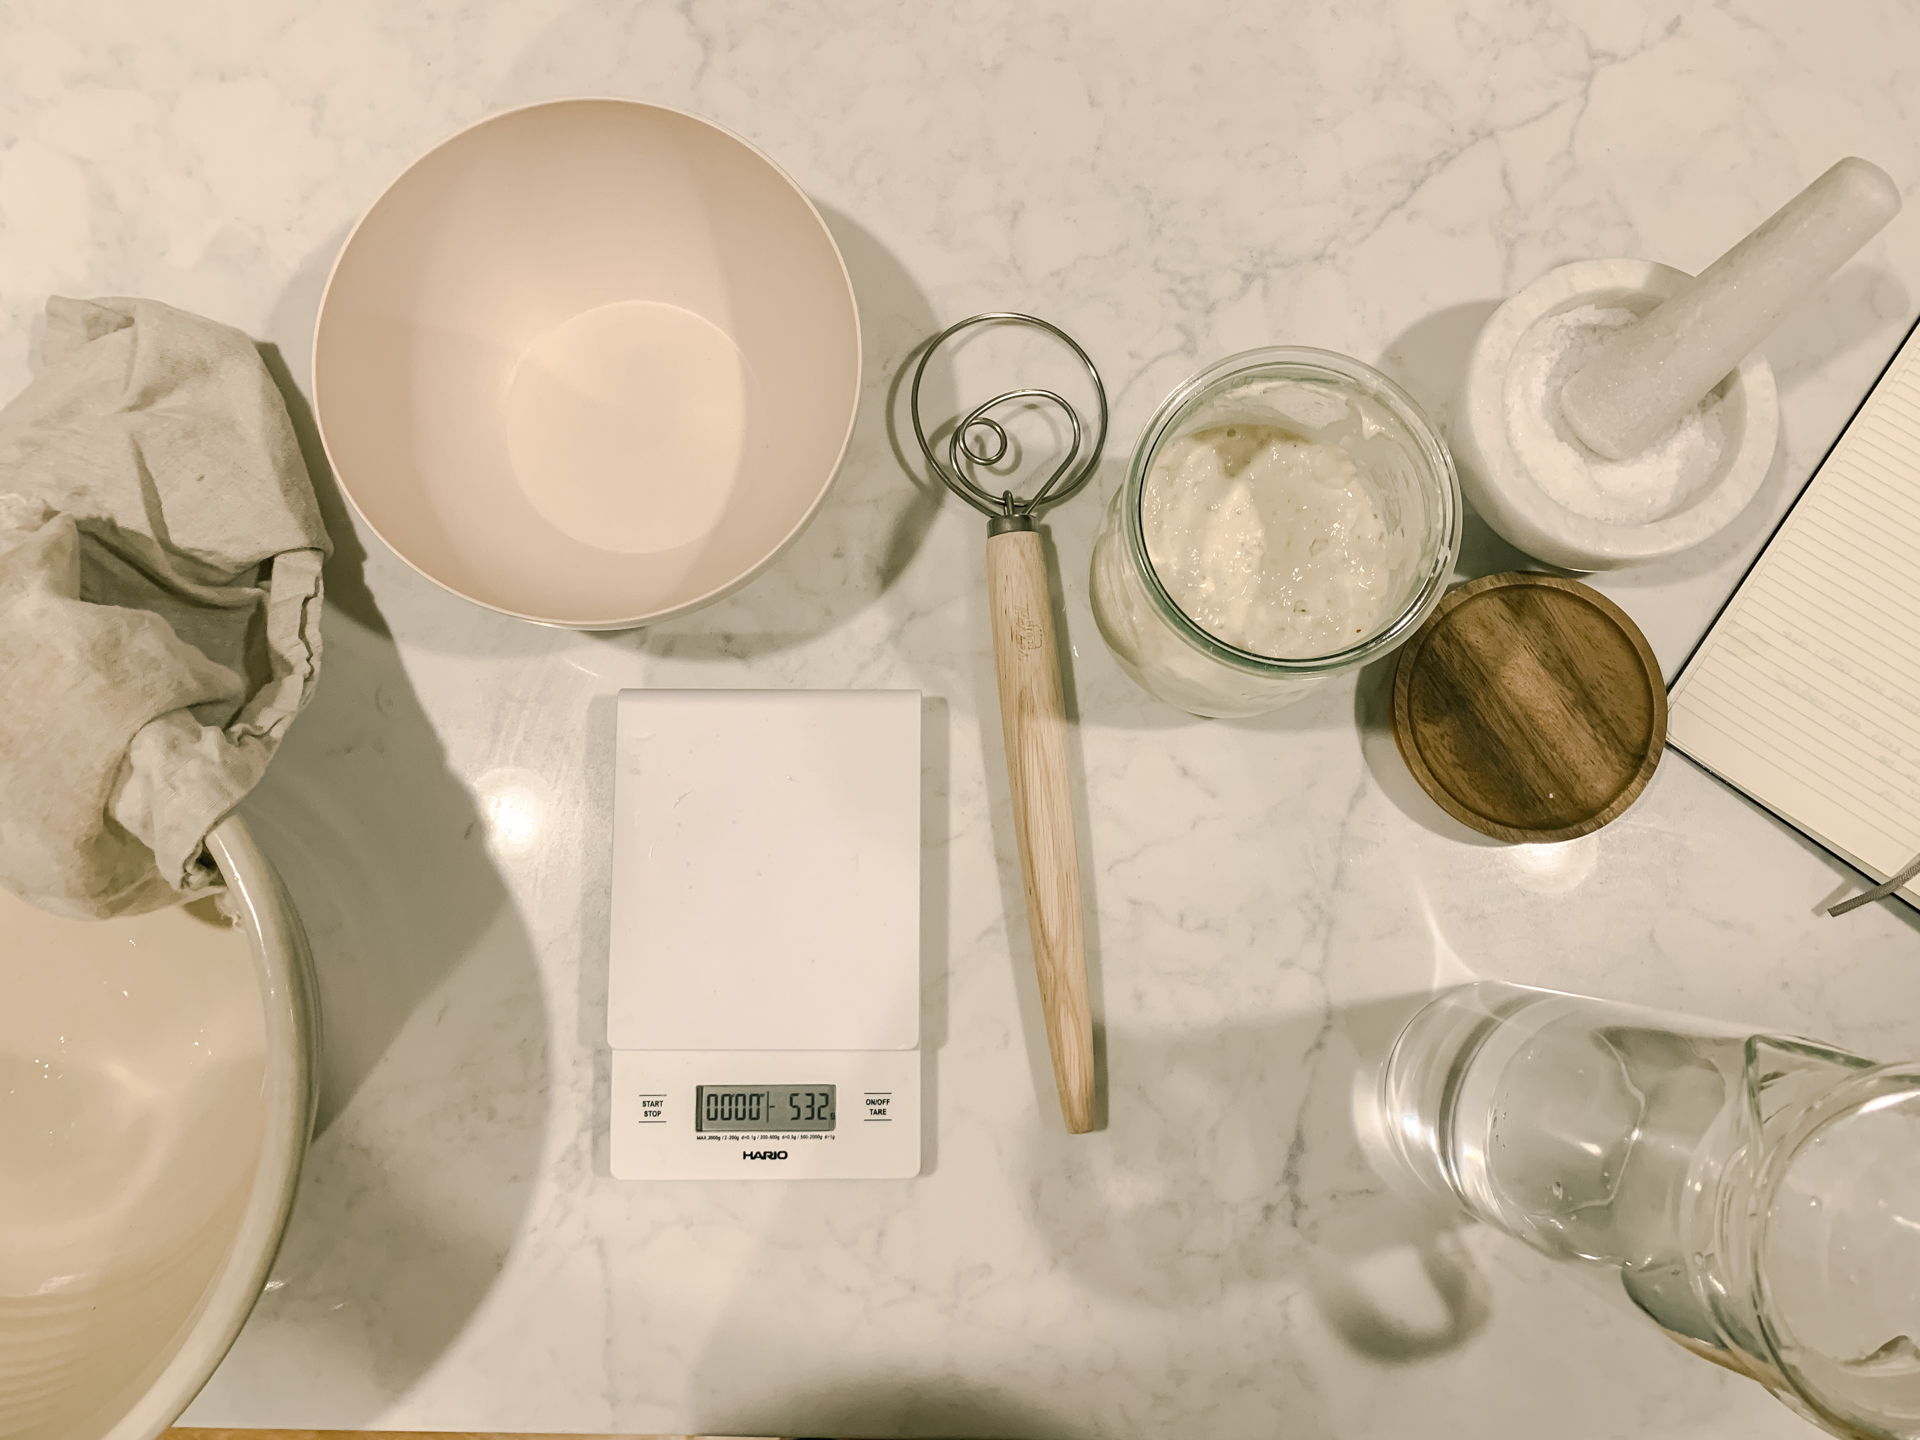
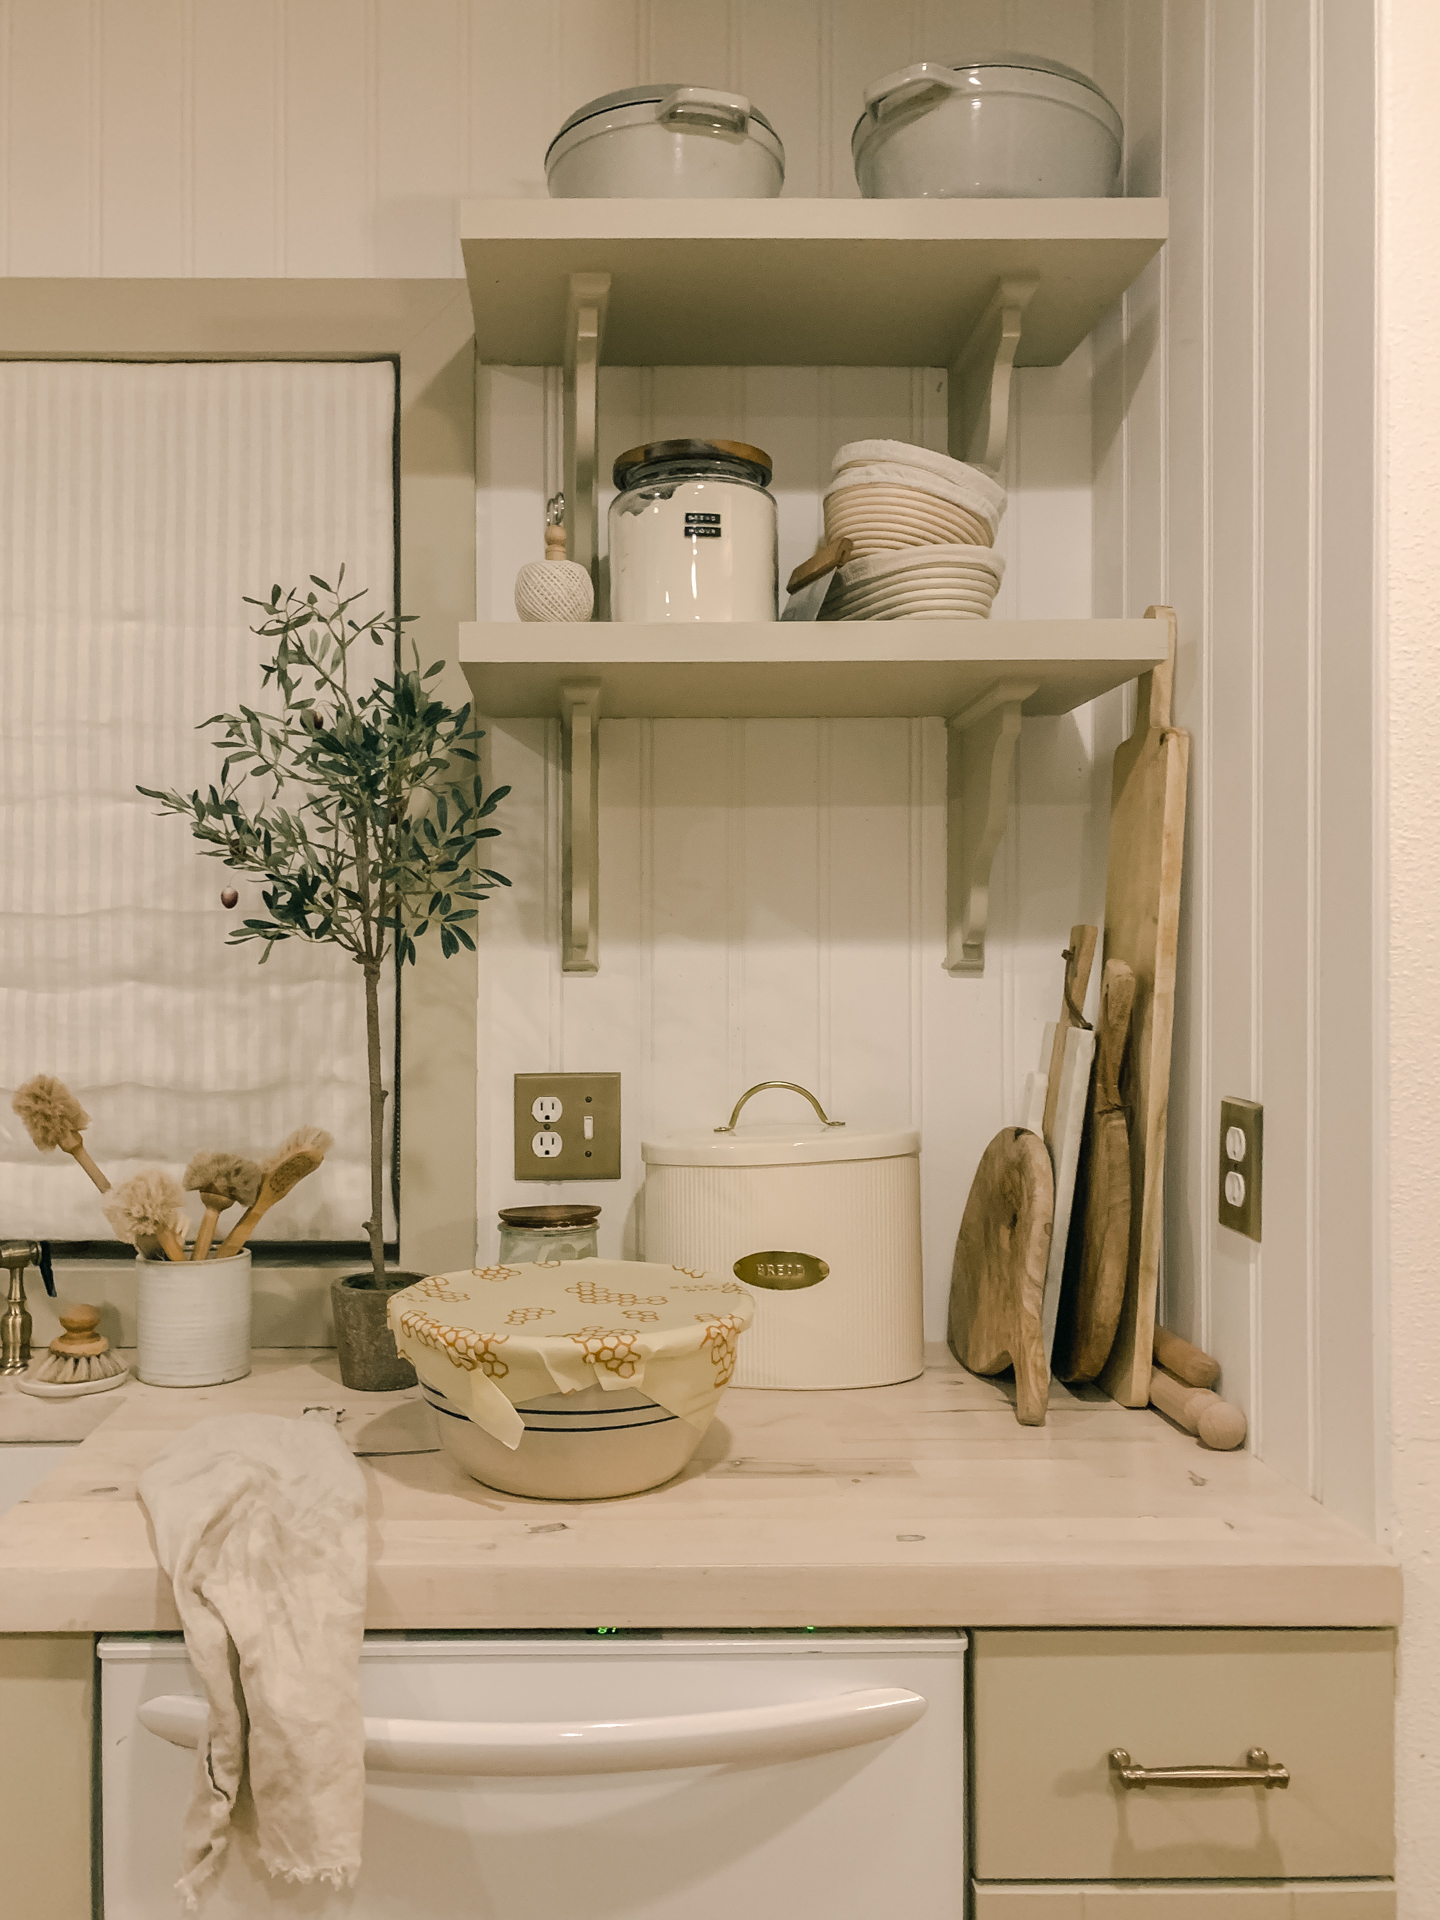
Start by gathering your supplies. Get creative! If you don’t have every single item, don’t feel like you have to go buy all the things… people have been making sourdough without all the fancy tools for centuries, and they surely didn’t have amazon. Use a regular whisk, or a bowl you already have for different steps.
Here’s what I use:
- Food scale (we use our coffee scale we already had)
- Large bowl for dough
- Medium Bowl for measuring flour
- Room temp filtered water
- Organic Bread Flour (highly recommend King Arthur’s)
- Organic All Purpose Flour for dusting / feeding your starter
- Danish Bread Whisk
- Banneton baskets
- Shower caps
- Beeswax paper
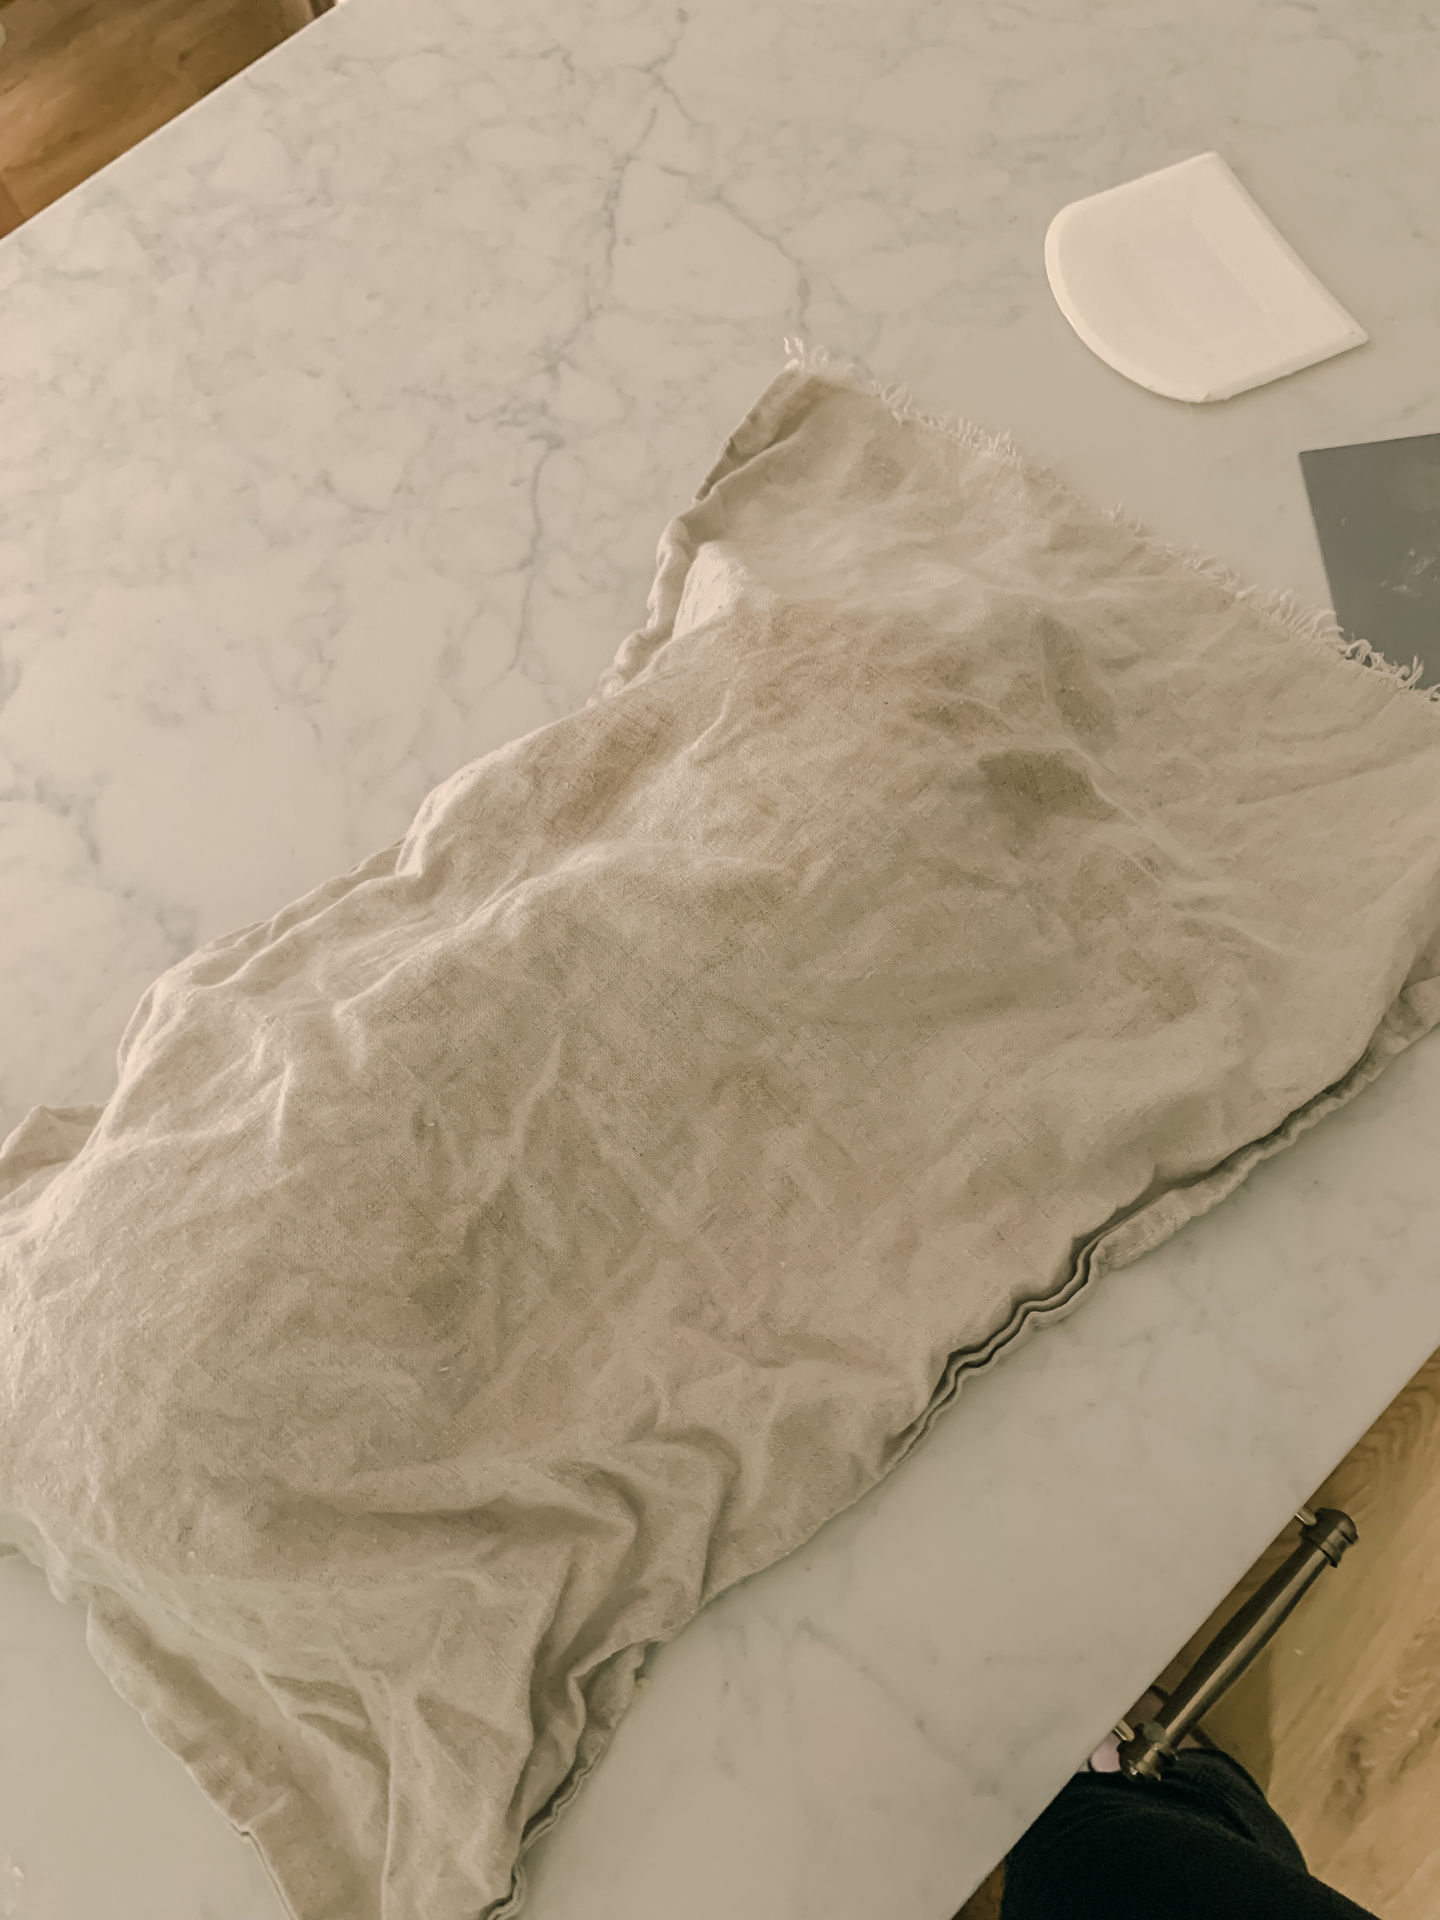
- Tea towel
- Dough Scraper
- Maldon’s Sea Salt
- Bread lame
- Parchment paper
- Dutch oven
- Serrated bread knife
For one easy artisan sourdough loaf, this recipe is using 50g active starter, 350g water, 500g bread flour
For this recipe, I doubled it to make two loaves. I’ll be sharing measurements for a single loaf.
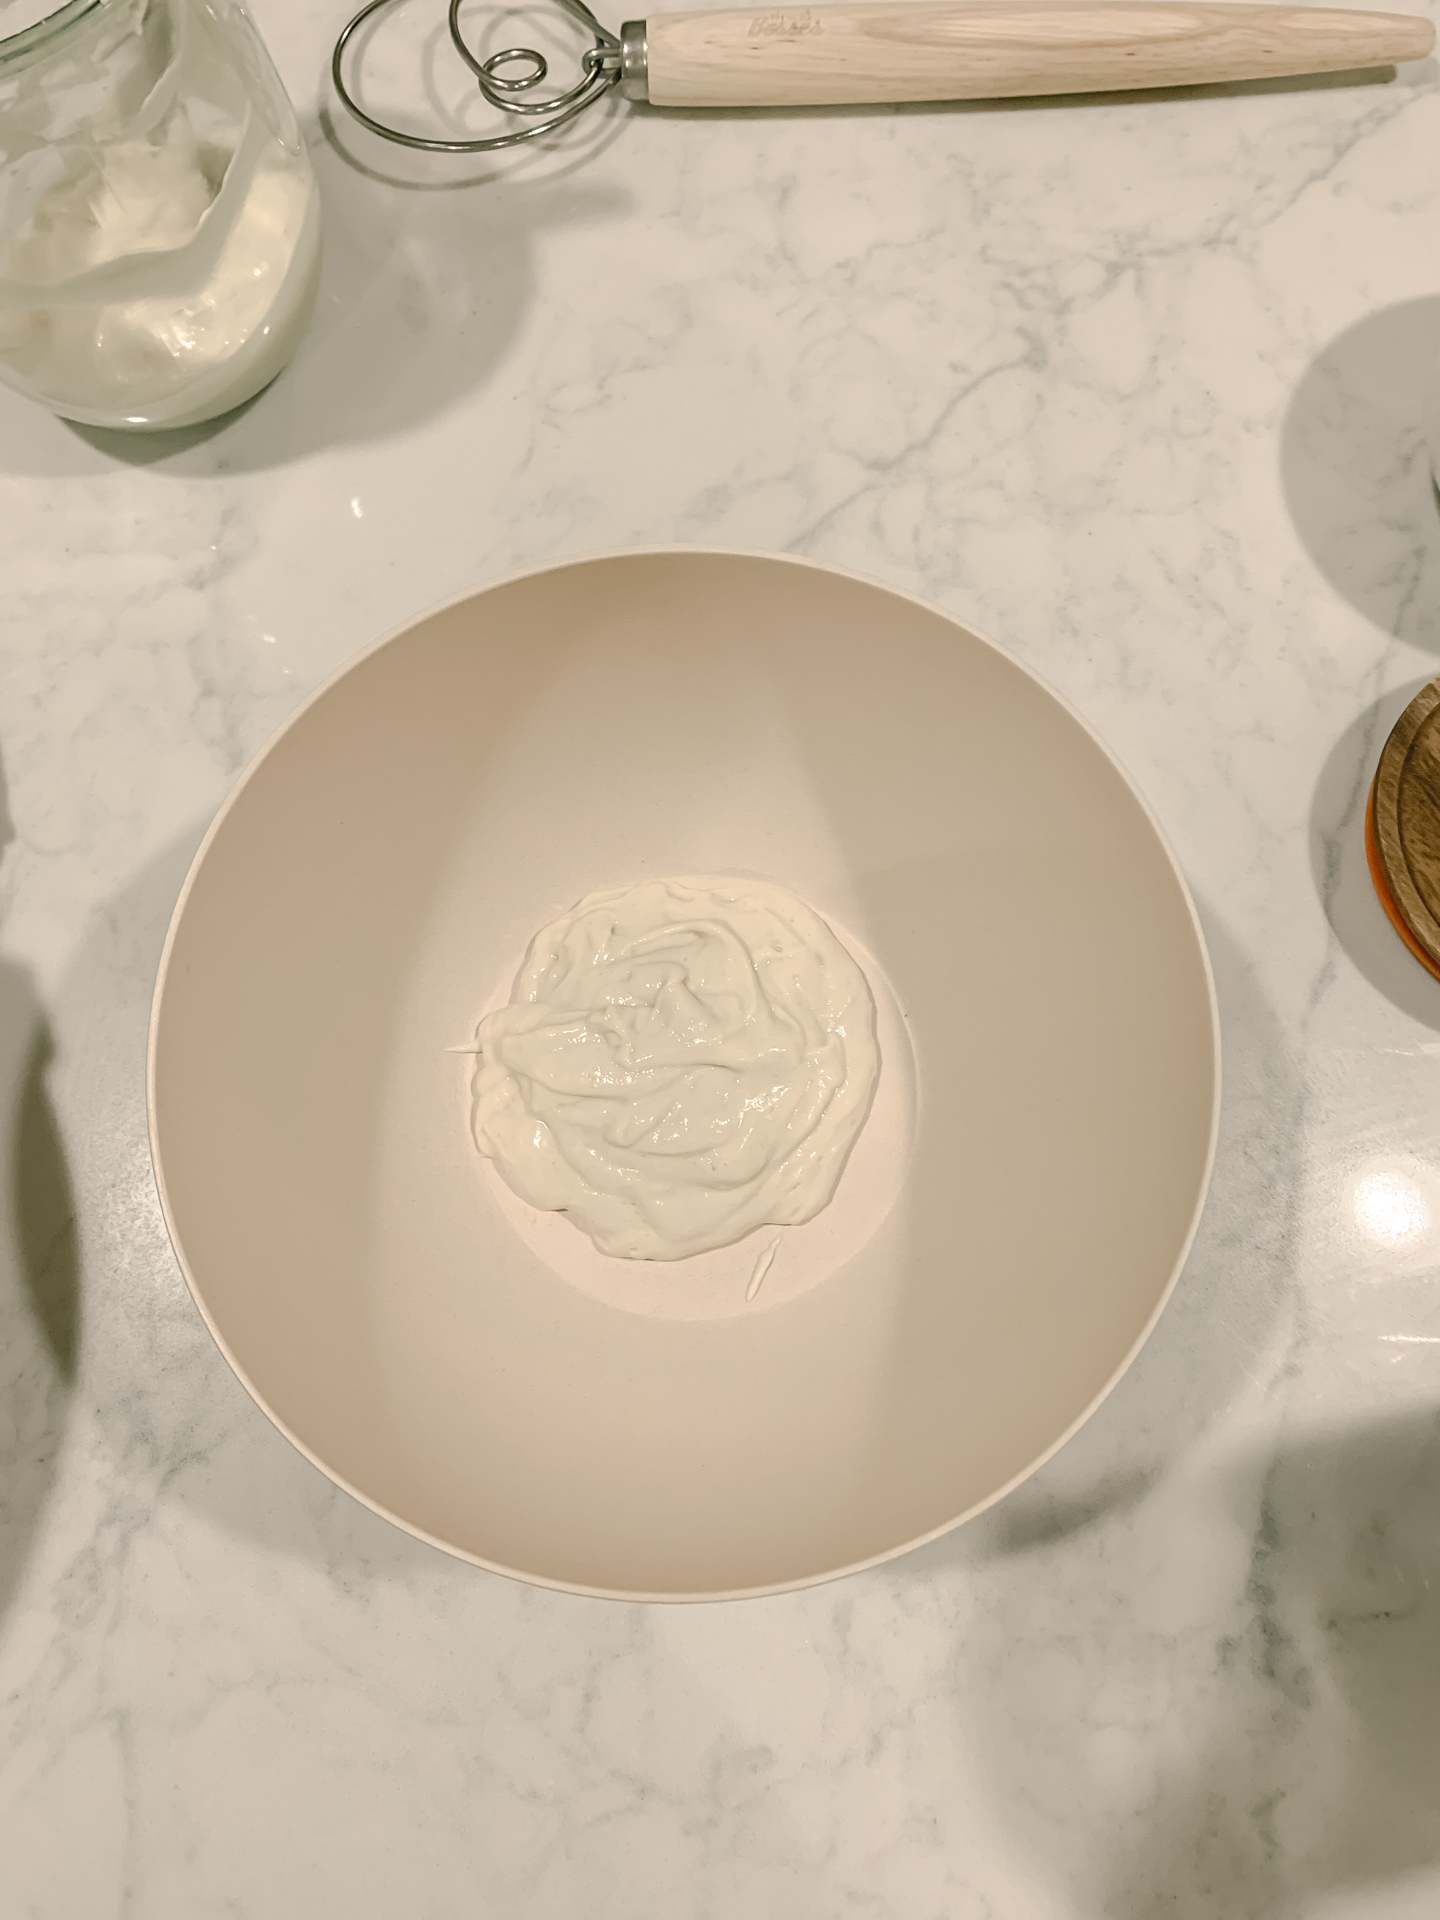
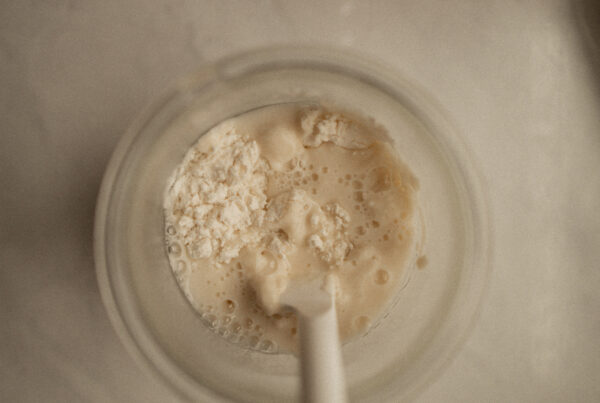
- Measure out 50g active starter into a clean bowl.
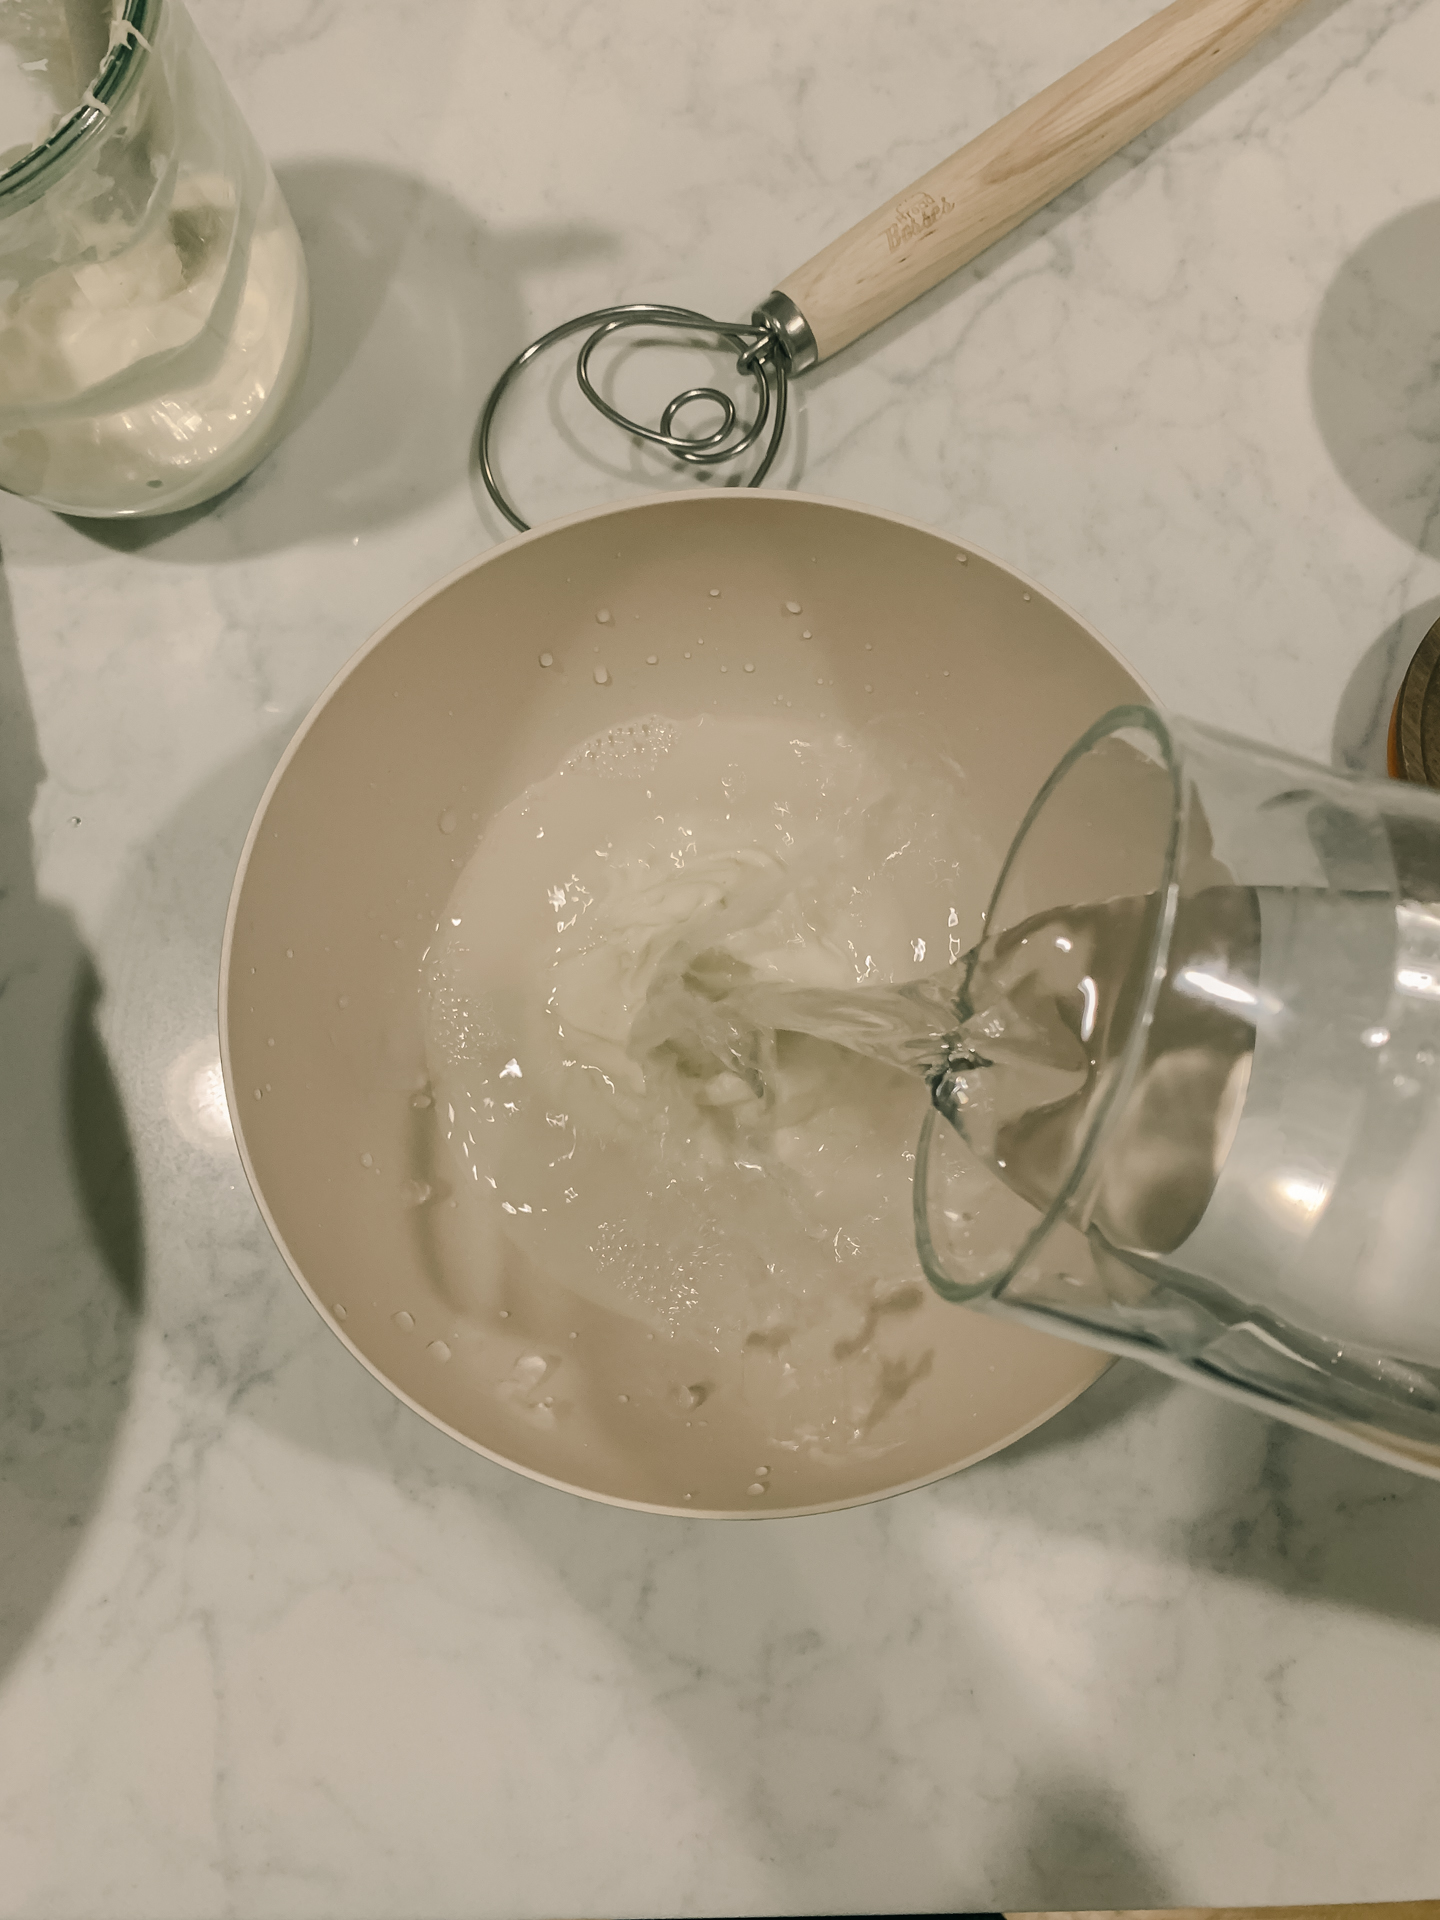
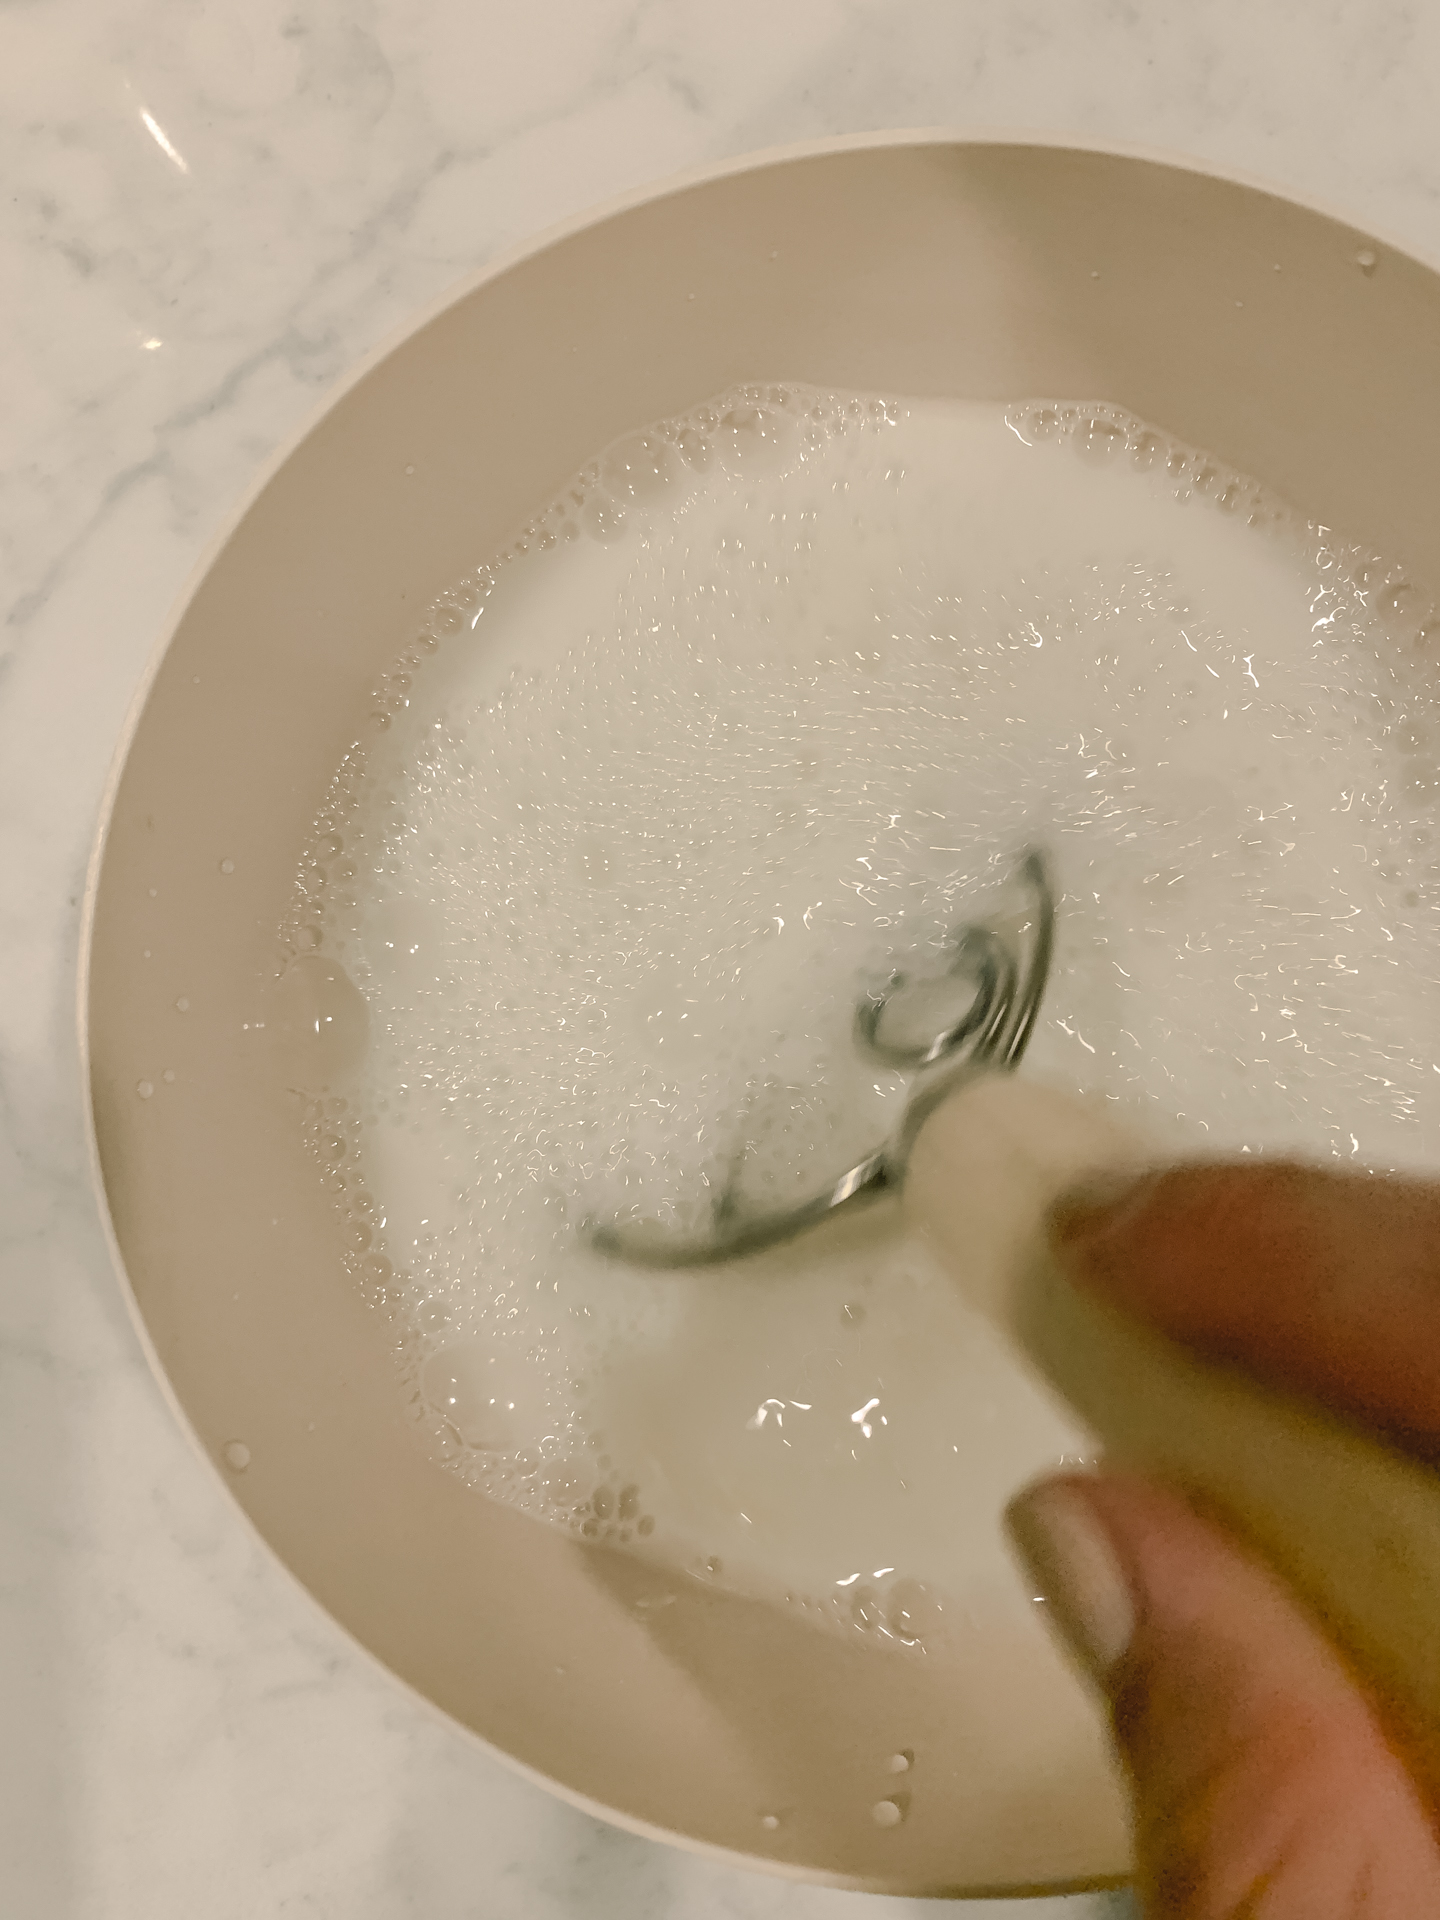
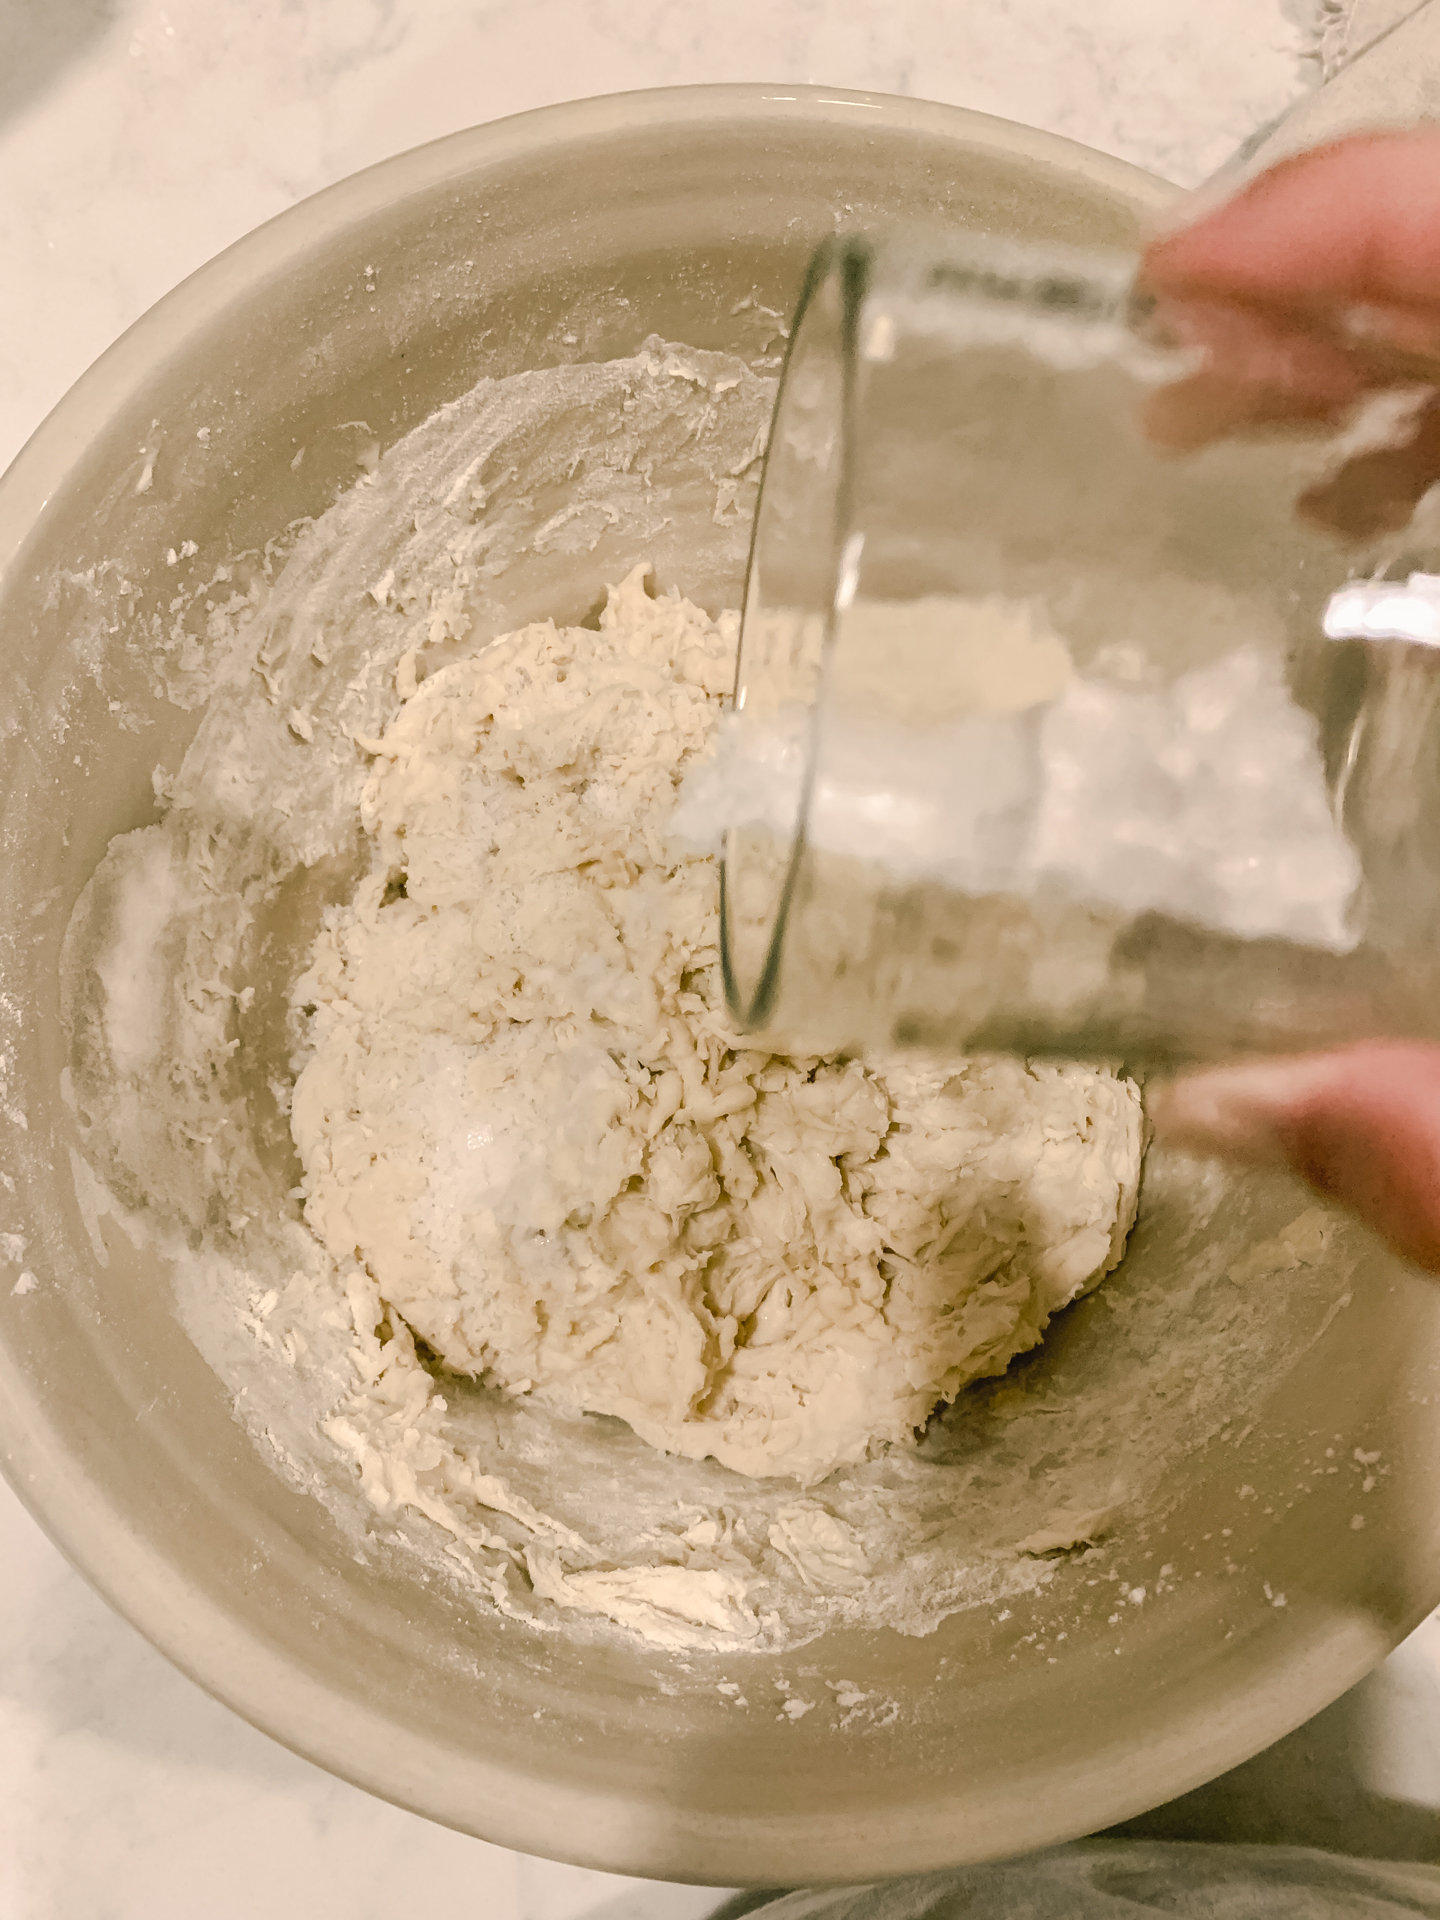
- Add in 350g of room-temp filtered water.
- Whisk until fully combined.
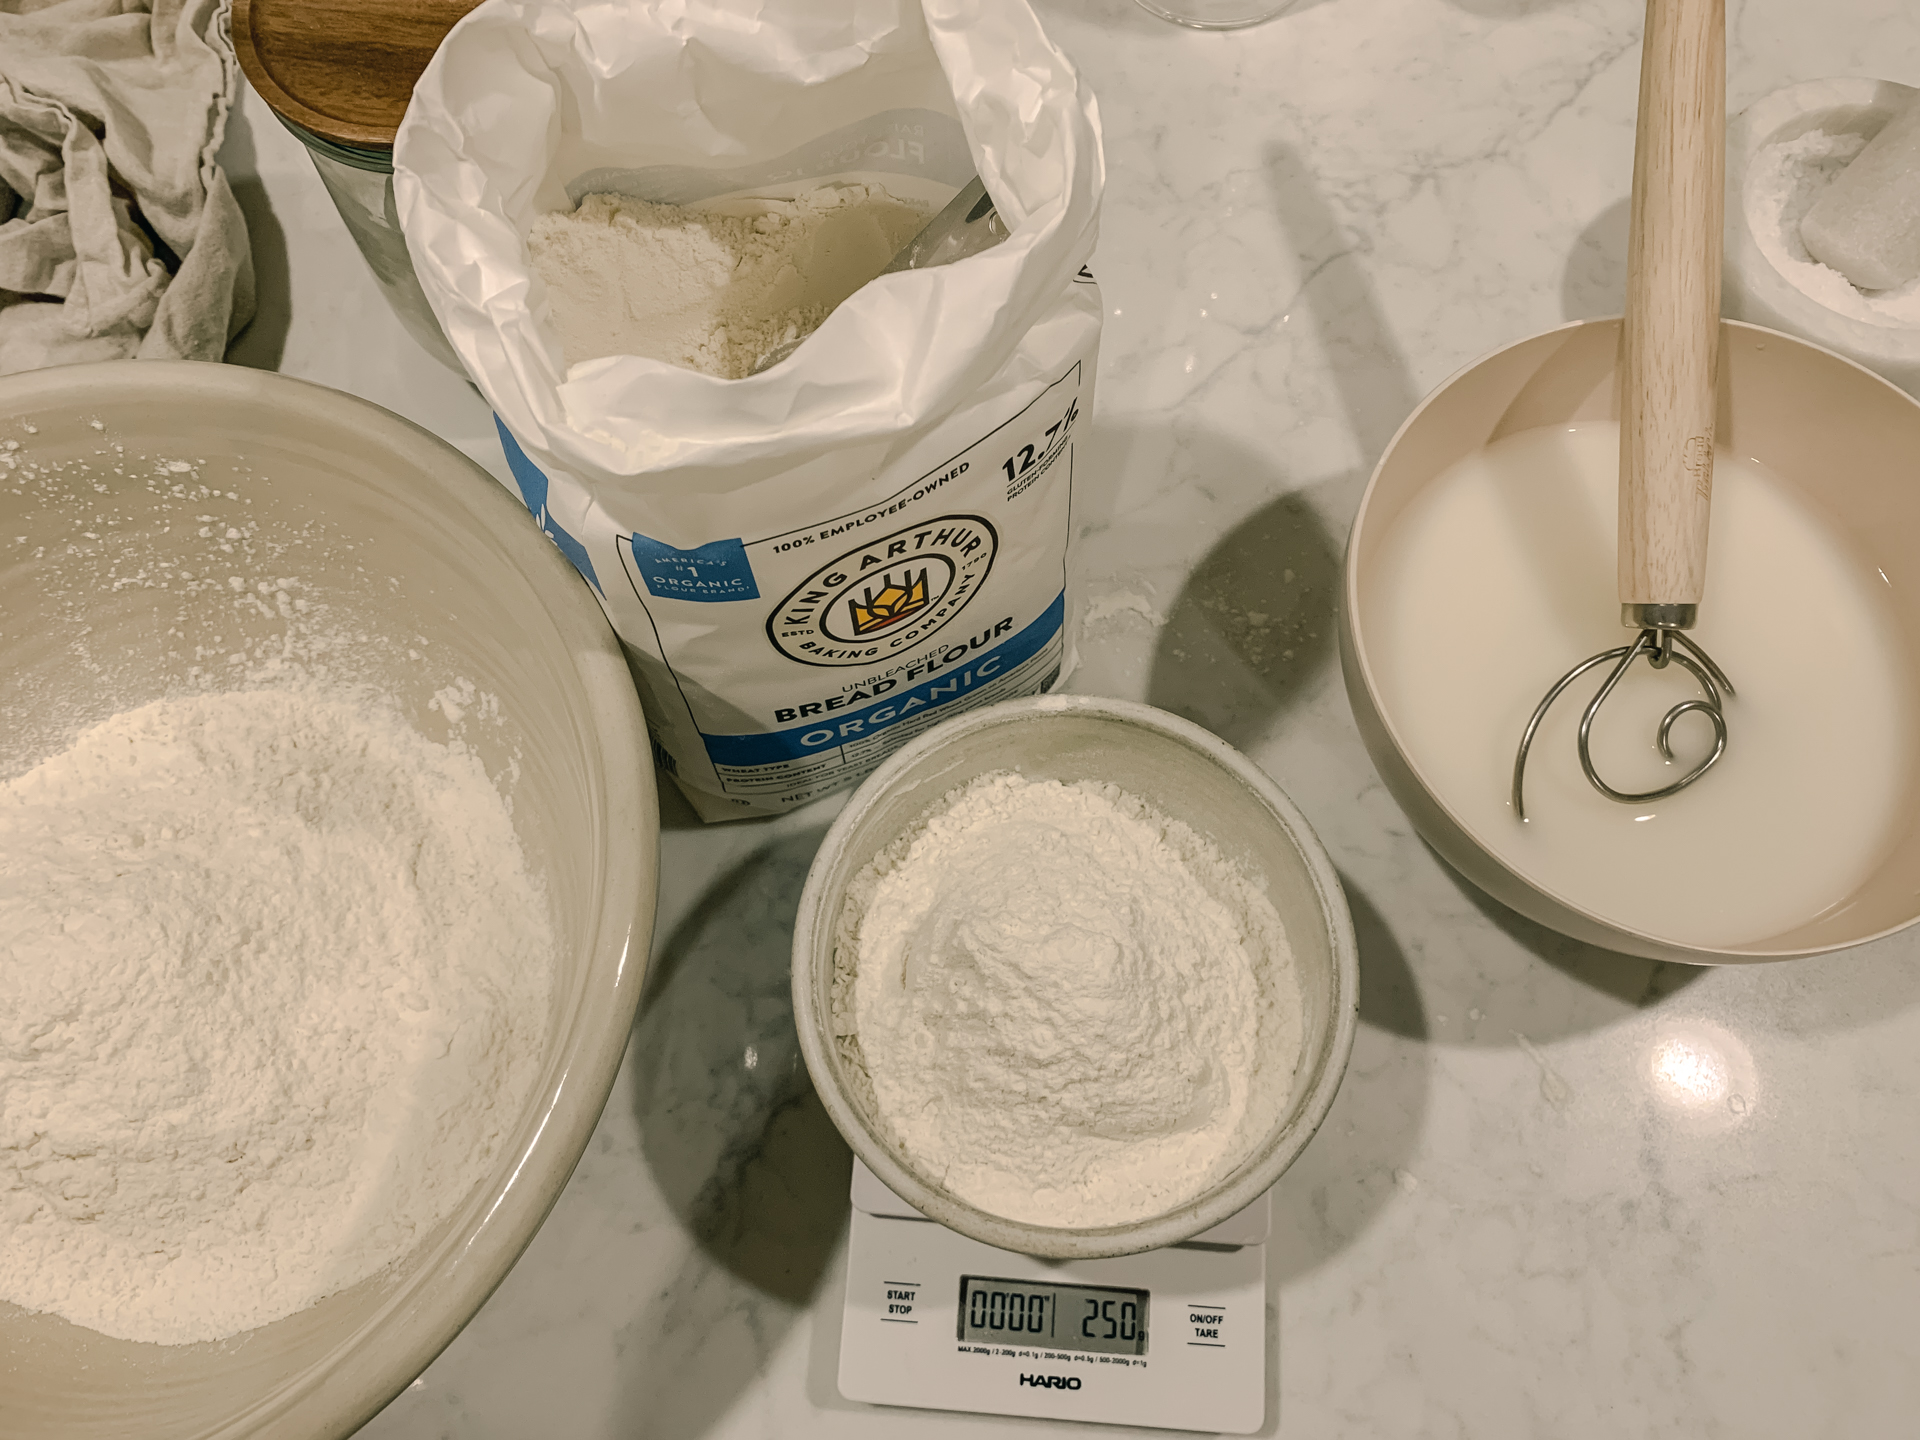
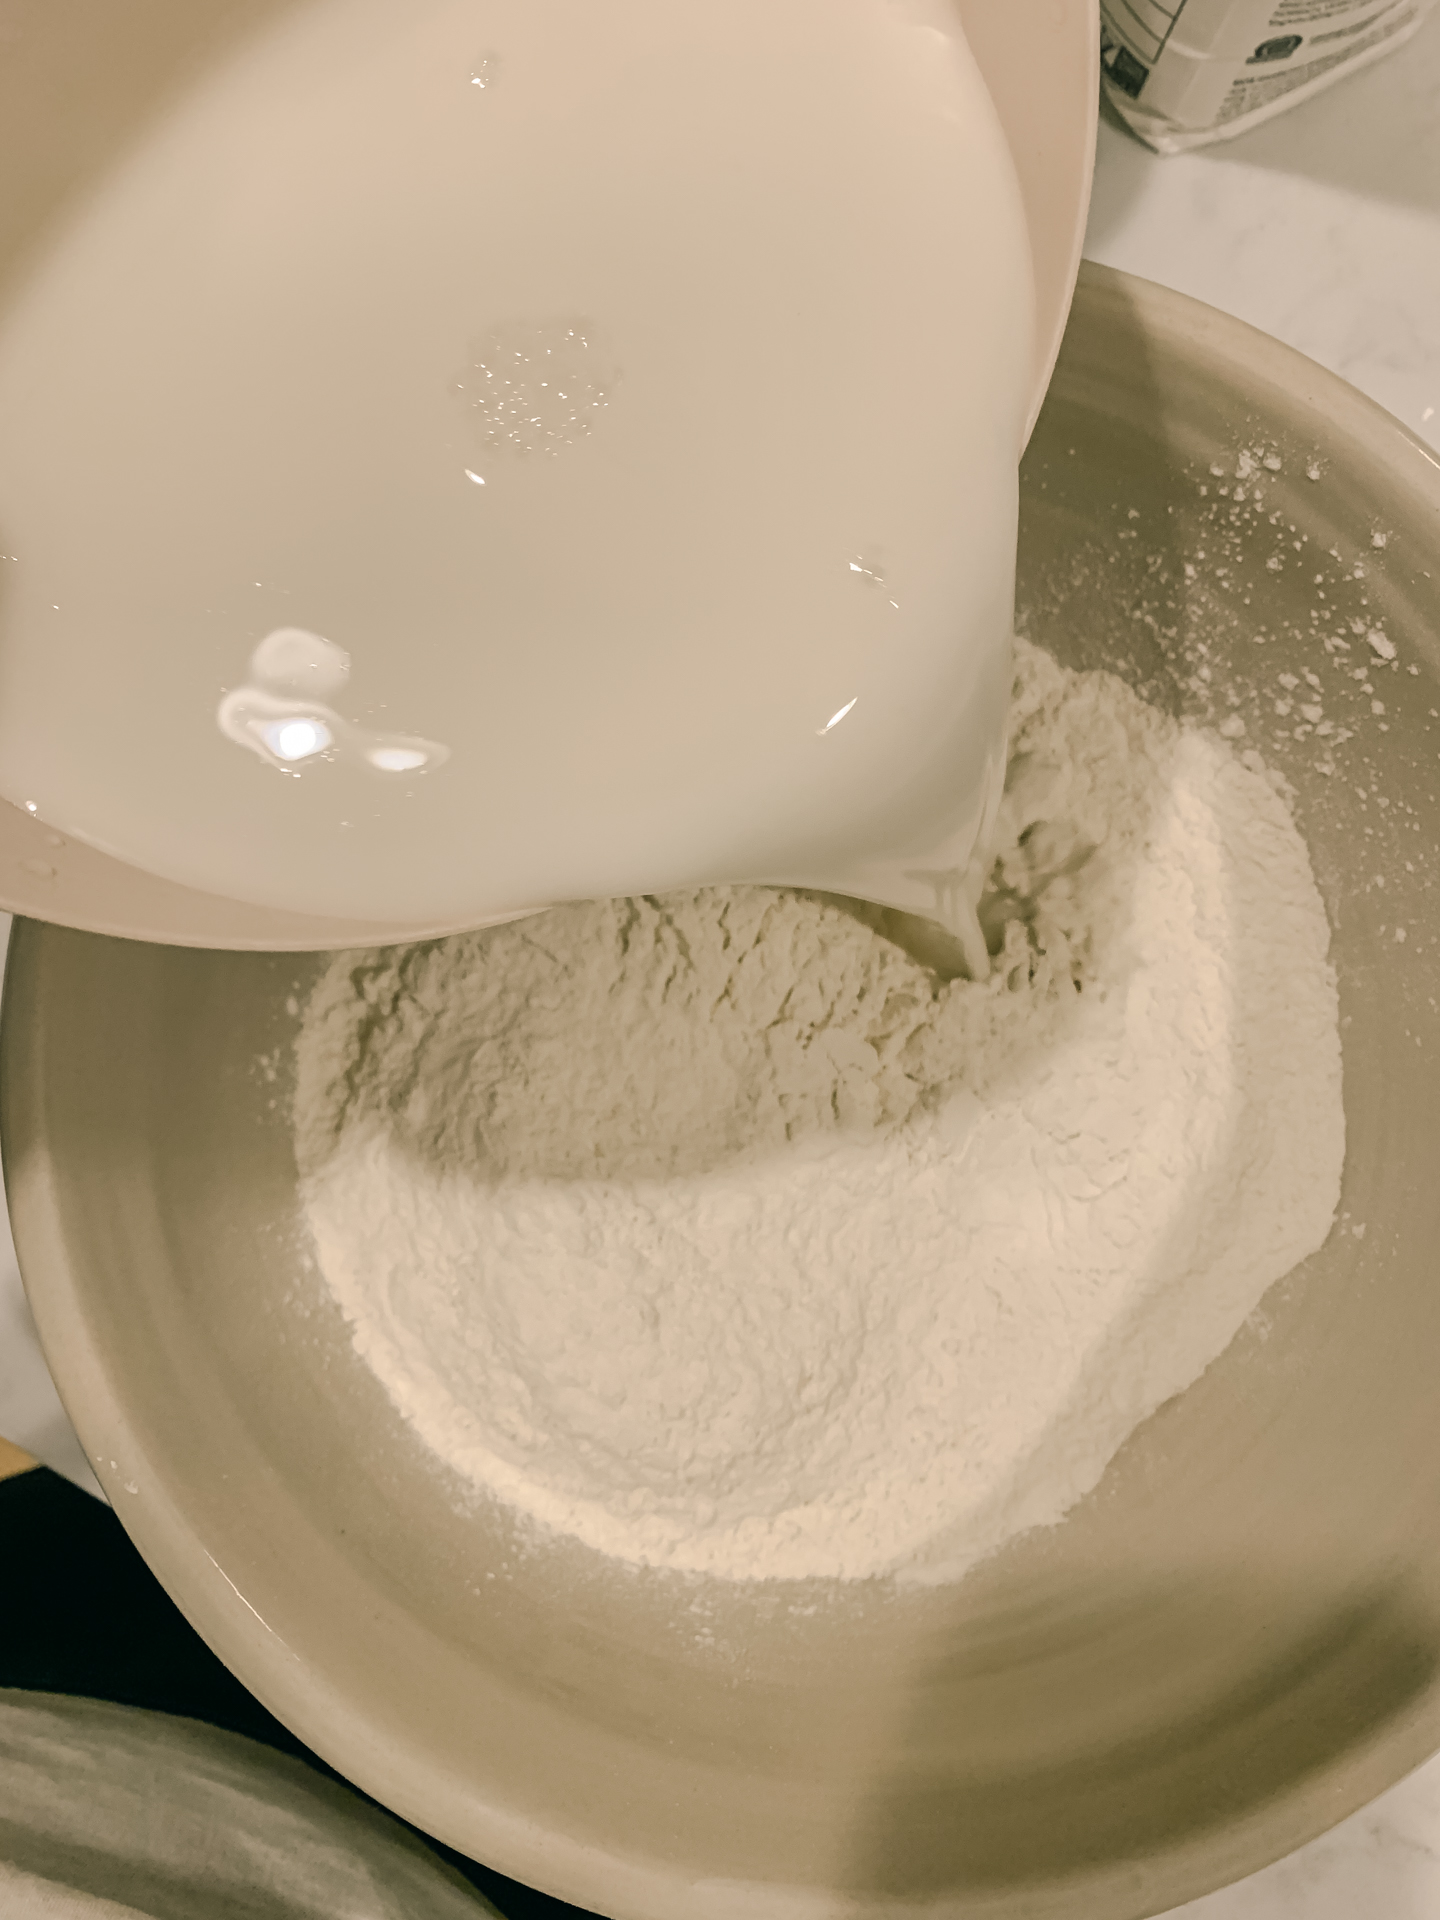
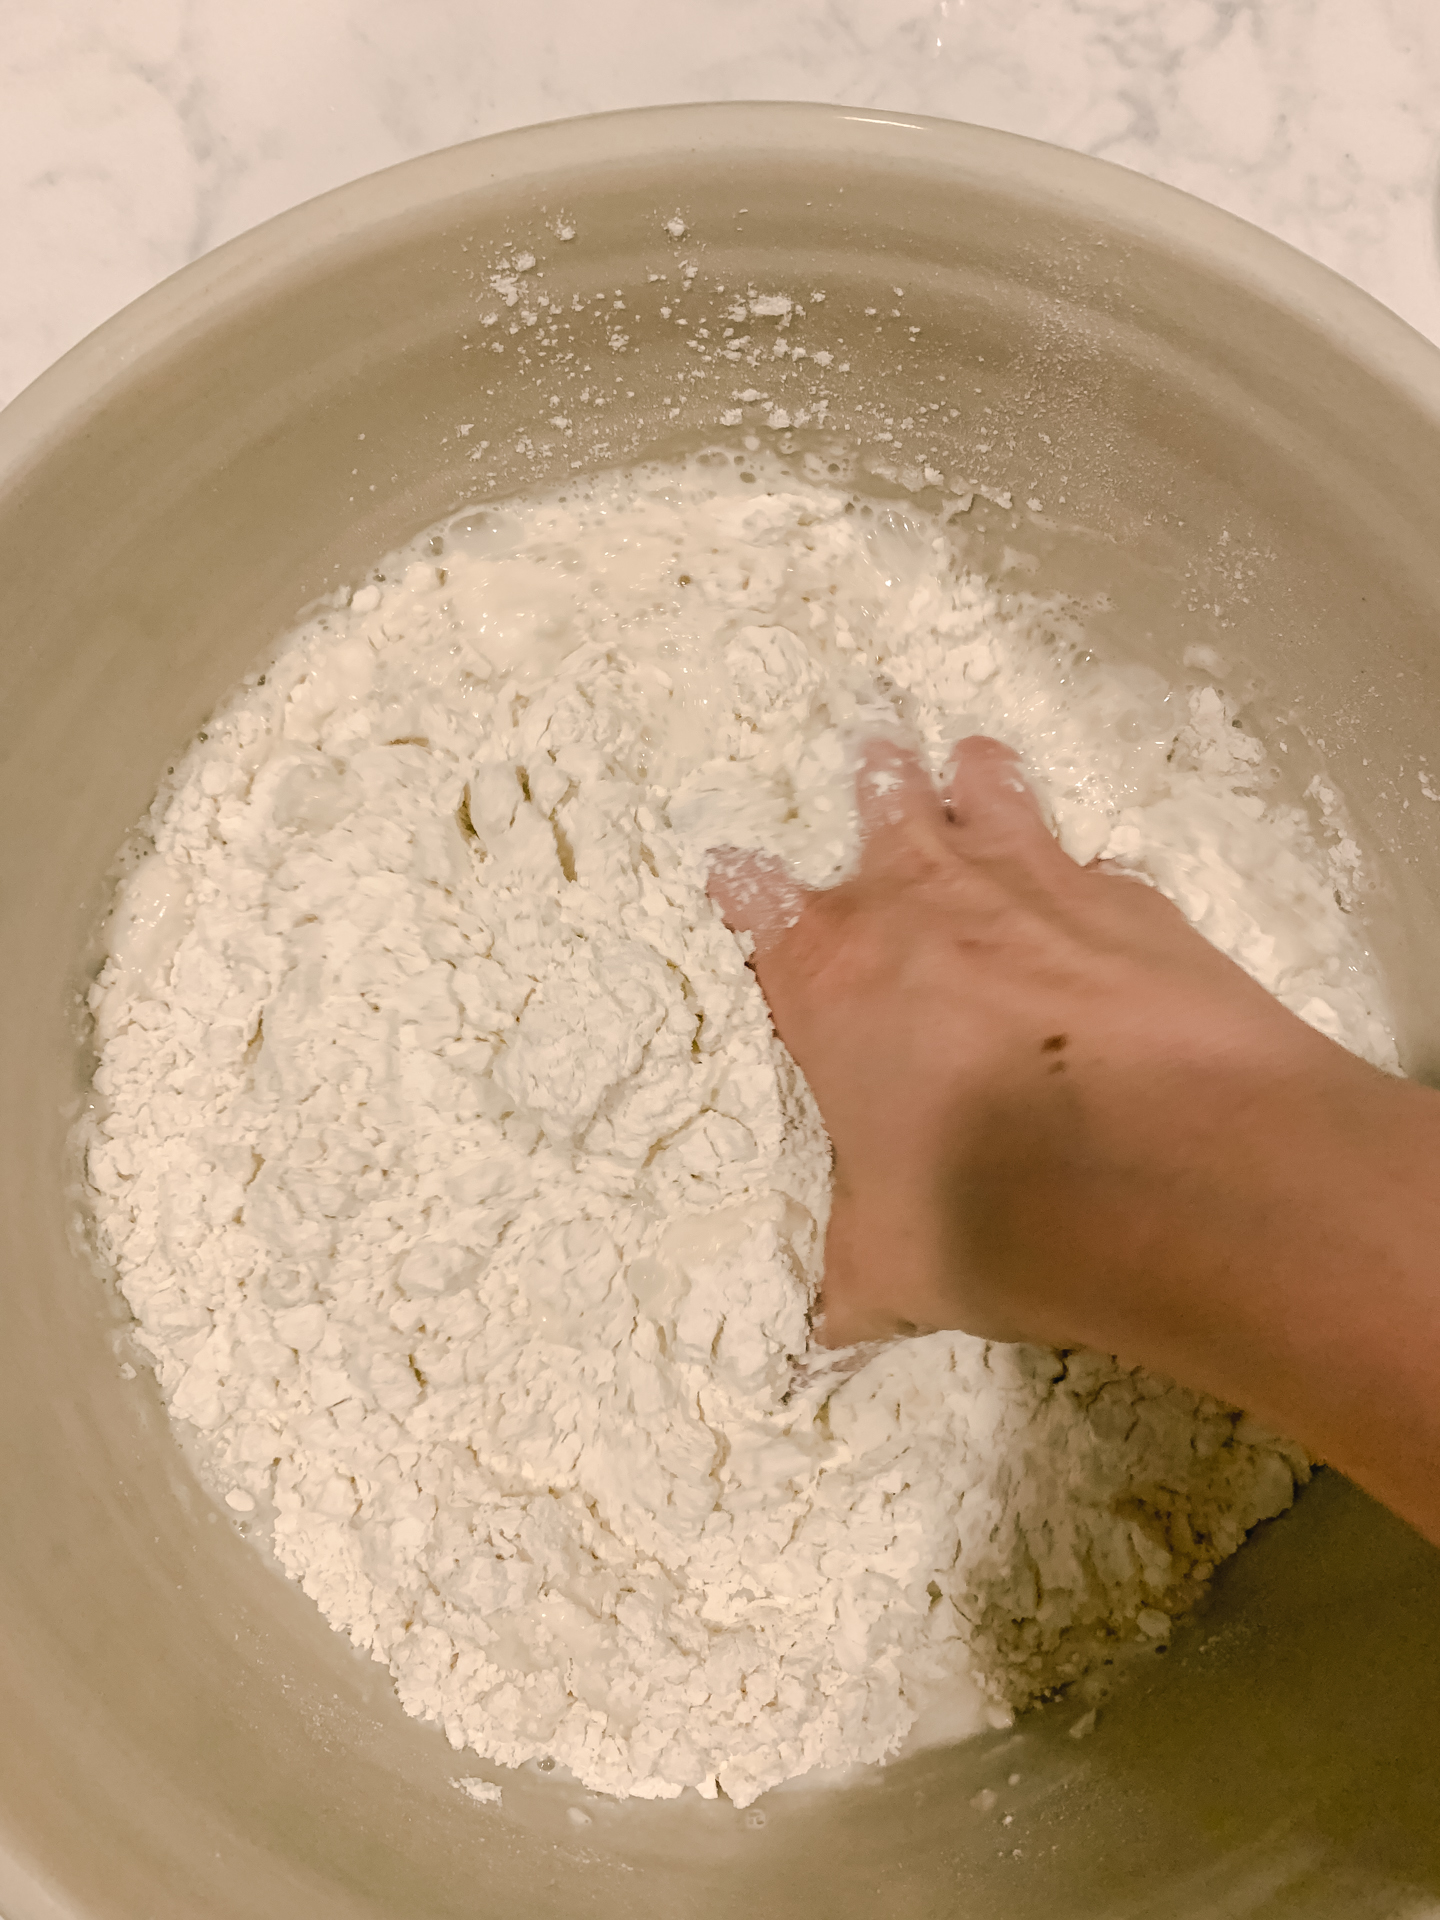
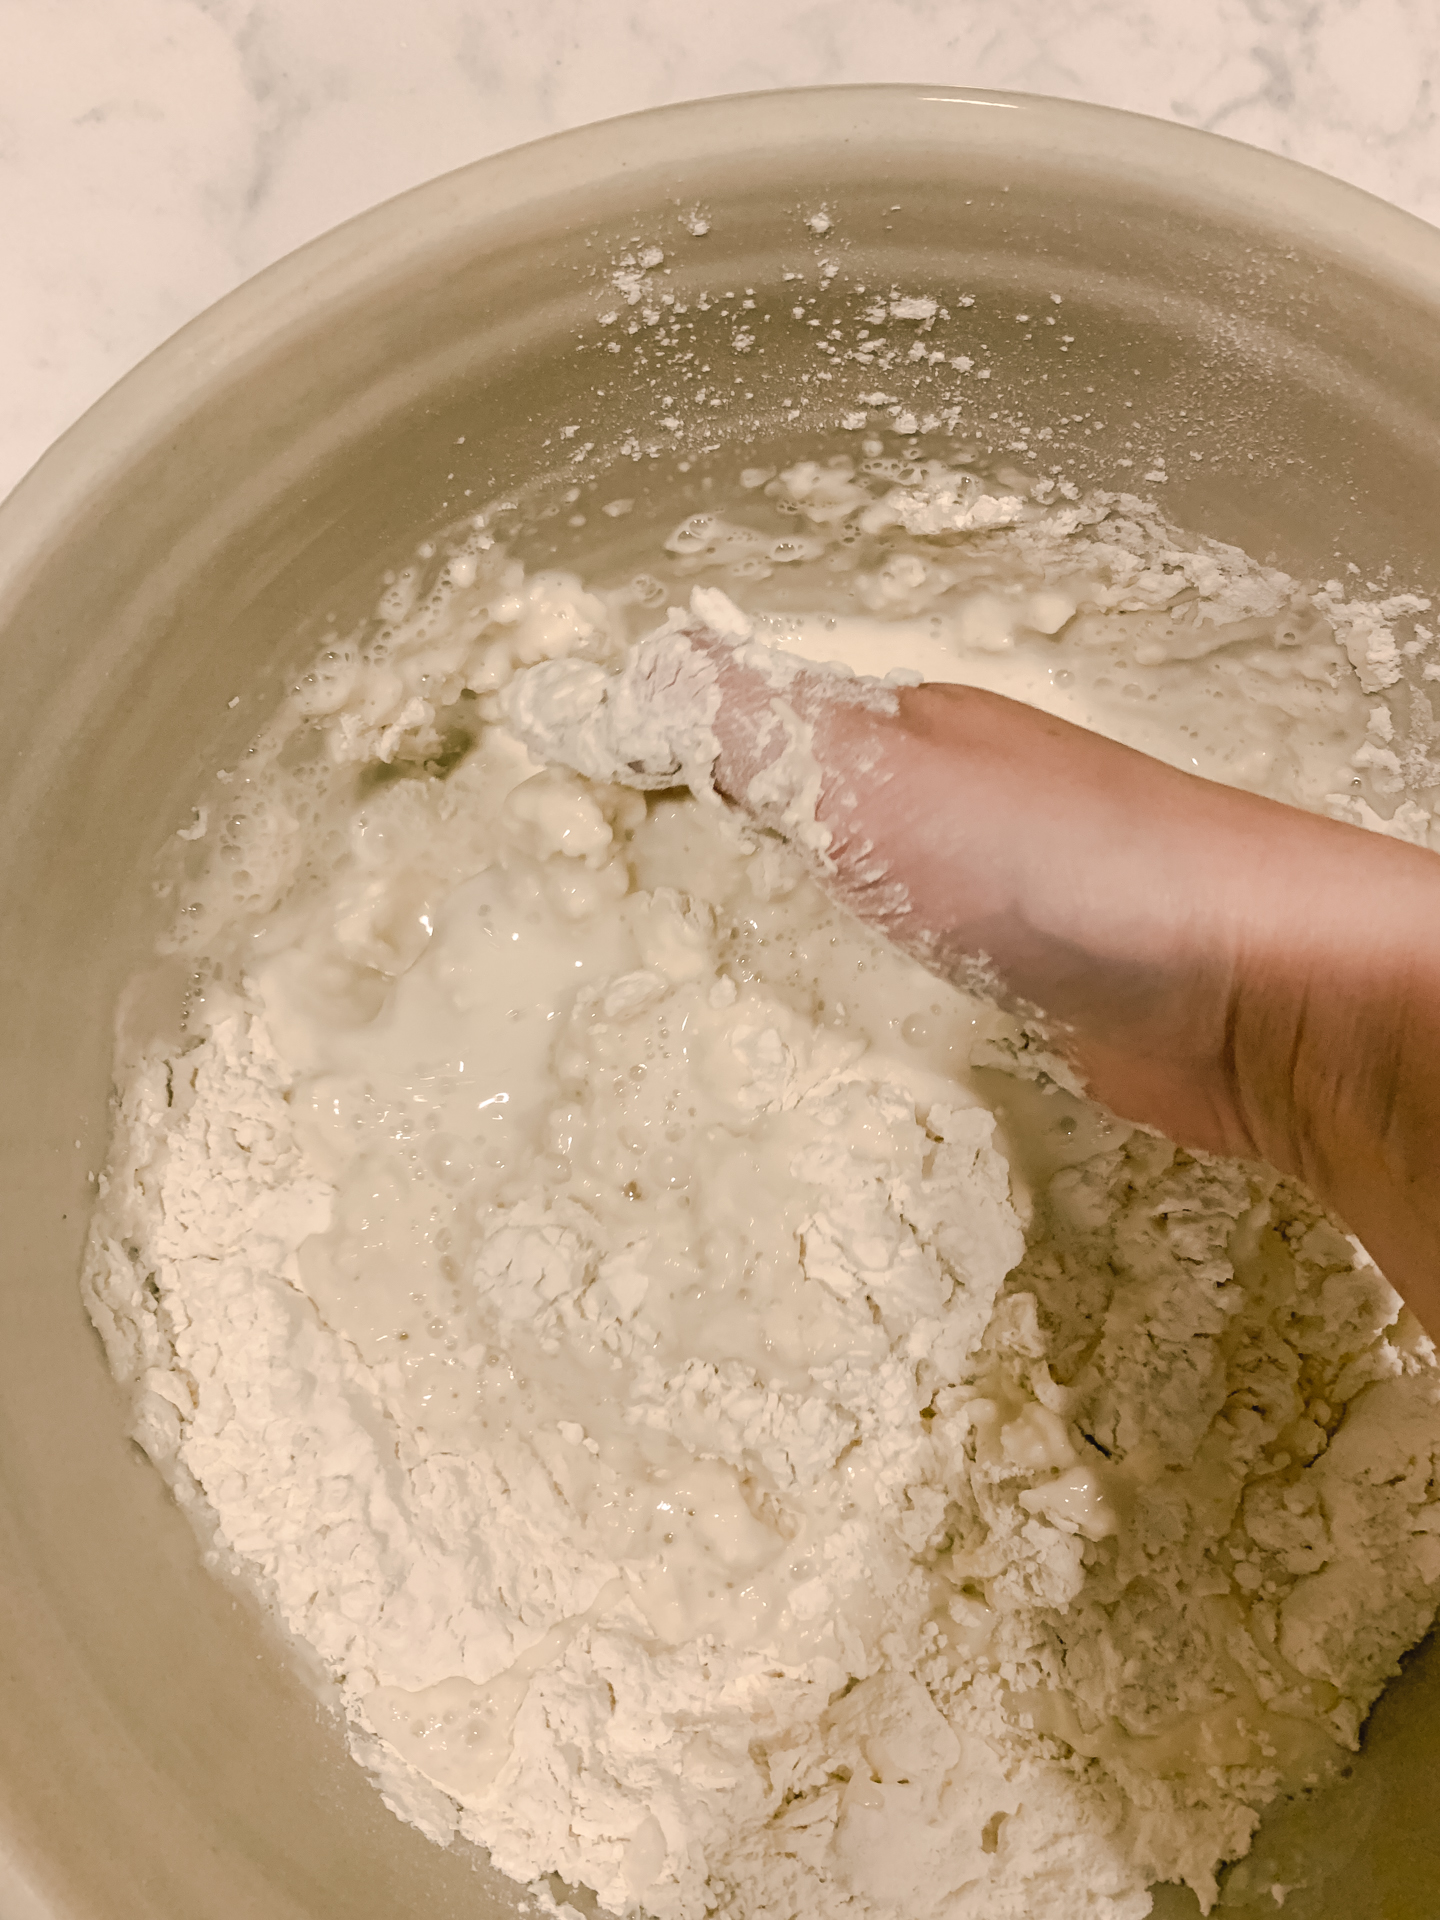
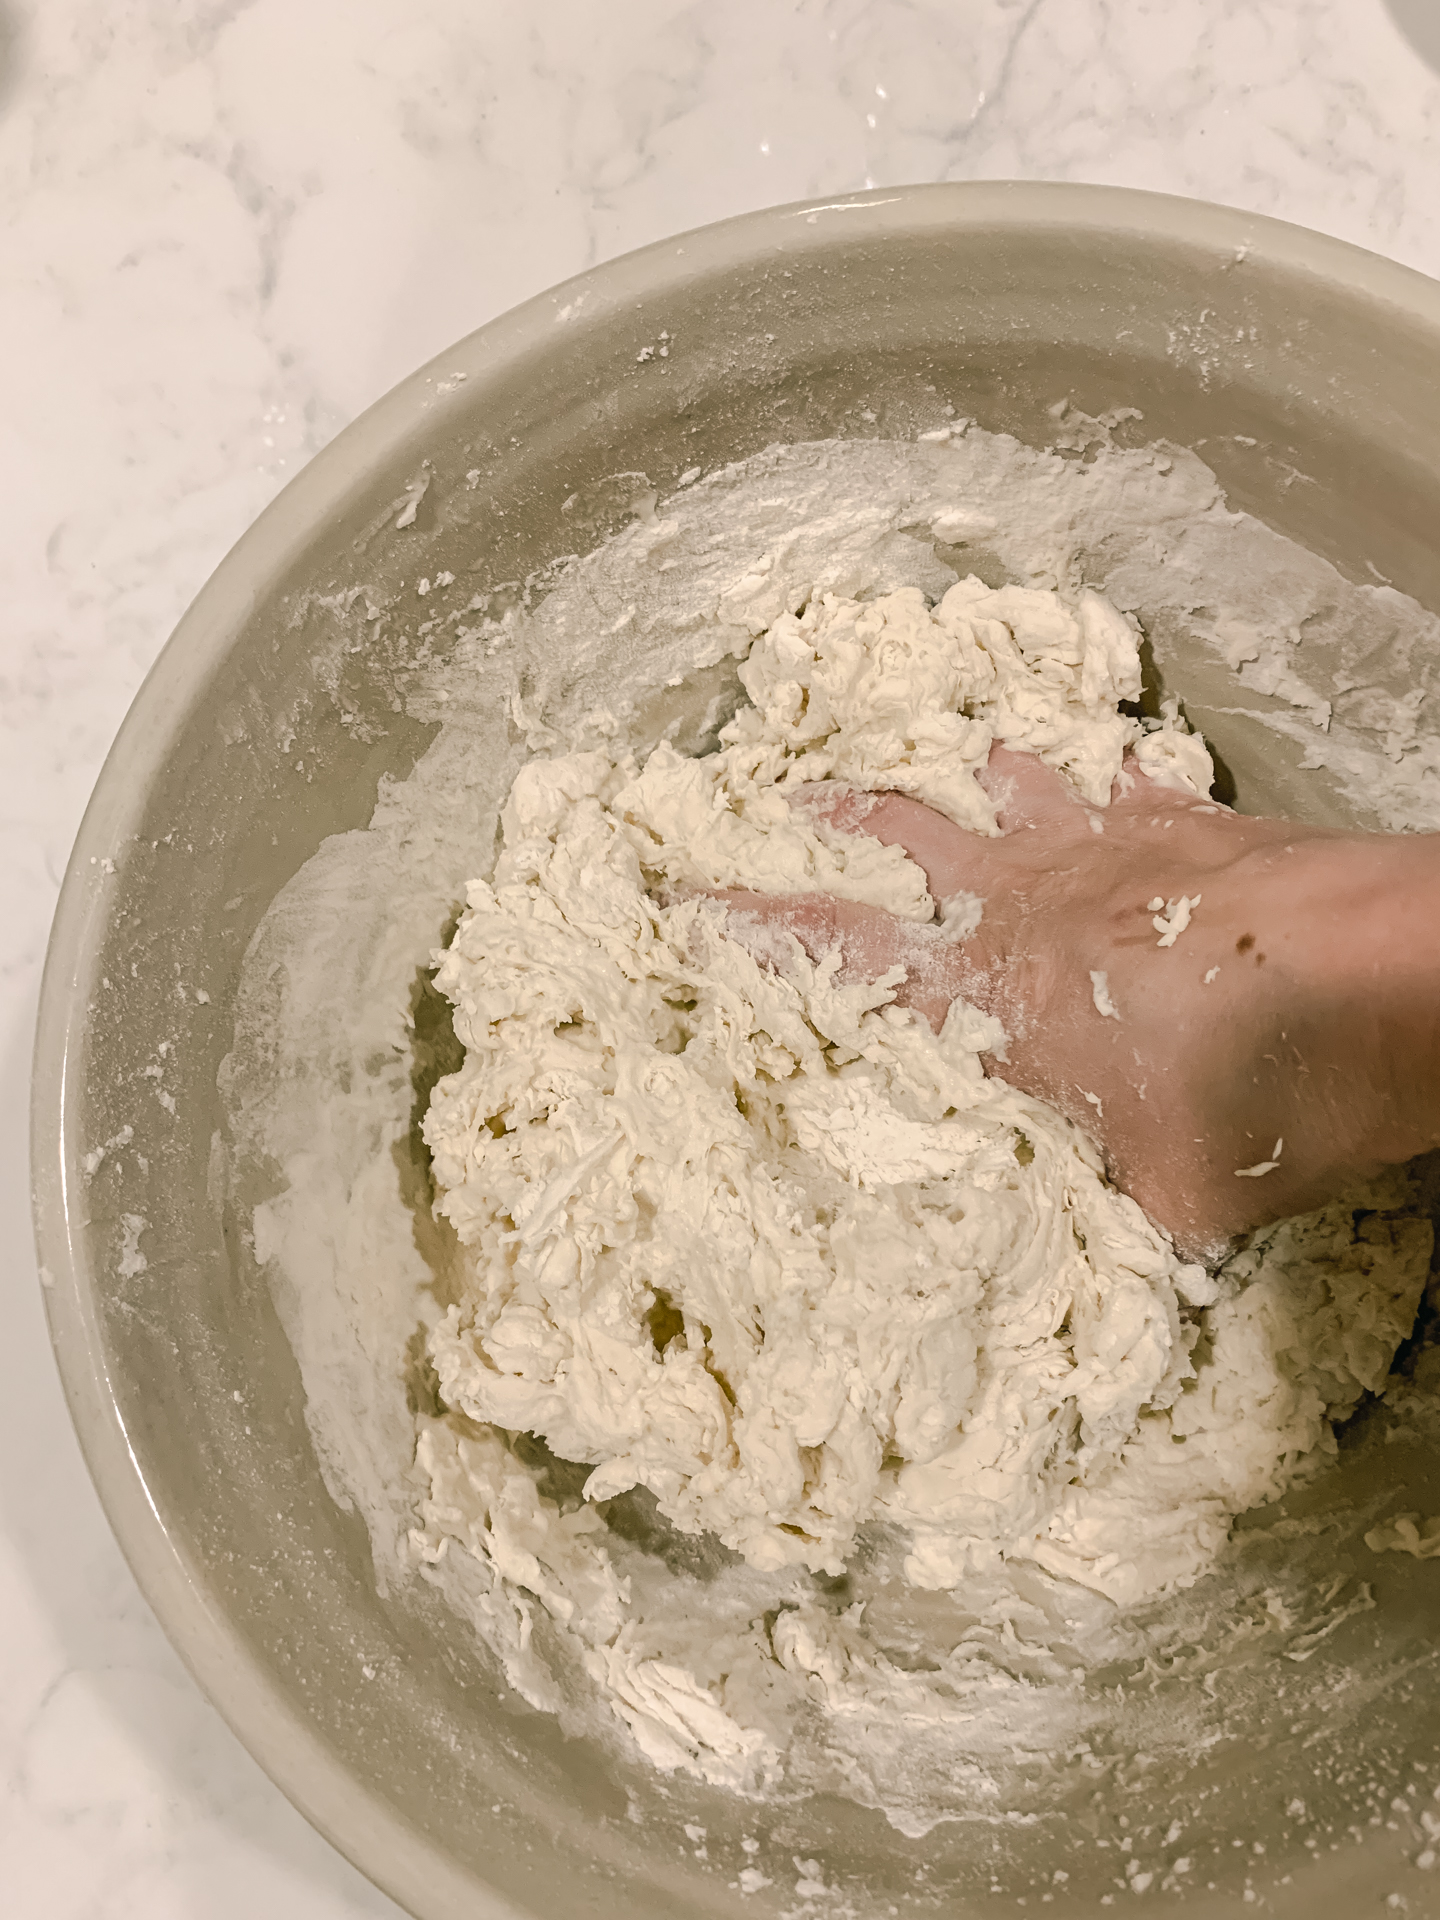
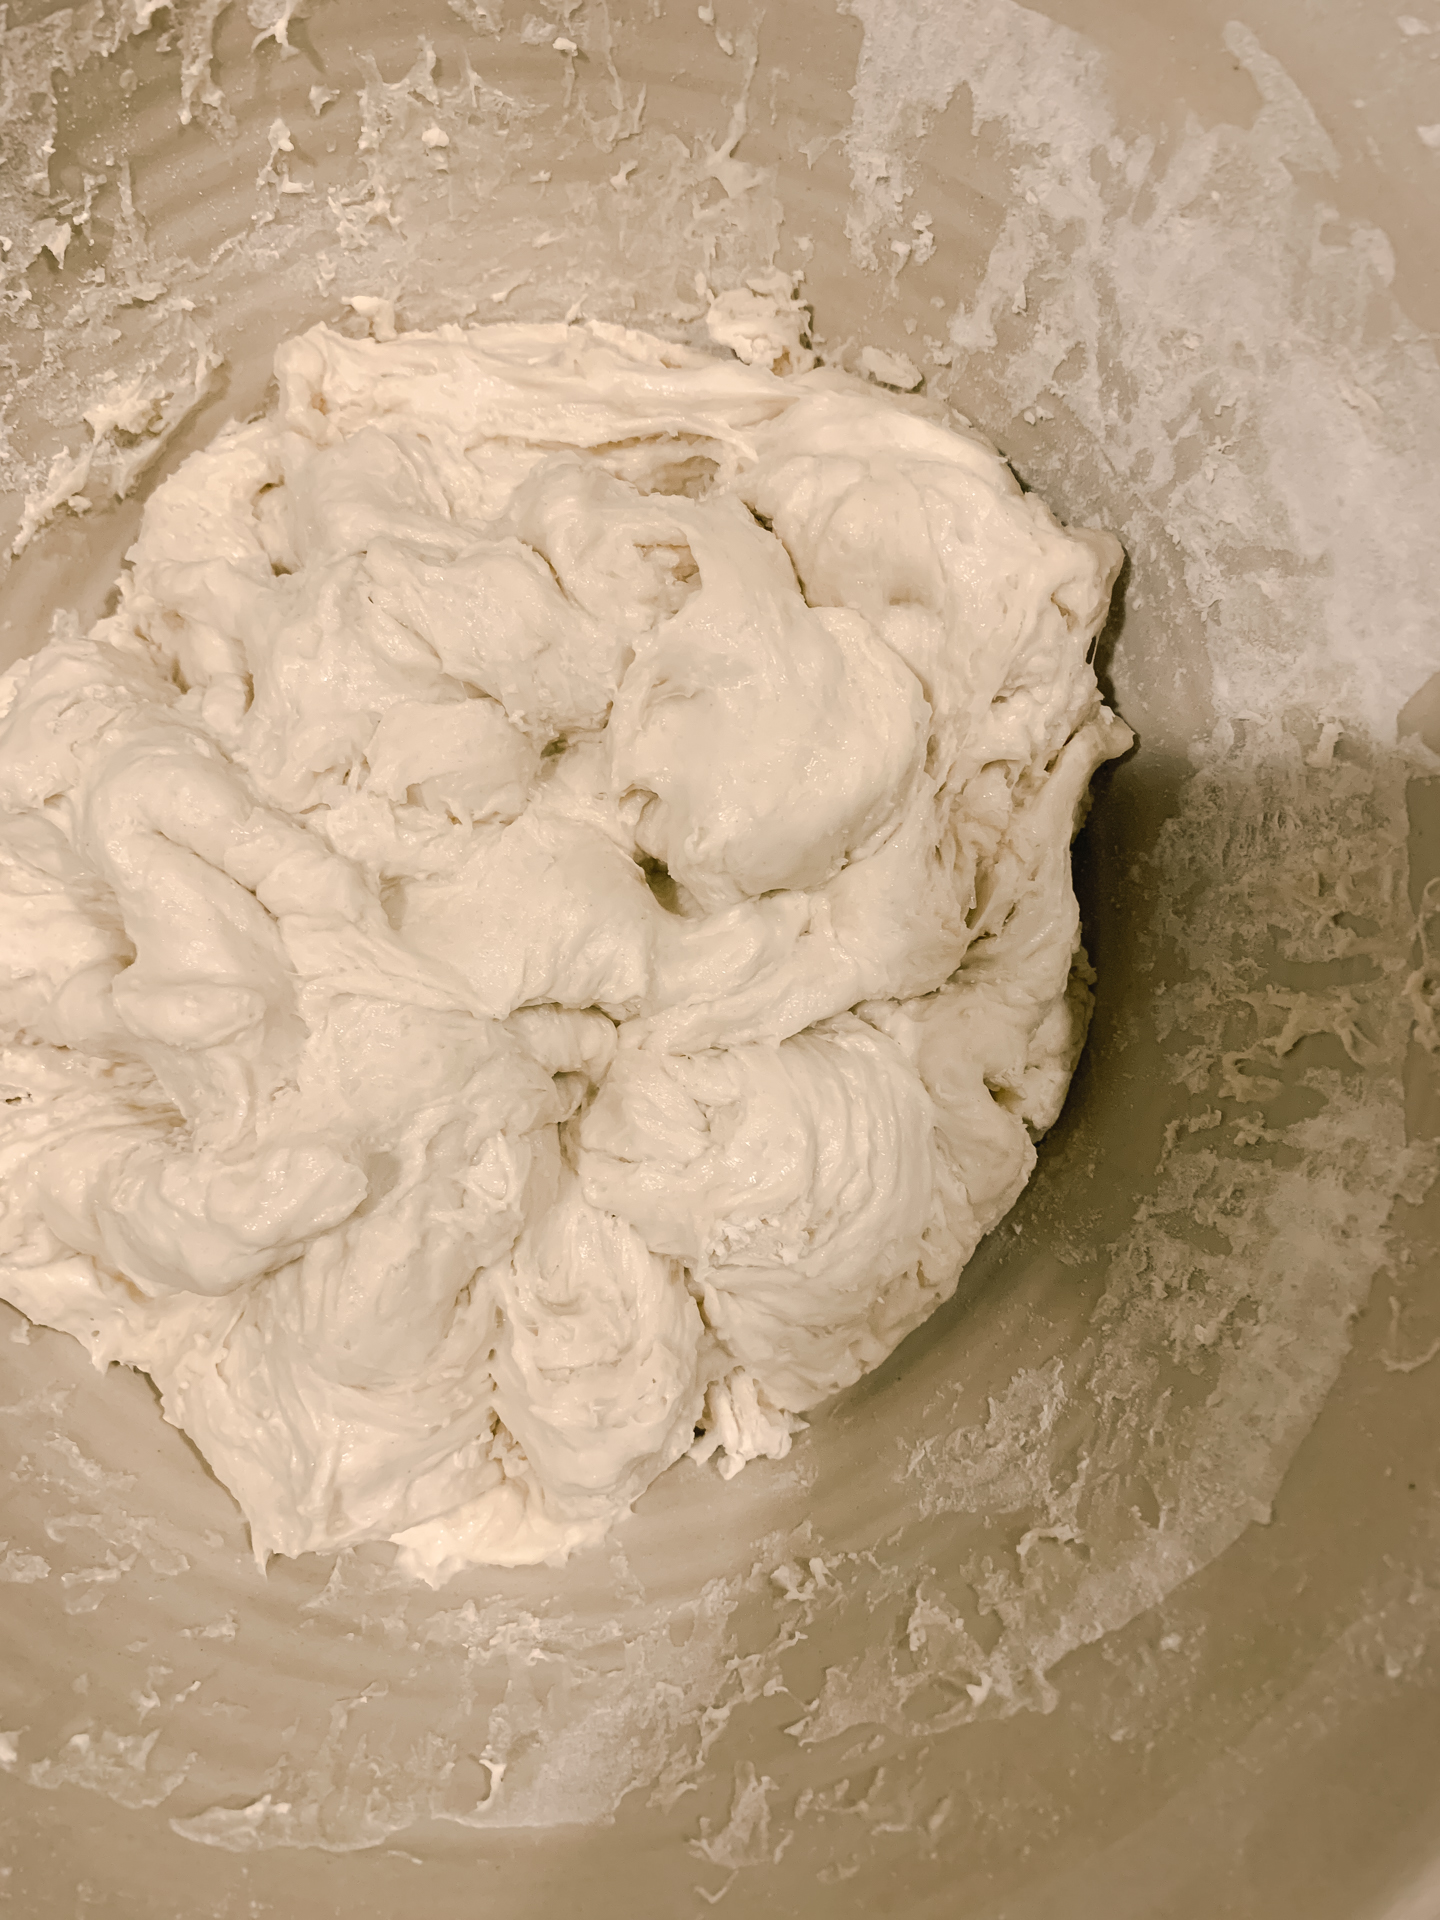
Add in 500g of organic bread flour. You’ll notice that it’s finer than all purpose flour. You can begin to whisk it in, but it’s honestly just easier to get your clean hands in there and mix it together. You’ll mix until you have a shaggy dough, and let it sit for 30 minutes, covered with a tea towel.
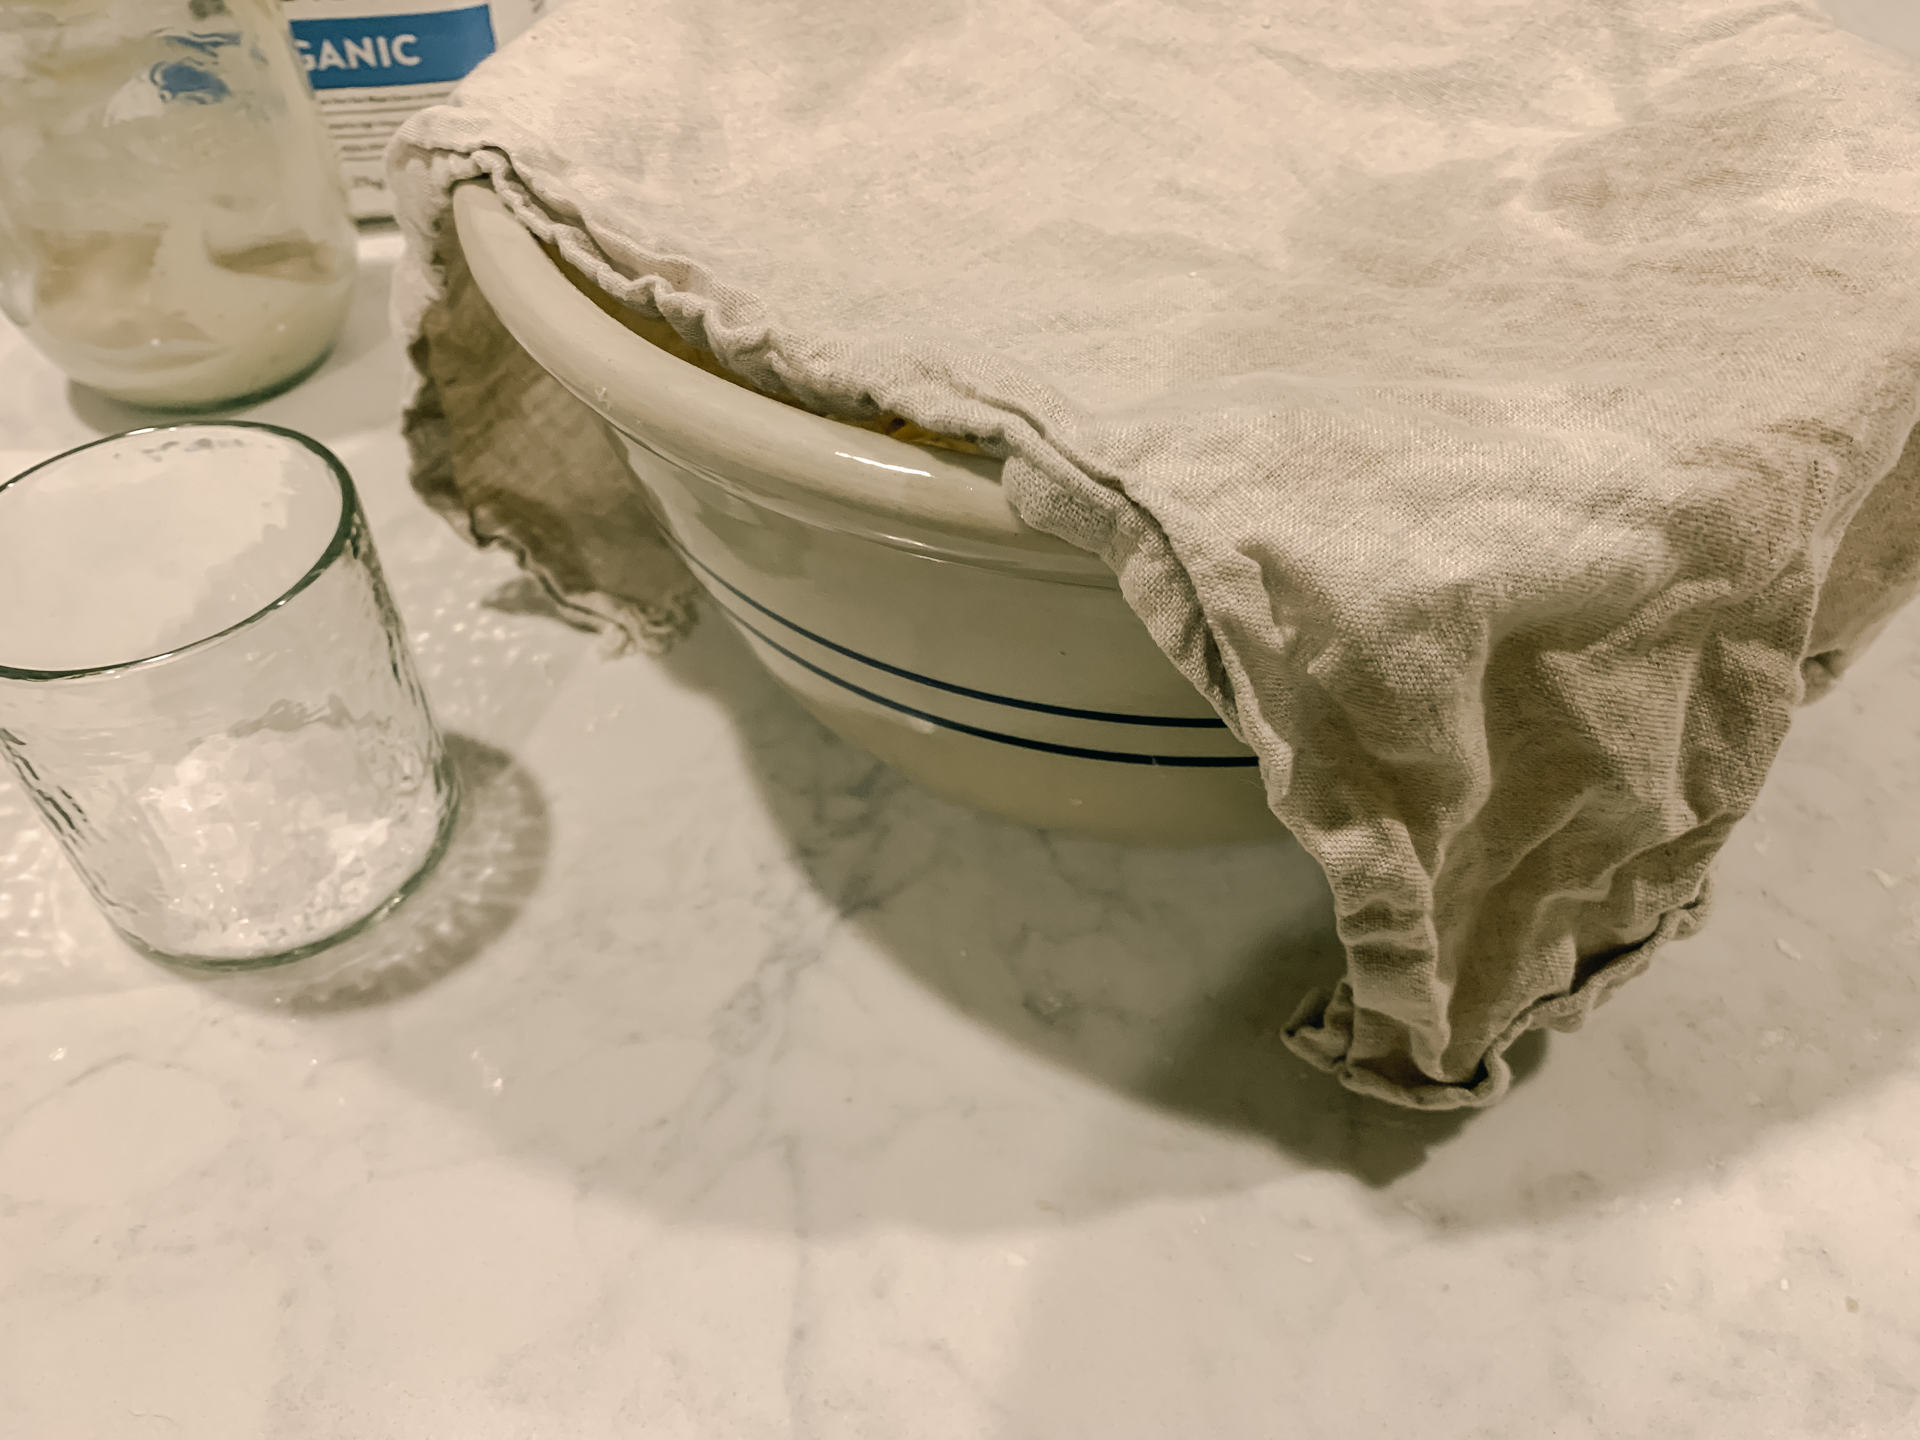
This rest break is called autolyse, and it’s where the magic begins to happen. This is when the dough is becoming gut-friendly, digestive goodness, by the gluten beginning to take form.
While resting, go ahead and feed your starter, or find a discard recipe, or put your starter in the fridge if you don’t plan on baking again soon. Then go ahead and measure out your salt. I love using Maldon’s, which needs to be ground. I usually take the time to do that at this point.
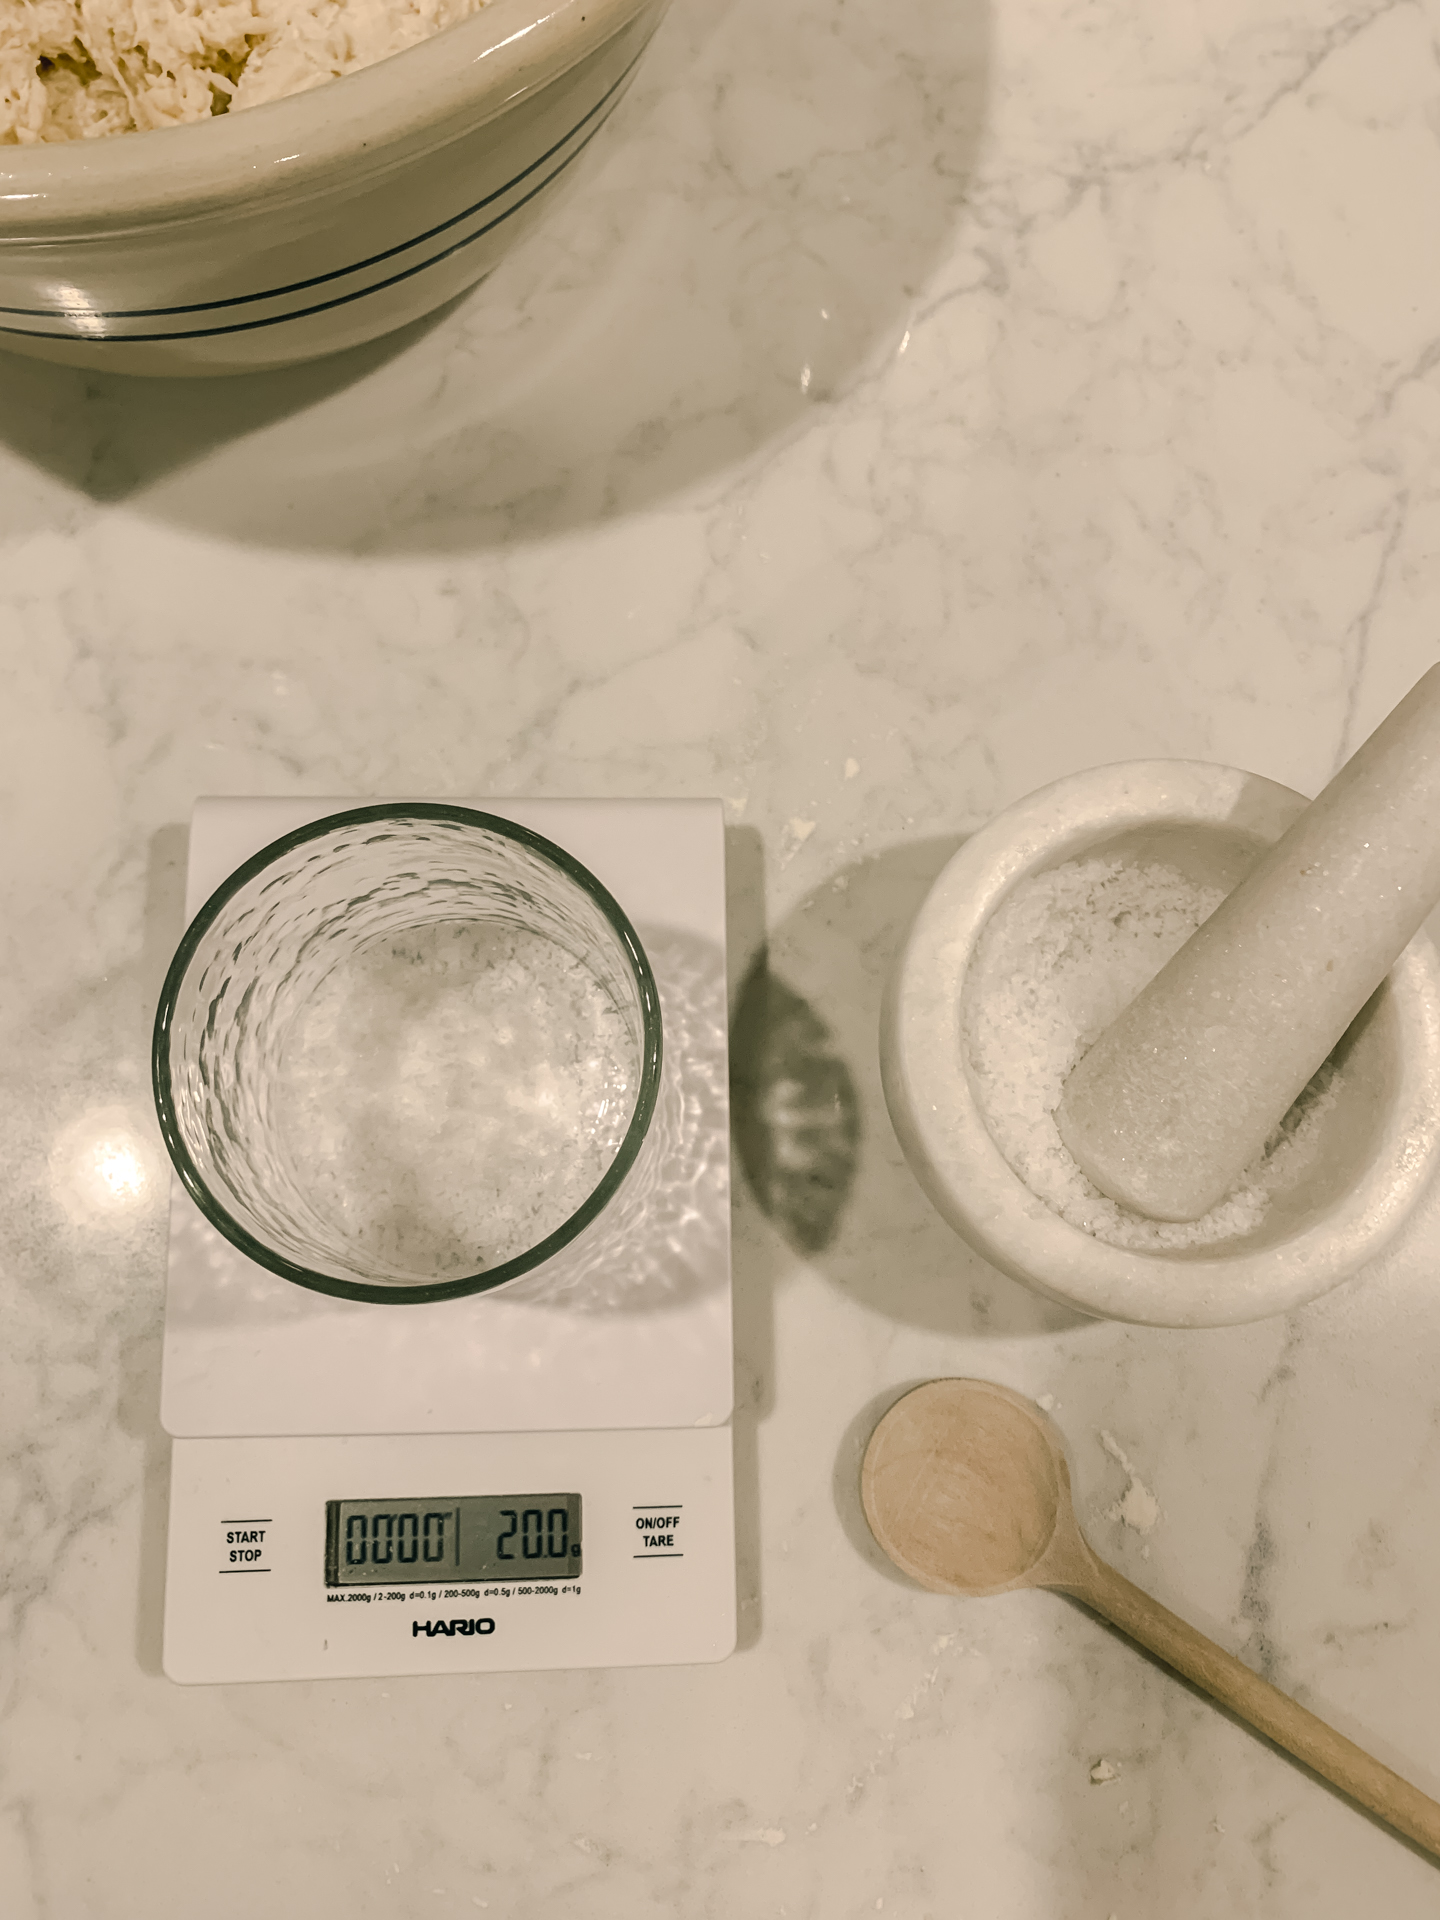
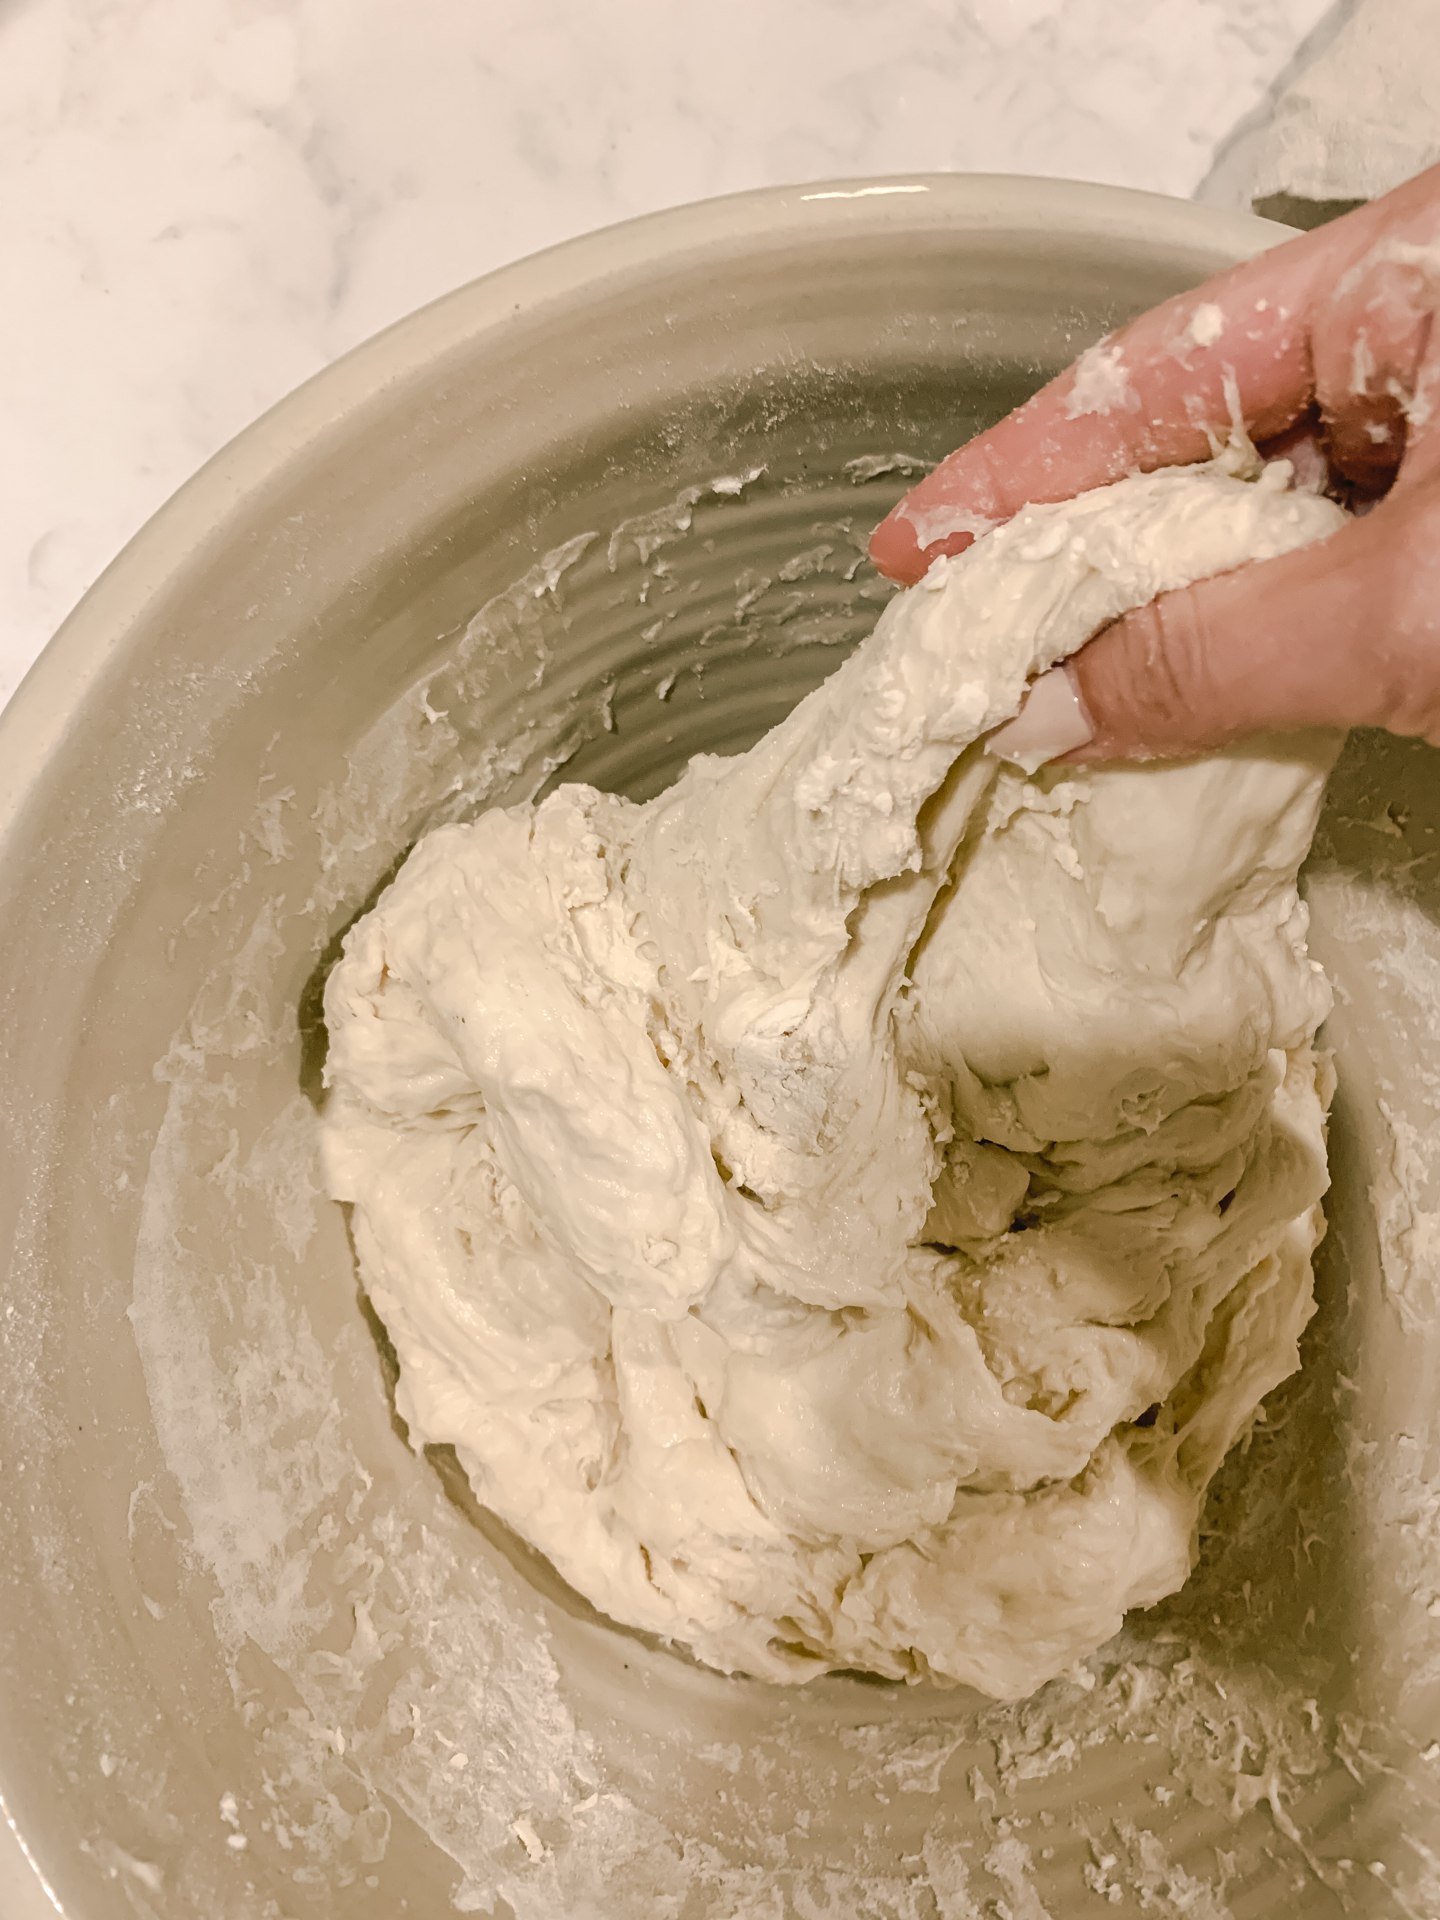
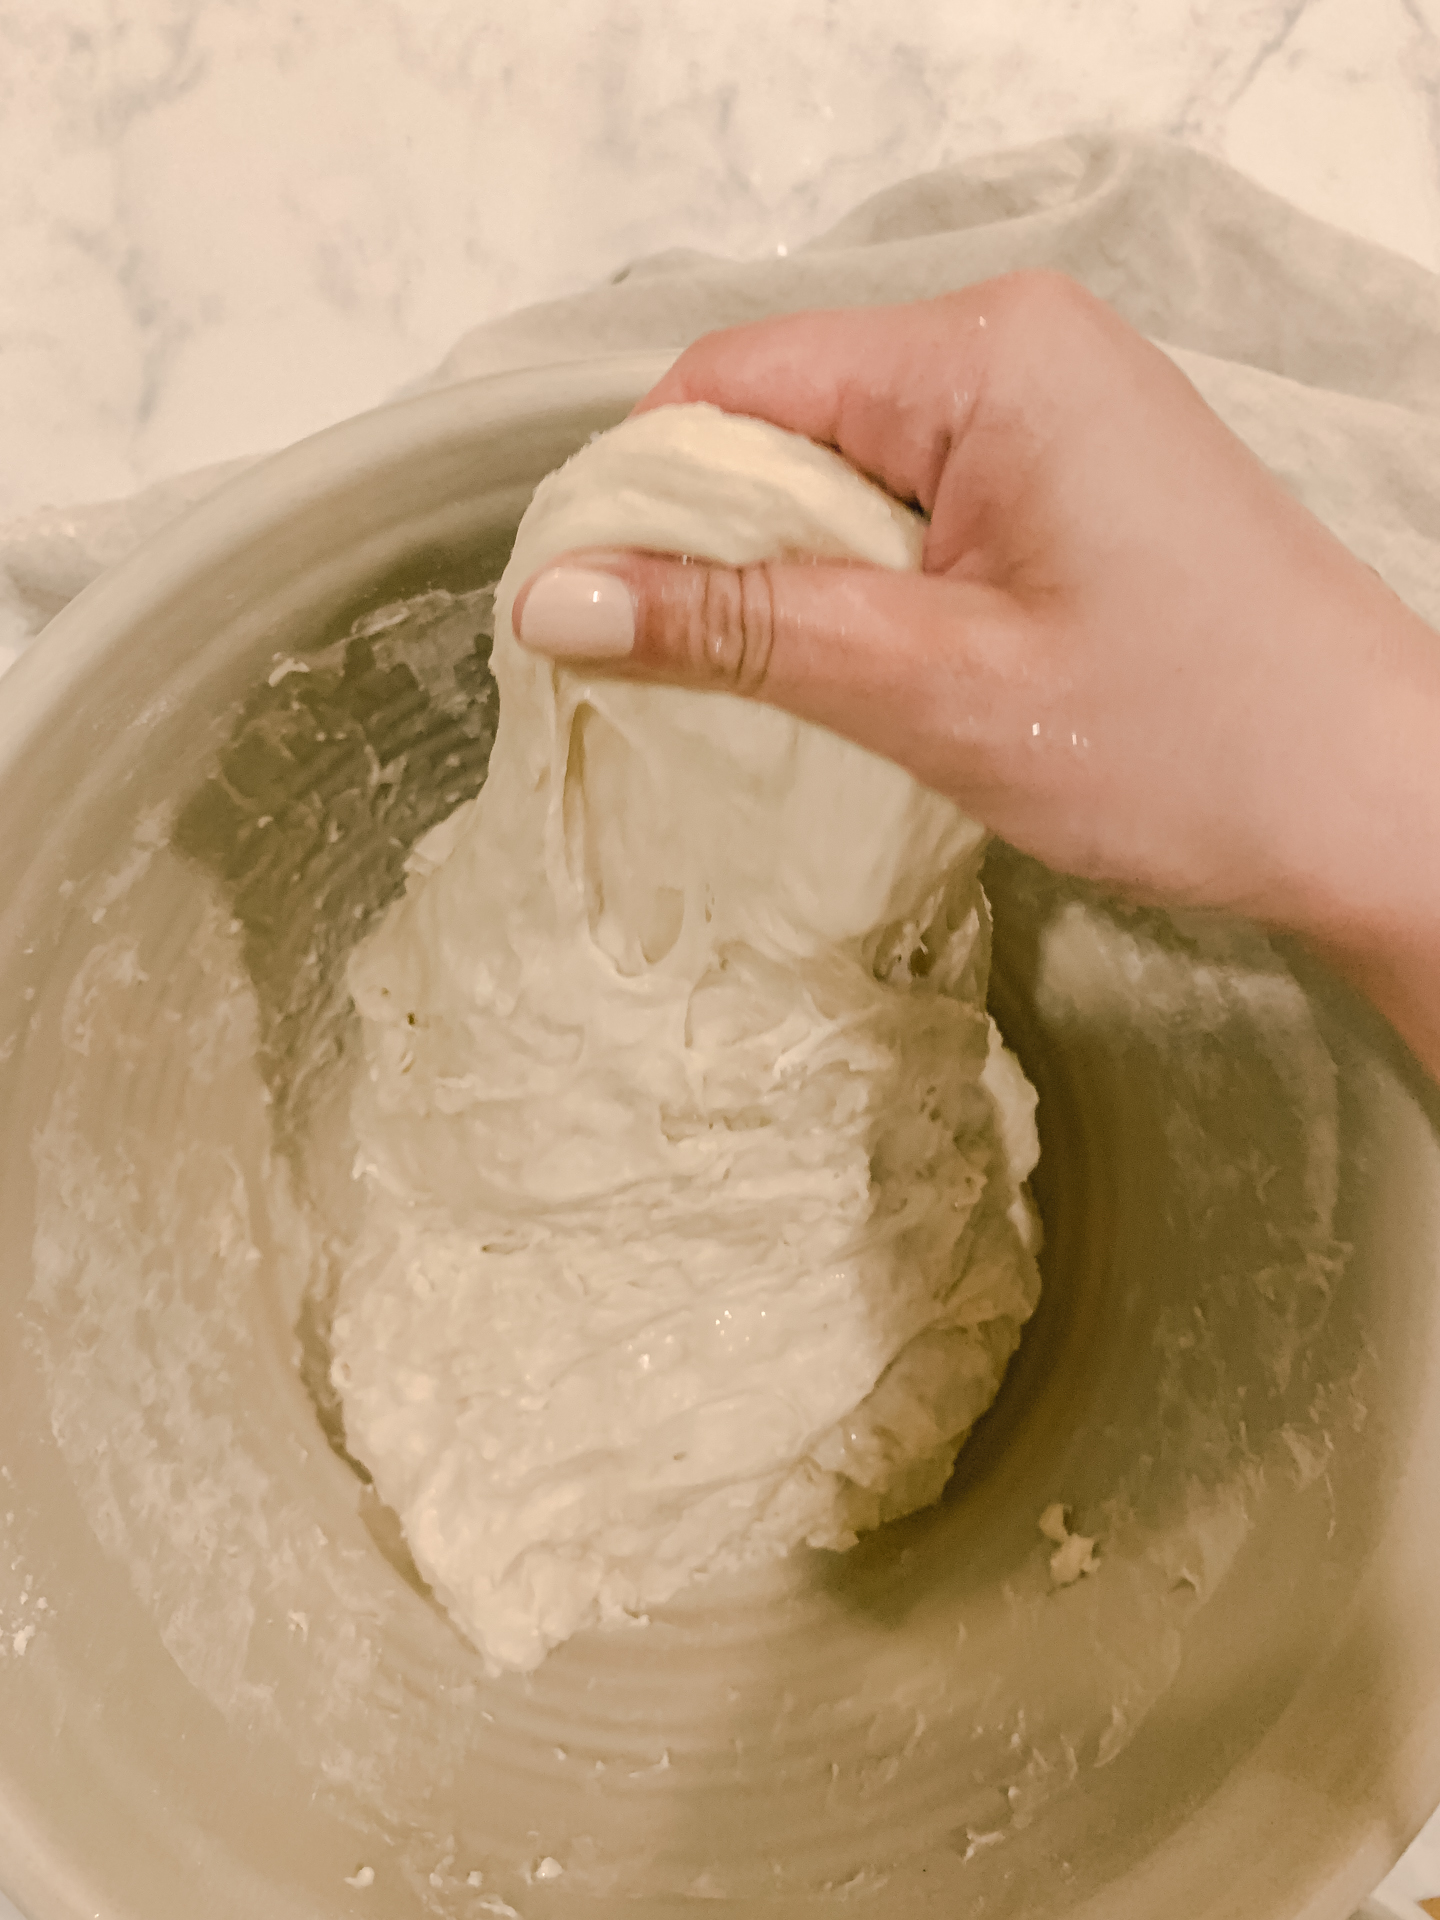
Sprinkle your 10g of sea salt over top your dough, then begin to pinch it in, as pictured. You’ll see and feel that your dough is more like putty, and less of a shaggy dough.
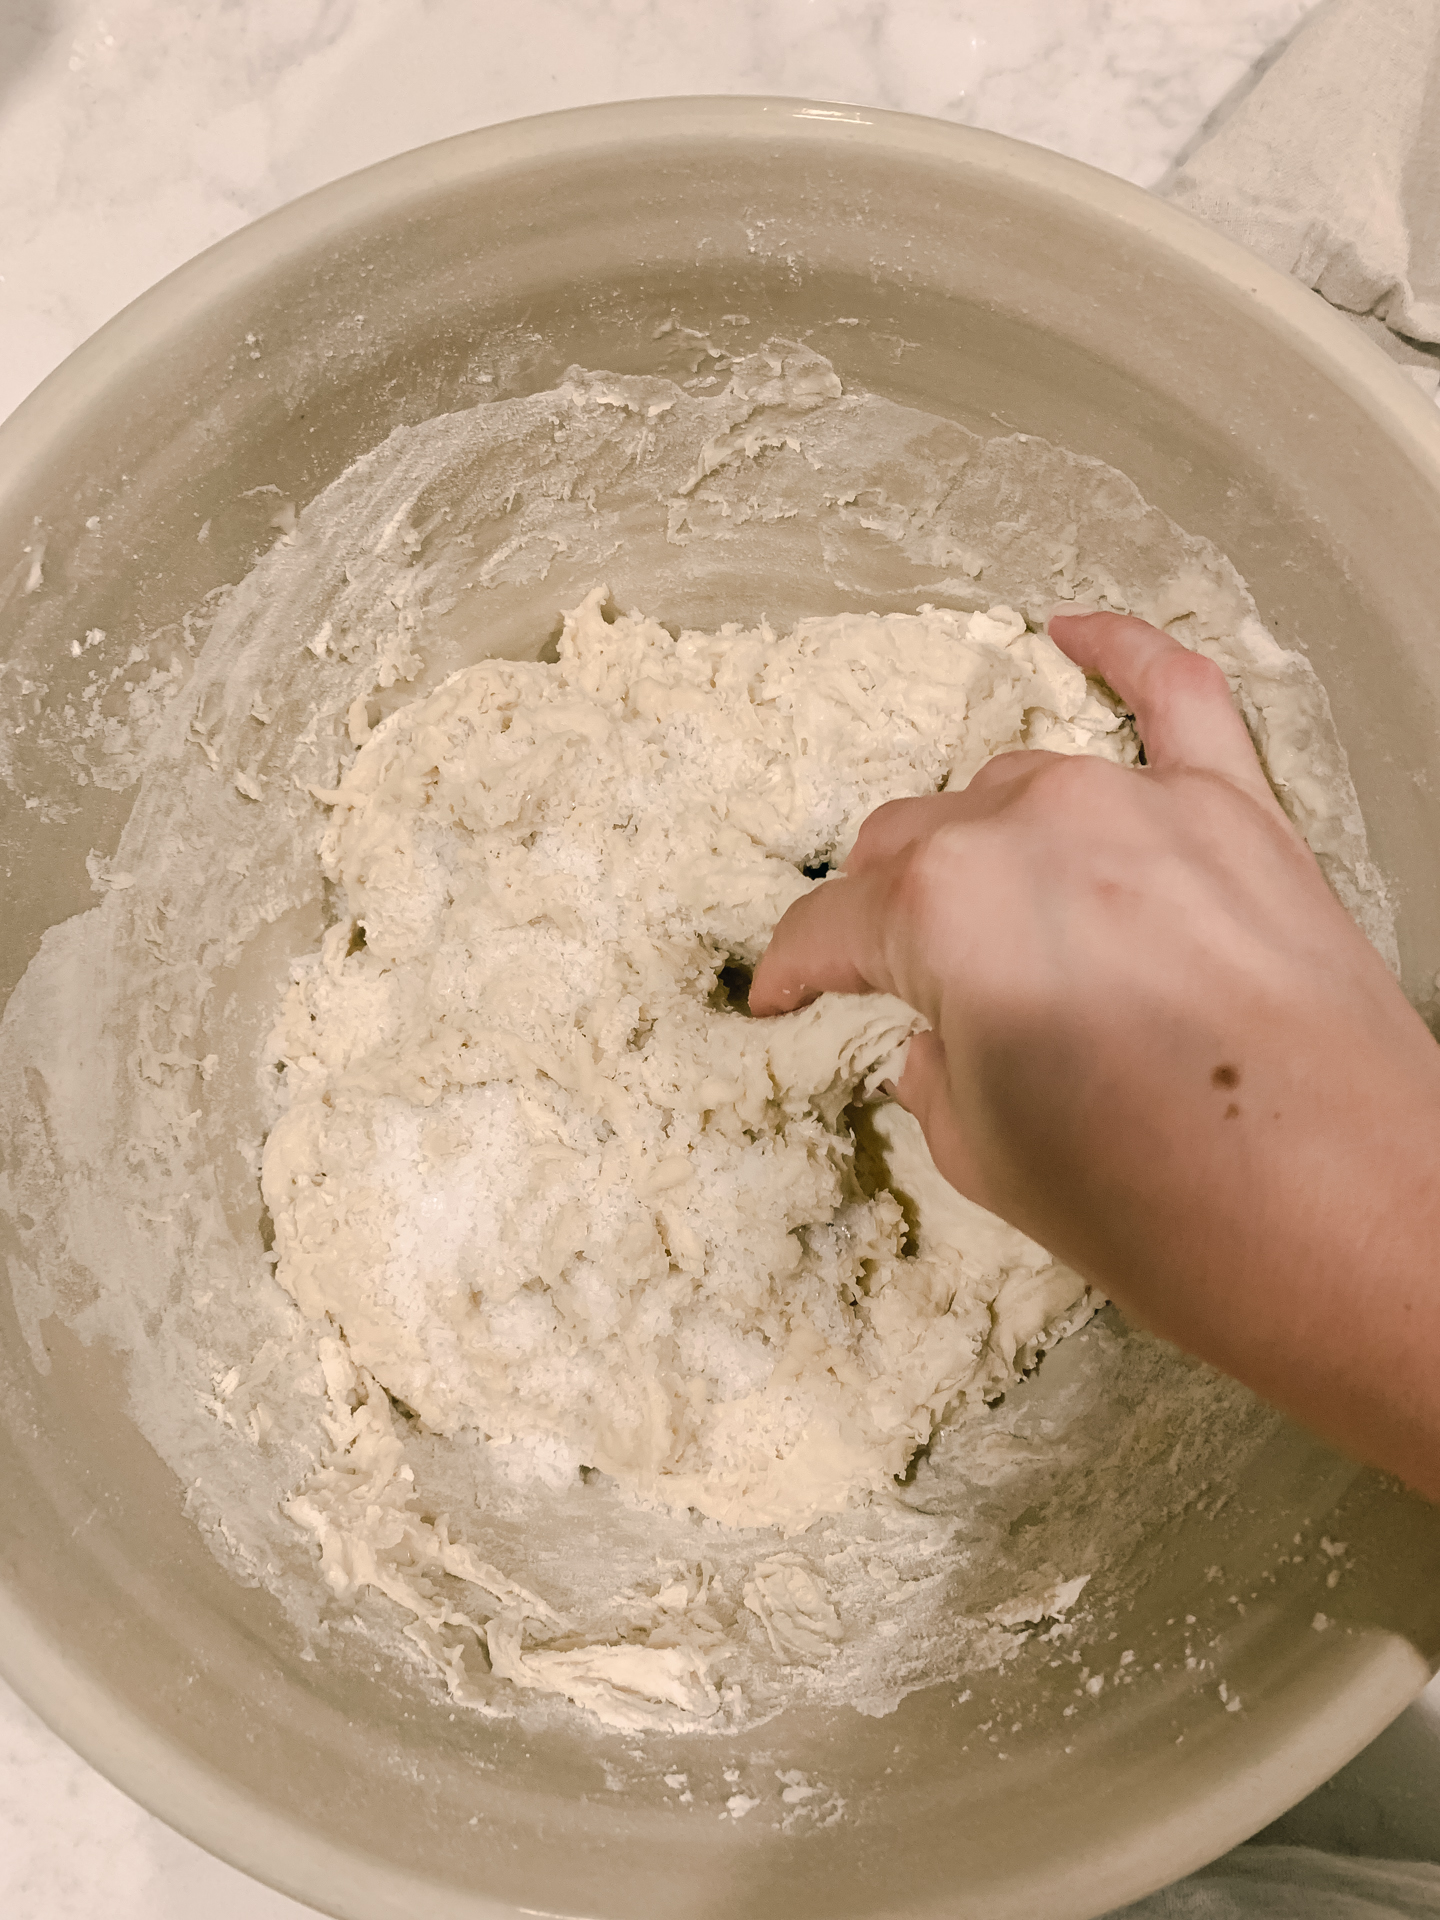
After you’ve pinched the salt evenly into the whole dough, begin to knead the dough, by doing a series of “stretch and folds.” You’ll begin to lift and pull your dough, sort of scraping the side off, then stretching it upward, and folding it over. Do this in quarters by doing a stretch, fold, and turning your bowl, until its folded into a ball.

After your first series of stretch and folds, you’ll allow for another 30 minute rest. Cover your bowl with your tea towel and let the dough do its work.
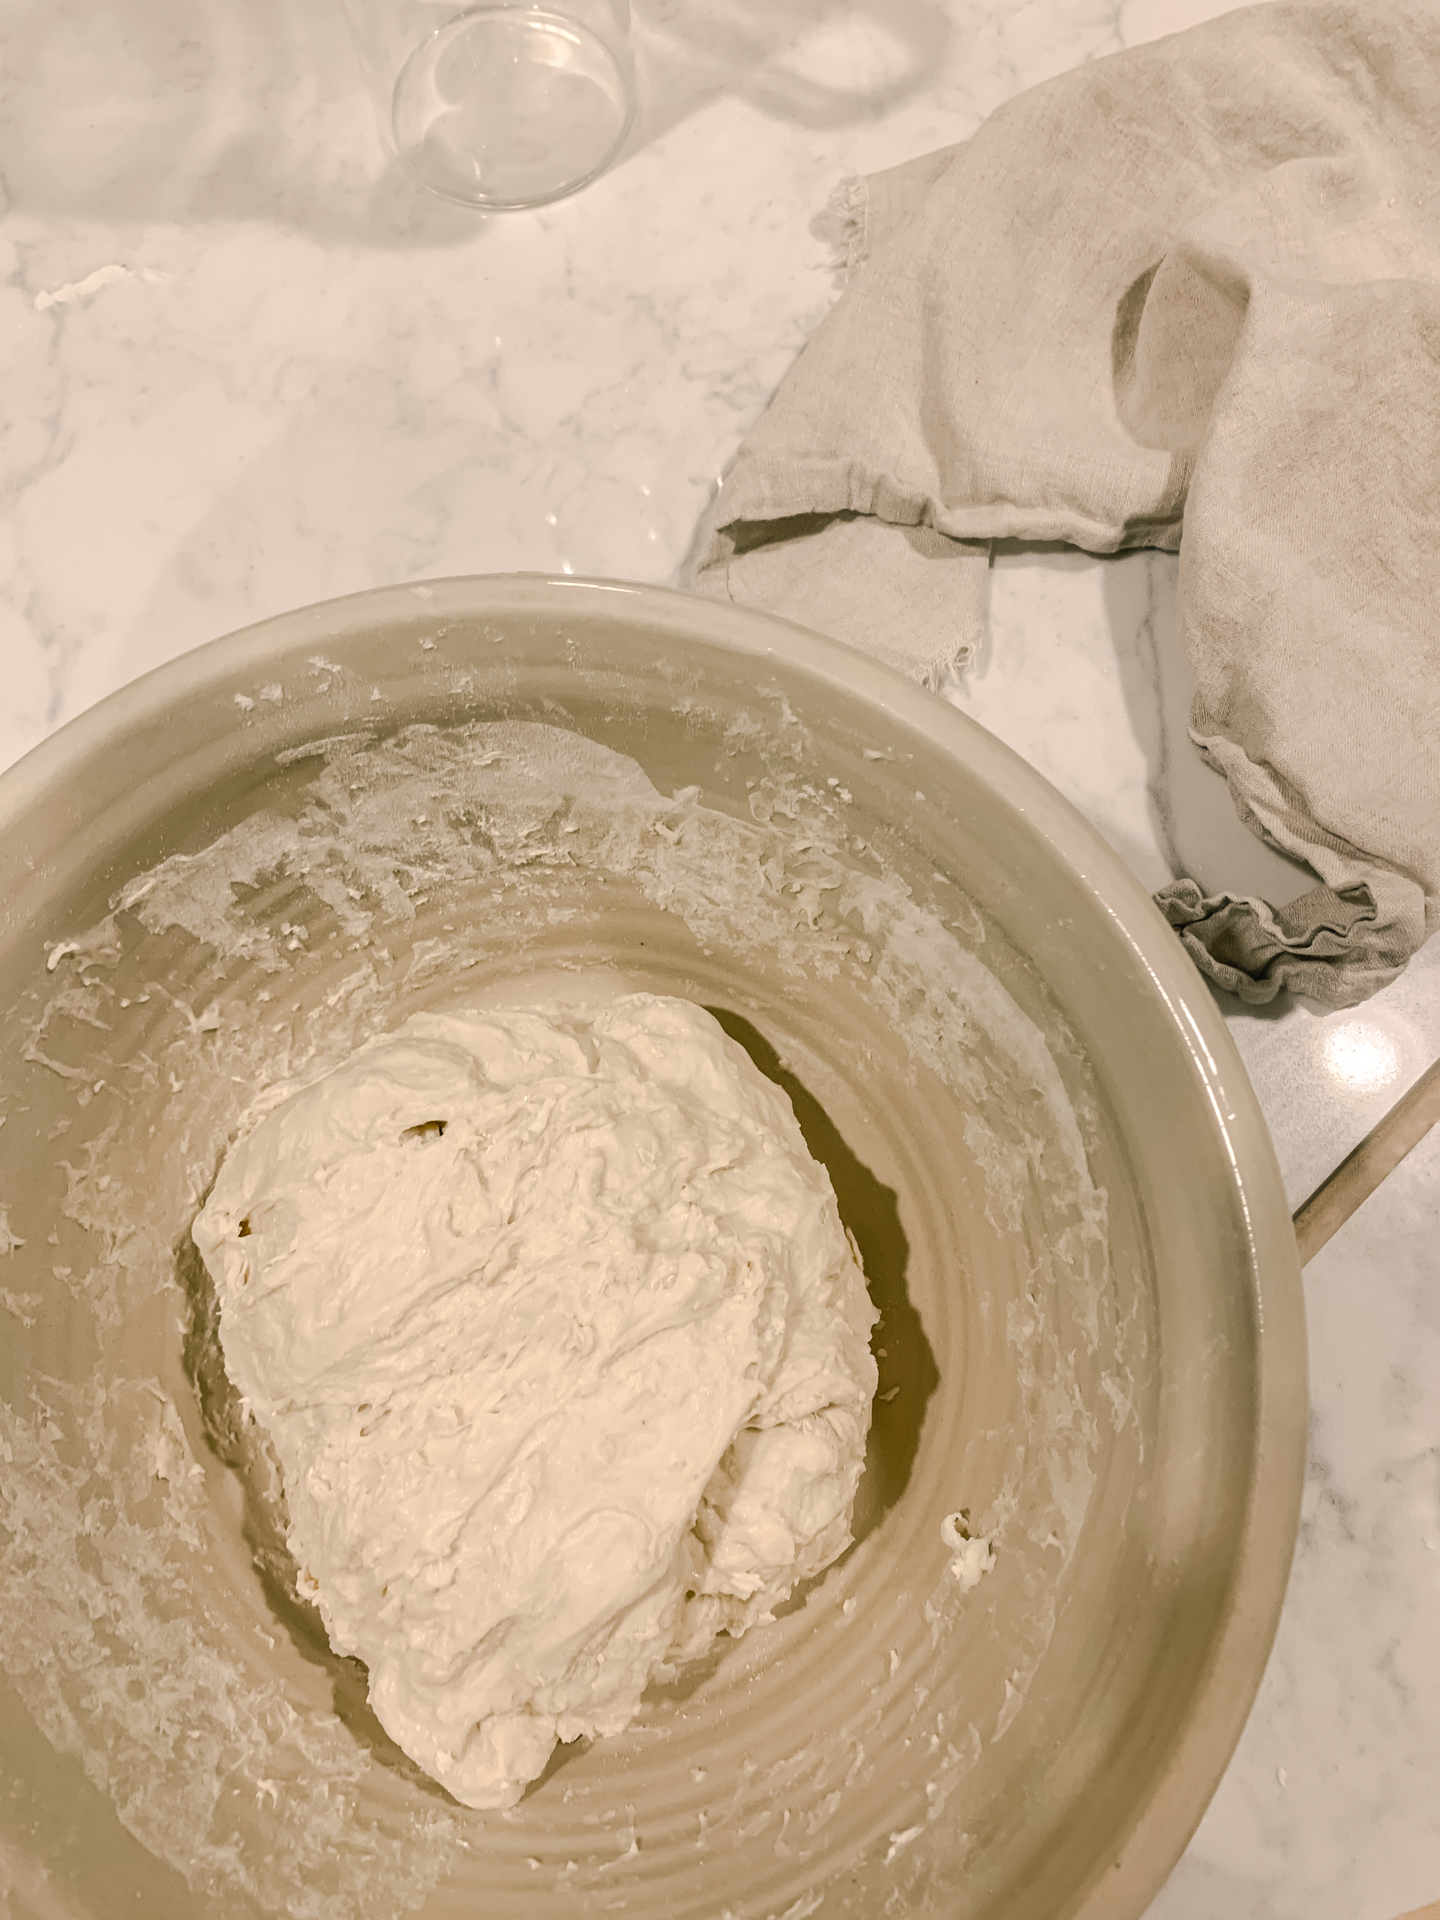
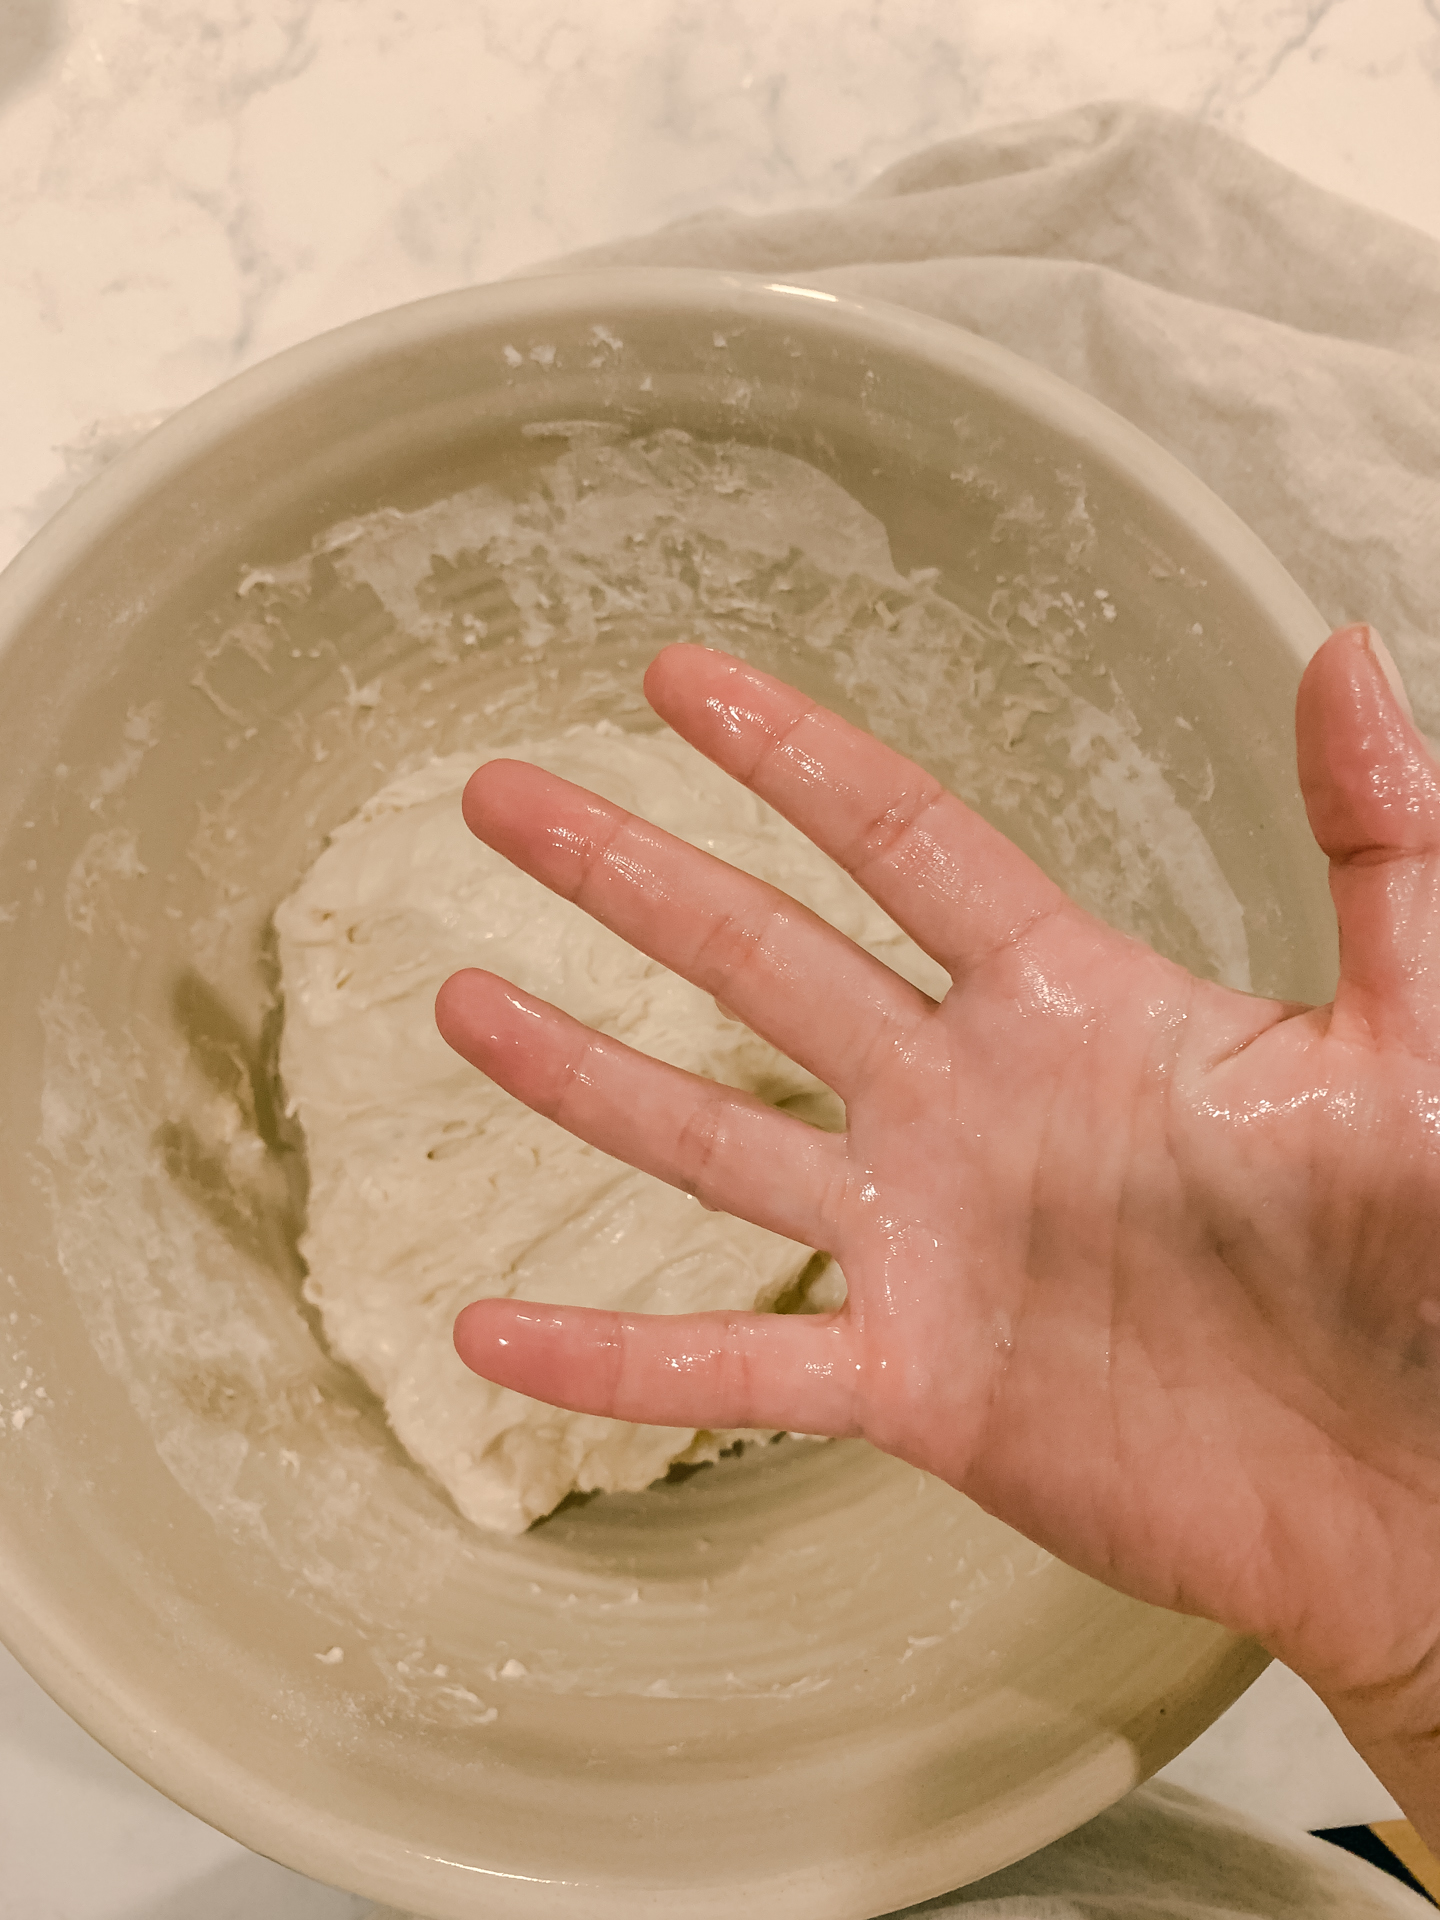
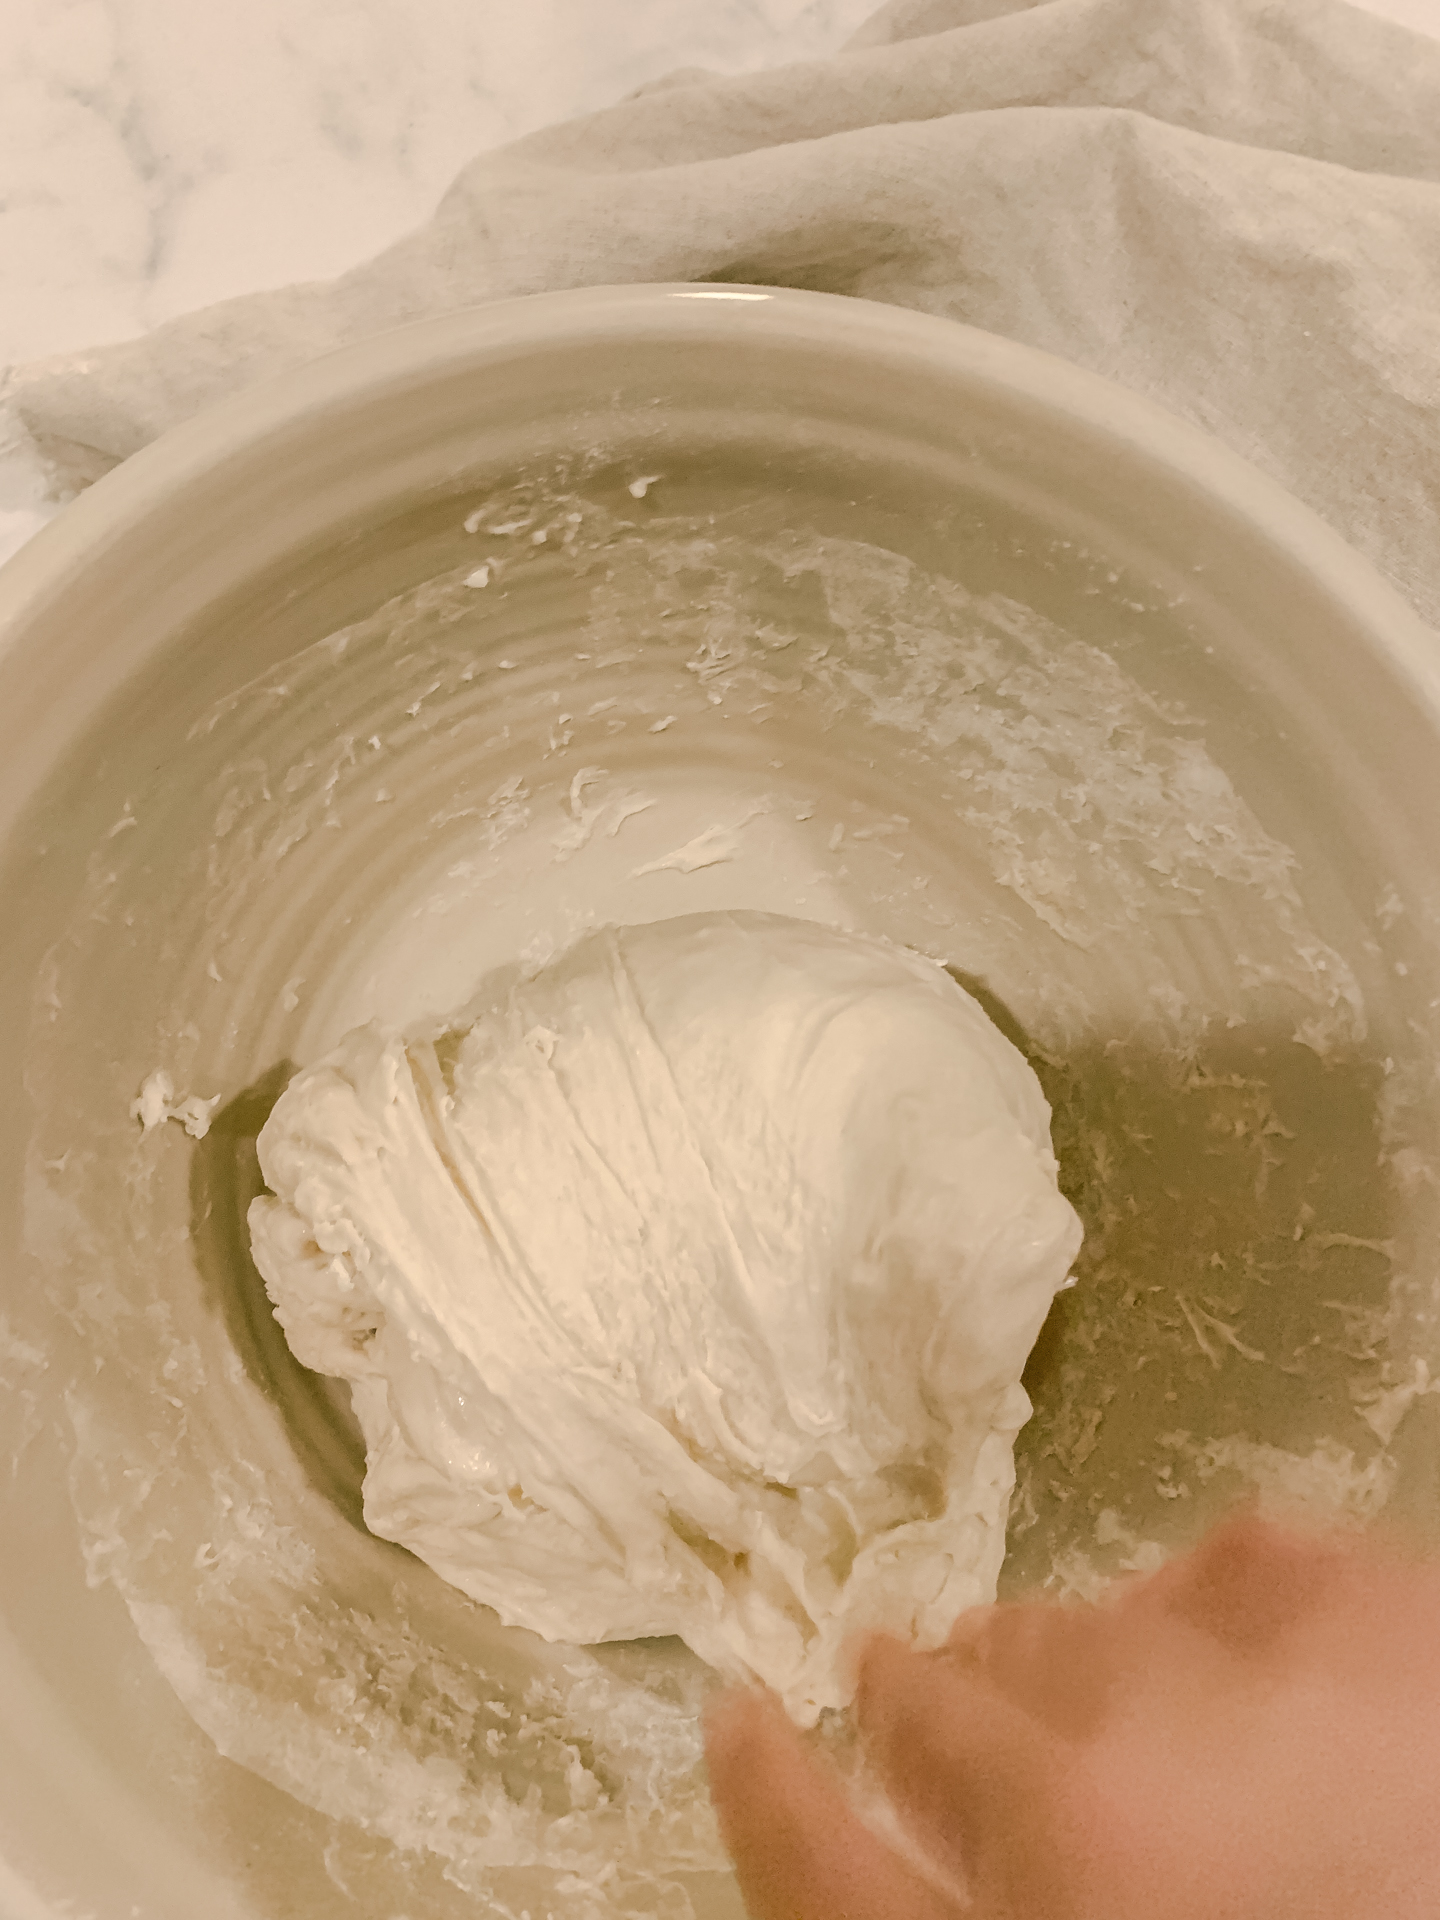
Wet your hands, as the dough can be a bit sticky. Do another series of stretch and folds, then go ahead and grab your bowl cover or beeswax wrap. I’ve done a tea towel or damp towel in the past, however it often dries and then creates a crust after the bulk rise, which isn’t so fun to work with. It’s ideal to have something that will help maintain the moisture. Plastic bowl covers with elastic or beeswax wrap work great for this!
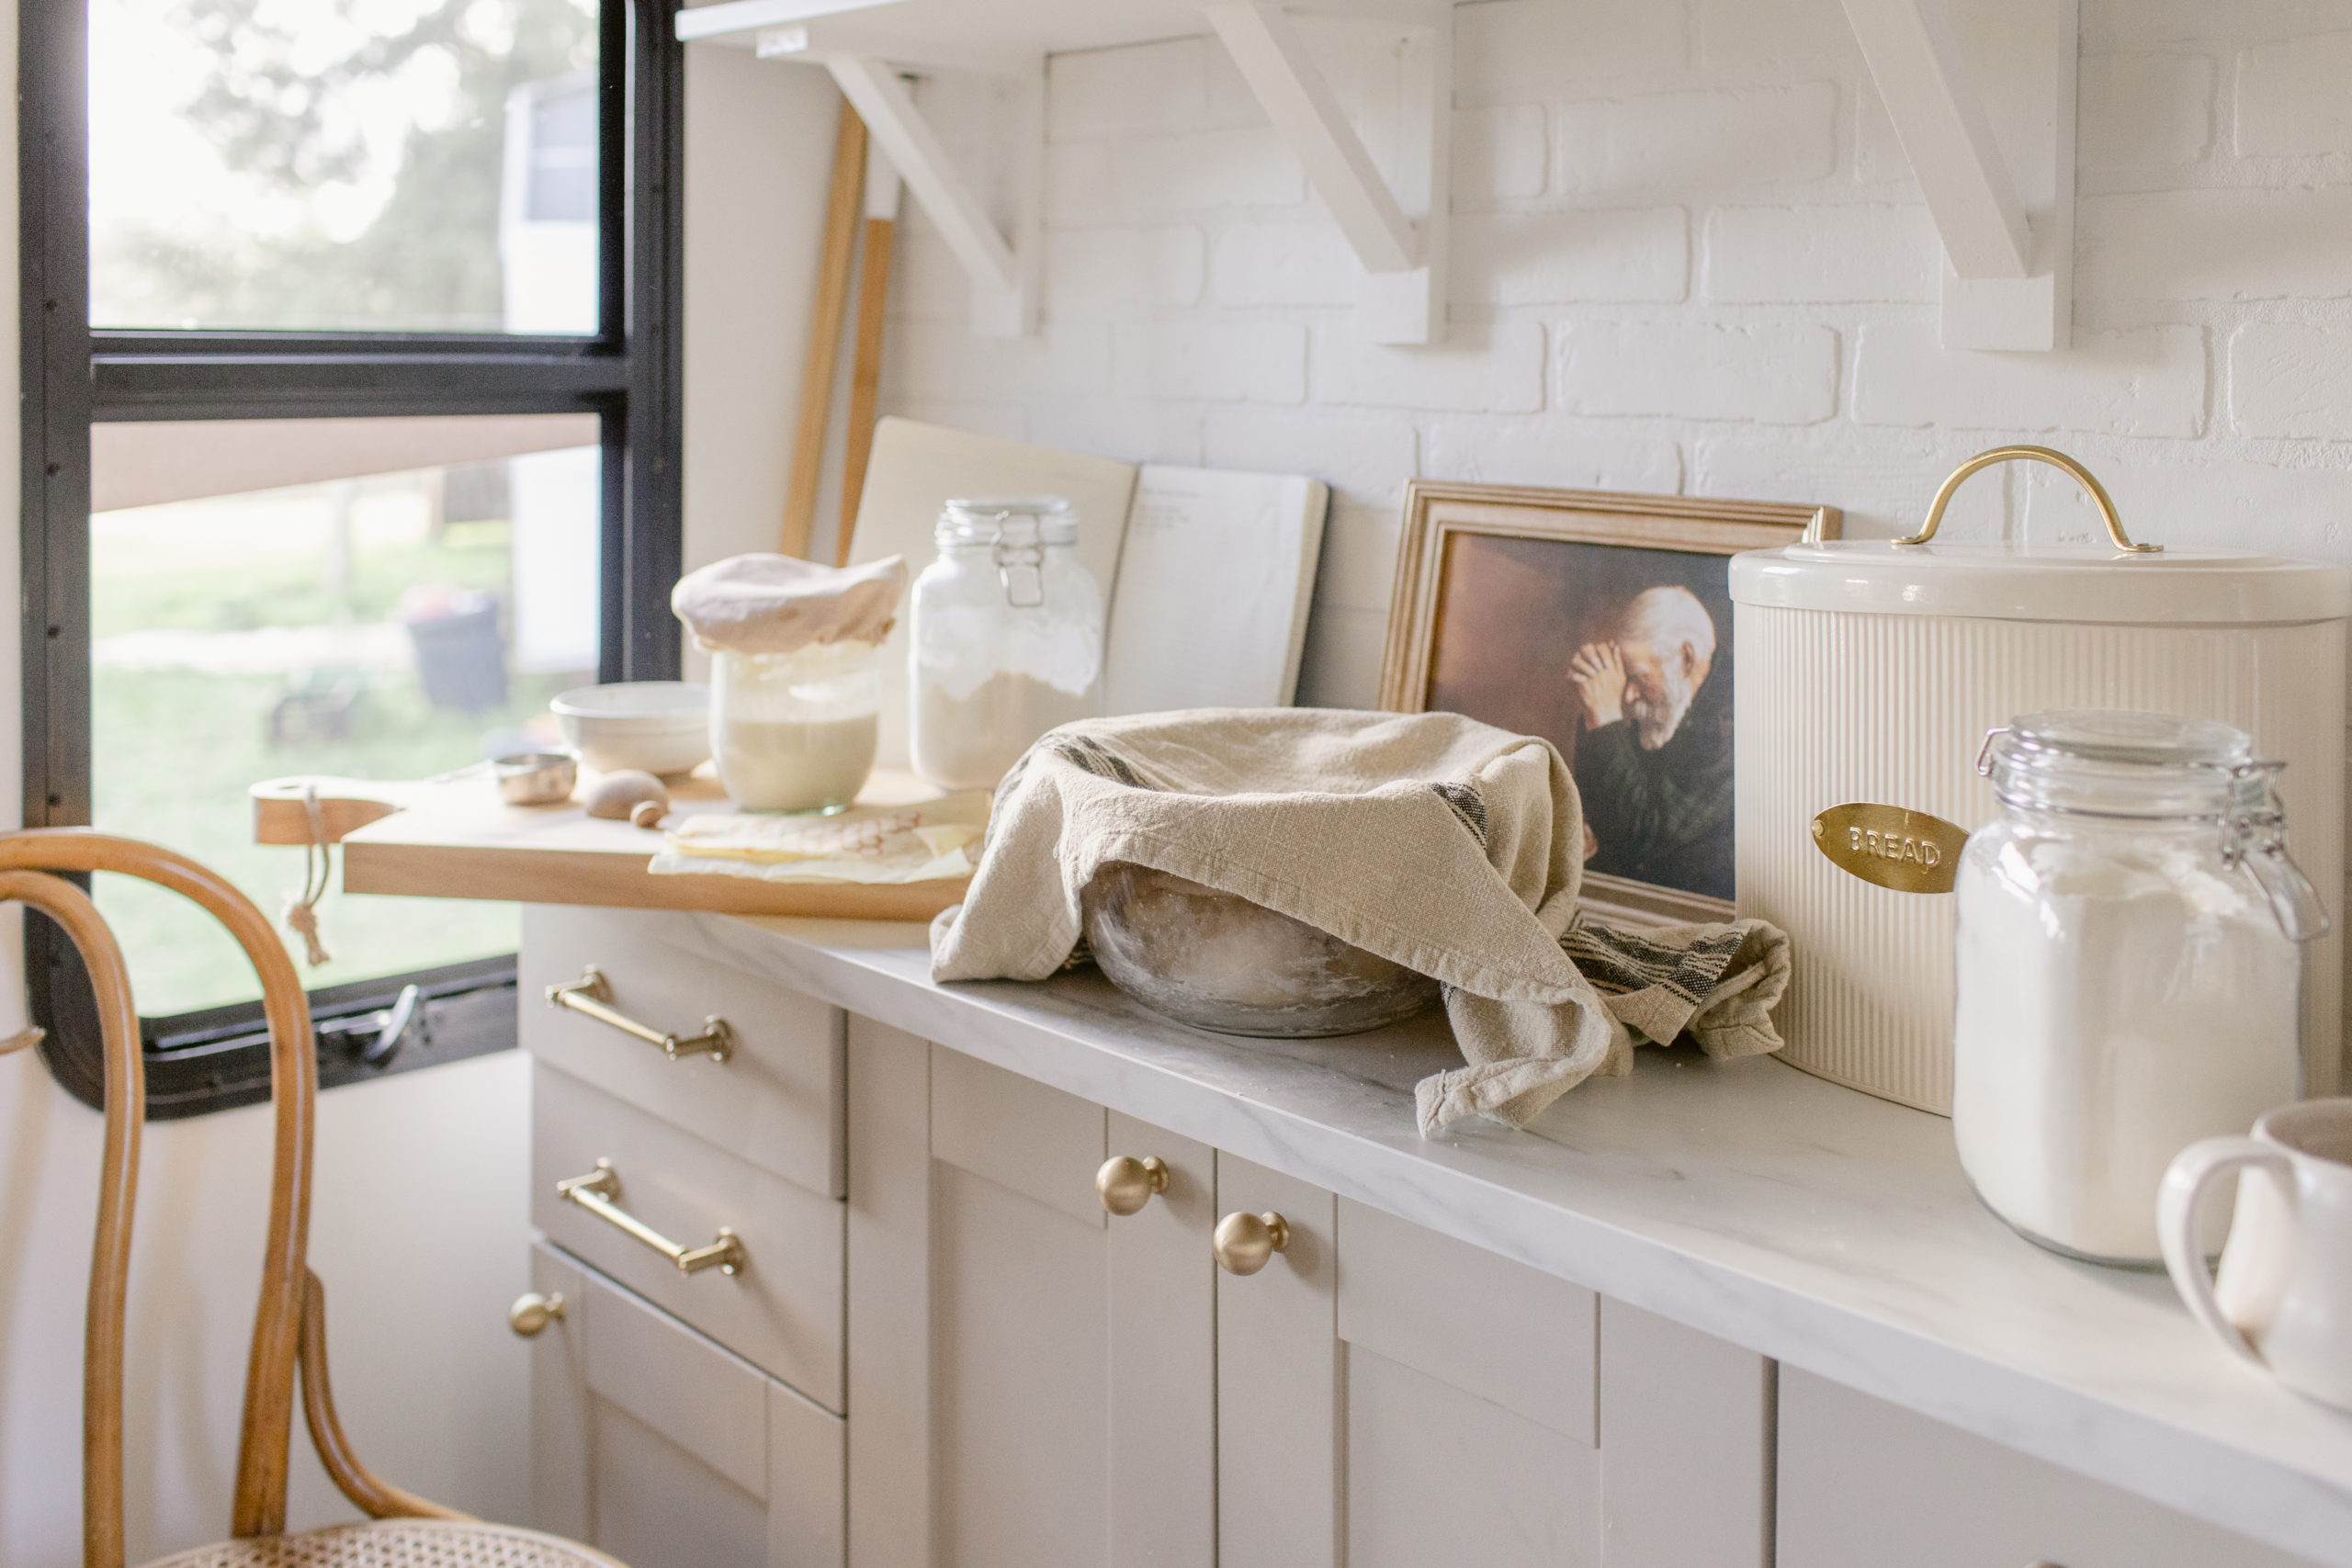
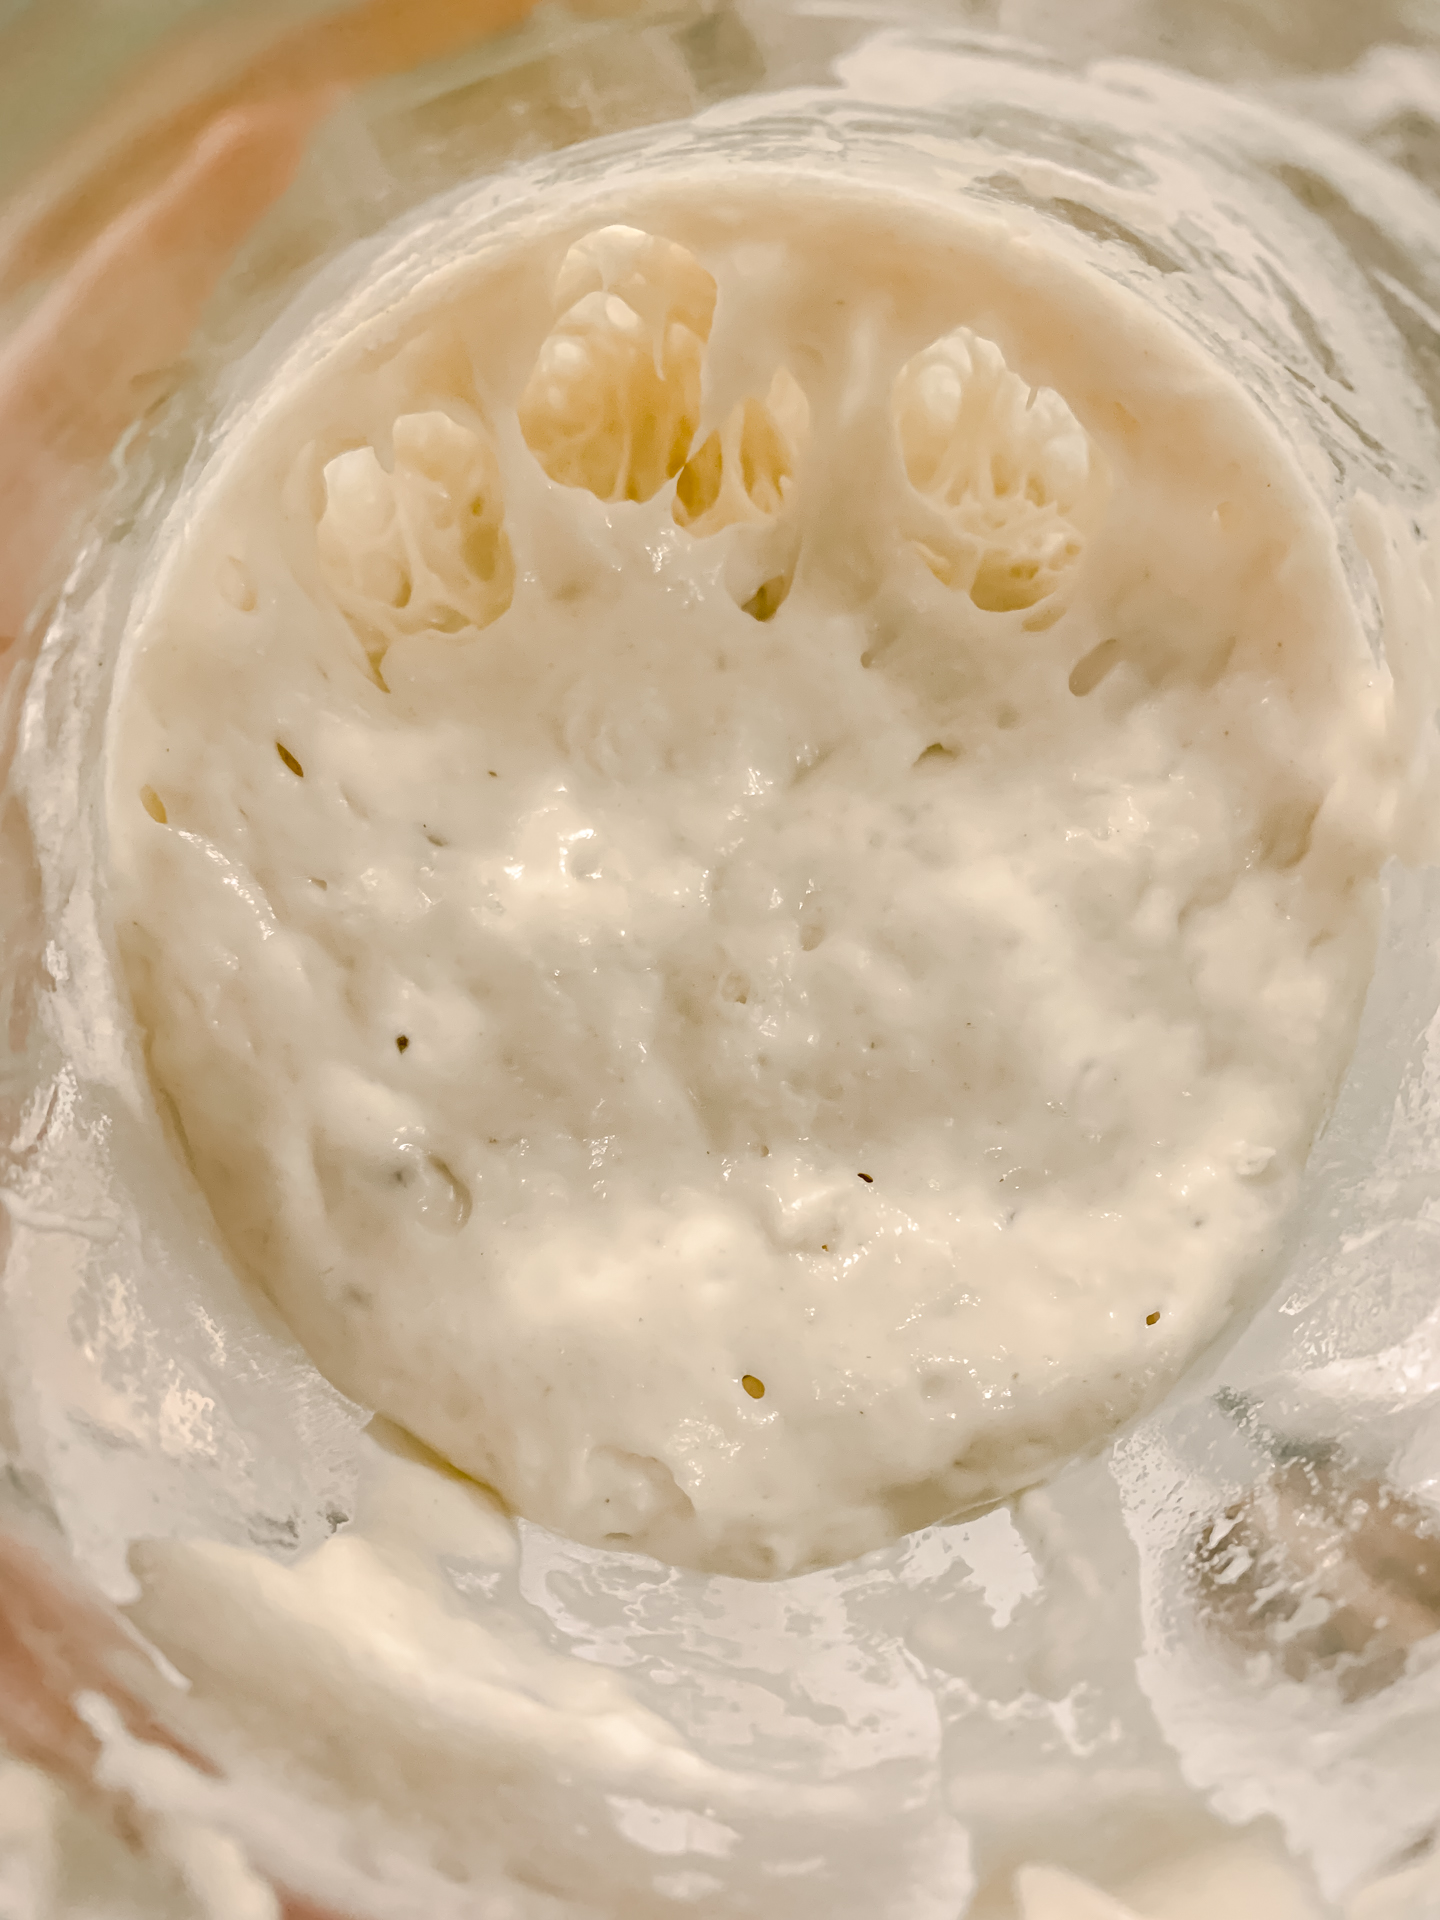
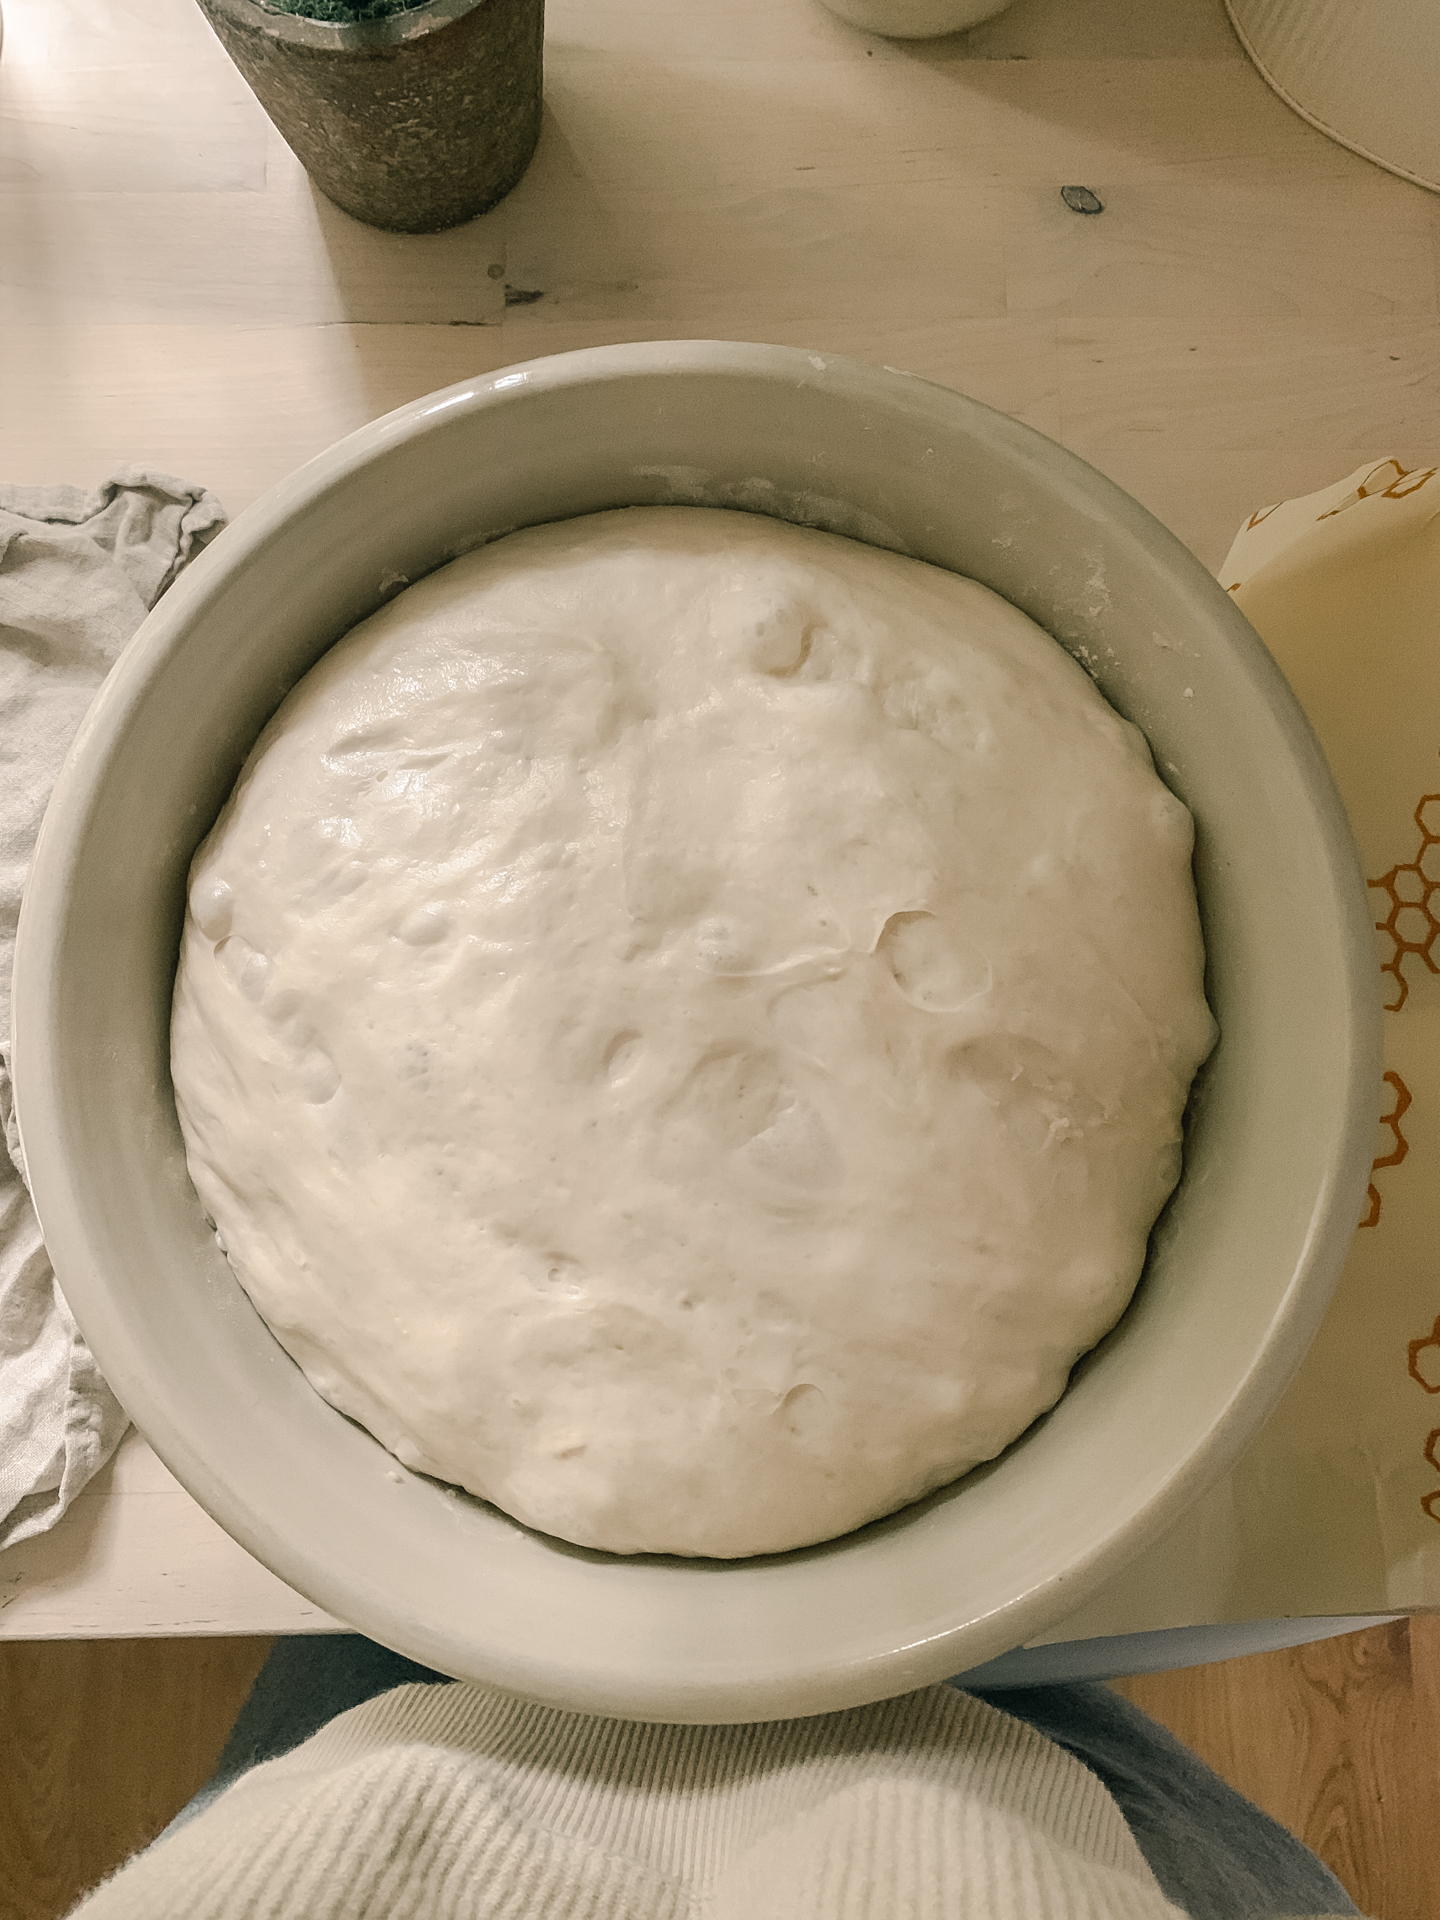
Let your dough sit and rise for anywhere from 8-12 hours, until it’s at least doubled in size and has a soft, airy texture to it. Timing is completely dependent on your environment, temperature, and overall climate. Sometimes it may take longer than others… it is MOST important to watch the dough and pay attention to it’s texture. It should be domed over, but light and airy to the touch. If it is con-caved, it over proofed. It can still be used, however it will likely be very sticky and difficult to work with. If it is still very dense, allow for more time to rise.
I typically create my dough in the evening, and then finish in the morning. Or, begin making my dough first thing in the morning, and bake at night.

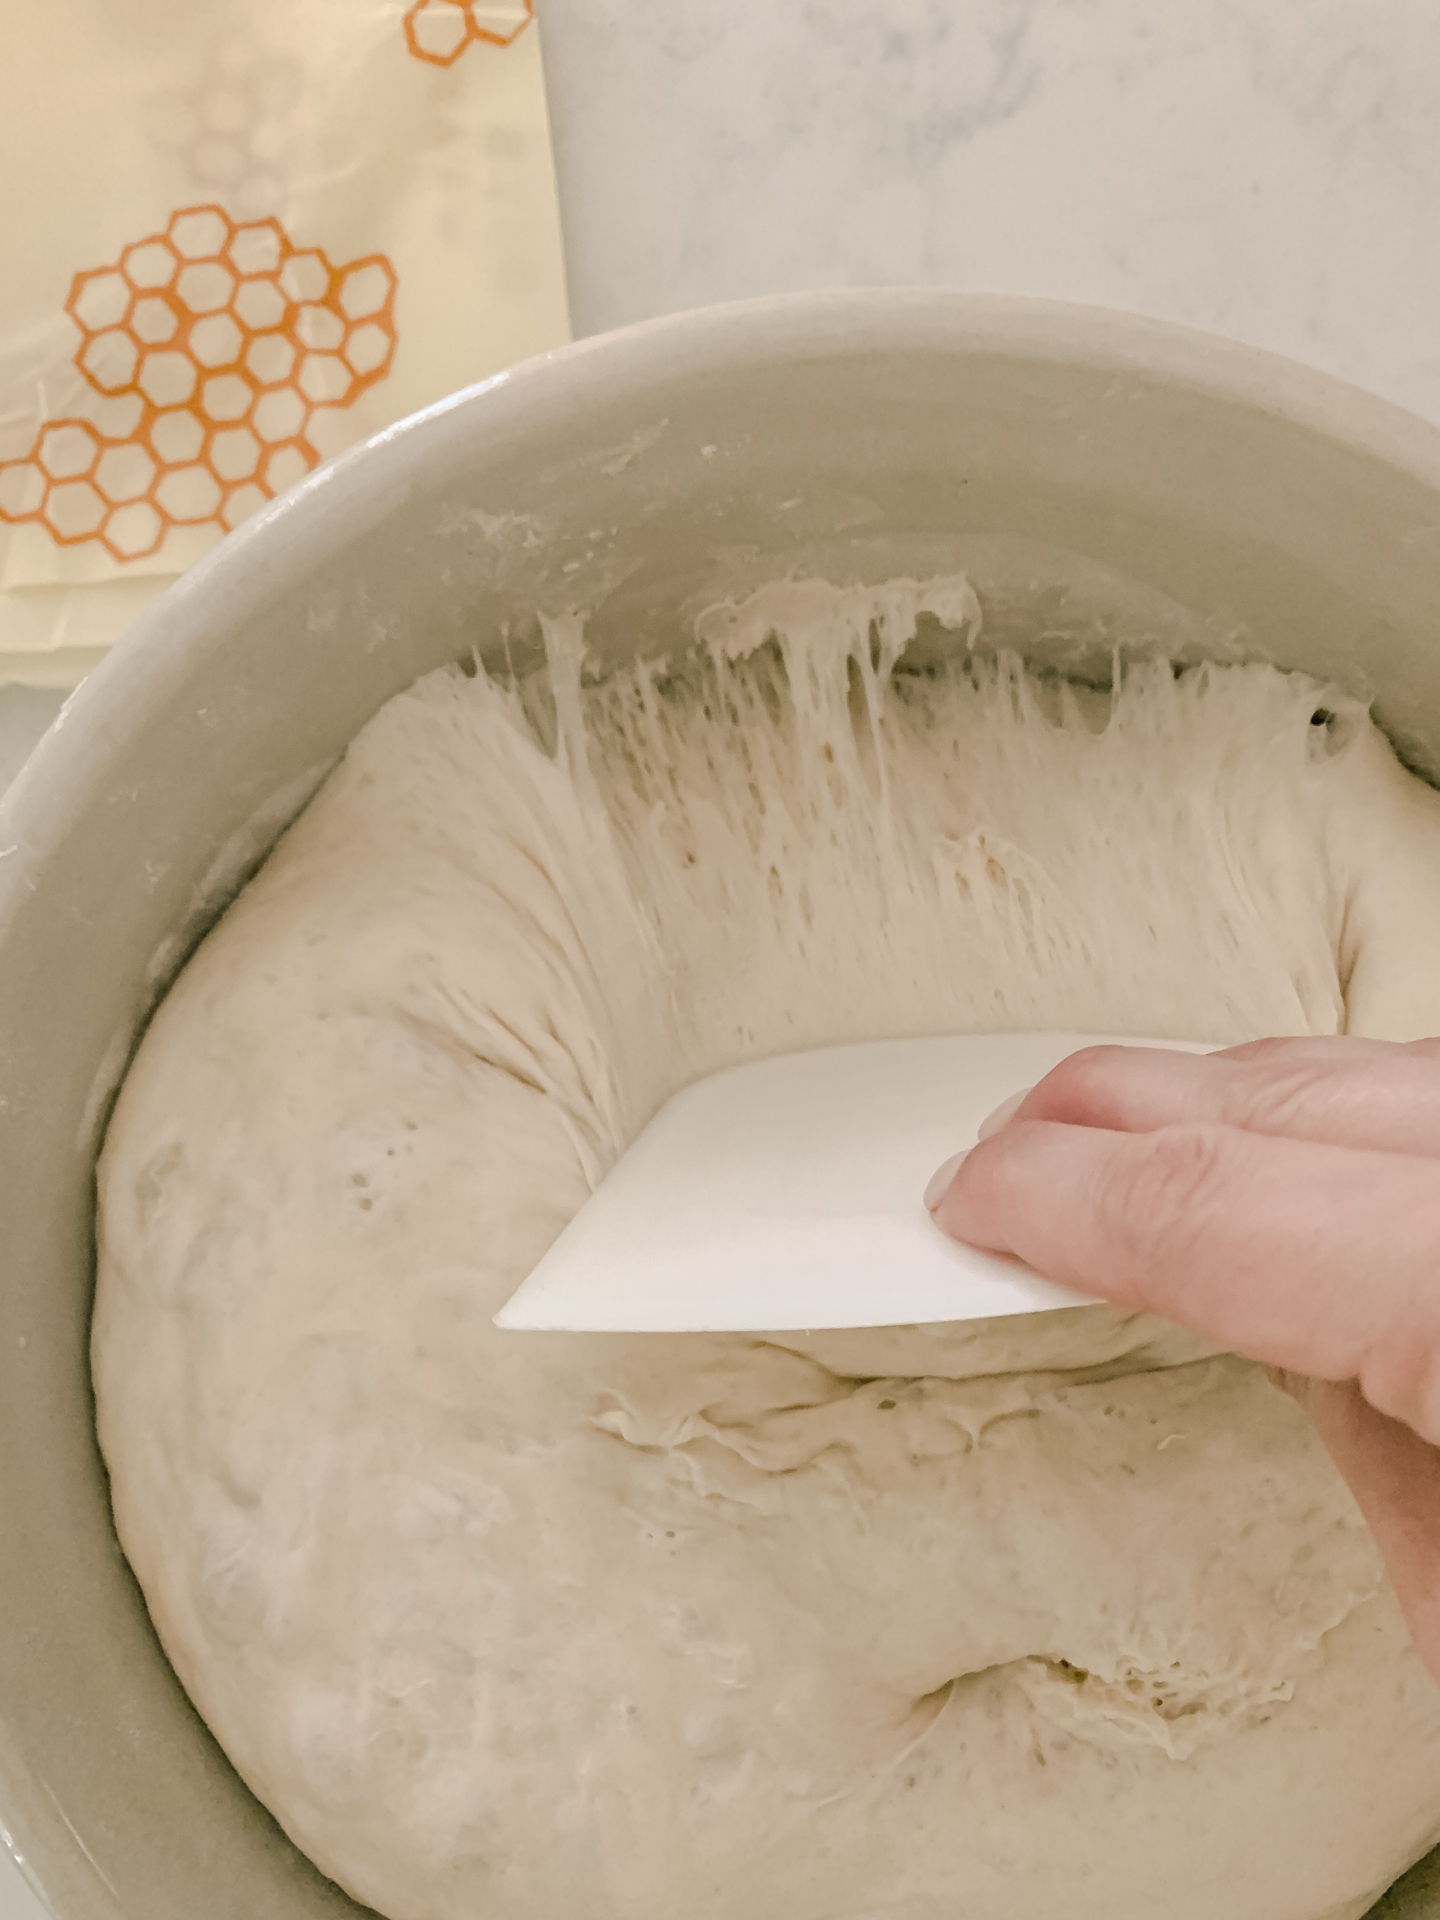
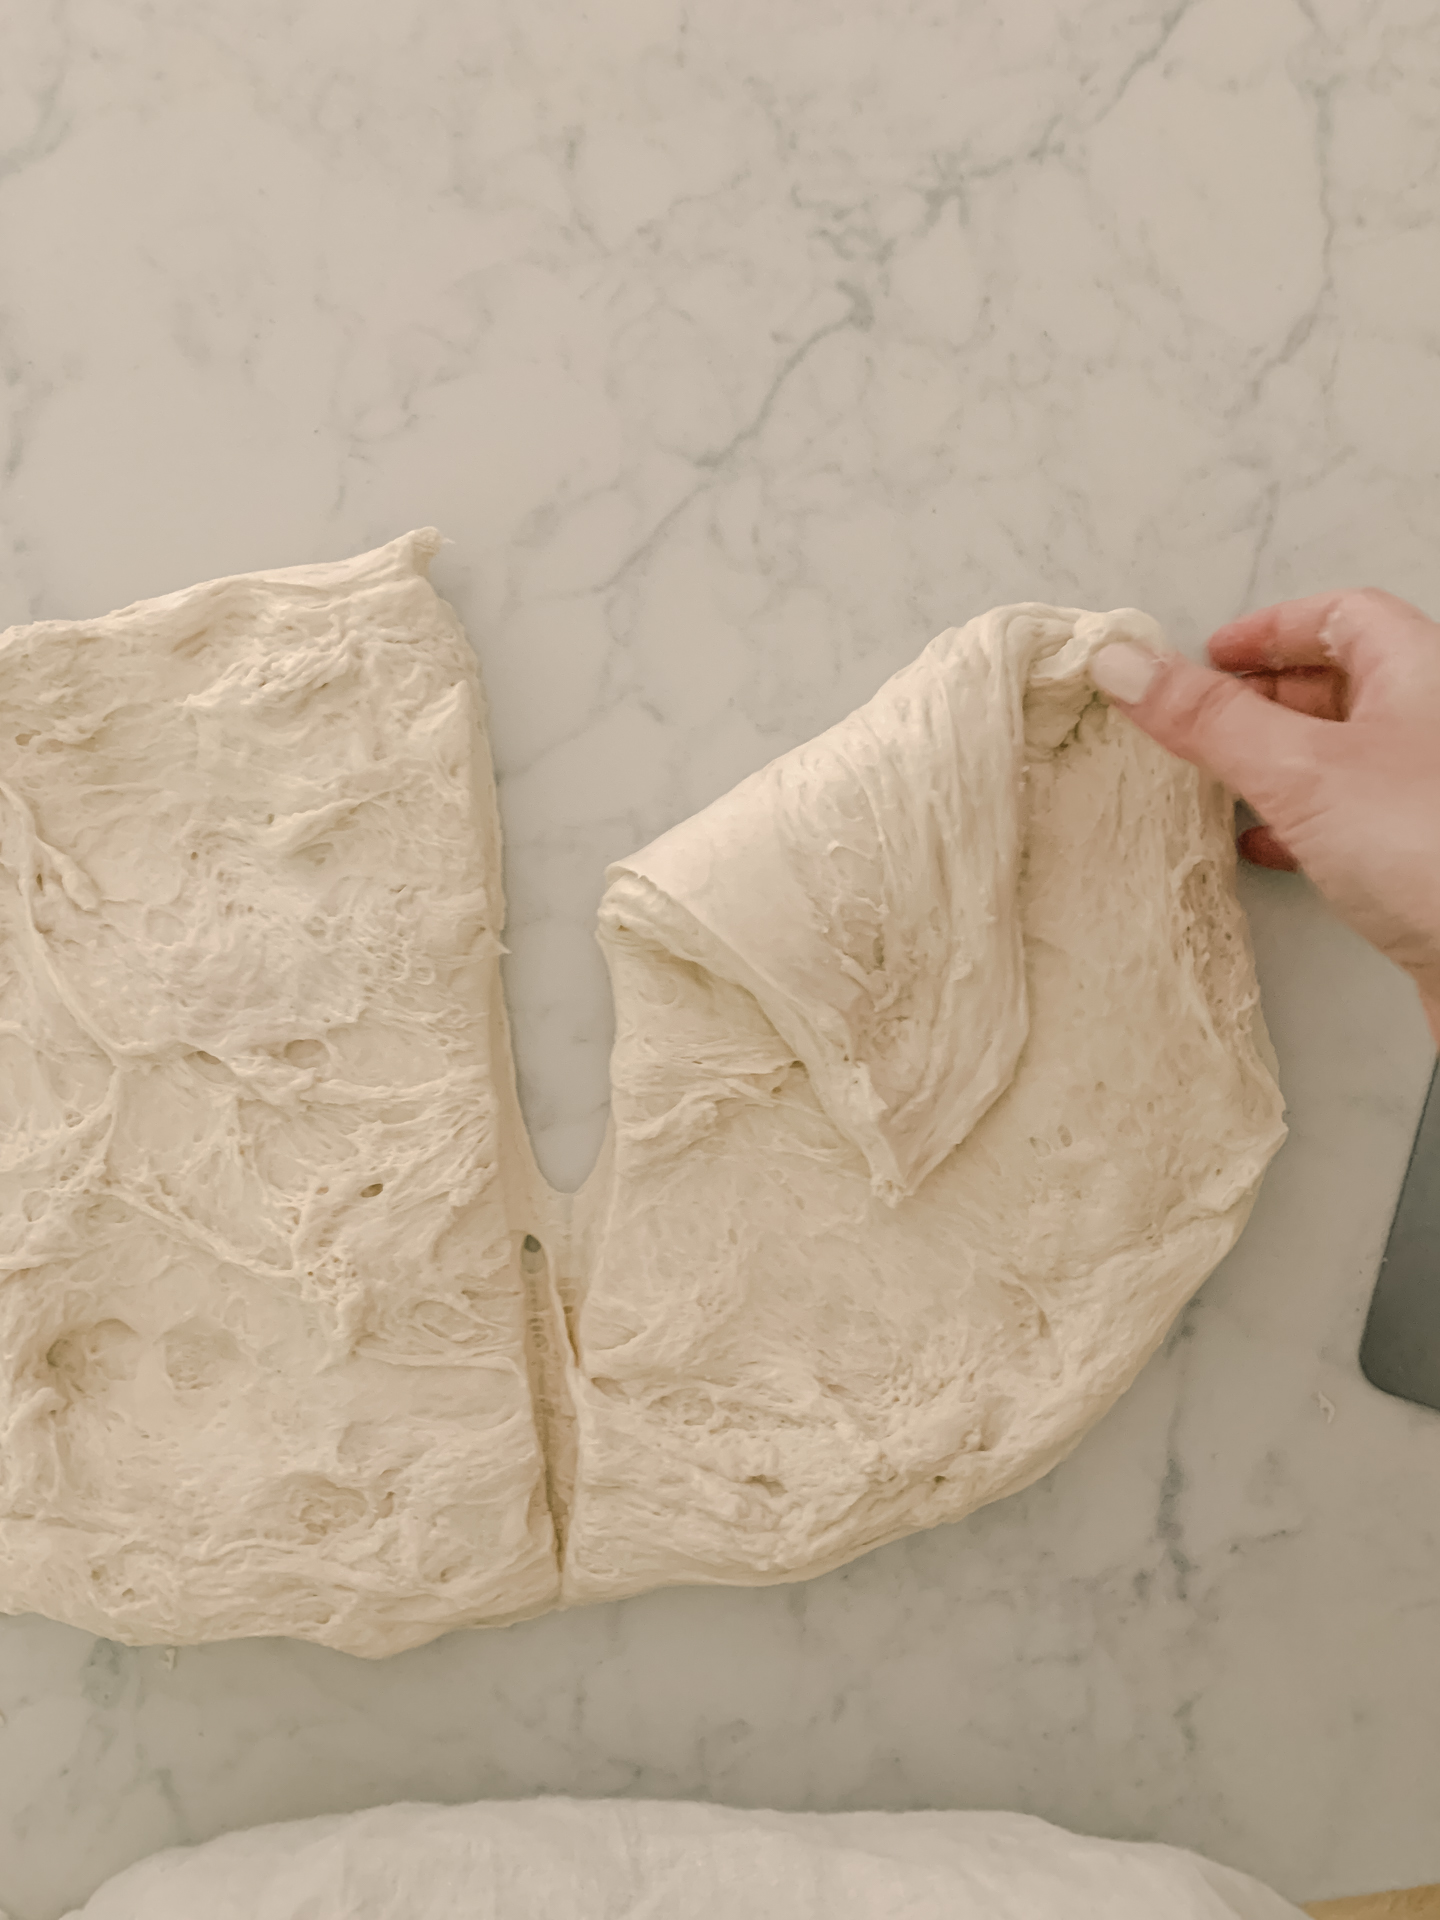
When your bulk rise is complete, you’ll see stringy-webby-dough on the sides if your turn your bowl and allow the dough to fall. Use your dough scraper to transfer the dough onto your counter or smooth work surface. Begin pulling the dough by shaking and pulling gently, until the dough is mostly even.
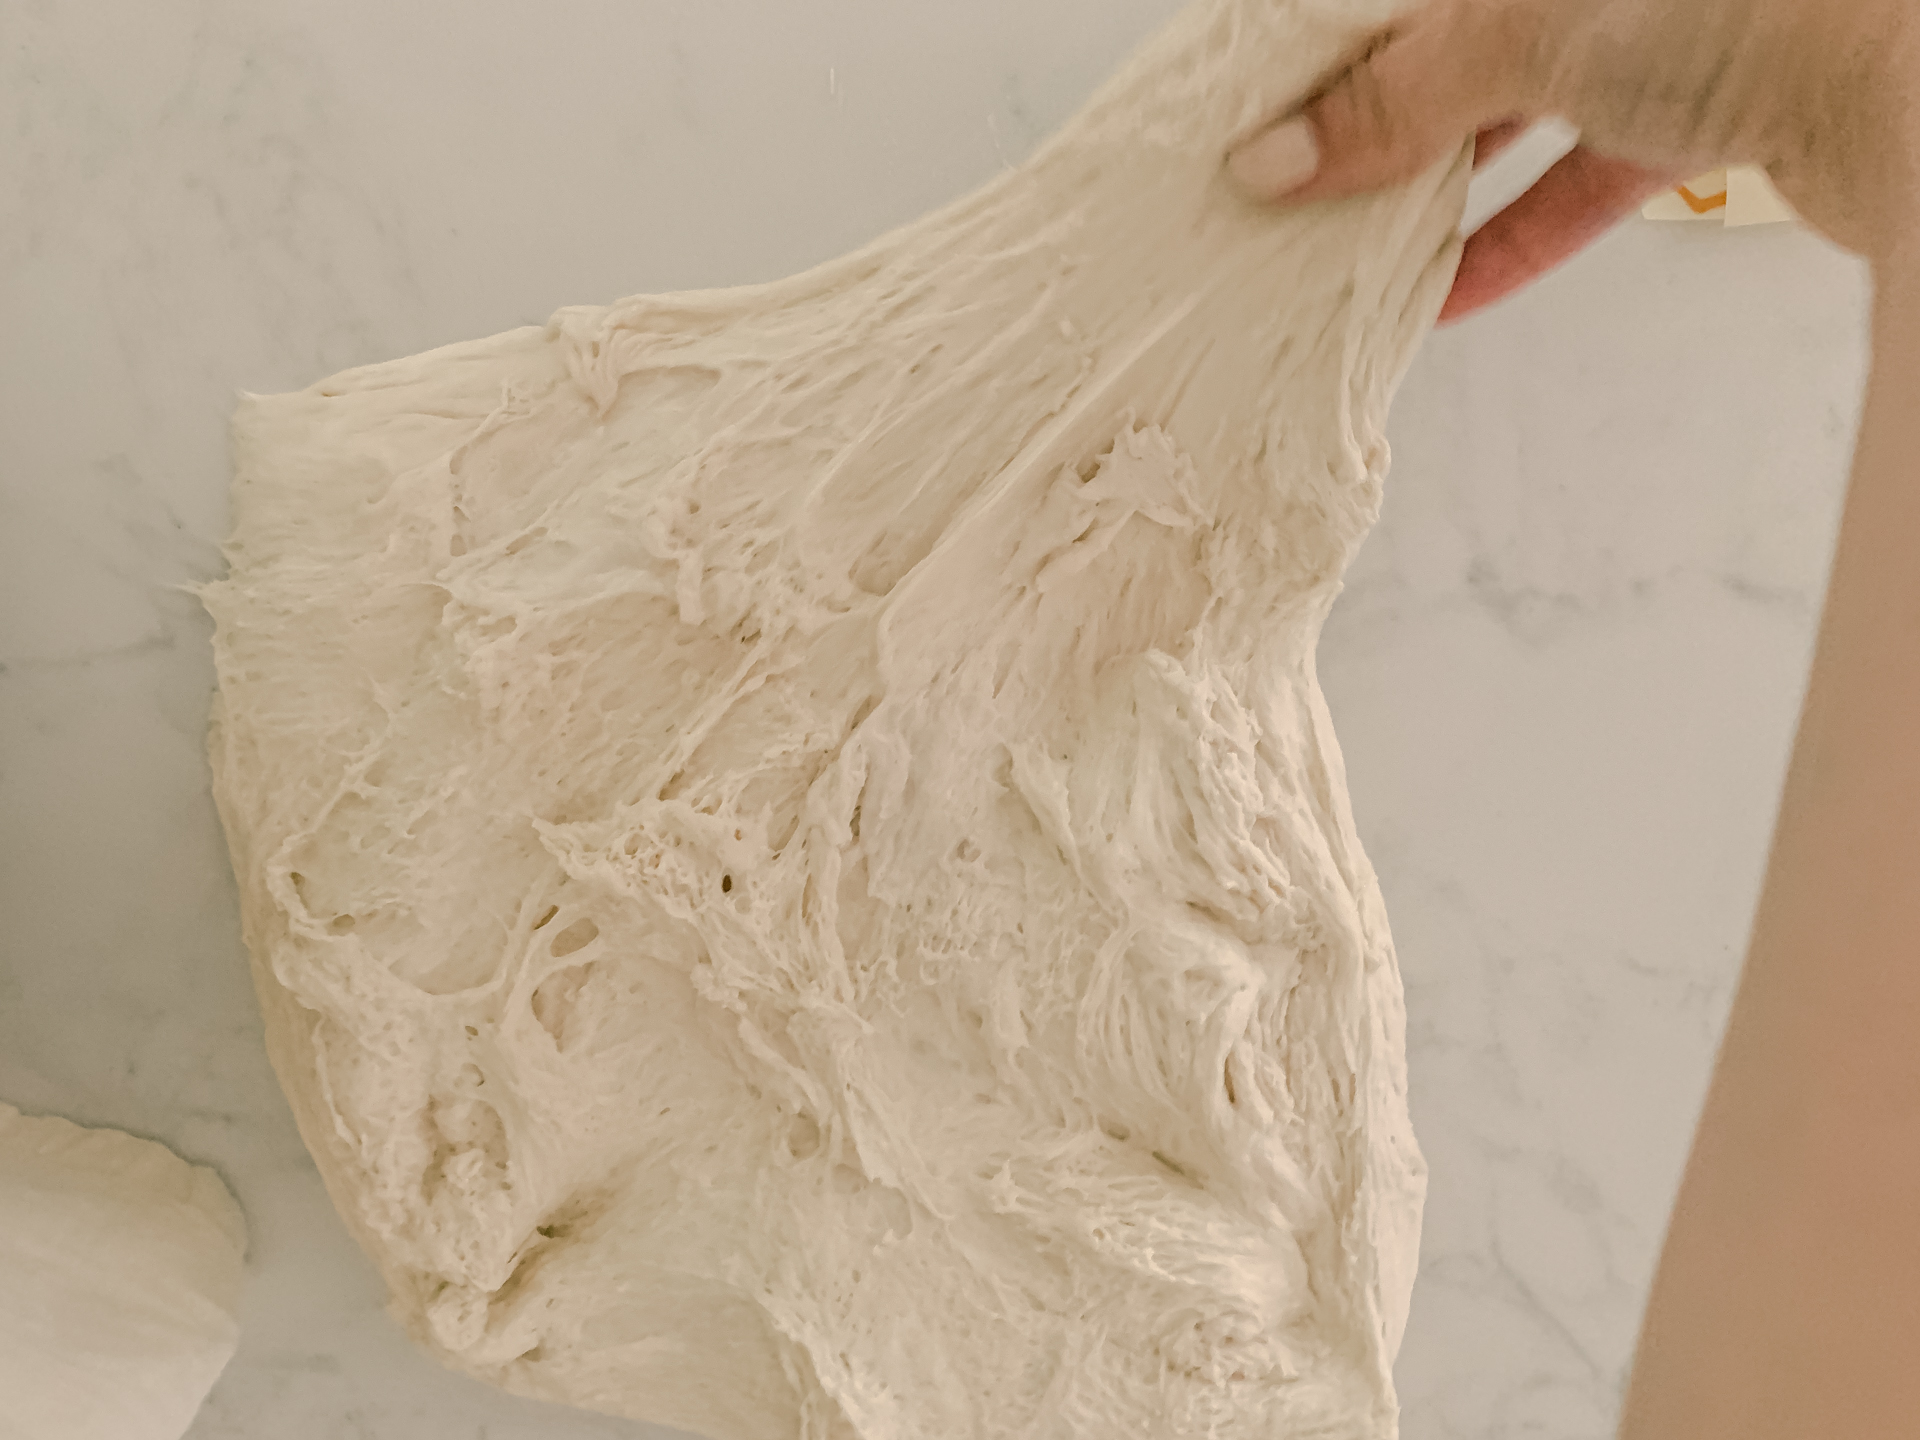
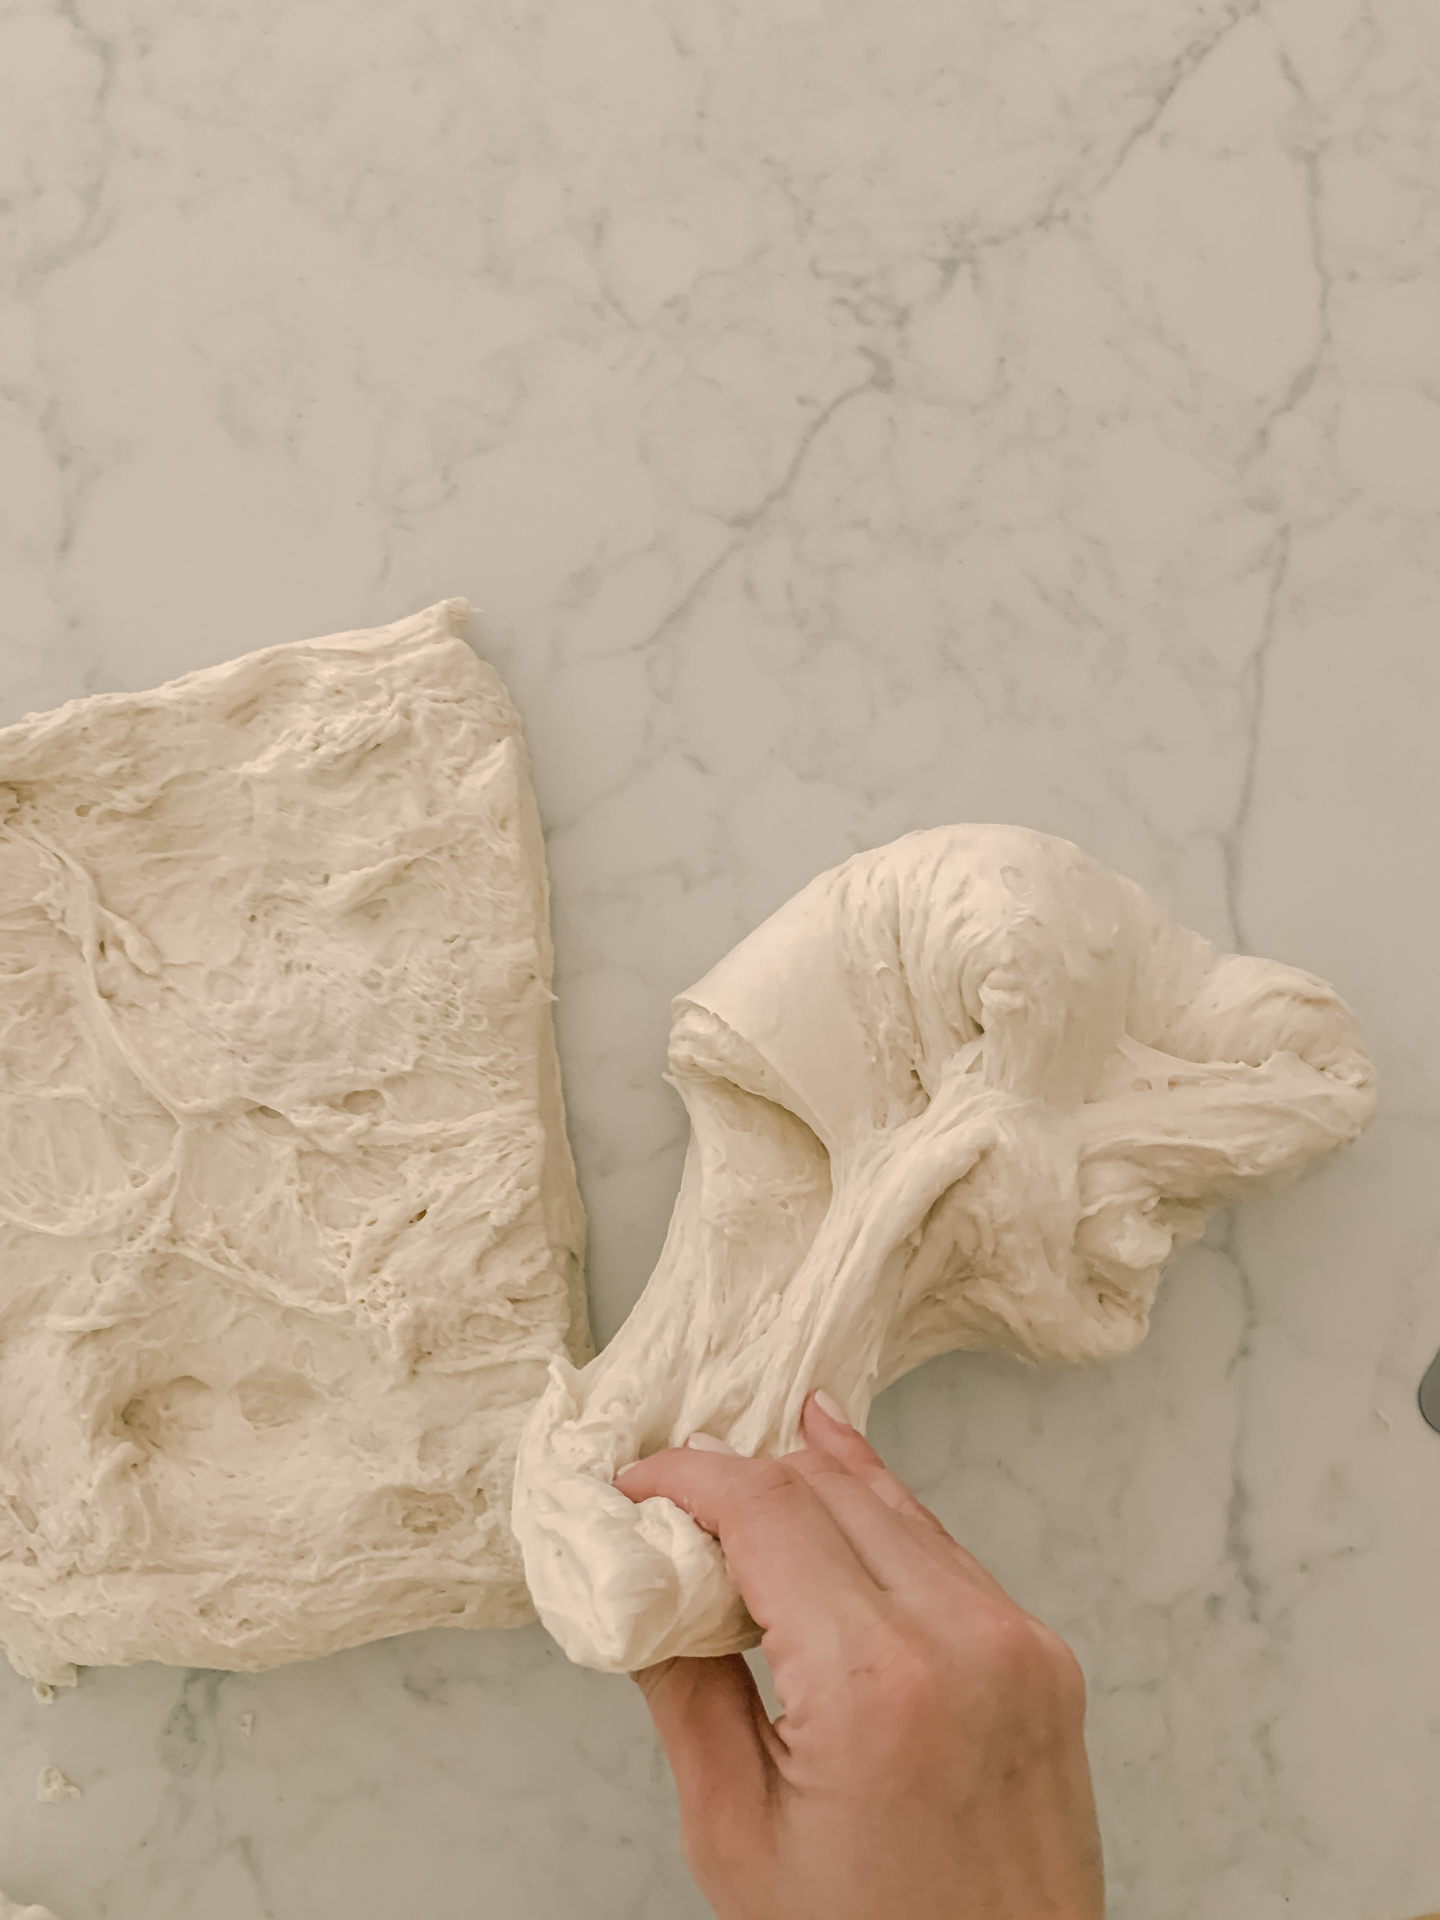
This is the lamination process. Handle the dough gently. The strength of your dough will show here — if its breaking easily, then it’s not very strong, but it is stretching nicely and smoothly, you’ve got some really great strength to your dough!
Some things to help with dough strength are being sure your bulk rise was accurate (not too long, not too short based on your personal environmental factors), being sure your starter was at it’s most ripe peak, and being sure you are using high quality bread flour with enough protein to help form the gluten and overall dough strength.
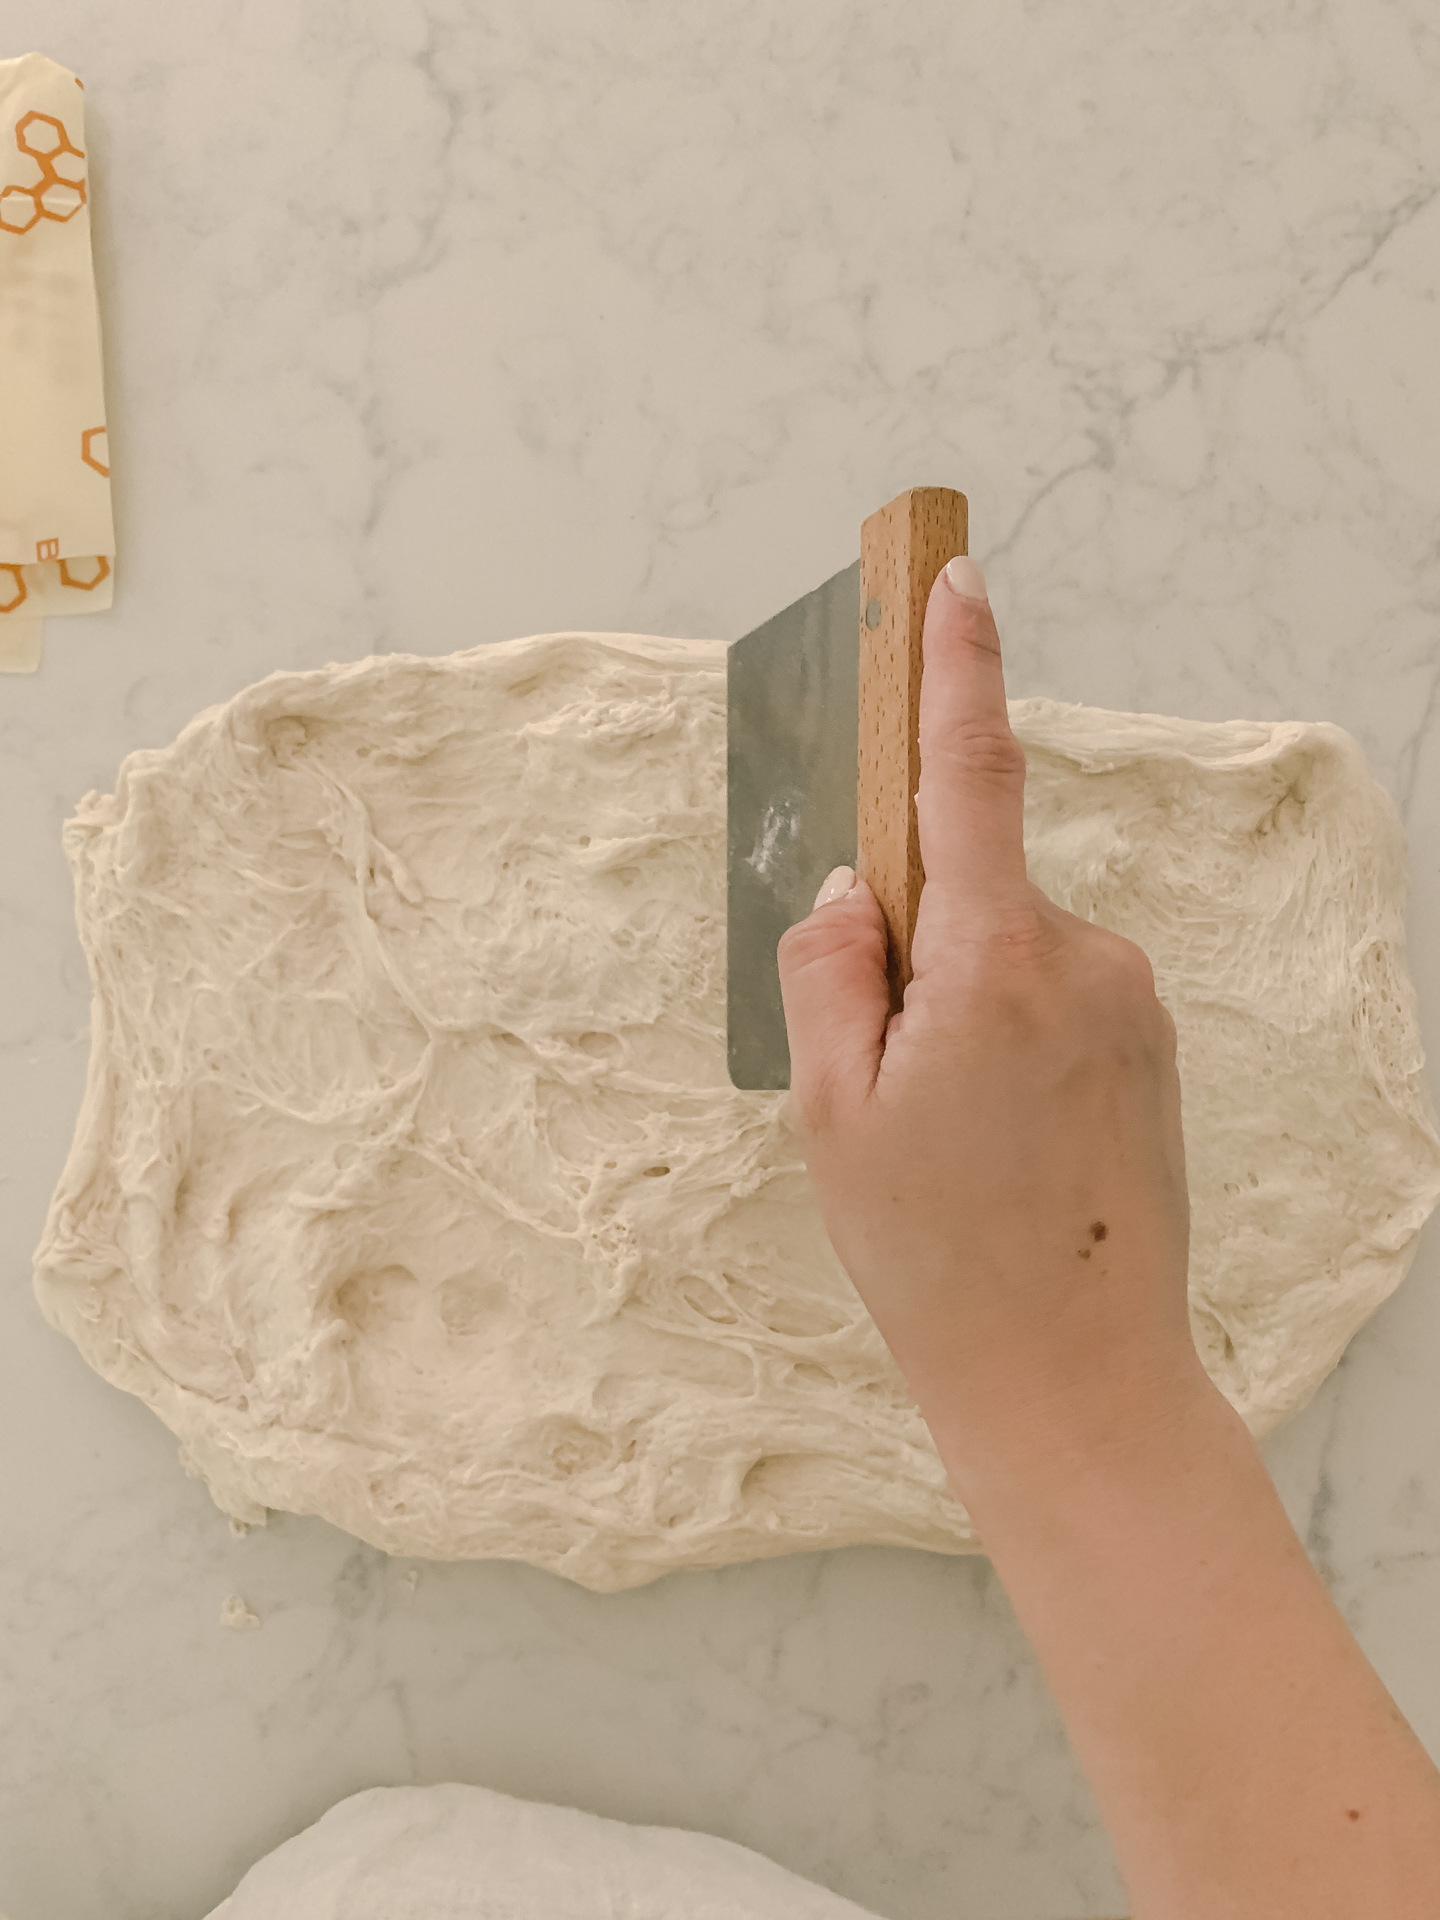
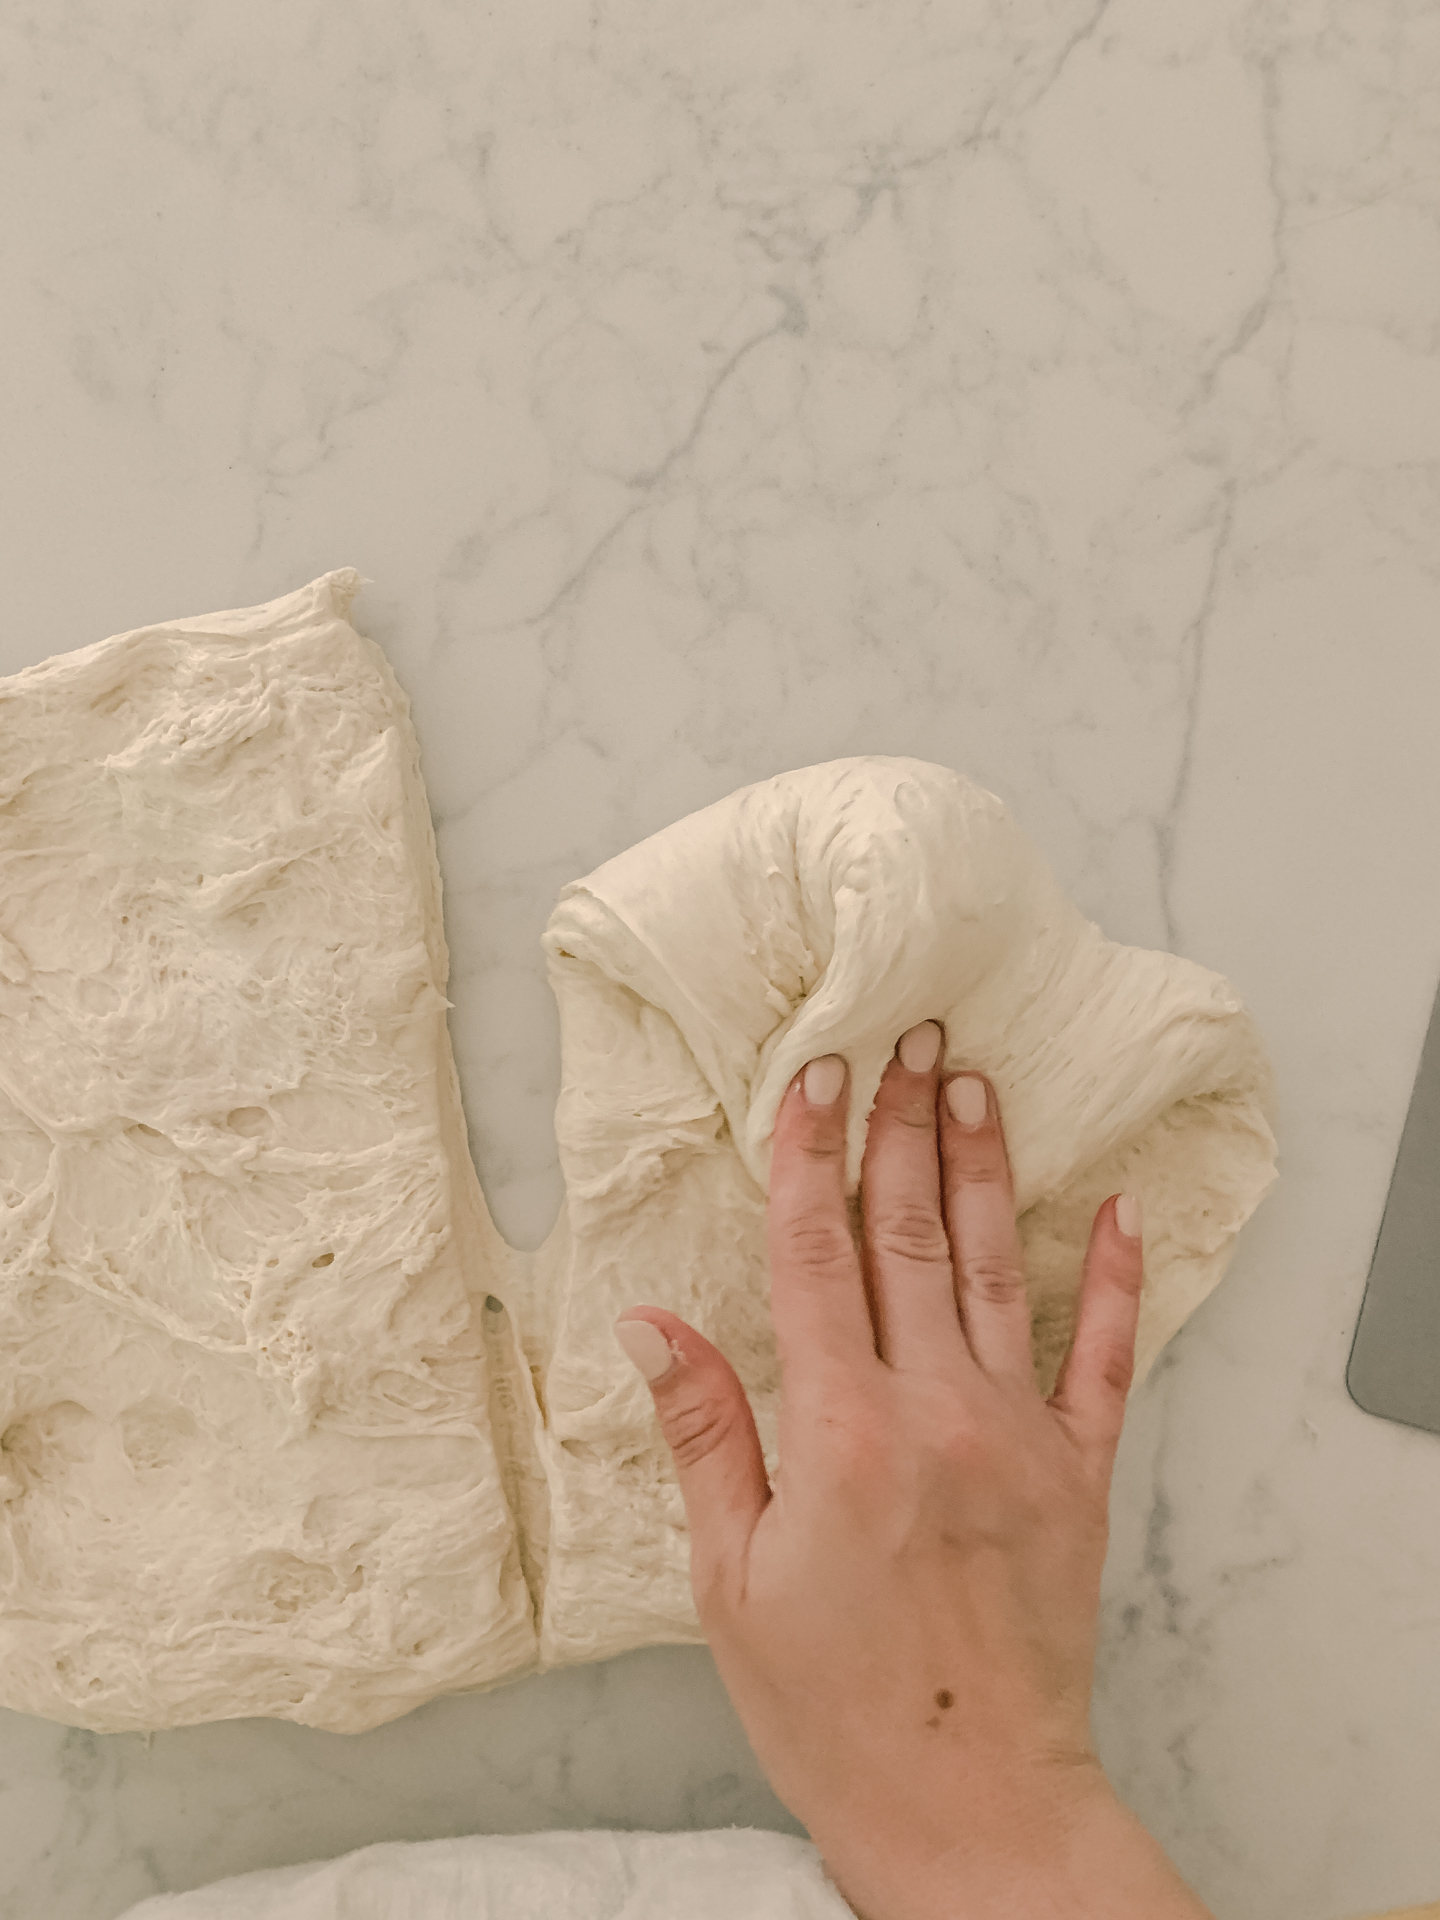
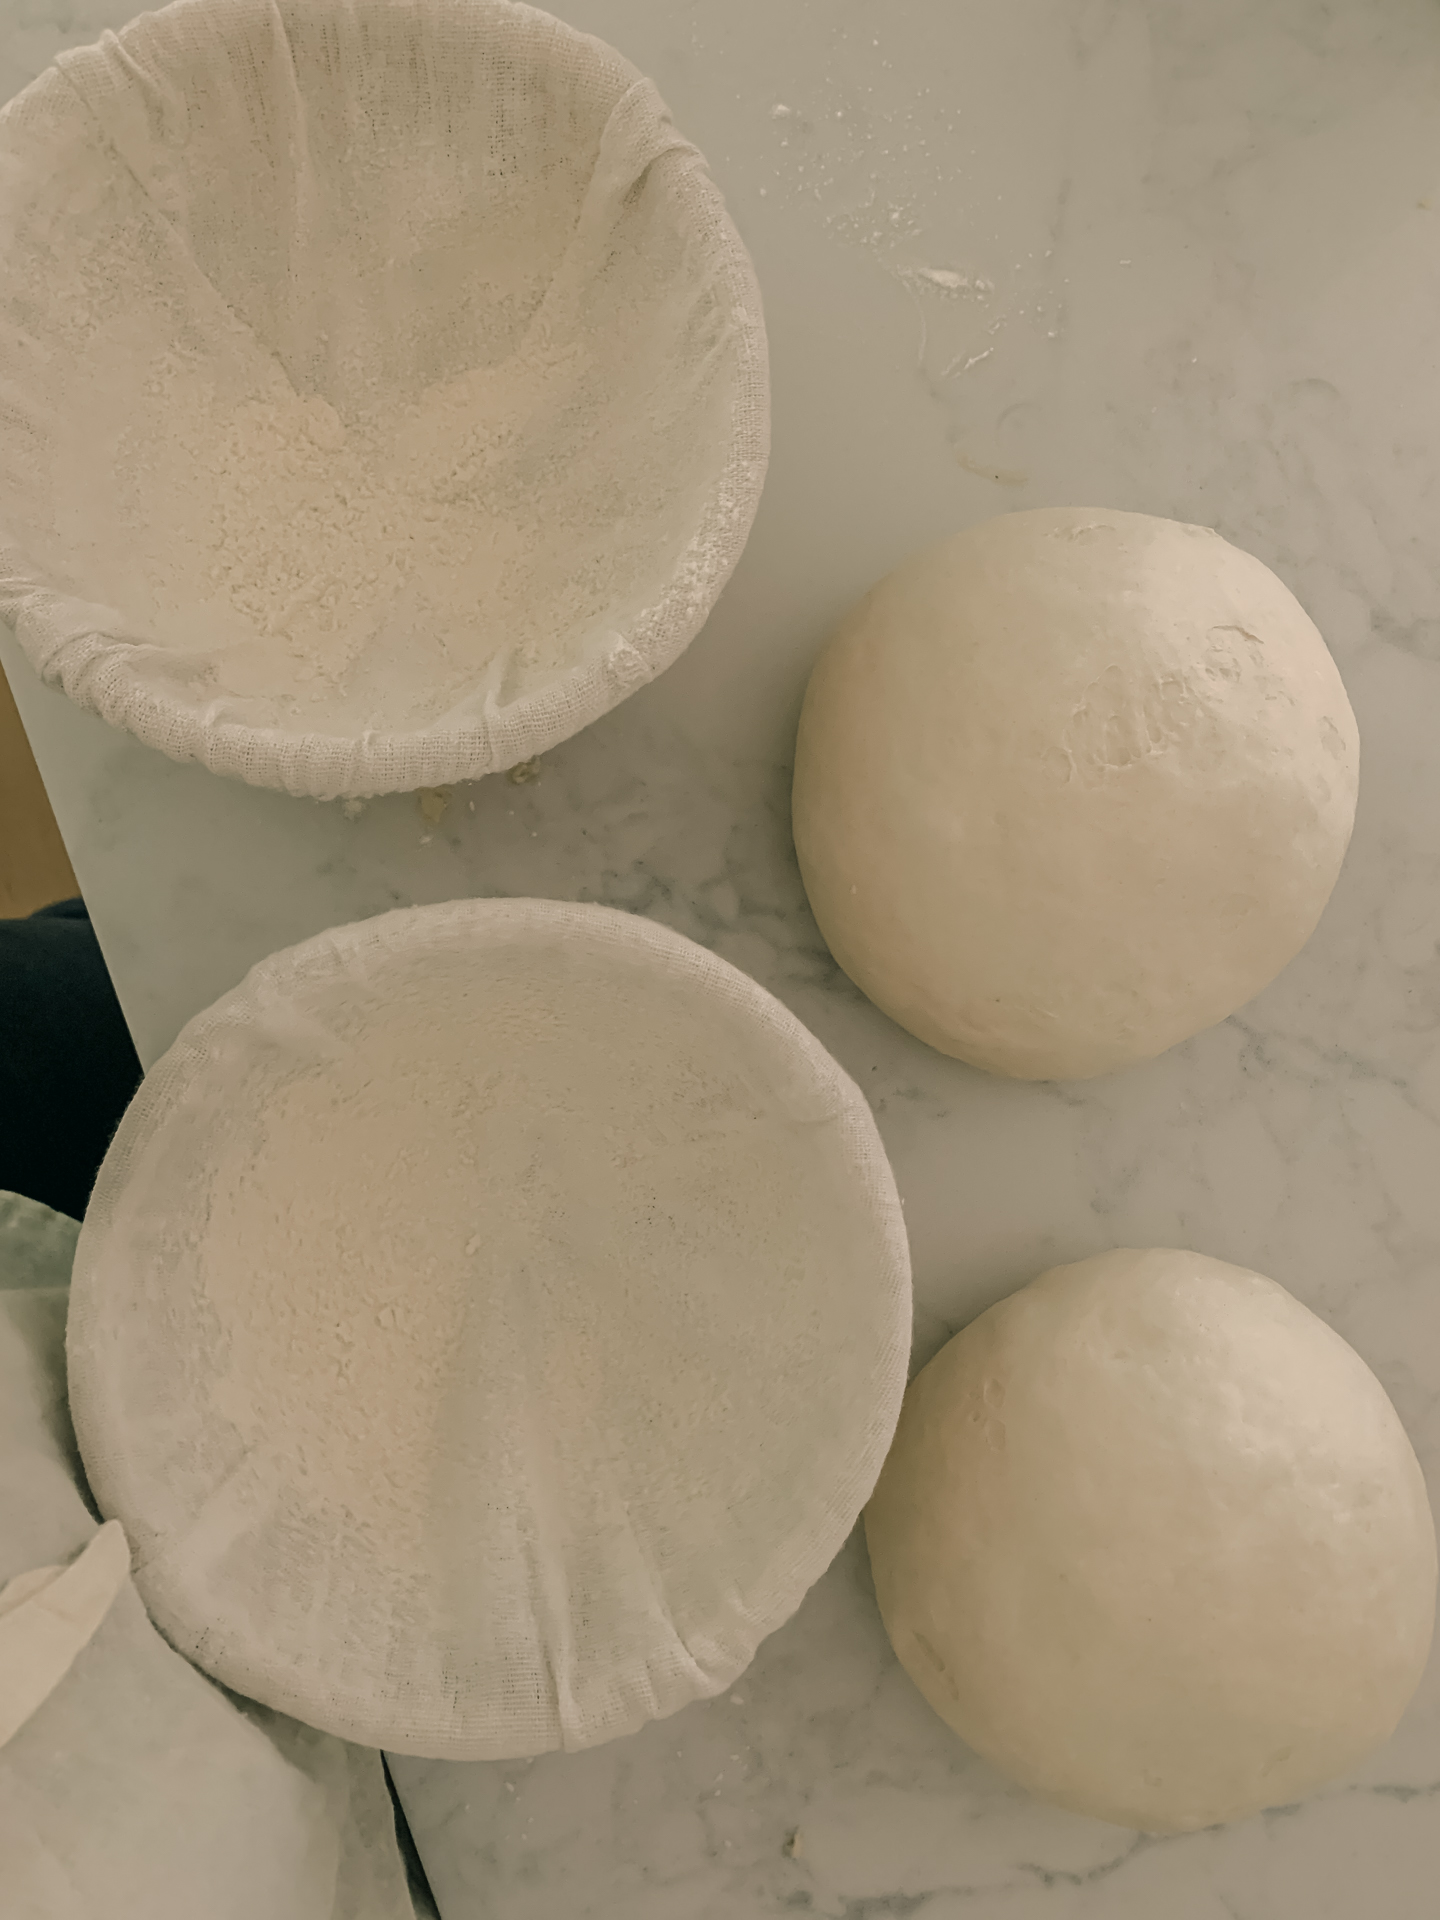
Since I did two loaves for this batch, I then used a bench scraper to cut the dough in half.

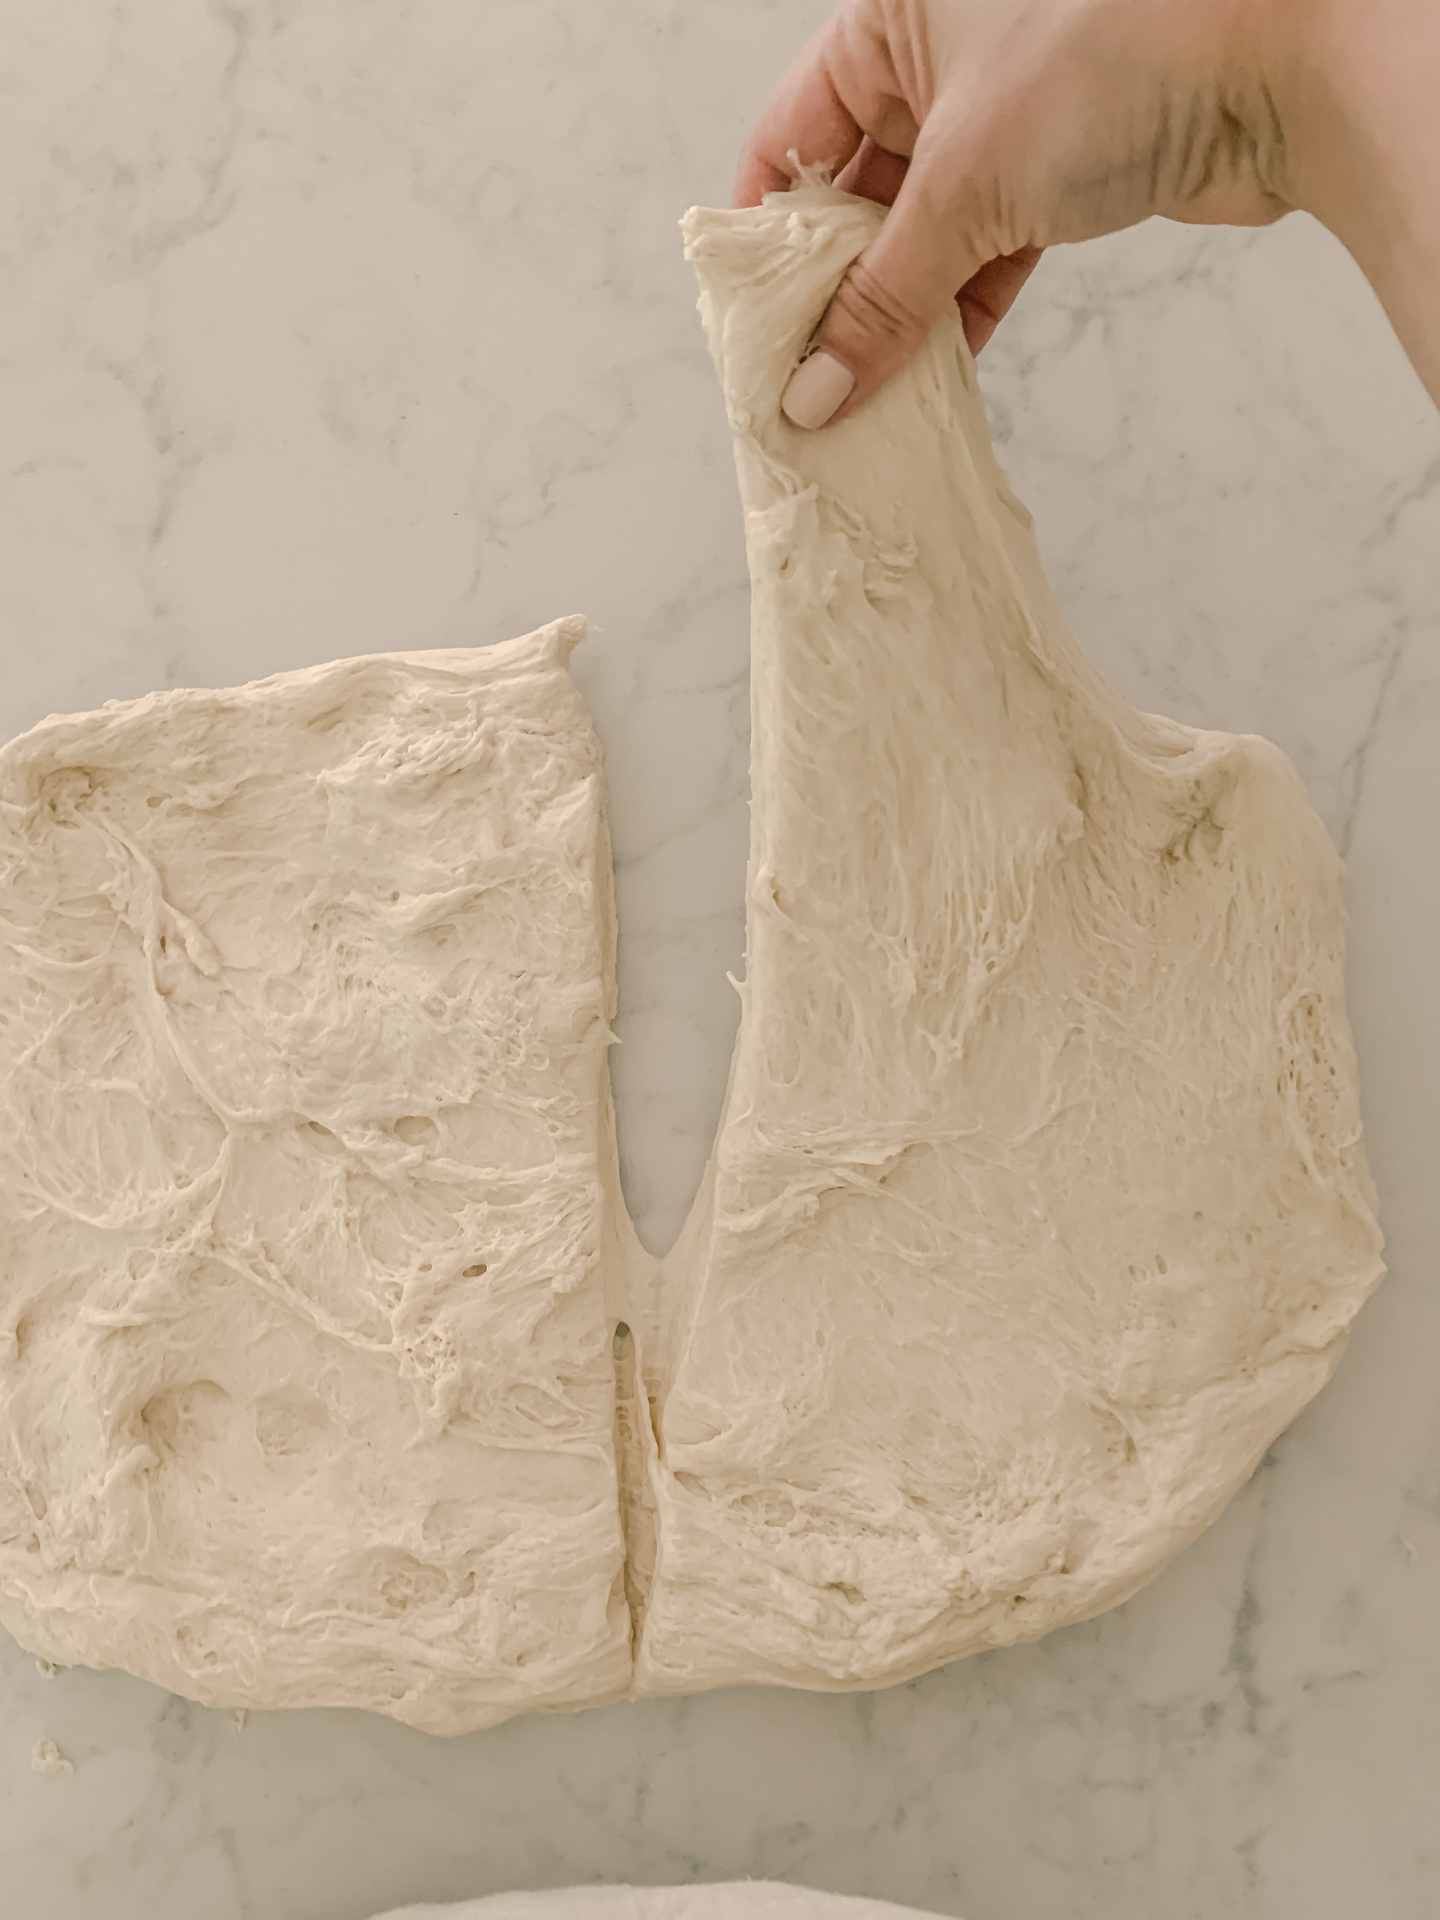
Next, you’ll begin a series of stretch and folds, slightly different than before. You’ll gently stretch and fold into the center rather than all the way over, repeating five times.
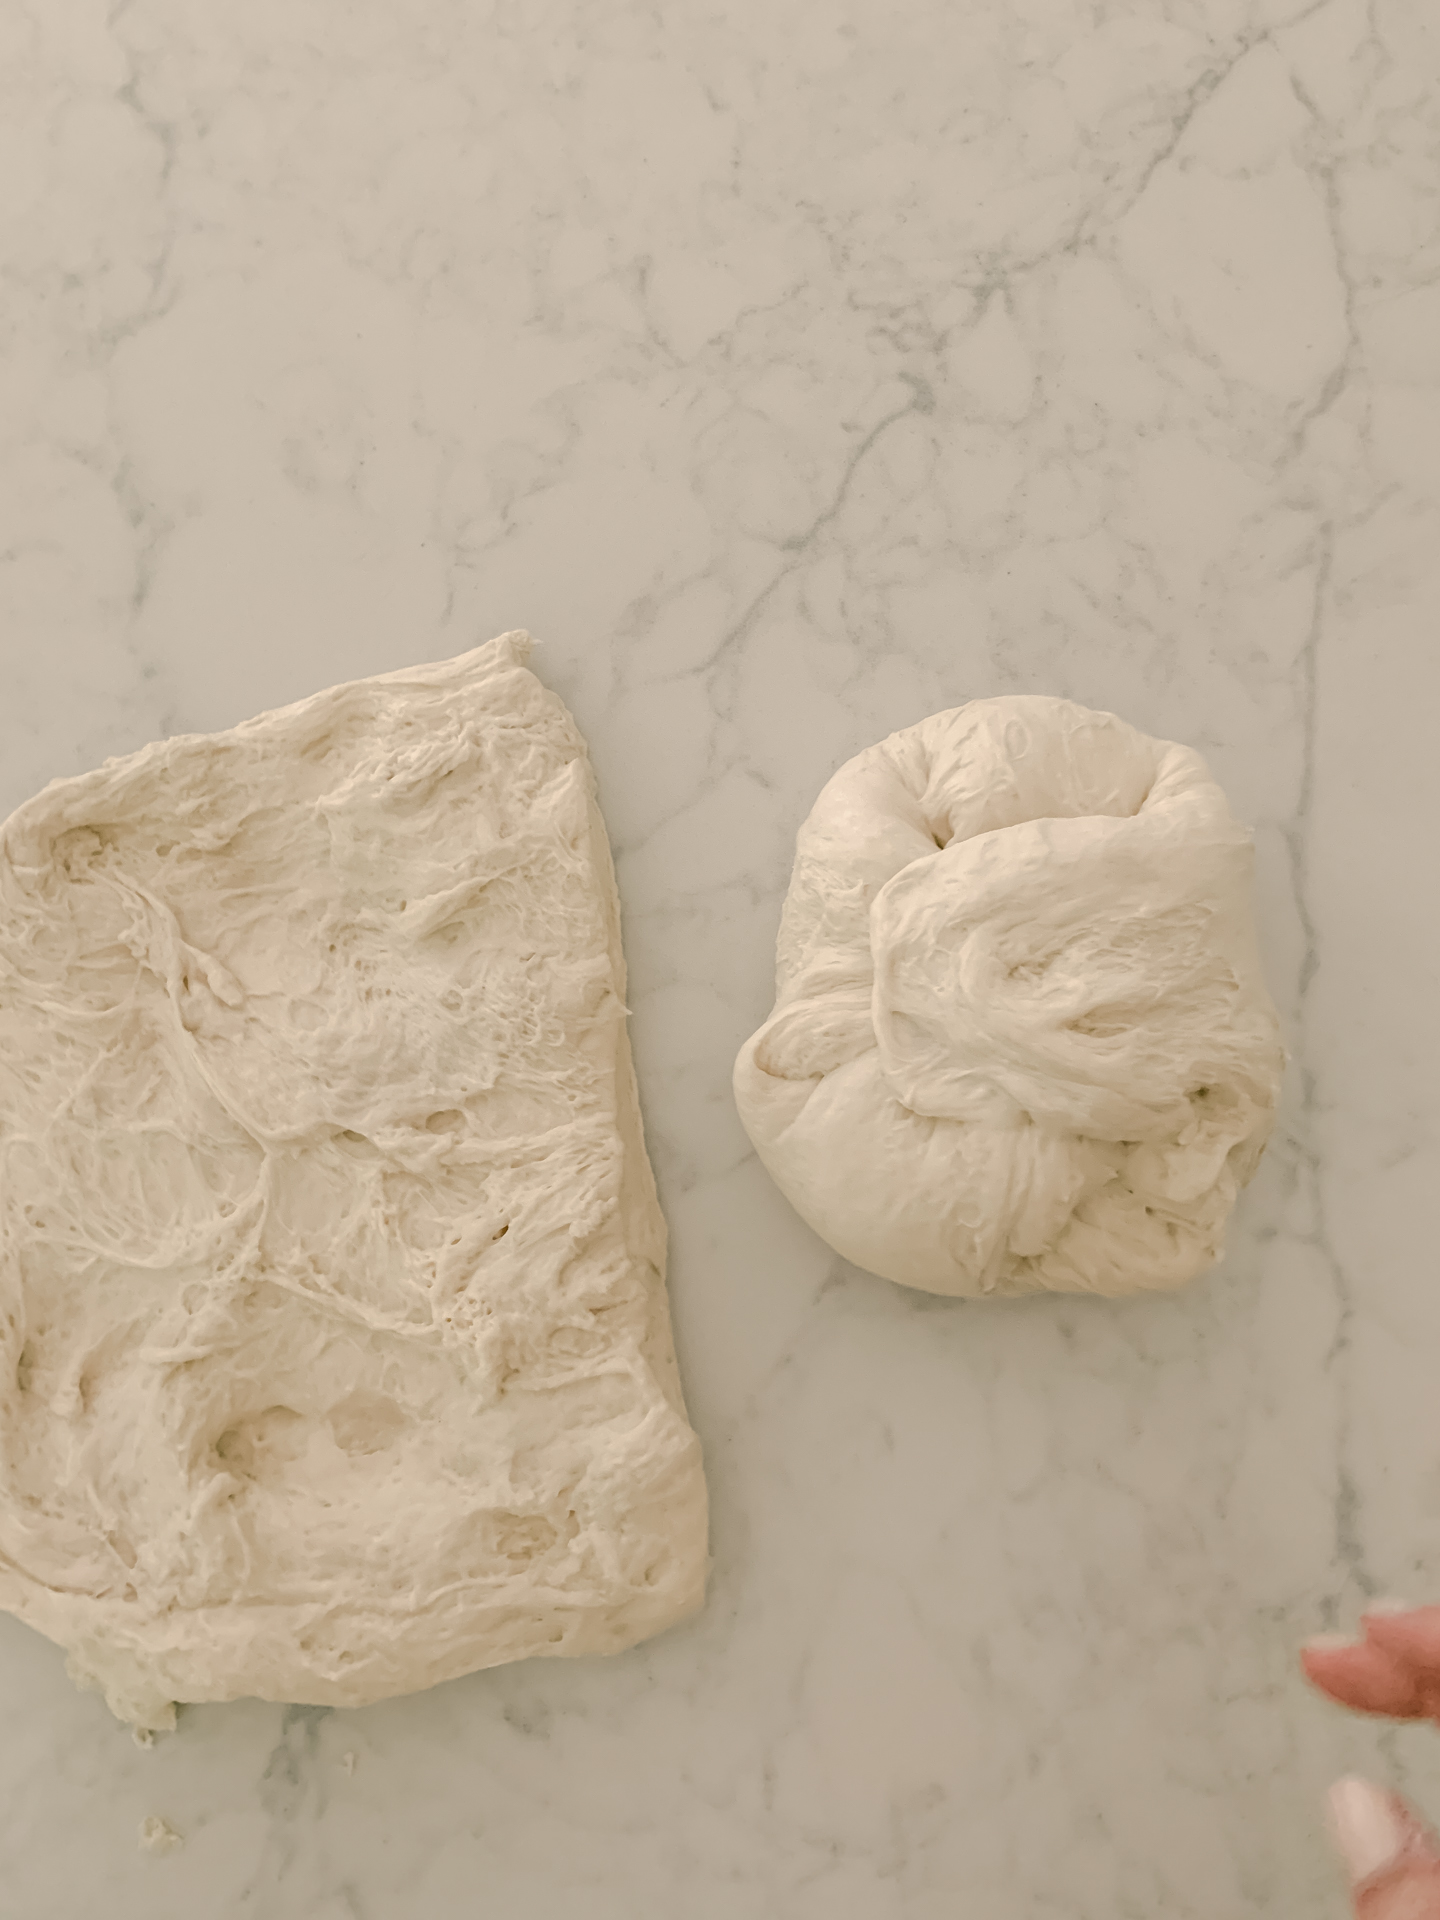
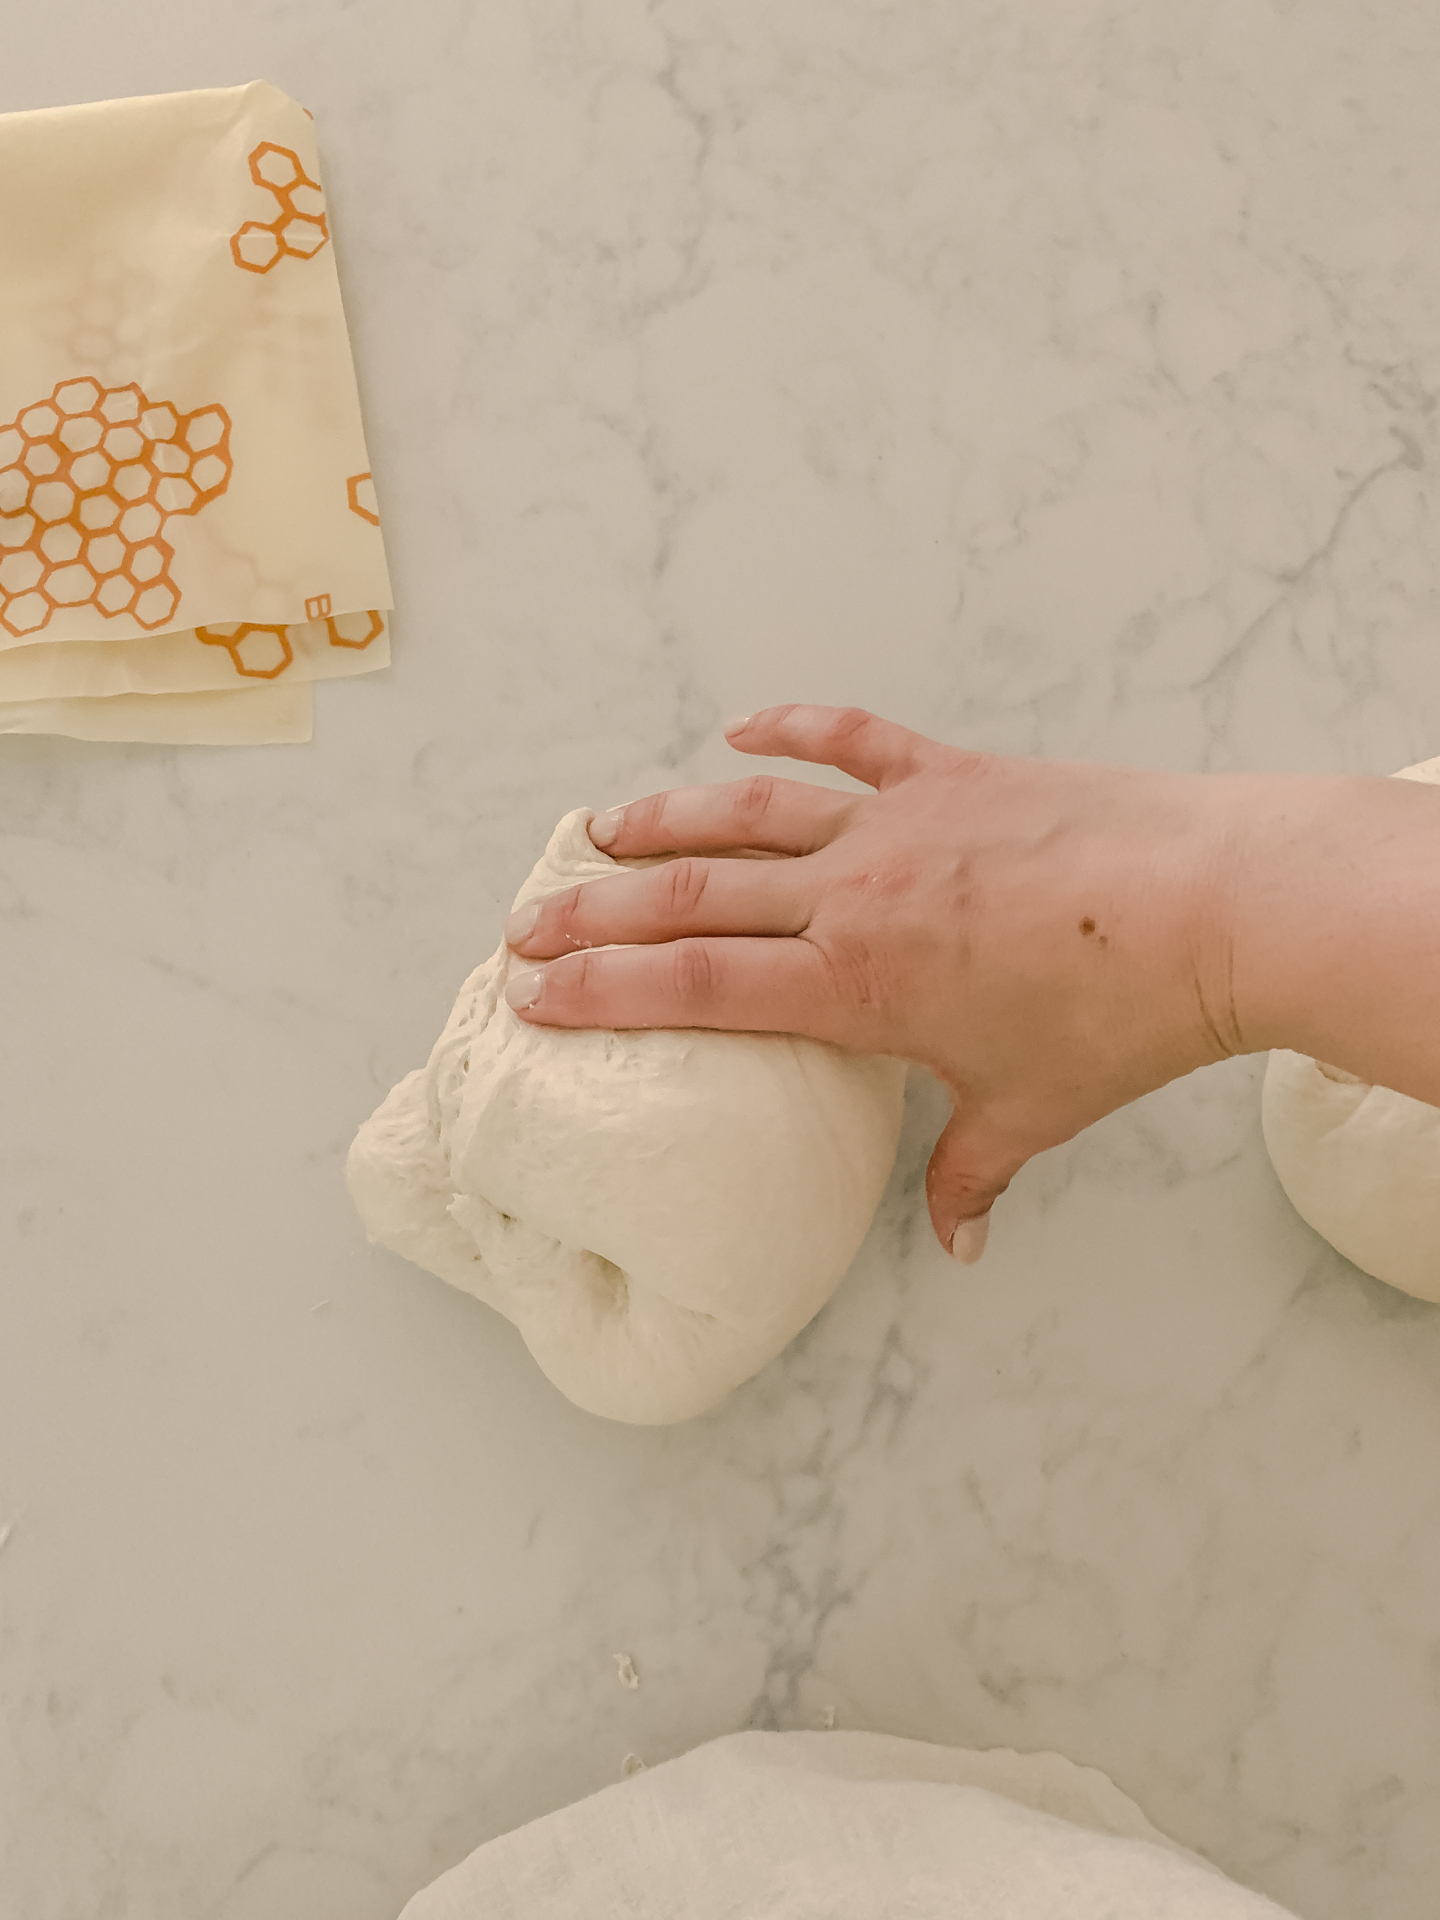
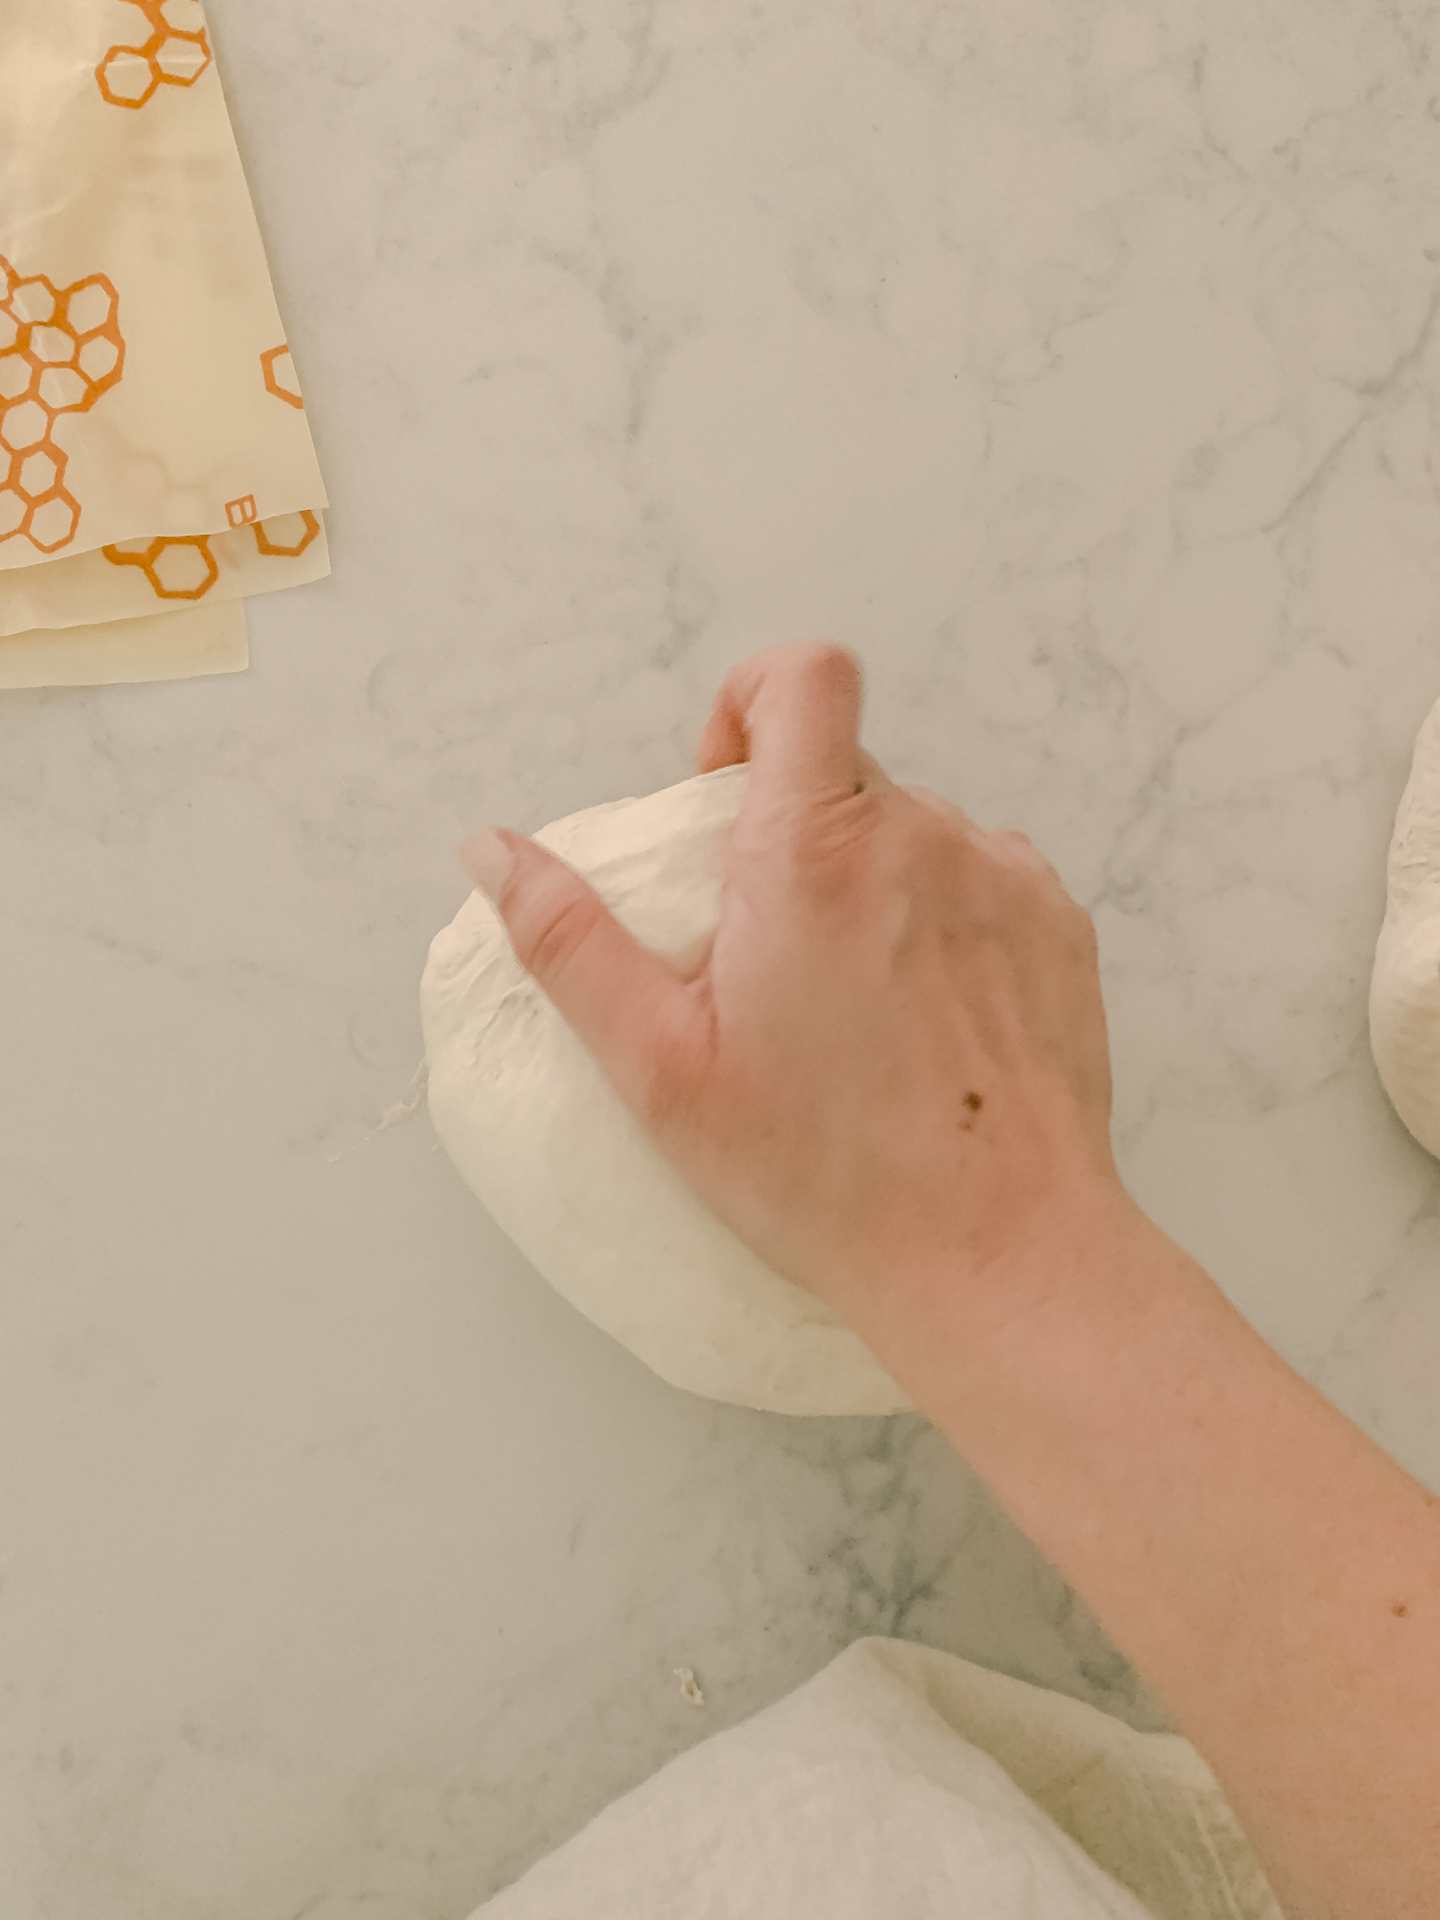
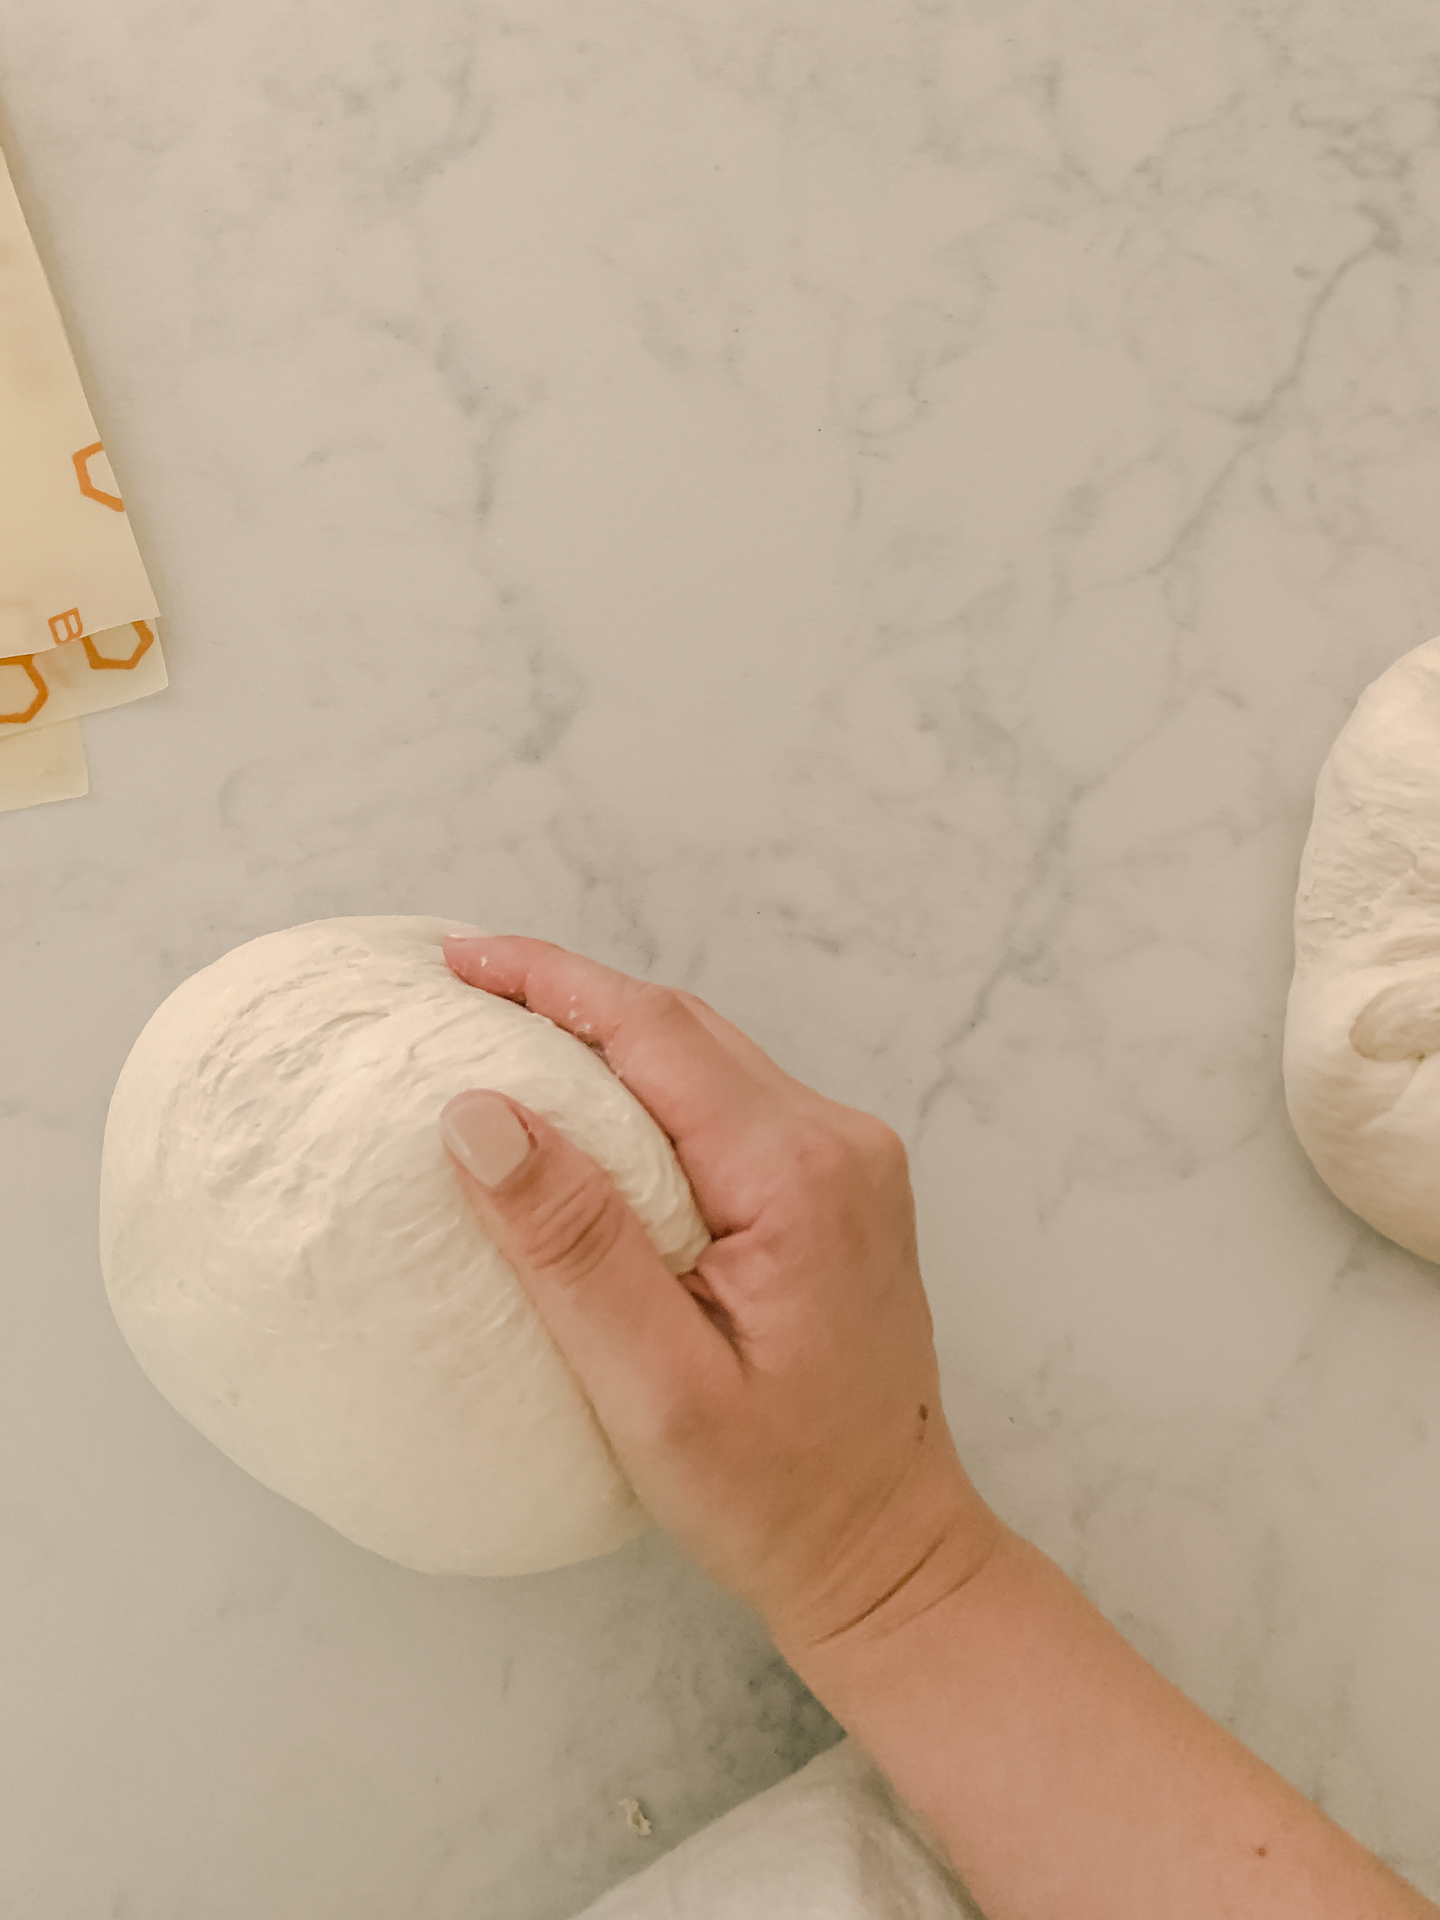
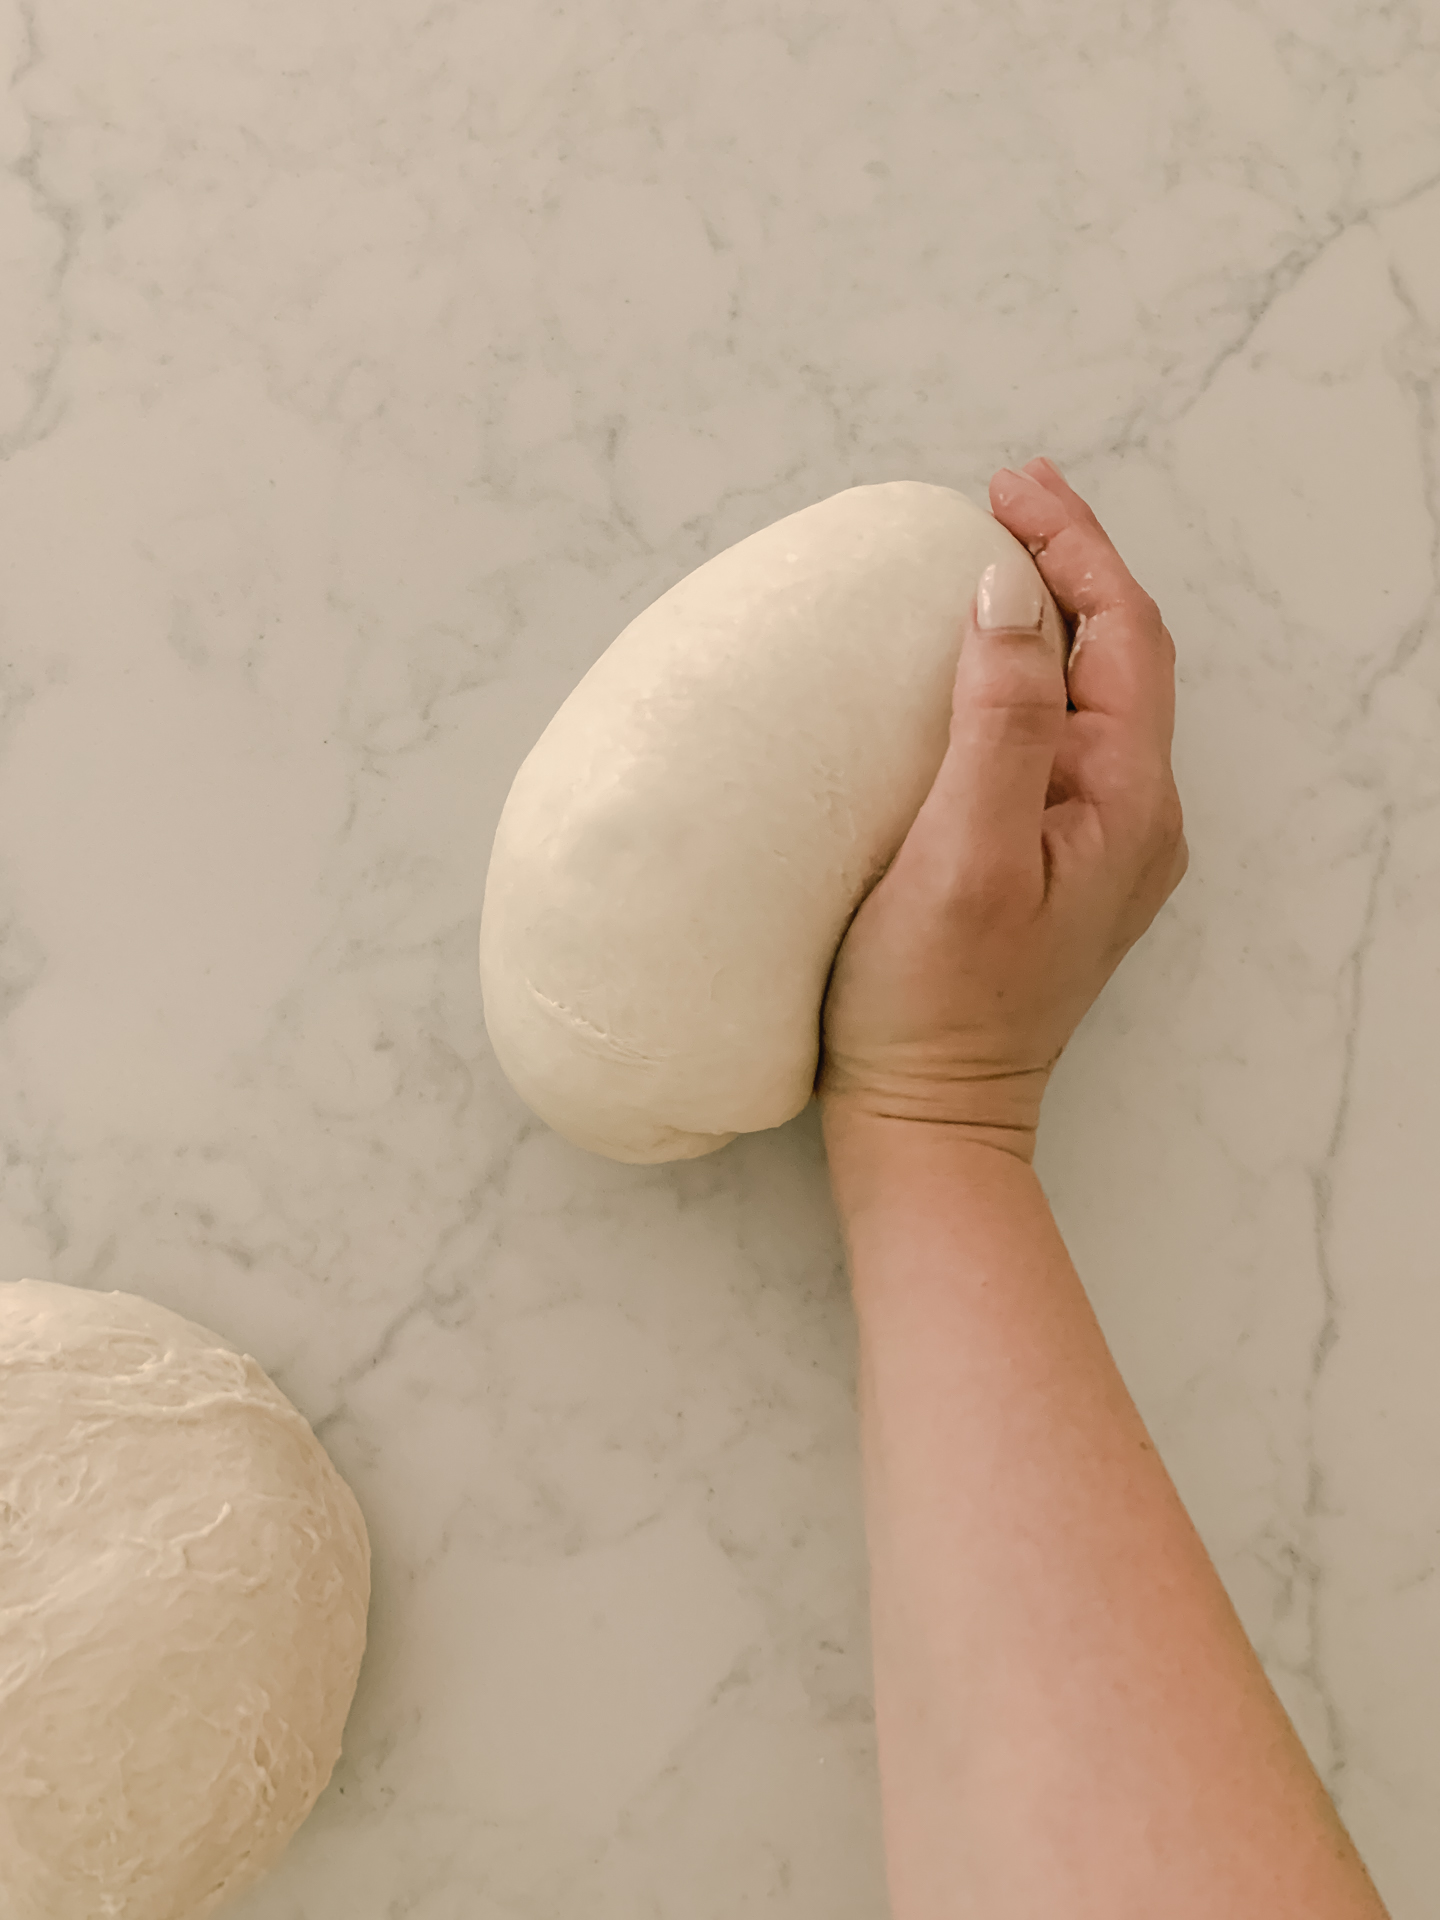
Roll your dough over, and into a folded ball. You’ll then “tuck and drag” your dough to create tension. You’ll cuff your hand around the edge, pulling toward your body, and then spin the dough and the push it away… tucking the sides and dragging the dough, and physically feeling the tension build from a soft ball of wet dough, to a more firm ball.
Allow for a bench rest after your first dough boule is formed. For 30 or so minutes, let the dough sit lightly covered on the counter.
While waiting, grab your banneton proofing basket and begin dusting it with flour.
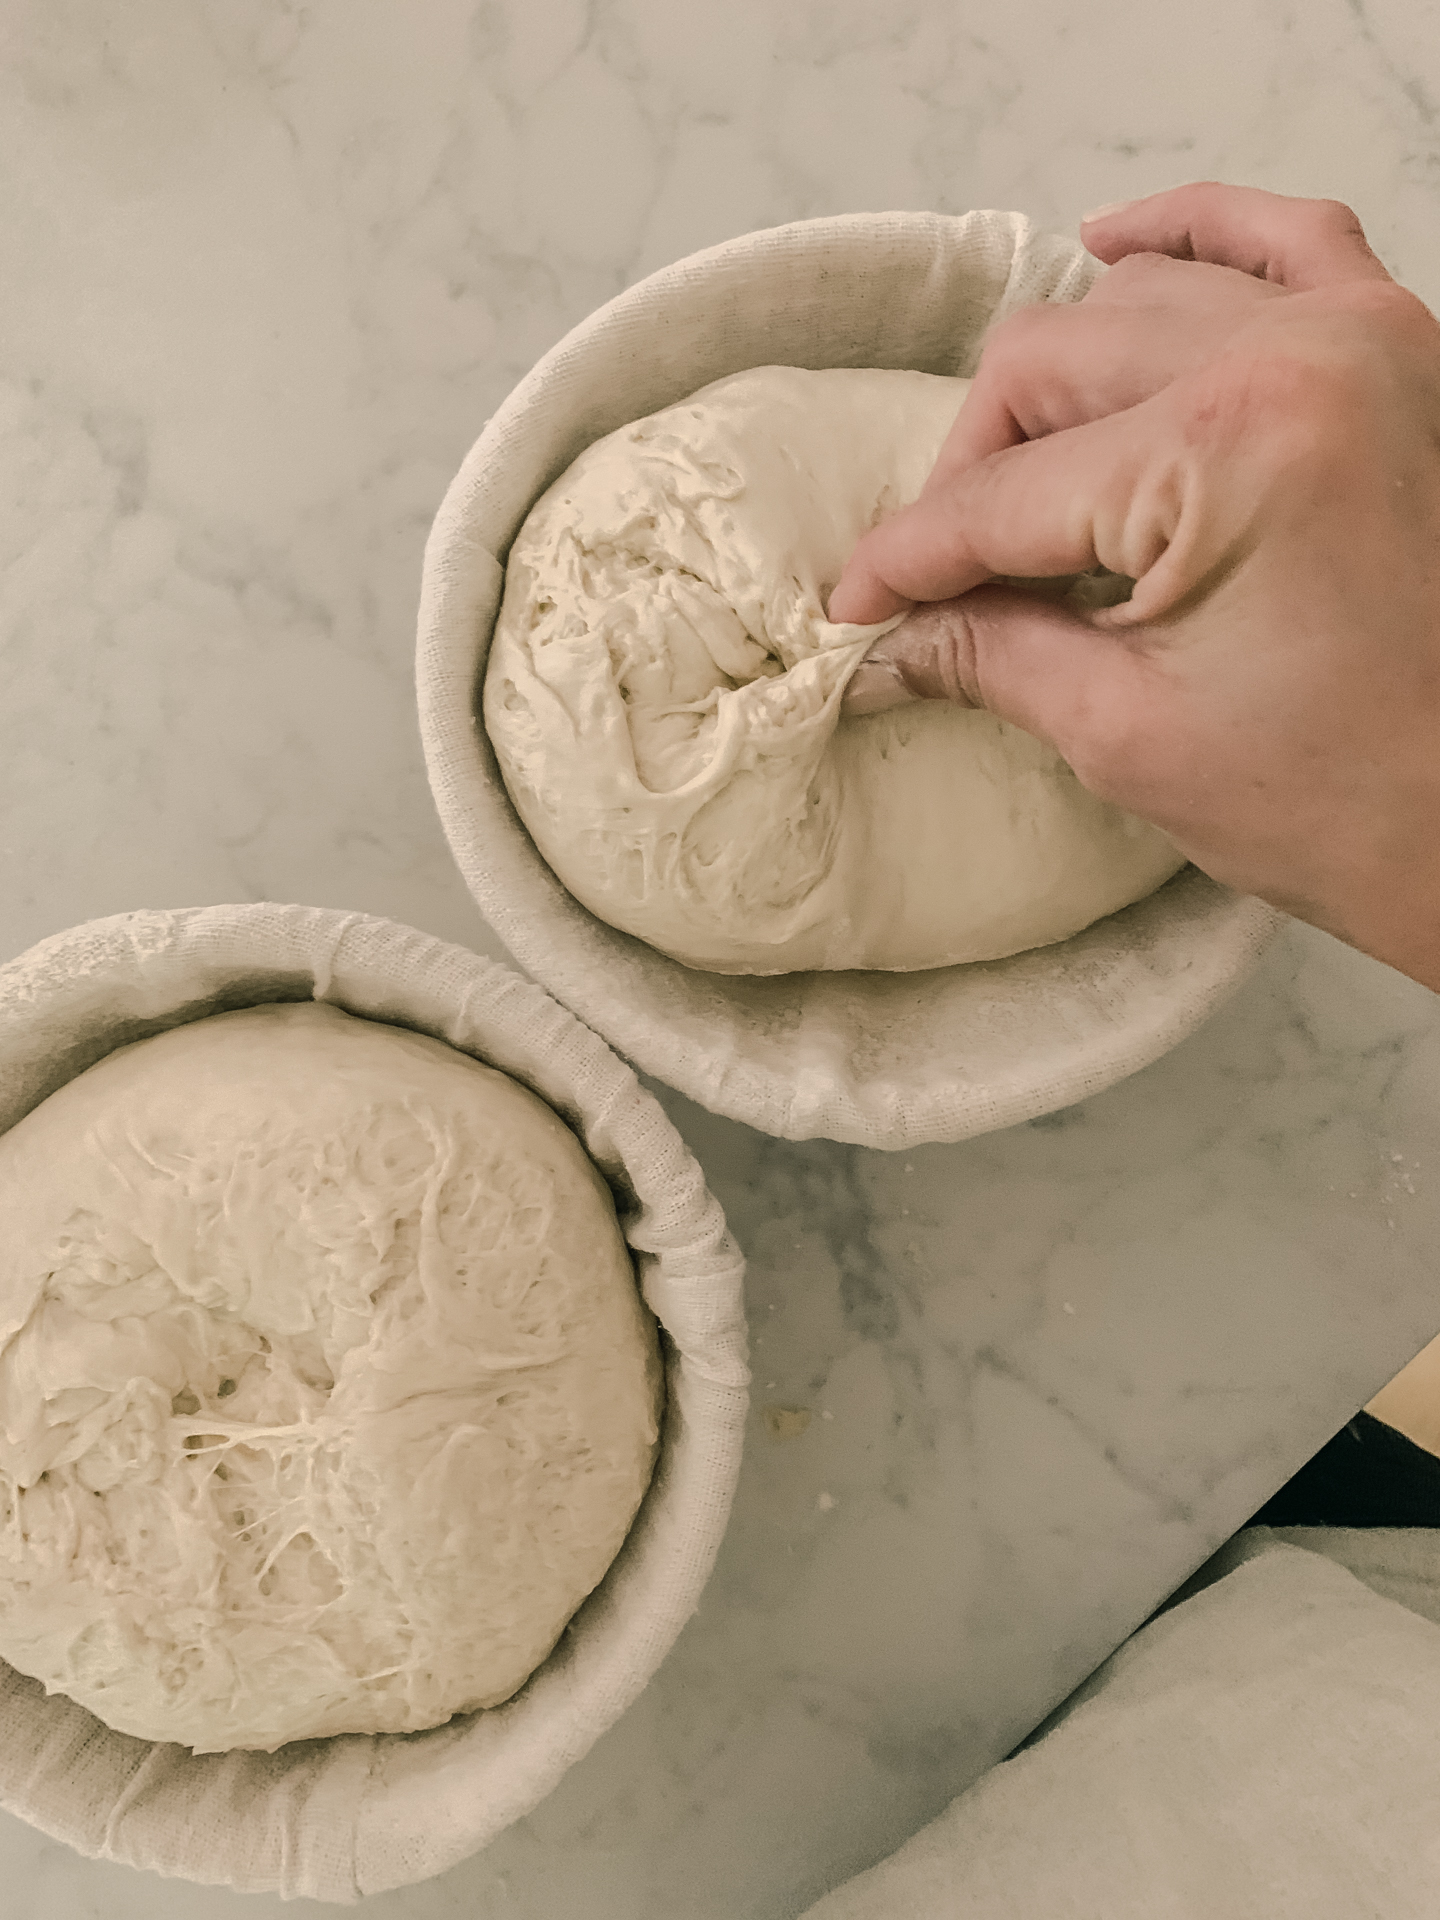
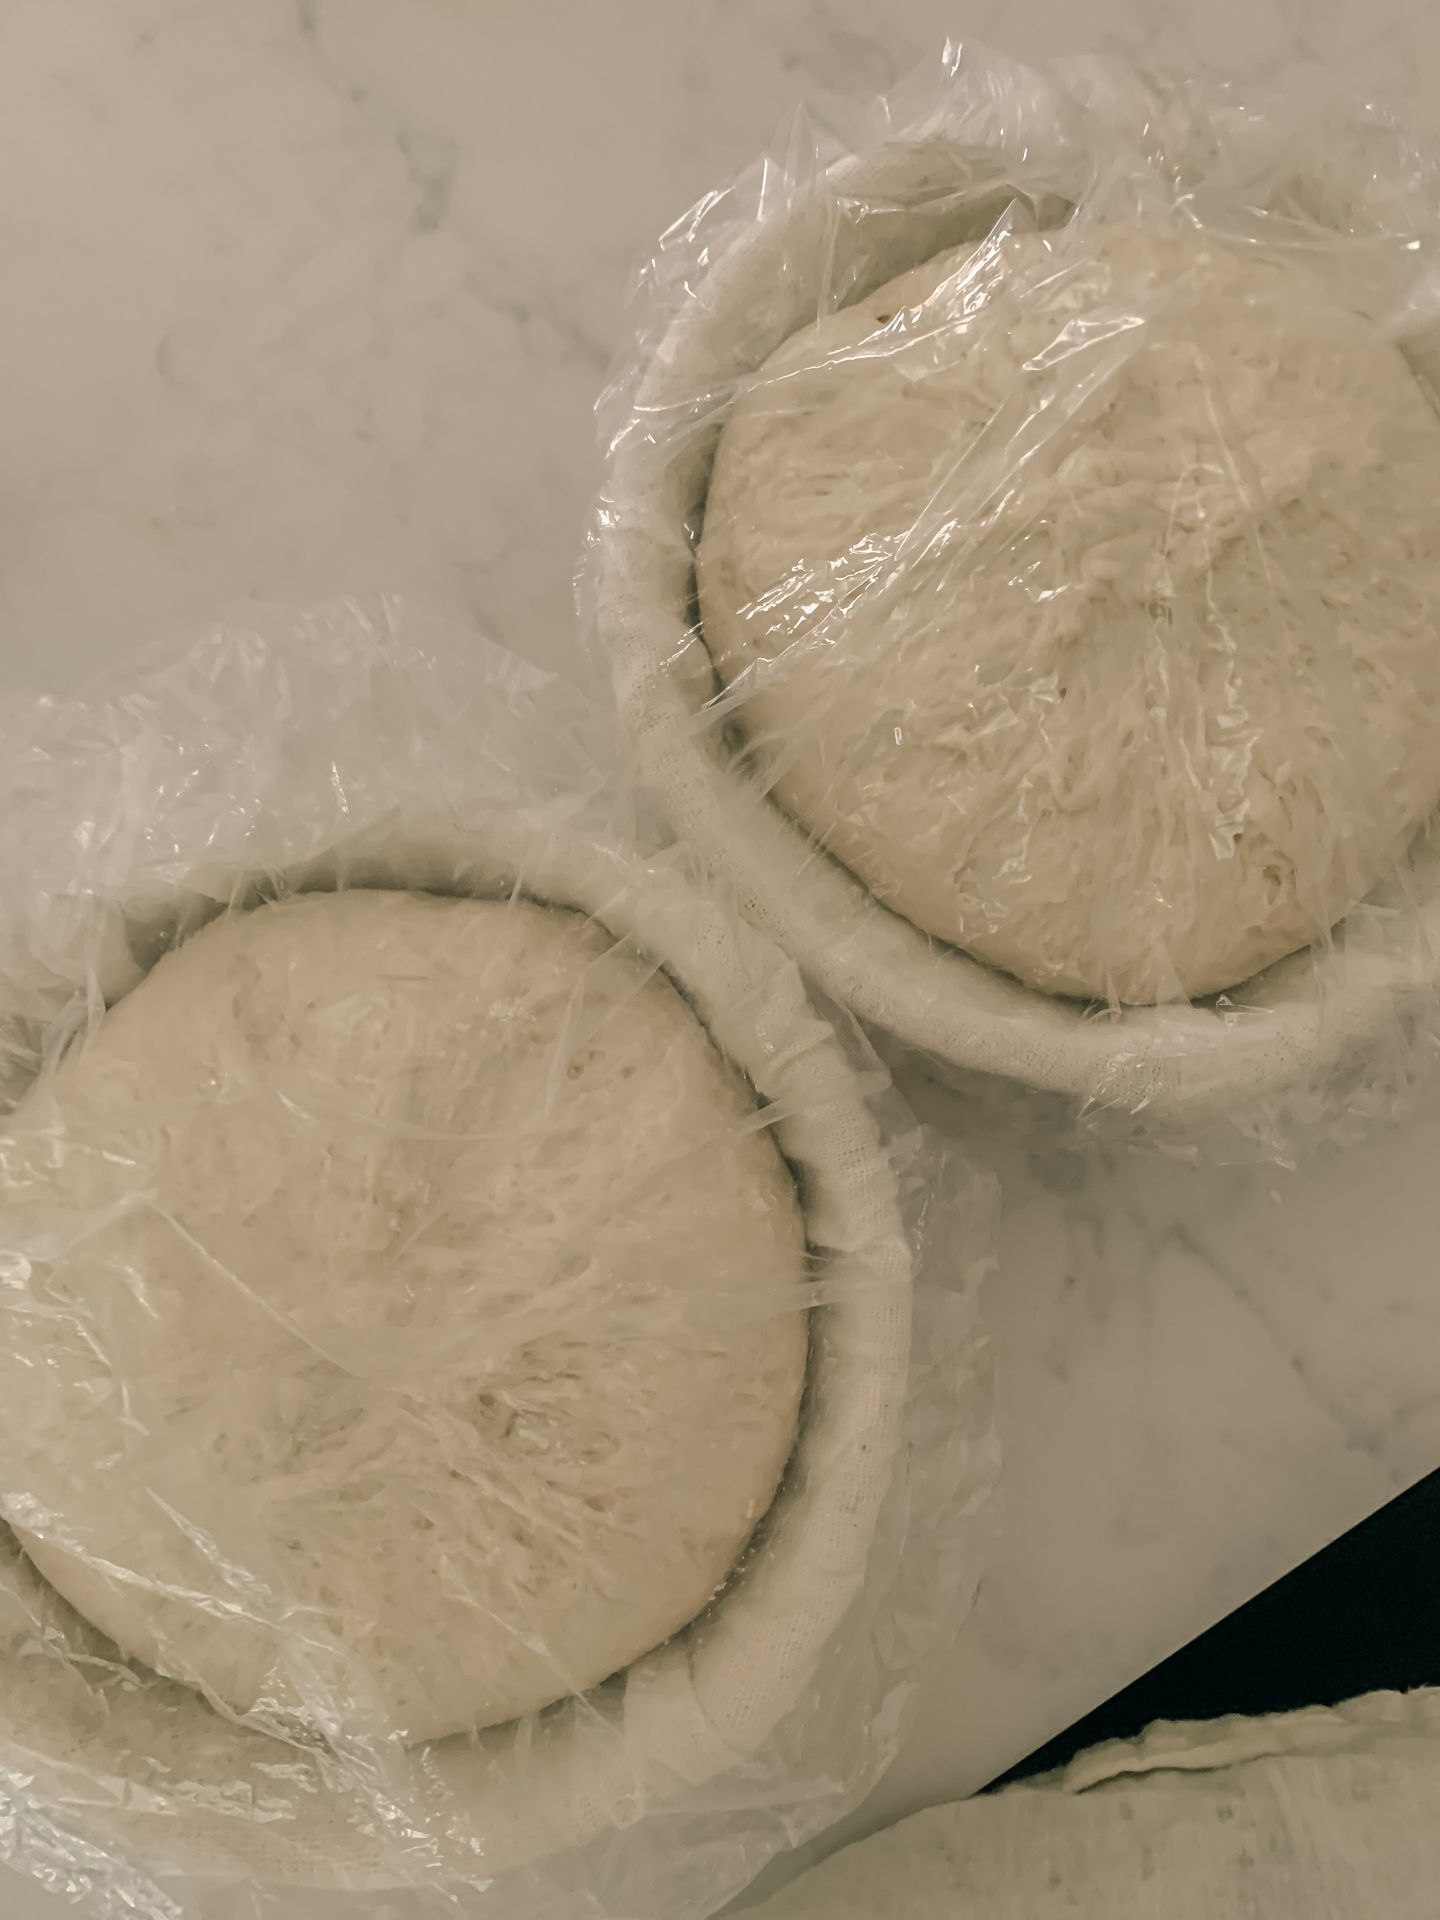
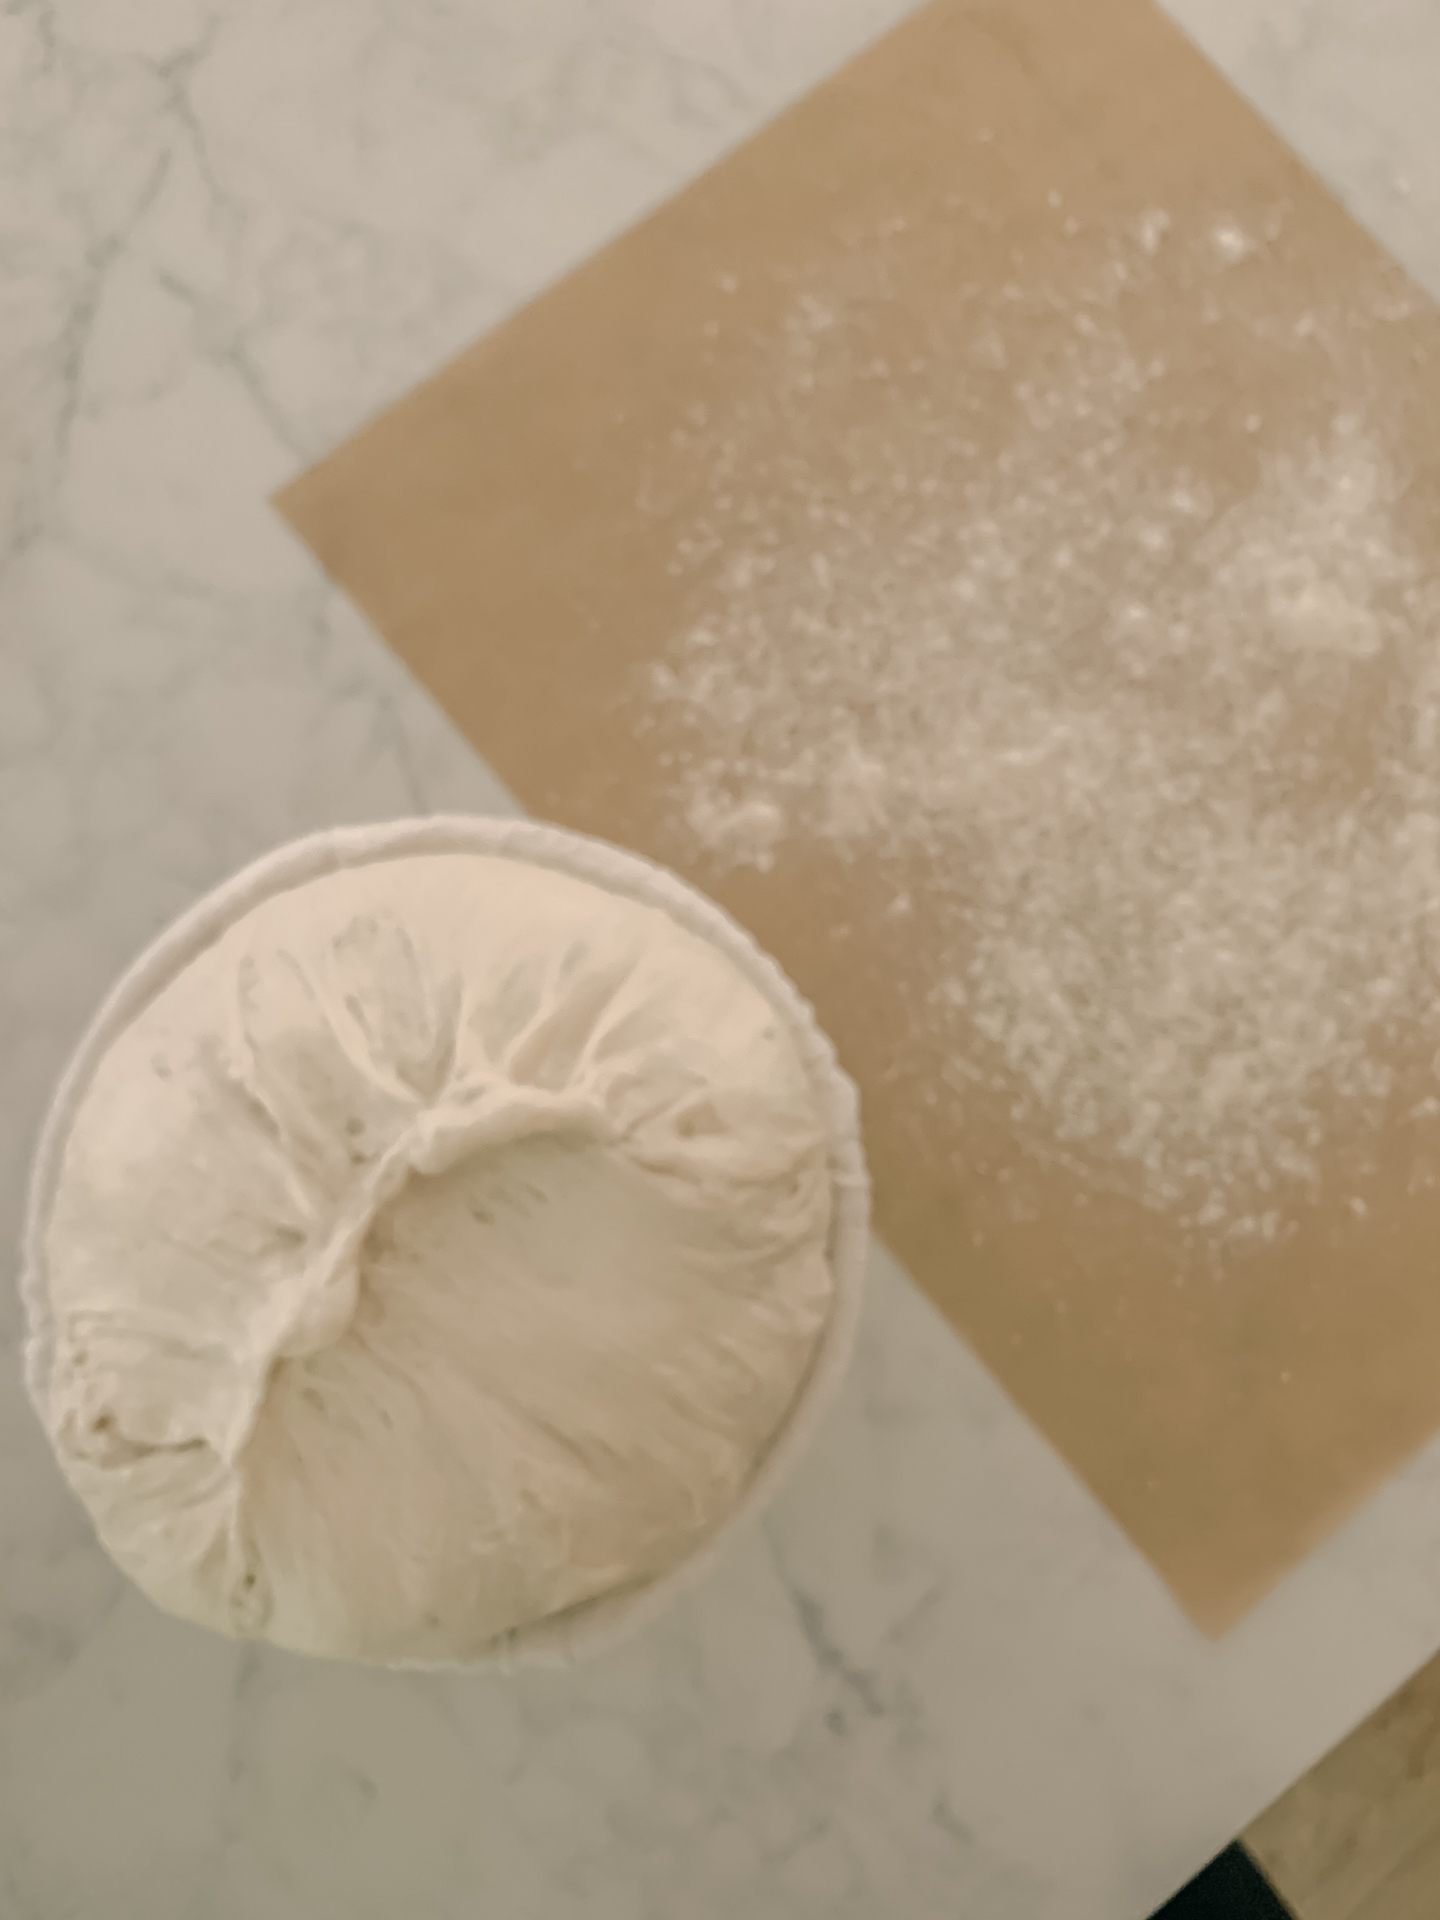
Uncover your dough, and do a final shape, making sure it’s nice and firm, round, and dense. Turn it over and create a “seam” with your fingers, pinching together the opening, and having that portion facing upward in your basket. Cover the whole basket with a plastic bag, shower cap, or something that will keep the moisture inside, then refrigerate for an hour or so.
— Some loaves do better with a slightly longer refrigerated final proof, or this is just a good point to leave the dough if you cannot bake right away. It can stay int he fridge longer than hour, just know that it is fermenting longer, and therefore may taste more sour. Try not to leave it in the fridge much longer than 24 hours.
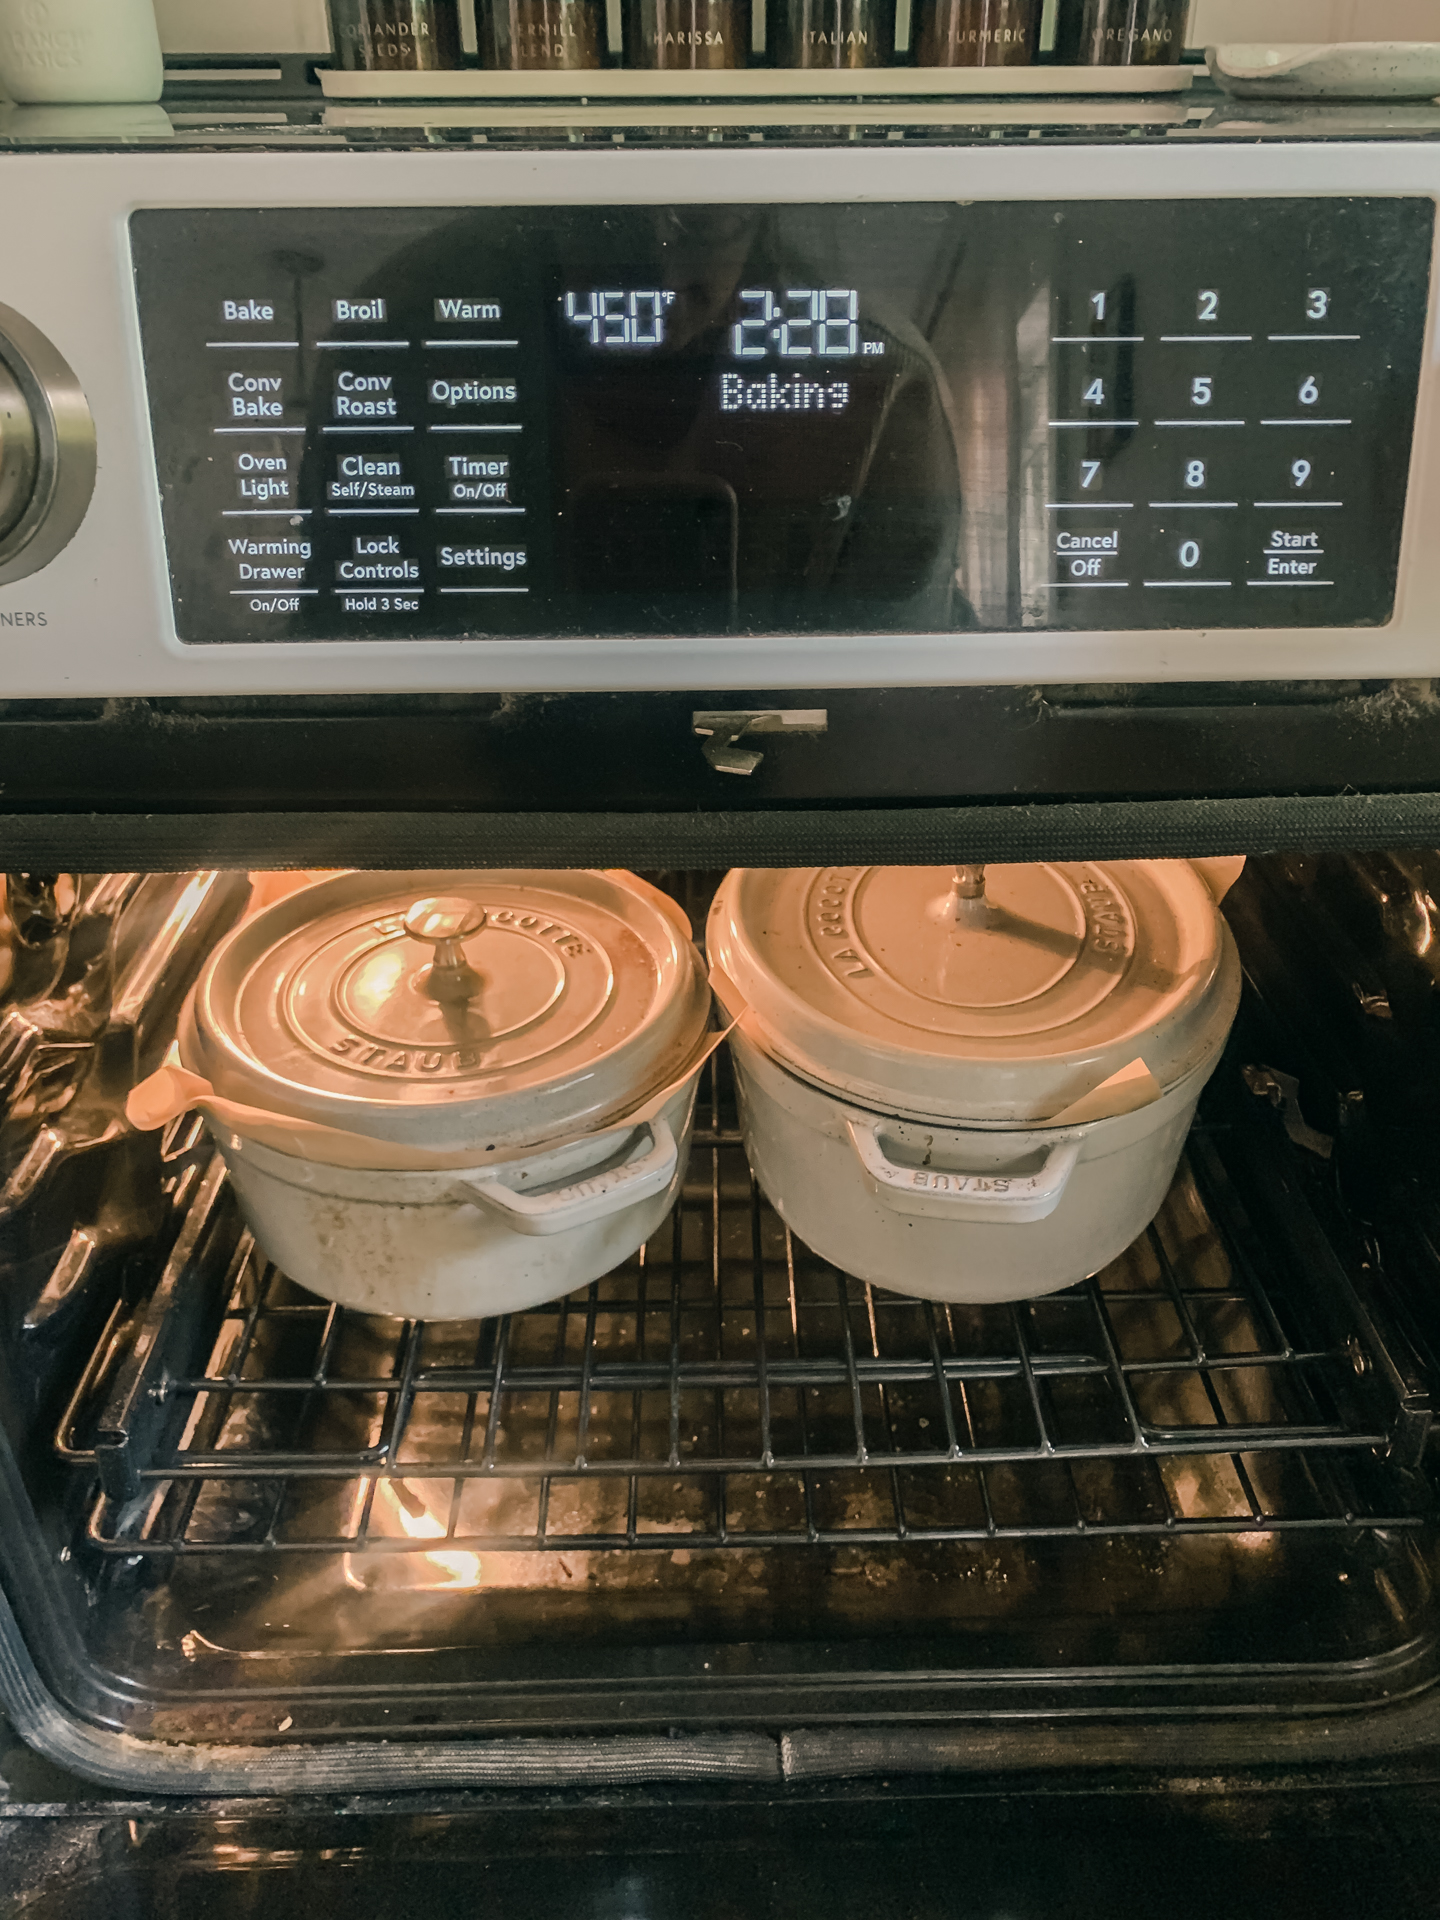
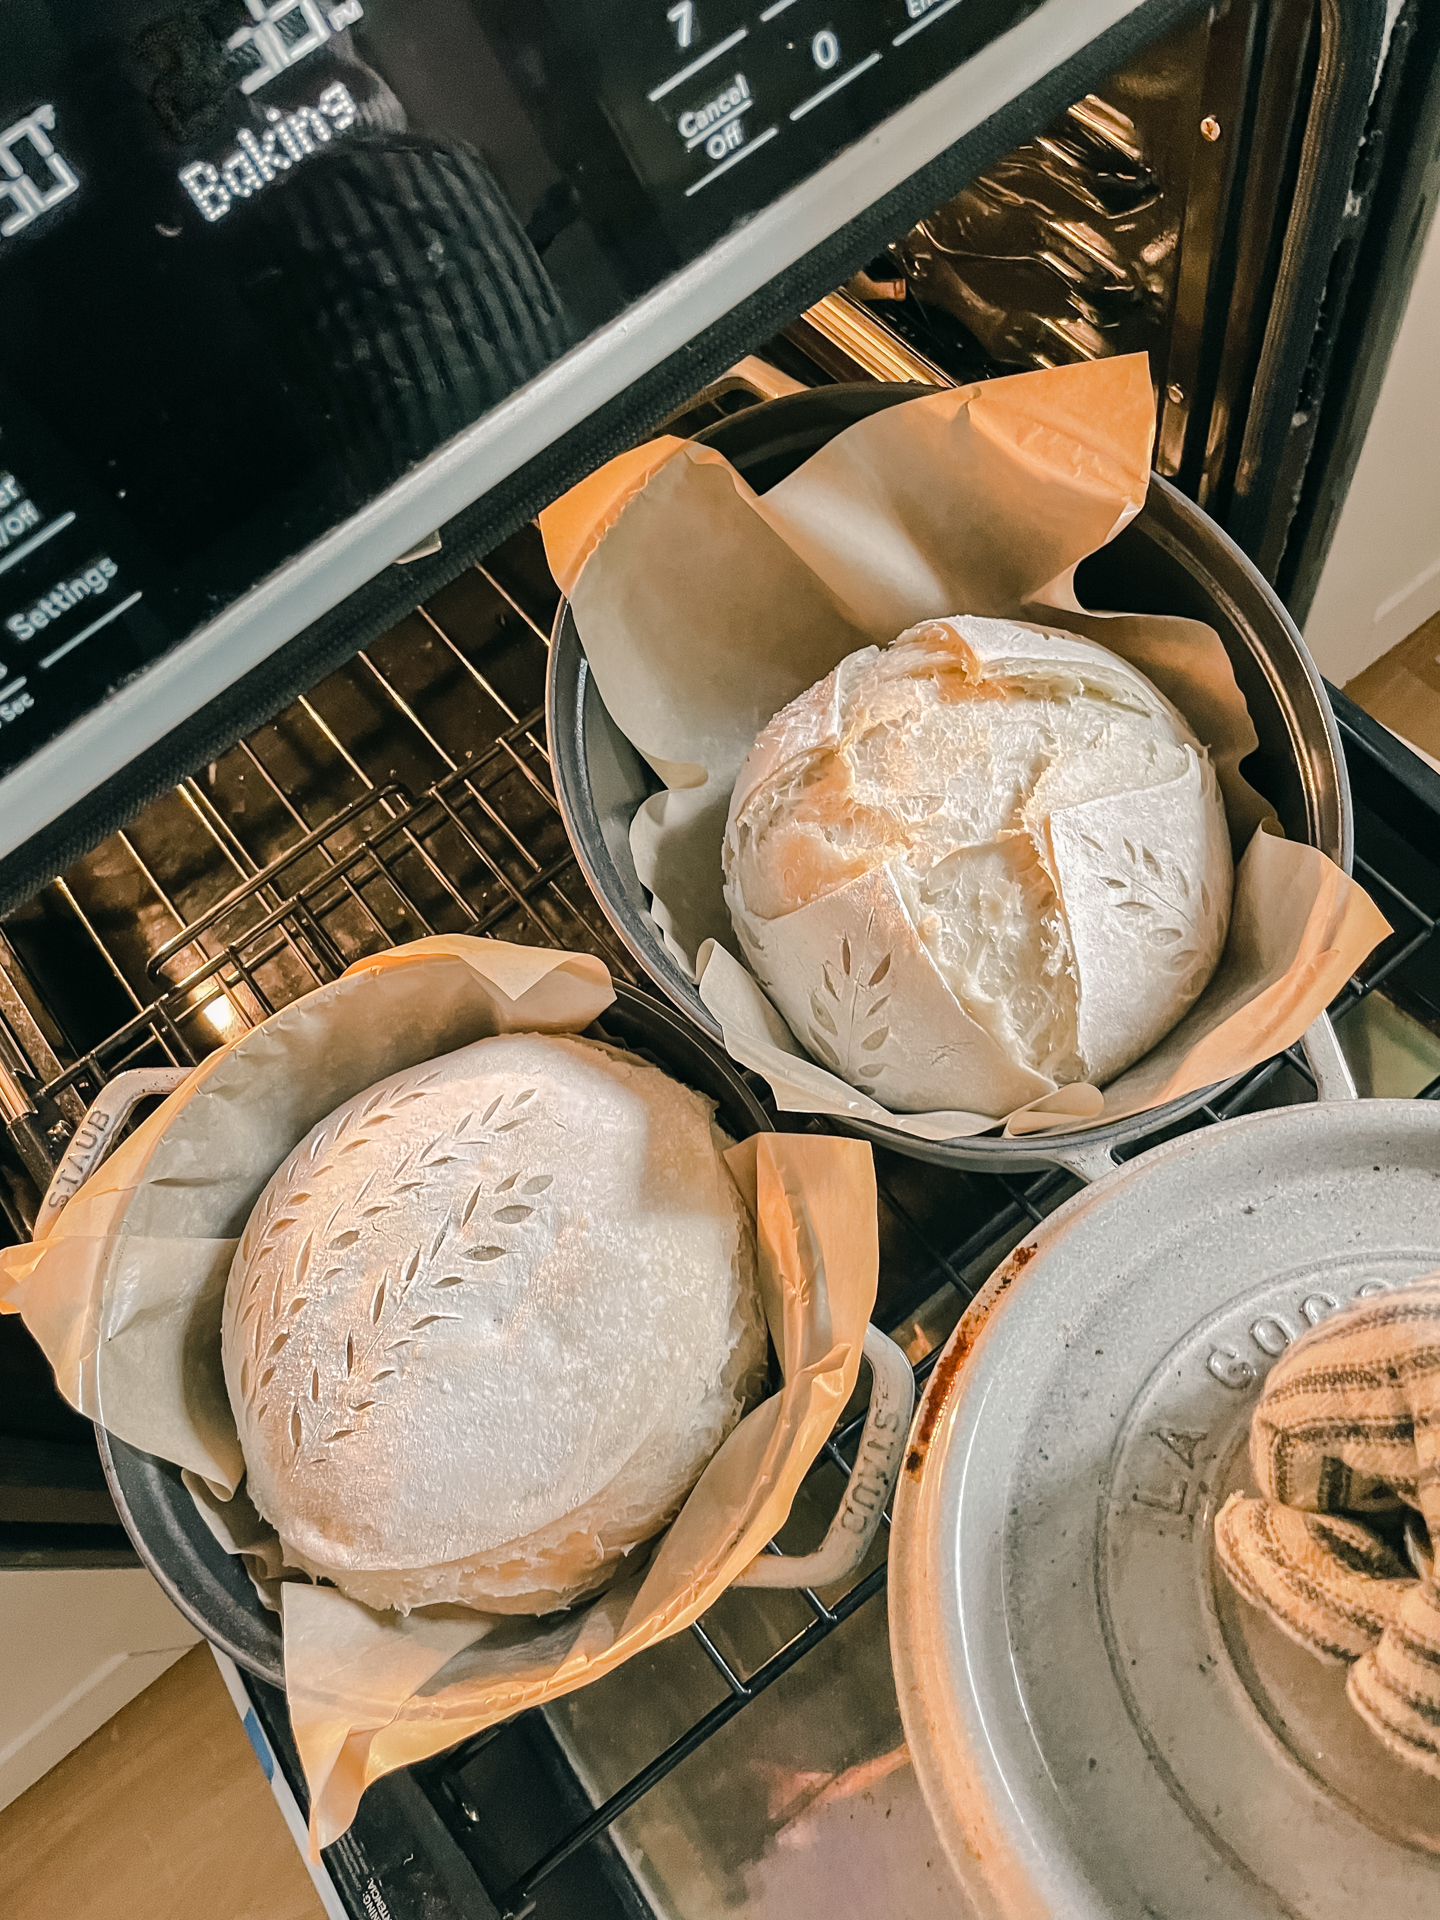
While the dough is in its final proof in the fridge, preheat your oven to 450 degrees Fahrenheit. After the oven is preheated, you’ll want to preheat your dutch oven as well. With the lid on, place your dutch oven into the oven for the final 30 minutes of your proof.
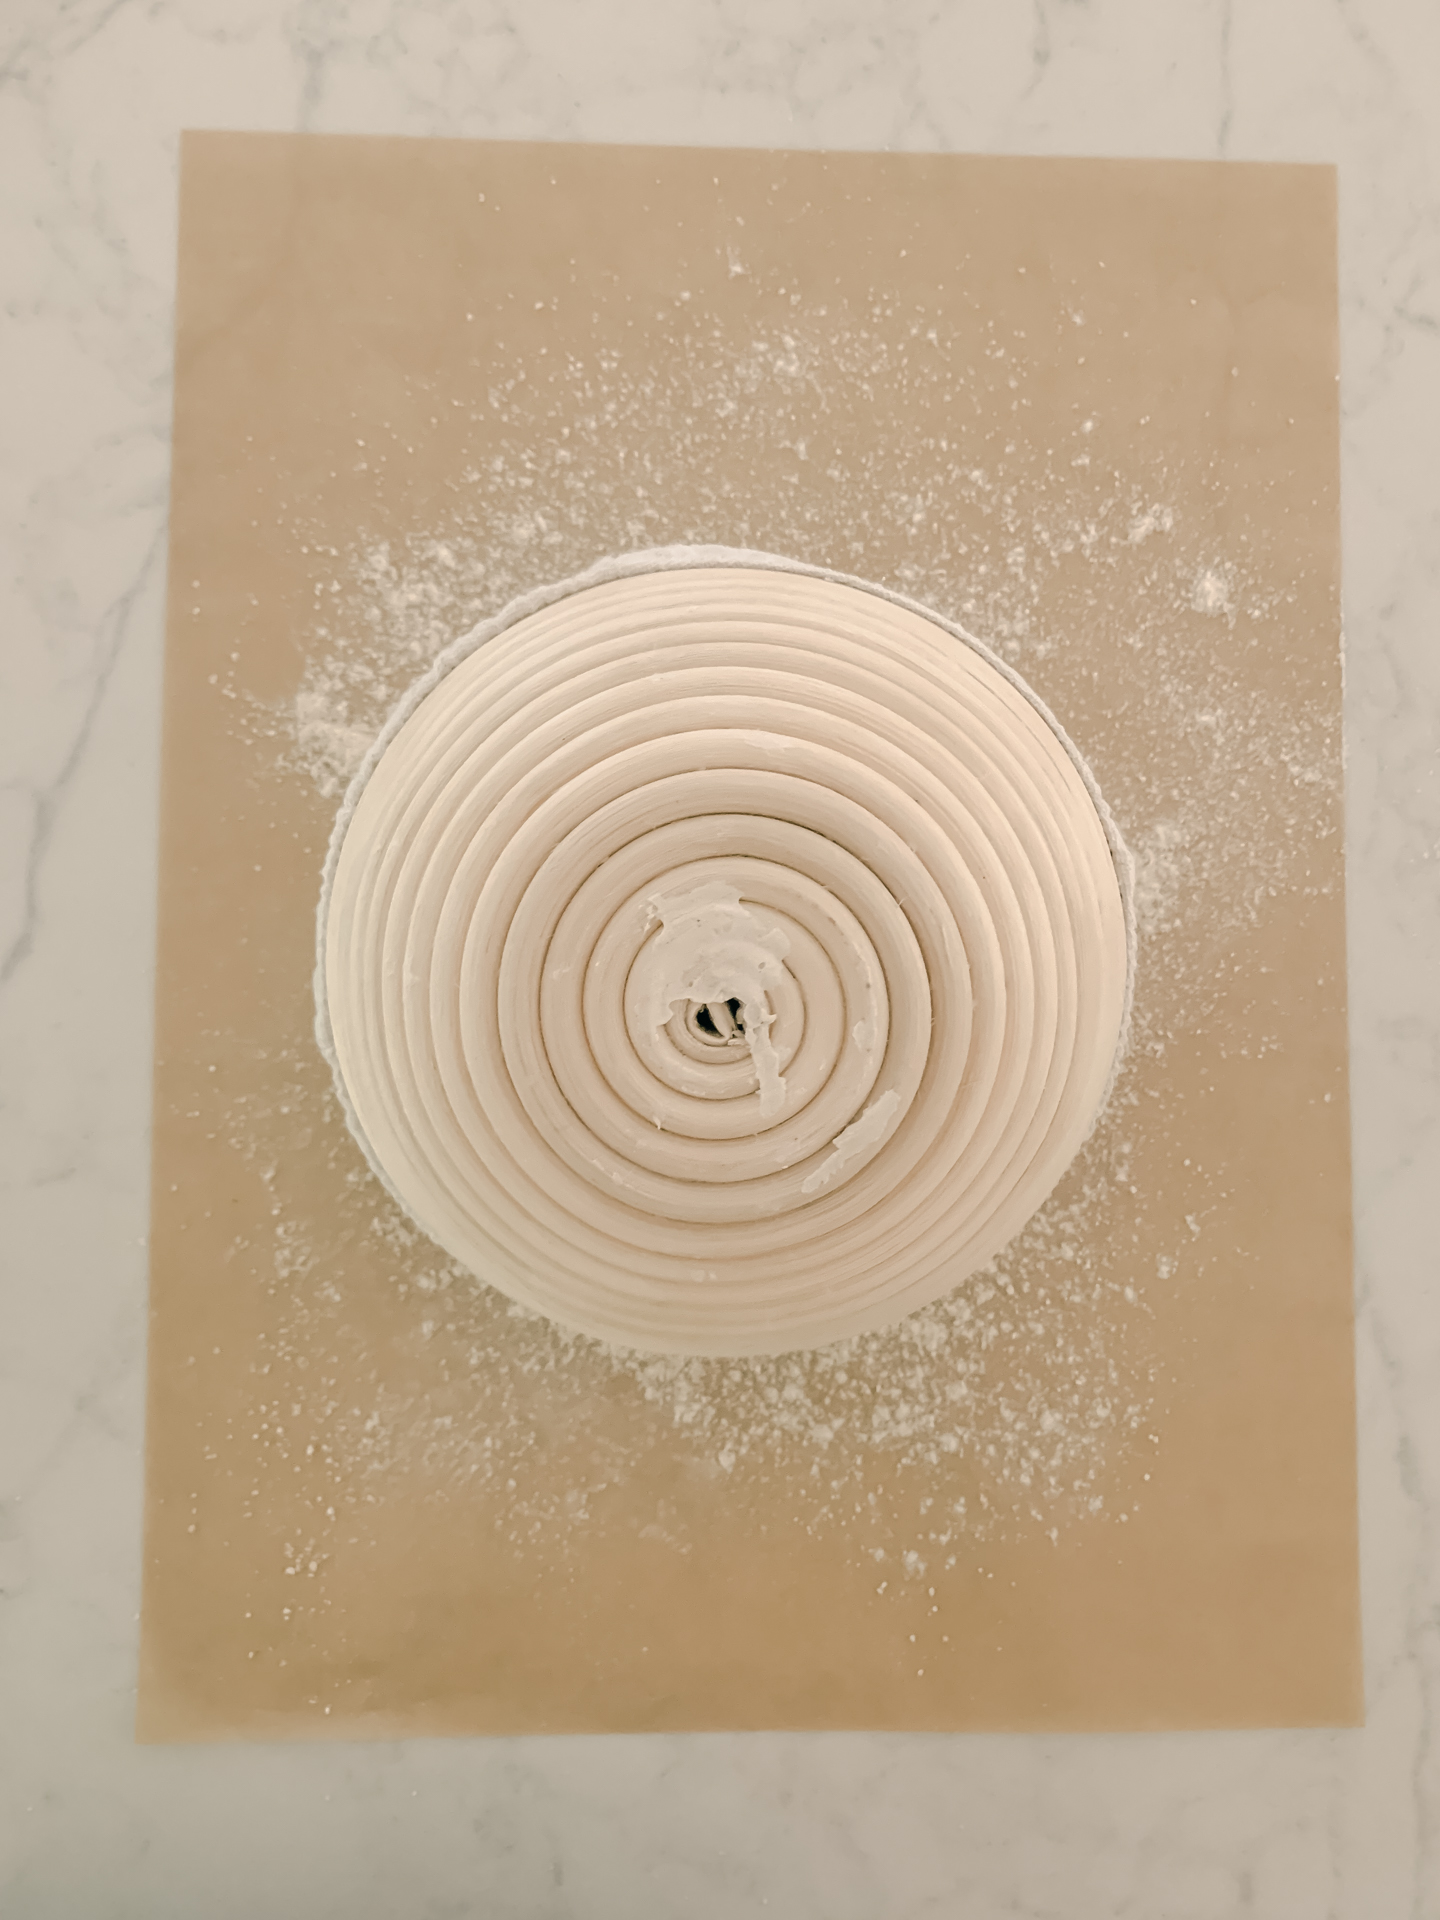
Lay out some parchment paper, and lightly dust with flour. After the final rise, remove the proofing basket from the fridge, and the cover. The dough should have risen even more, and will be firm and dense. Plop the dough seam-side-down onto the floured parchment.
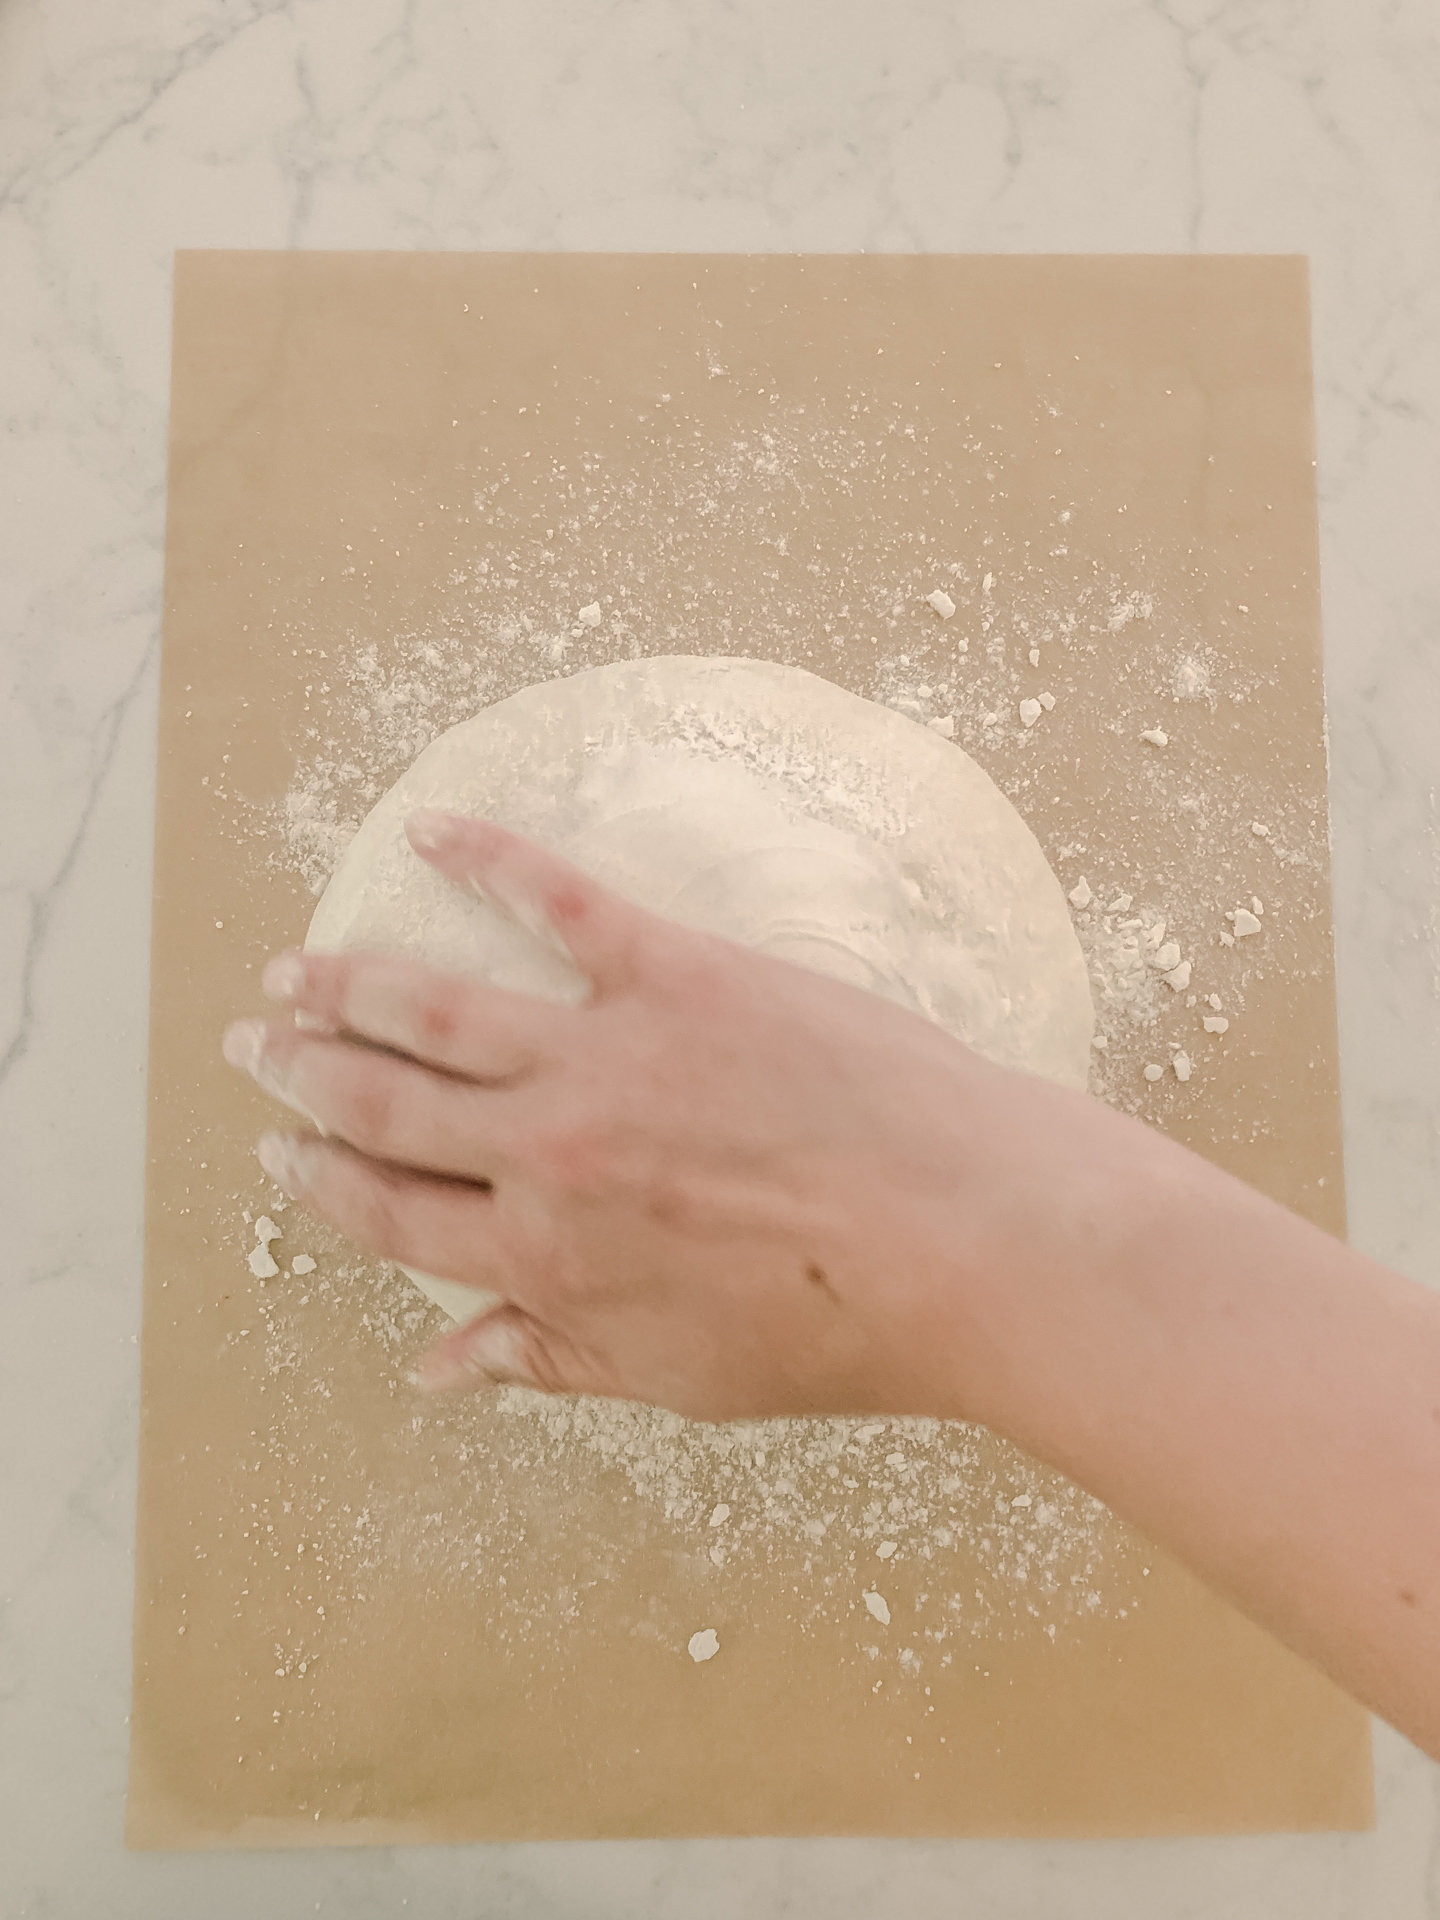
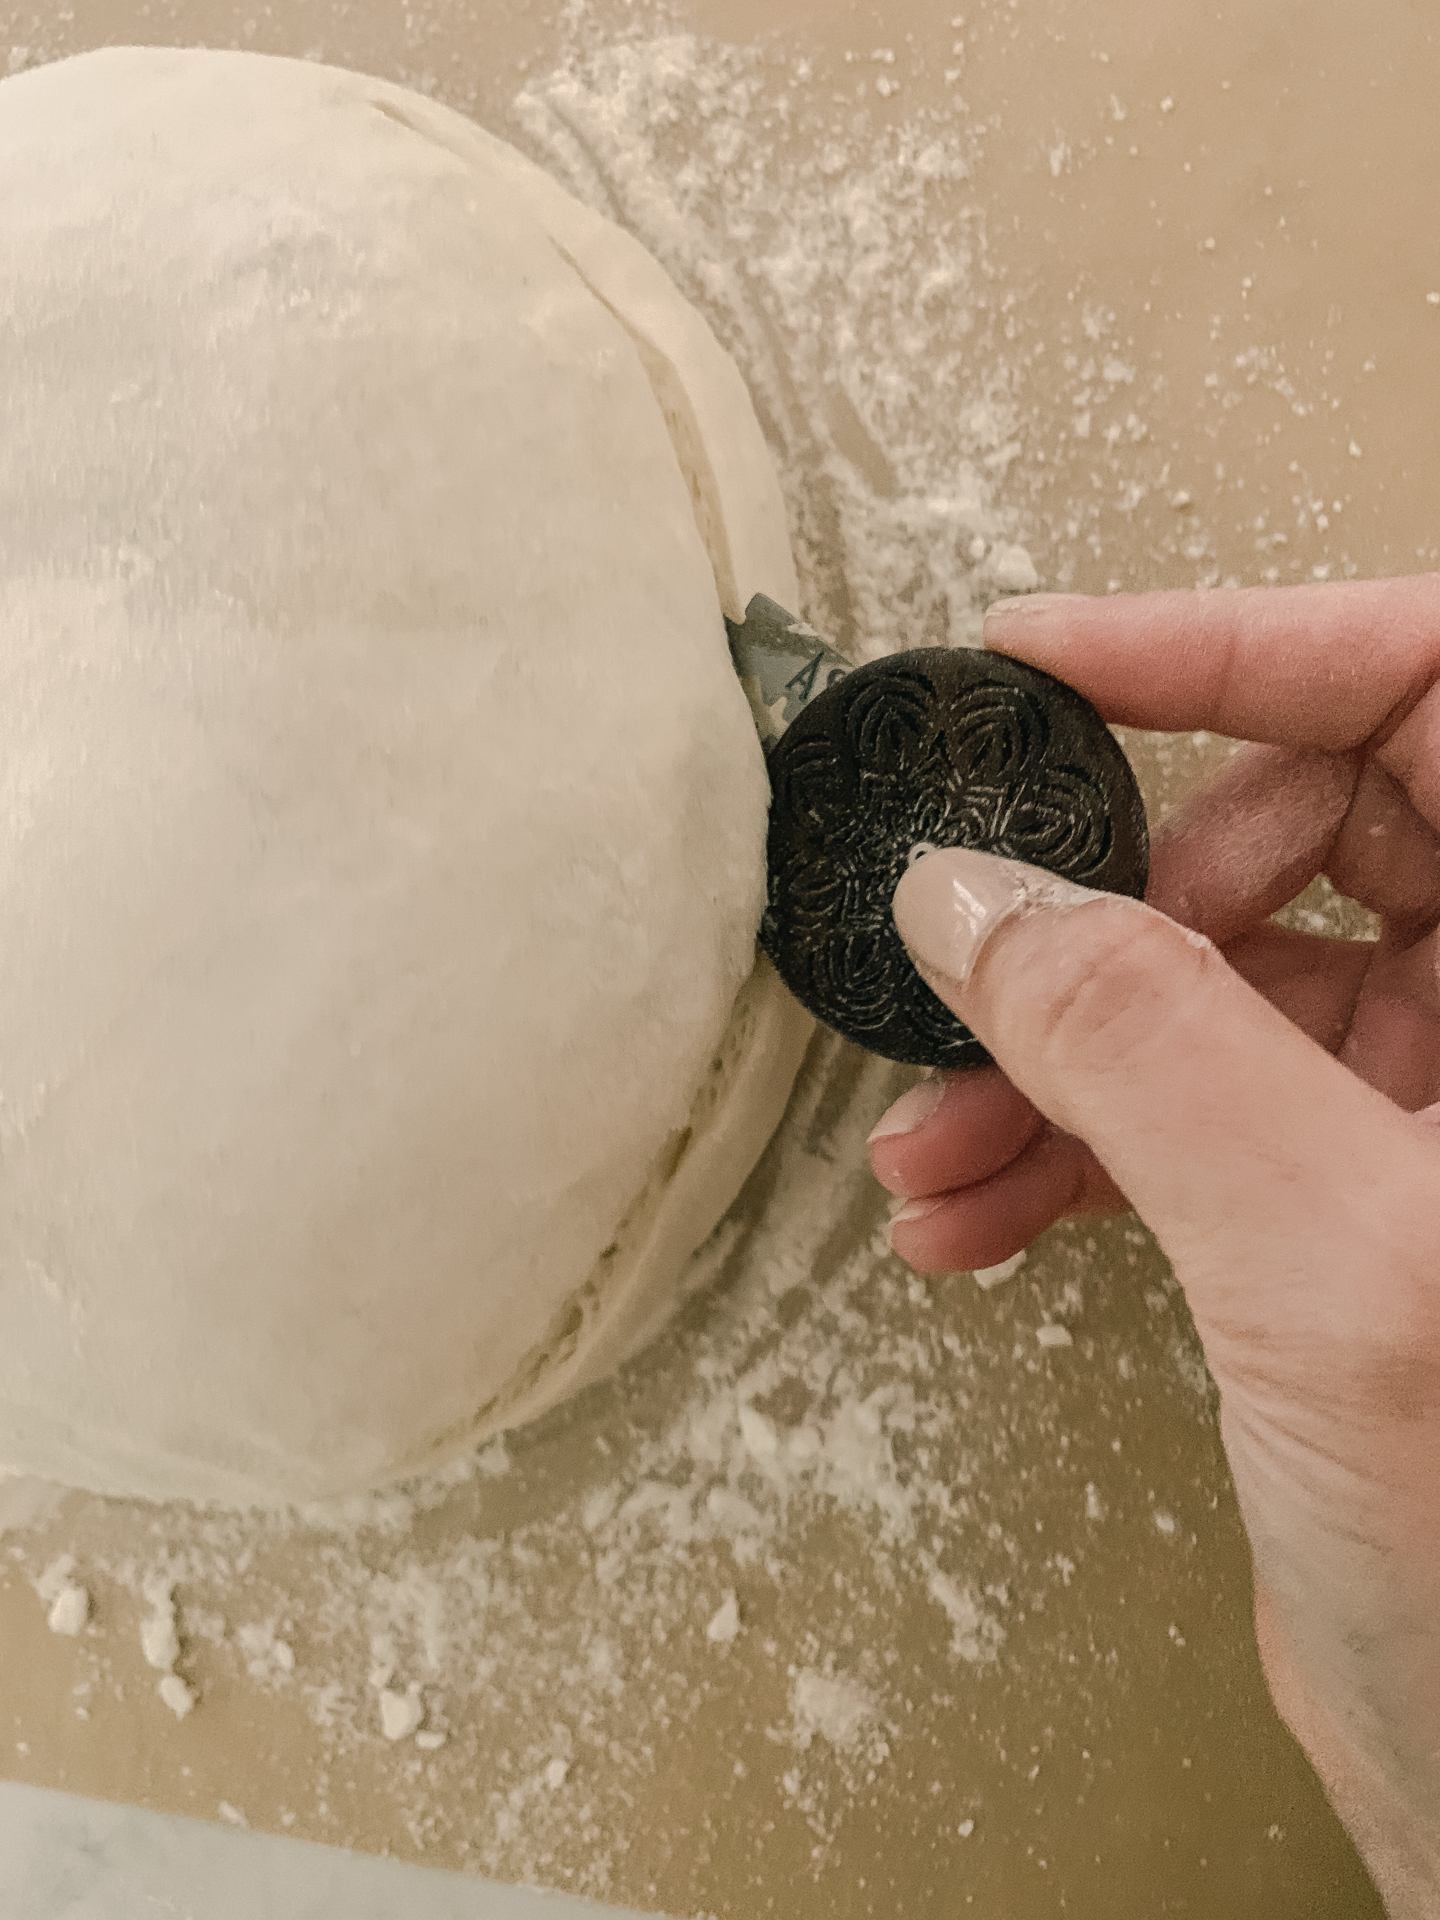
Gently rub the flour evenly over your dough. The more flour, the stronger your scoring lines will be. Grab your lame (blade for scoring bread).
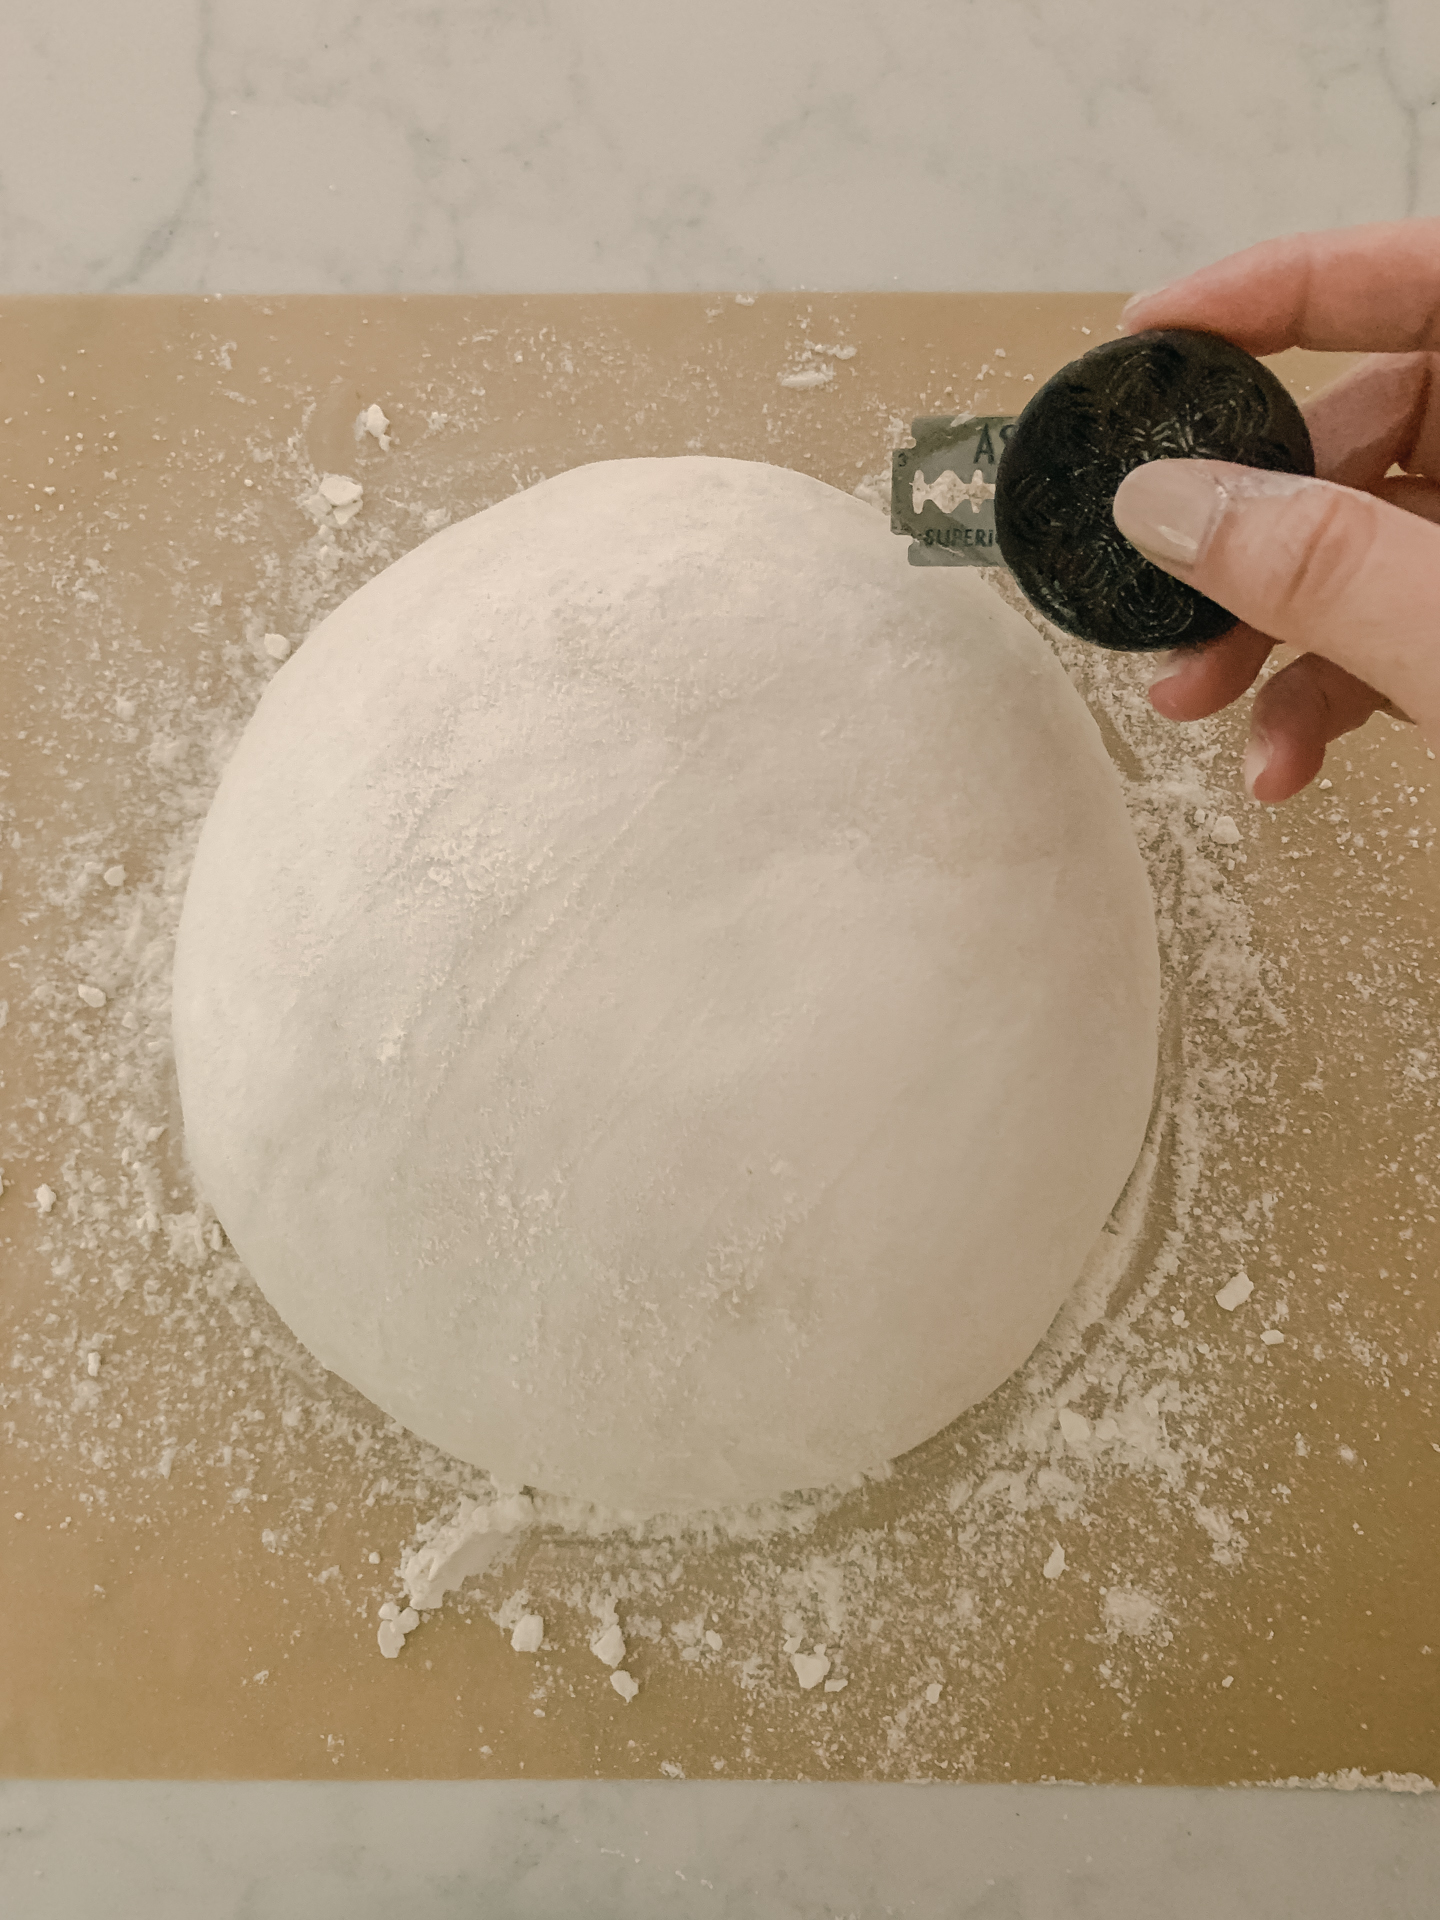
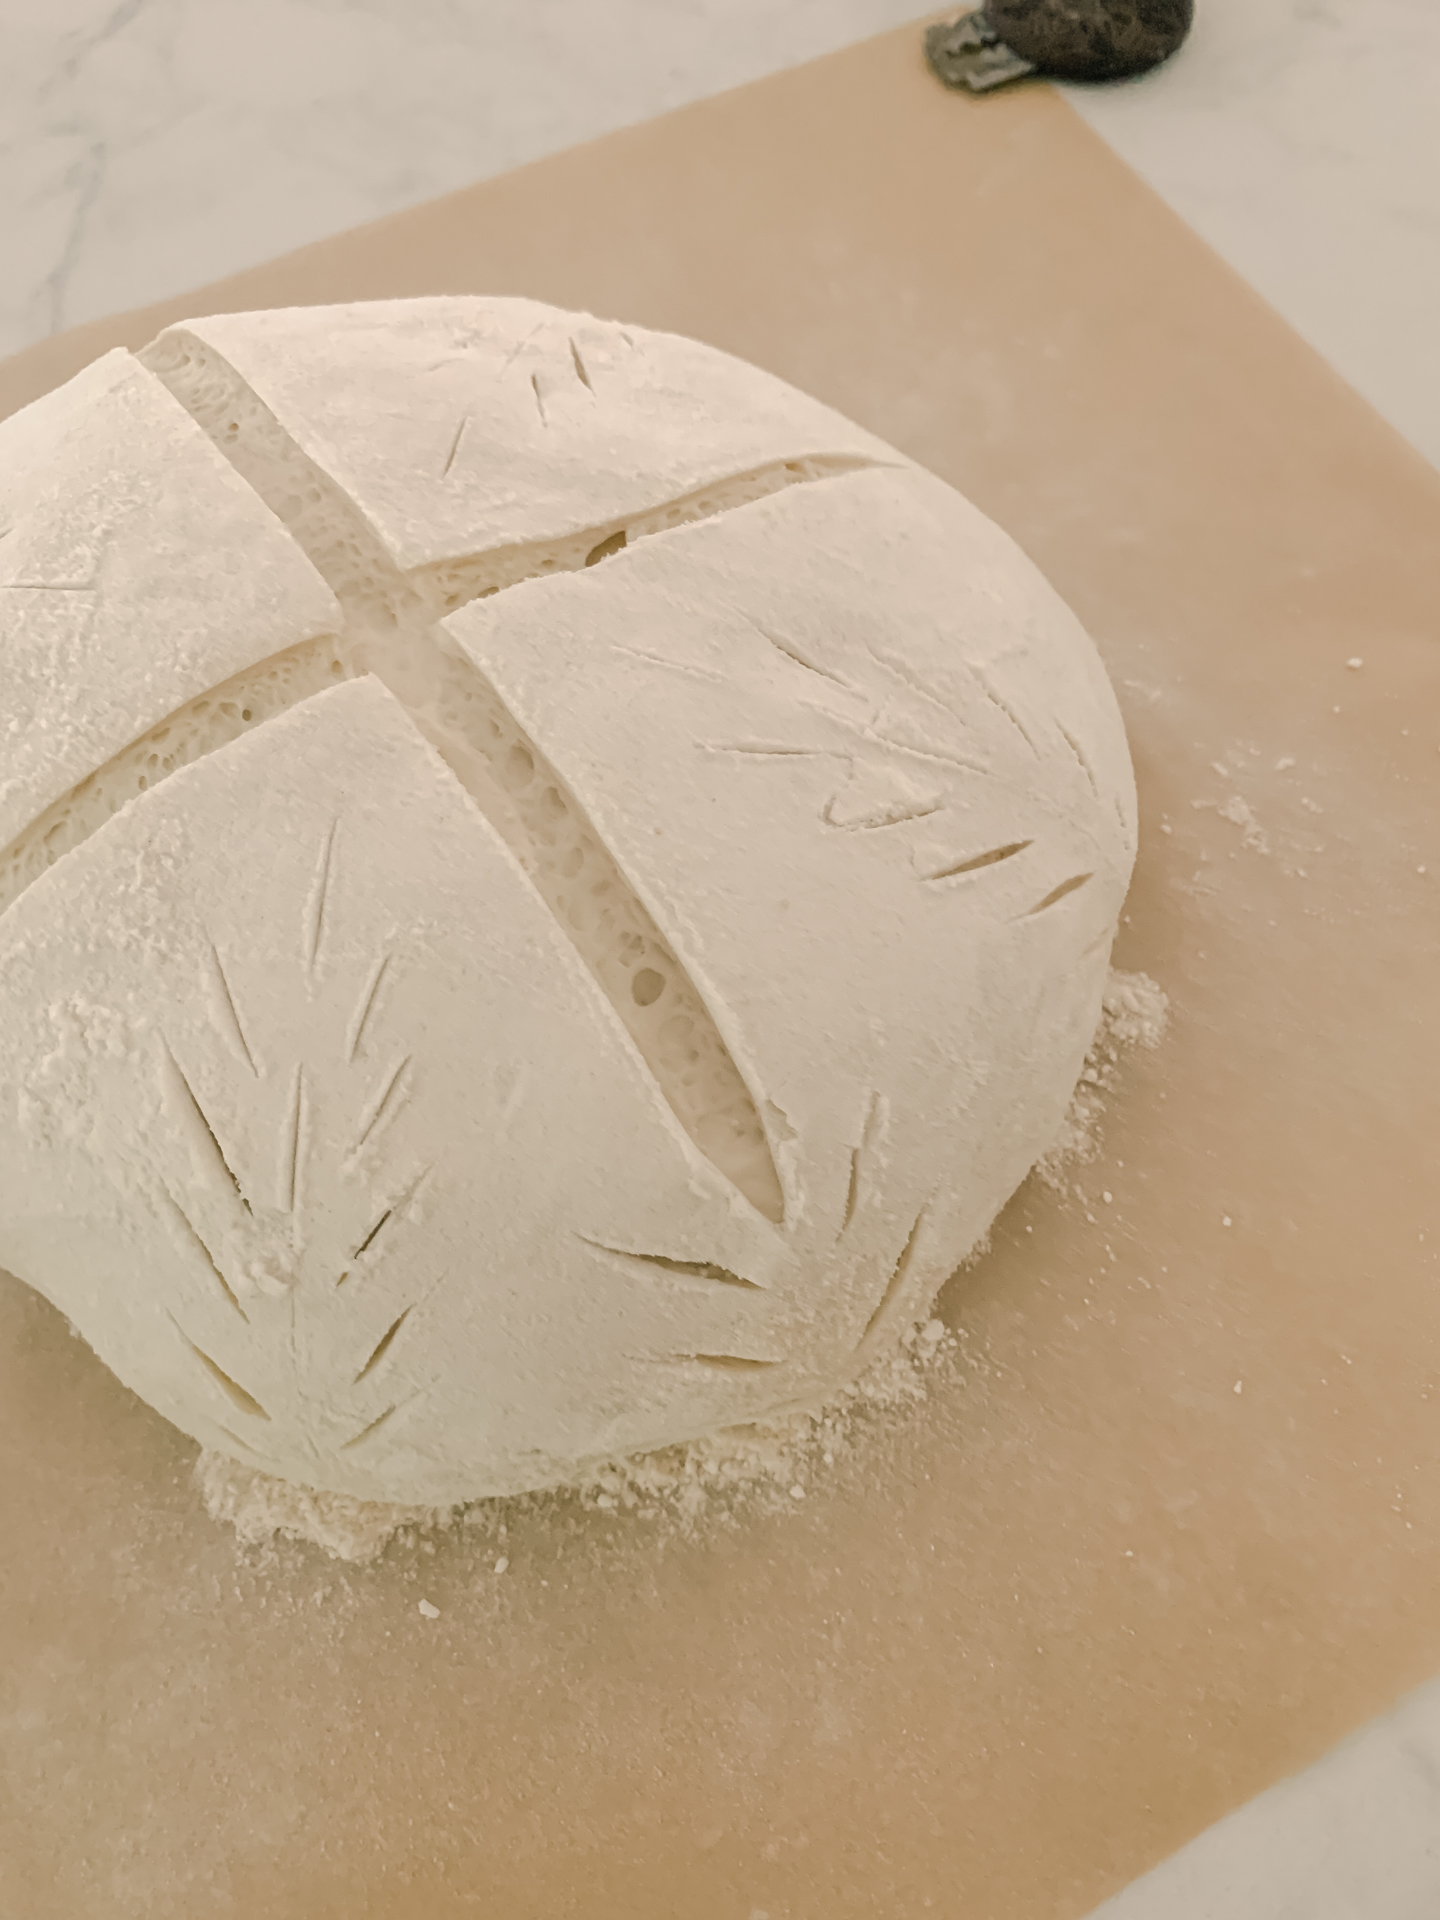
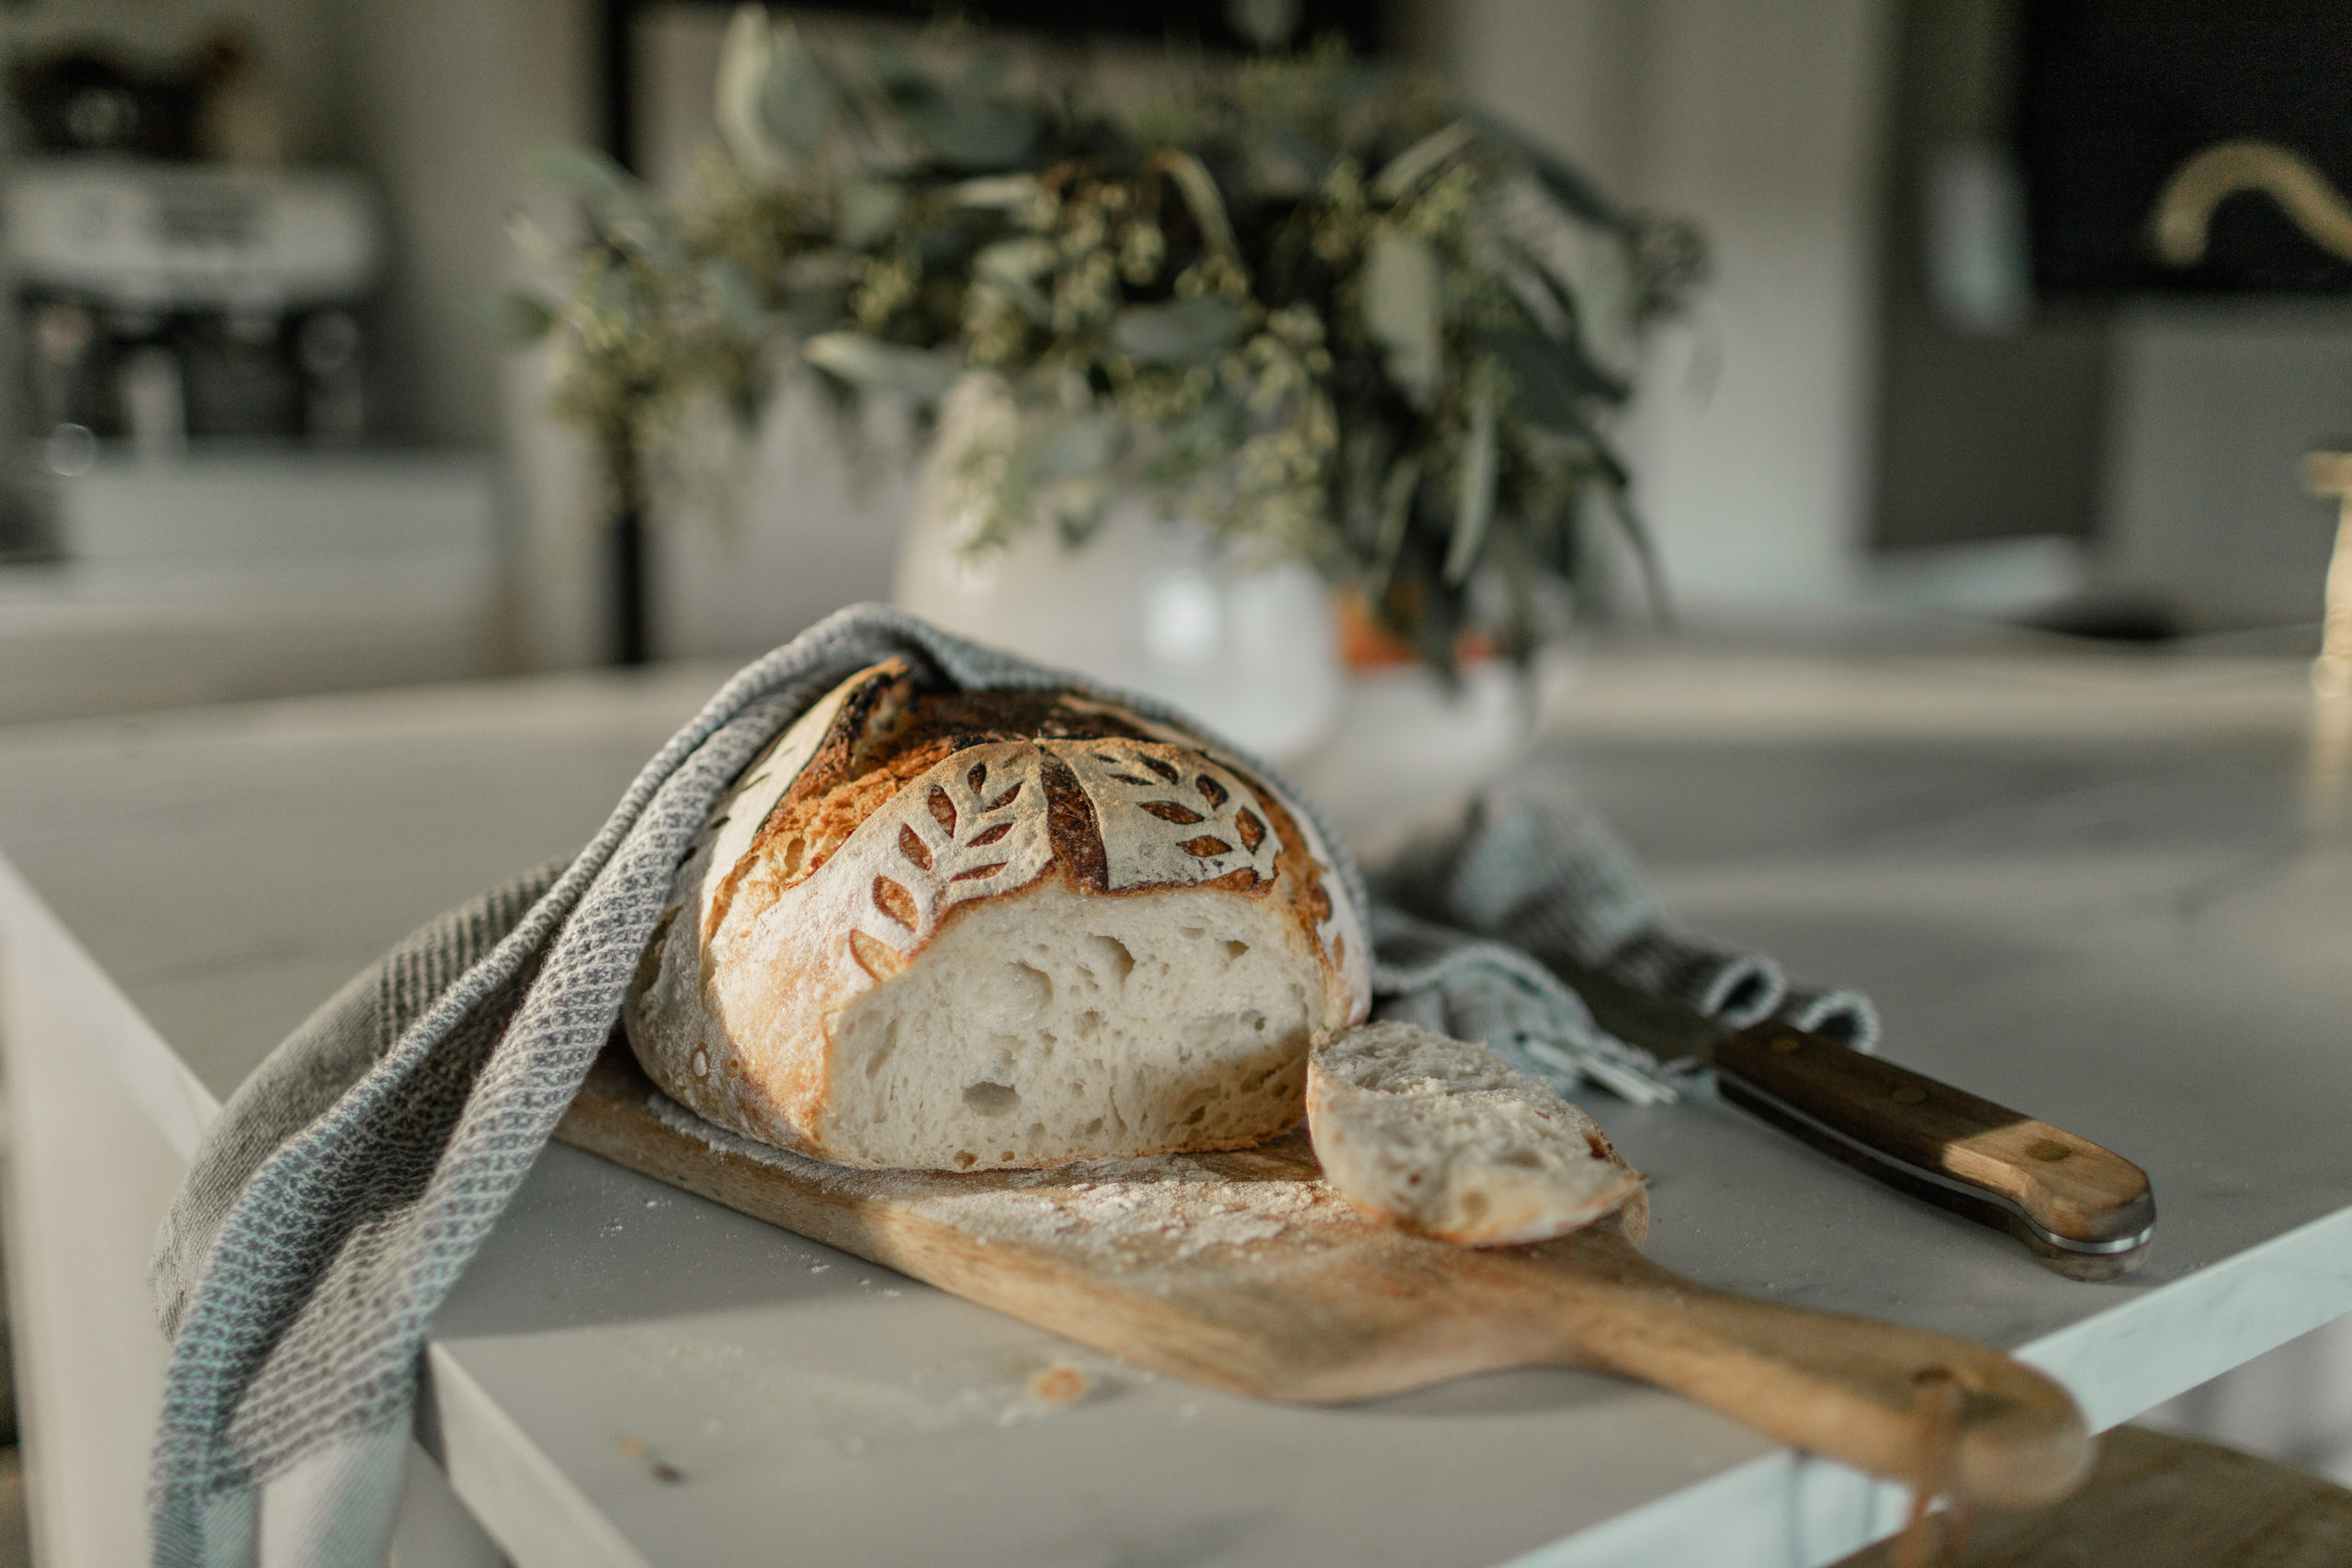
Scoring doesn’t have to be pretty! But it is necessary for the loaf to breathe in the oven. If you don’t have one larger/deep cut, then whatever design (if you choose to do one) might burst if there isn’t a big enough breathing cut. Often called the “ear.”
I typically do my large and deep ear or cross cut, and then do some little leaf or wheat designs, that are not very deep, but just barely deep enough to create some definition.
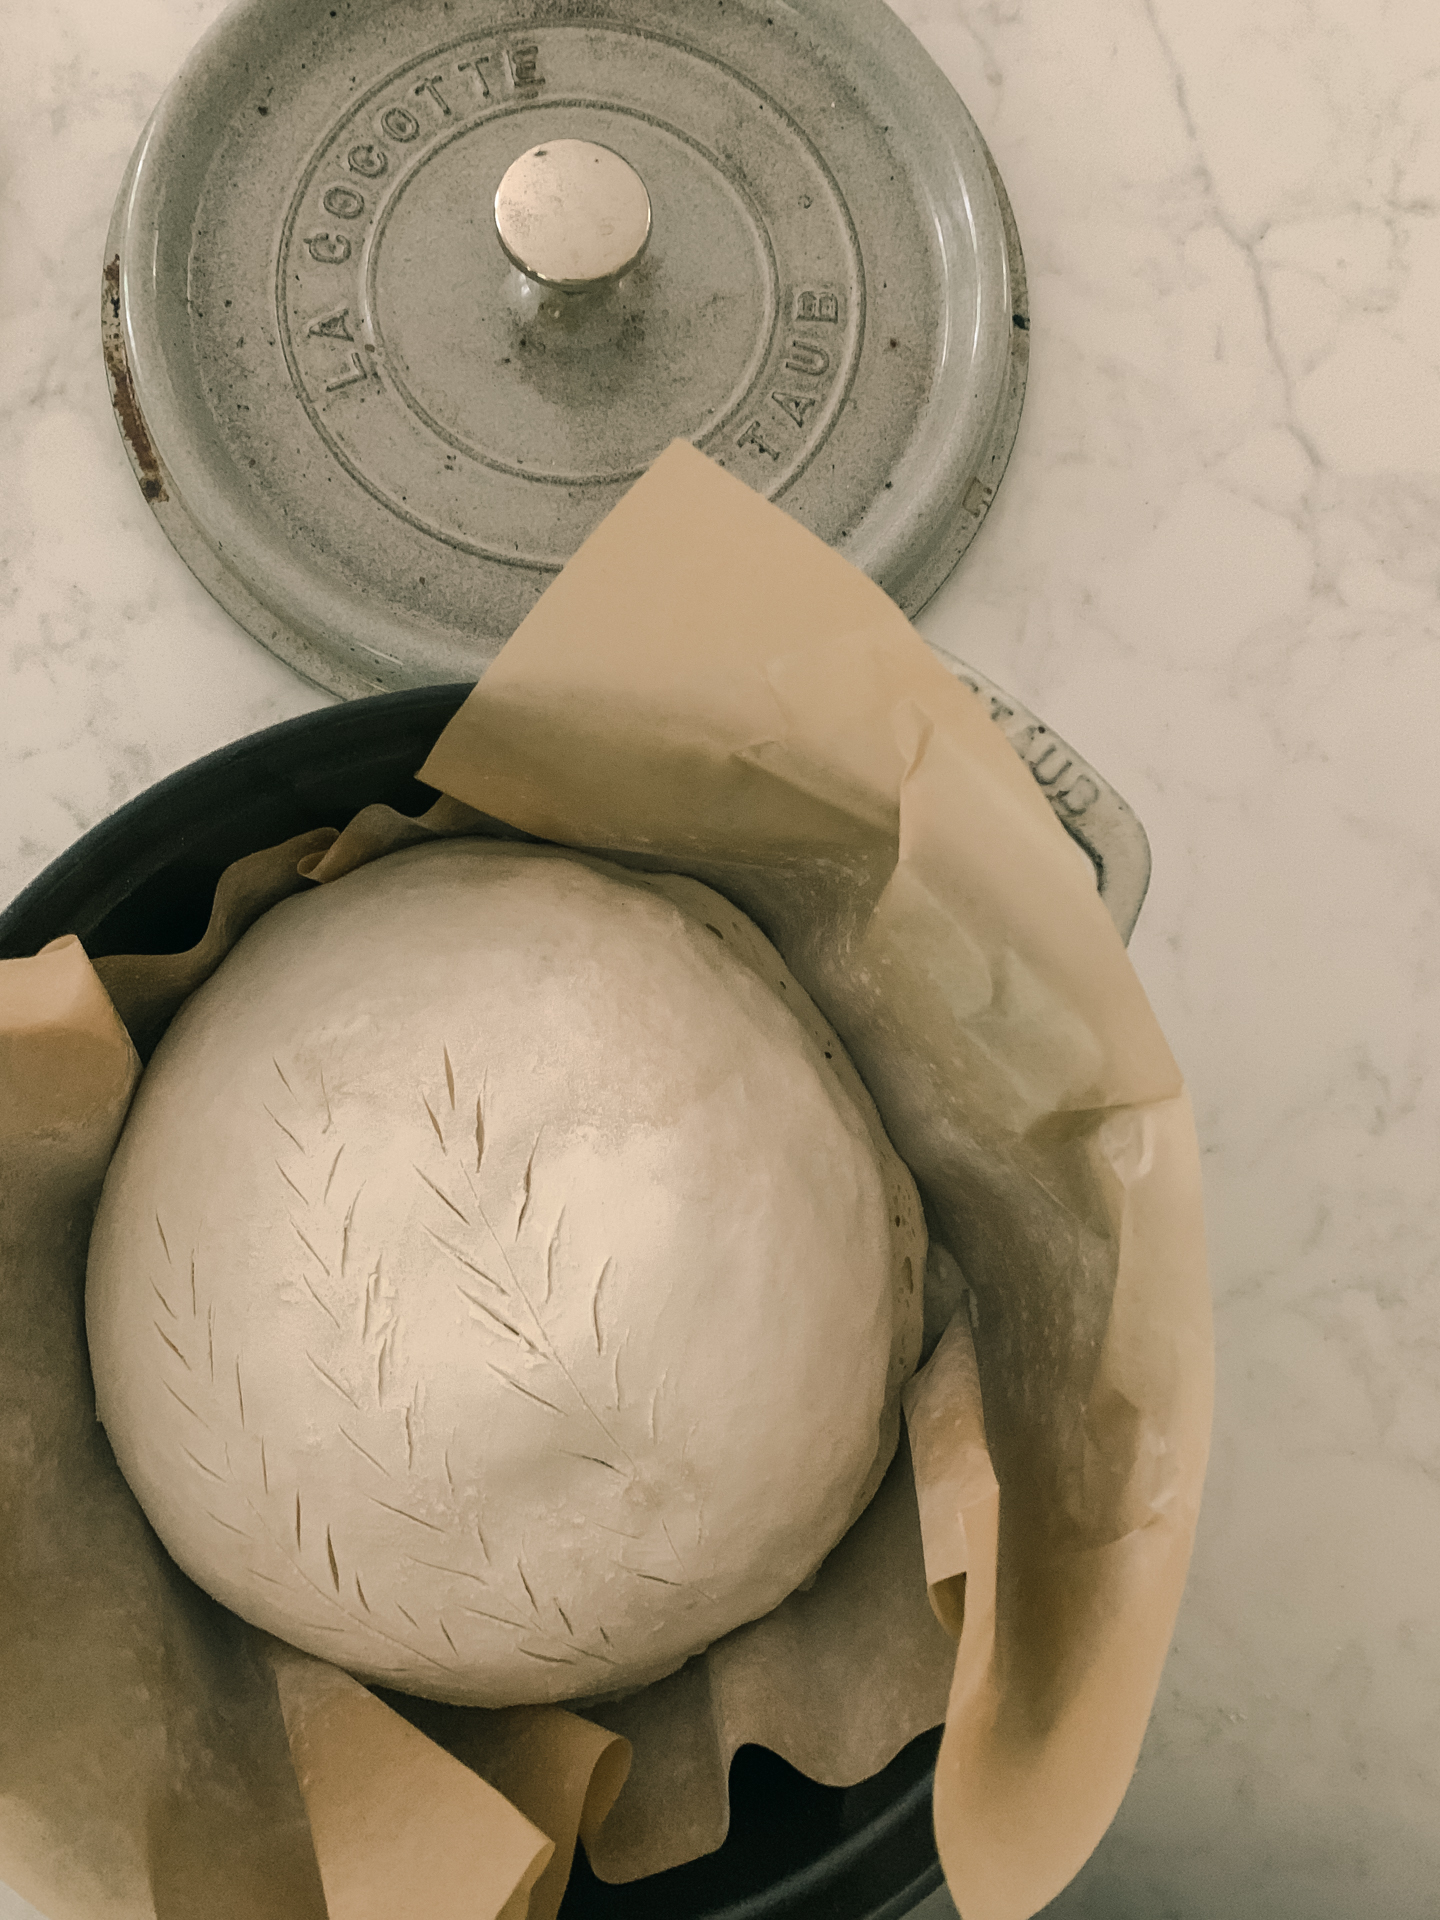
After you’ve scored your dough, use your parchment paper to very carefully plop it into your preheated dutch oven. Place the lid, and into the oven for 30 minutes.
Remove your lid, and then bake for another 20 or so minutes. This part really depends on your oven! I’ve baked in many different ovens and no two are alike honestly. Just watch the top and be sure it bakes long enough to brown, but not burn.
When ready, carefully remove your dutch oven and transfer your loaf onto a cooling rack. Listen for that amazing crackling 🙂
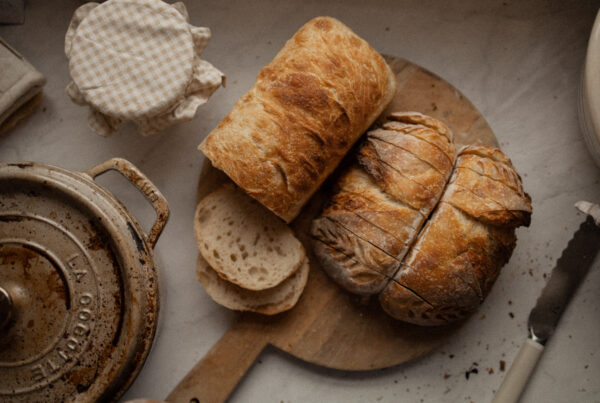
Let the bread rest! It needs to settle before cutting into it. An hour is ideal… but I know how good a warm piece of freshly baked bread is… so just wait as long as you’re able to 😉 cut it open and see your amazing bread! Taste a bit, then cut a slice and lather it with butter. Enjoy!!! It’s the best reward after such an involved process.
Be sure to share your loaf on Instagram! I’d love to reshare your loaves on Instagram, so tag me in your story! I seriously can’t wait to see your bread! 🙂 Feel free to share this Easy Artisan Sourdough Recipe with your friends and loved ones. Spread the sourdough love!

SHOP SOURDOUGH TOOLS


2 Comments